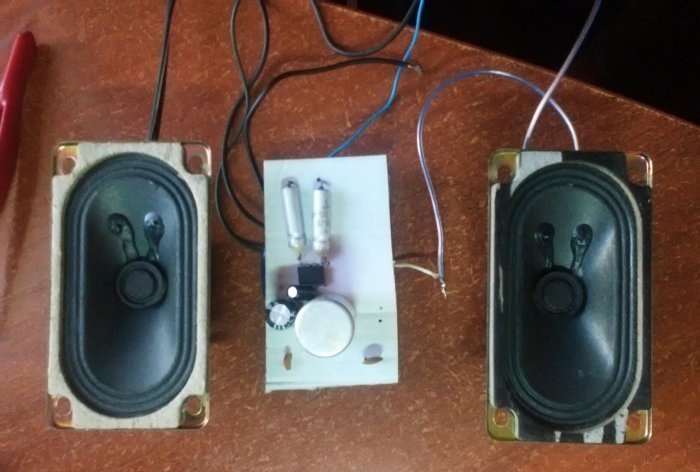
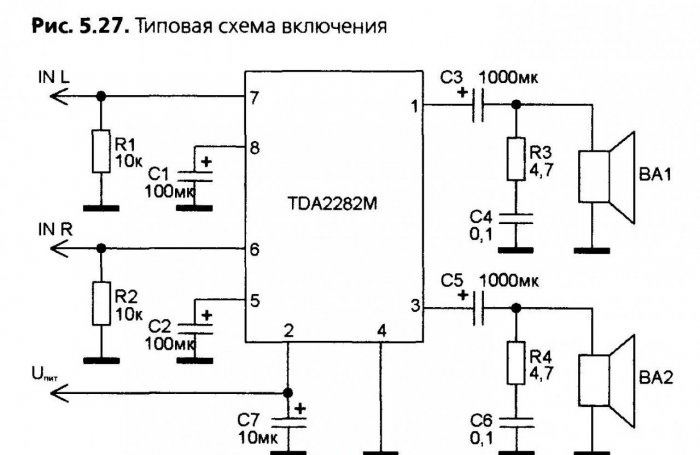
Hello friends. Today I will tell you how to make a small power amplifier using the tda2822m chip. Here is the circuit that I found in the datasheet of the chip. We will make a stereo amplifier, that is, there will be two speakers - right and left channels.
Amplifier circuit
We will need:
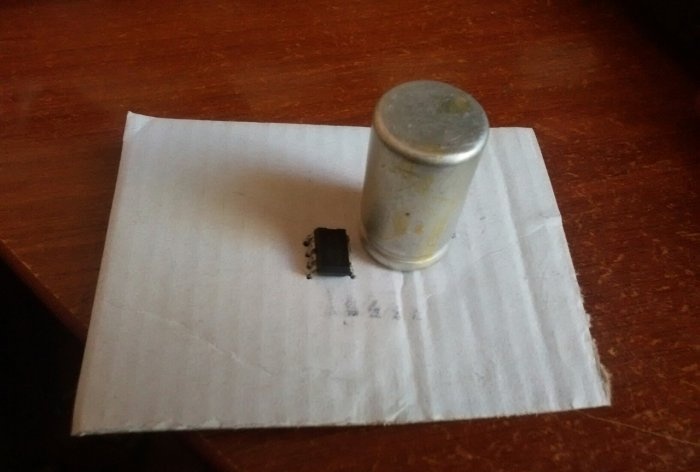
- Chip TDA2822m.
- Resistor 4.7 Ohm (2 pcs.).
- Resistor 10 Kom (2 pcs.).
- Capacitor 100 μF (2 pcs.).
- Capacitor 10 microfarads.
- Capacitor 1000 uF (2 pcs.).
- Capacitor 0.1 uF (2 pcs.).
- Speaker (about 4 Ohm and 3 Watt) (2 pcs.).
Amplifier assembly
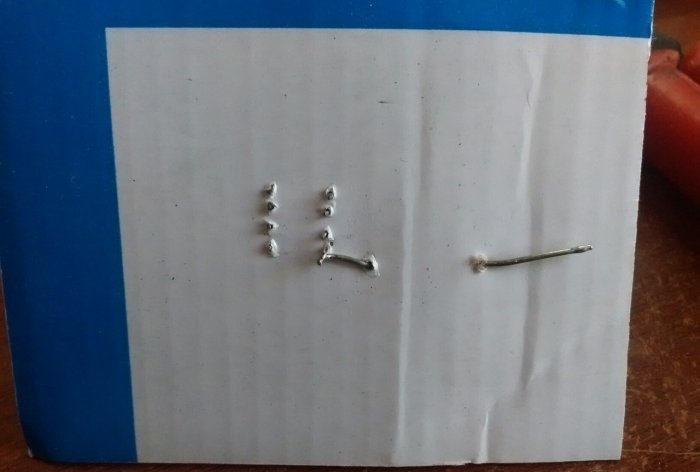
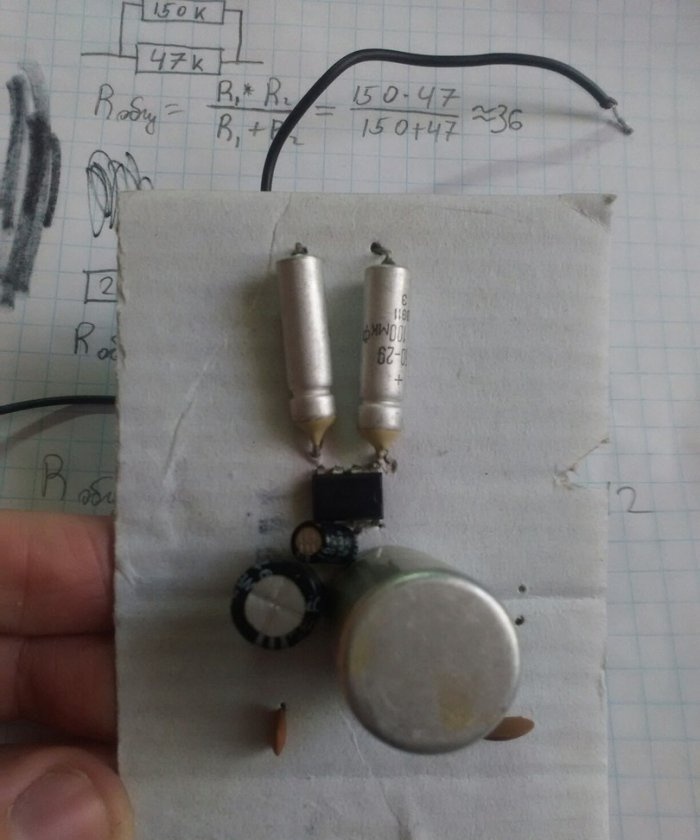
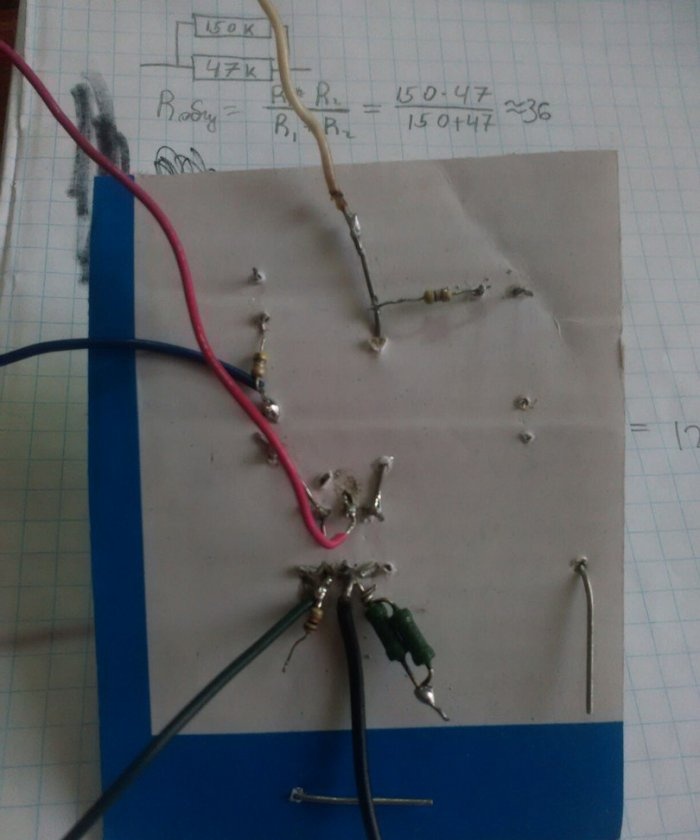
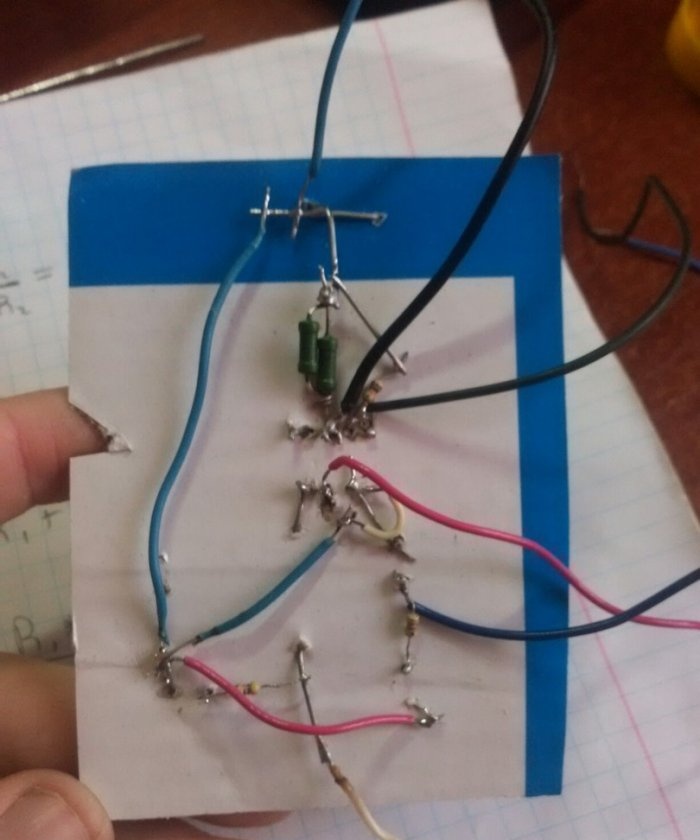
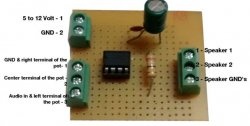
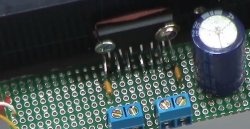
We will assemble the circuit on something between a surface mounting and a printed circuit board. A piece of cardboard will serve as a board; we will attach all the parts to it.
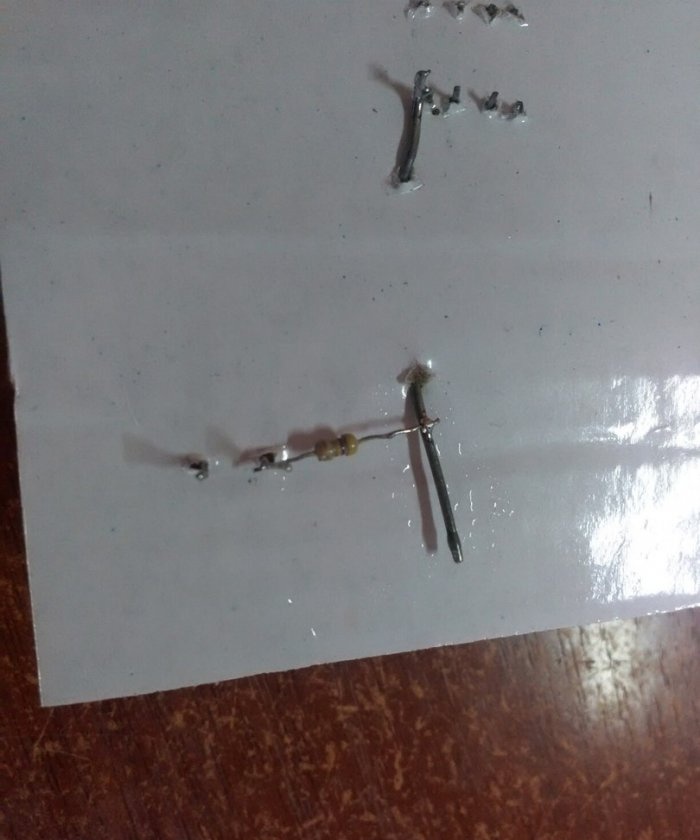
For radio components, use a pin to make holes for the legs. In most cases, the legs will act as tracks that will be used to separate the entire circuit. The first thing we insert is the microcircuit itself, then we solder the positive leg of the 1000 uF capacitor to the very first leg.
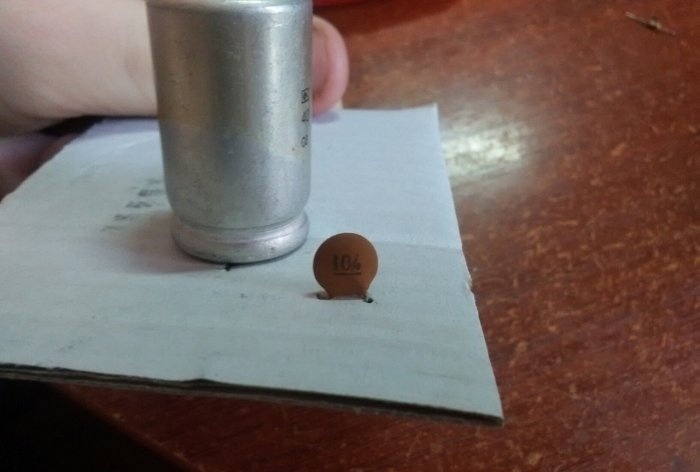
Next, we solder a 4.7 ohm resistor to the negative leg, and to it a 0.1 µF capacitor (the capacitor is marked 104).We also solder a wire to the negative leg of the 1000 uF capacitor; one of the speakers will go to it.
We do the same with the third leg of the microcircuit.
Next, we solder to the second leg of the microcircuit the positive leg of a 10 µF capacitor and a wire that will be the plus of the power supply.
We solder the positive legs of 100 µF capacitors to the fifth and eighth legs of the microcircuit.
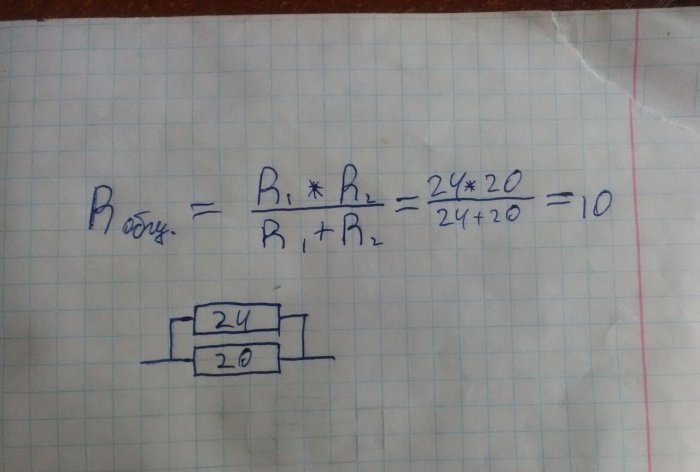
We solder two wires to the sixth and seventh legs of the microcircuit - these are the right and left channels (the sixth is right, the seventh is left). We also solder two 10 kohm resistors. This is where I had a problem. There was only one resistor per 10 com. It’s not wise to go to the store for just one resistor, so I had to remember something from my physics lessons. Namely, how to calculate the resistance when connecting two resistors in parallel. This is what the formula looks like:
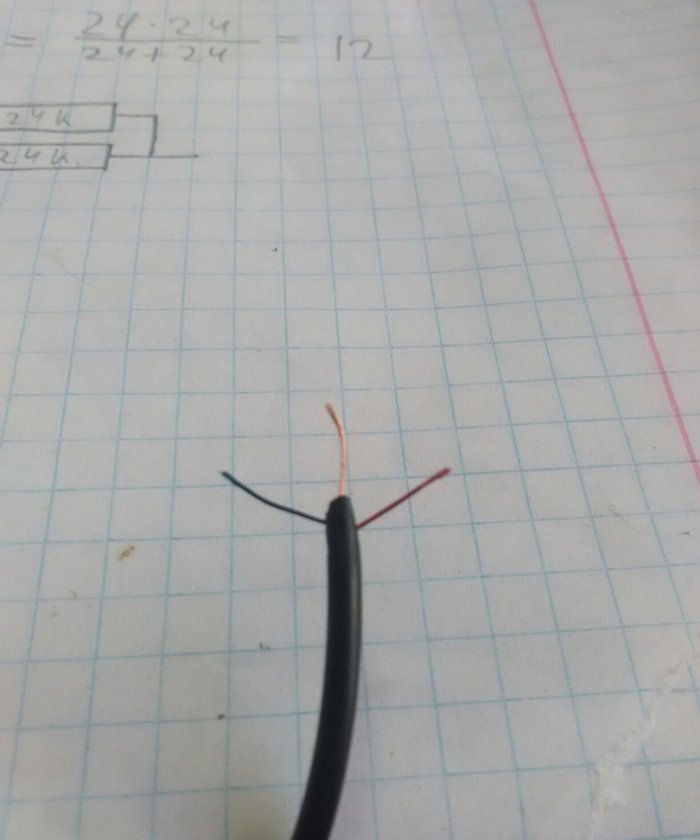
But this formula only works with two resistors, if the formula does not fit more. I found resistors for 20 and 24 kohms, these are some old Soviet resistors.
Almost everything is ready. It remains to deal with the ground, it will be a minus of power. All remaining legs are from 100 capacitors; 10; 0.1 µF, as well as from 10 kohm resistors, must be connected into one bundle. I connected all the ground on the leg of the 100 uF capacitor, in some places I had to connect with wires. Ground, also the 4th leg of the chip.
Also, the ground will be the minuses of the speakers. Now solder the 3.5 mm jack. The copper wire is the ground, the red one is the right channel, we solder it to the sixth leg of the microcircuit (to the wire that was brought out earlier), the blue one is the left channel, we solder it to the seventh leg.
We connect the plus of each speaker to the negative leg of 1000 µF capacitors. Cons: We solder the speakers to a common ground.The plus of the power is the wire from the second leg of the microcircuit, as I said earlier, the minus of the power is the ground. This completes the production of the circuit. Let's cut the cardboard, if the compactness of the circuit is important, then initially you need to take smaller cardboard, since there are few elements on the circuit.
