Do it yourself
Life hacks, master classes, useful tips, recipes.
home » Electronics » DIY electronics » DIY guitar pedal Distortion
Hello friends, today I will tell you about the circuit of a guitar gadget with the distortion effect. The project is quite simple, I recommend it for beginners in soldering.
DIY Guitar Distortion Pedal

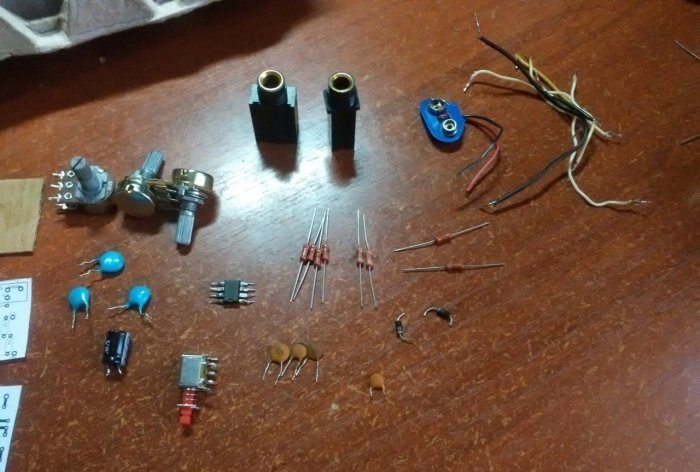
You will need:


  • Operational amplifier TL072.
  • Resistor 10 kOhm (4 pcs).
  • Resistor 1 mOhm (2 pcs).
  • Resistor 3.3 kOhm.
  • Resistor 680 kOhm.
  • Potentiometer 100 kOhm (2 pcs.).
  • Potentiometer 50 kOhm.
  • Capacitor 100 nF (3 pcs.).
  • Capacitor 10 nF.
  • Capacitor 100 uF.
  • Capacitor 47 nF.
  • Capacitor 47 pF.
  • Capacitor 100 pF.
  • Diode 1N4148 (2 pcs).
  • Button.
  • 2 sockets for 6.1 mm jack.
  • Crown and crown connector.

All this can be bought at your nearest radio electronics store. You can also use tweezers and a third hand for soldering for convenience.

Circuit assembly


DIY Guitar Distortion Pedal

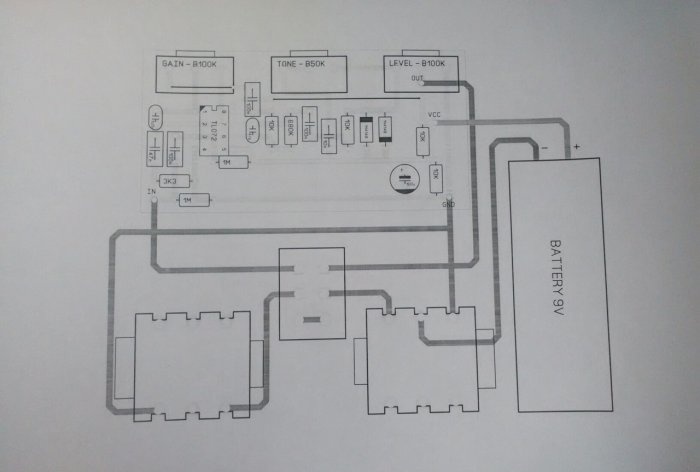
I found a diagram for this project on the Internet.
DIY Guitar Distortion Pedal

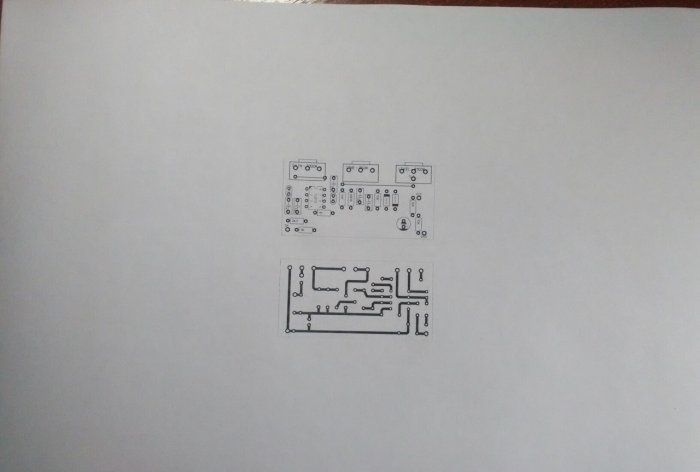
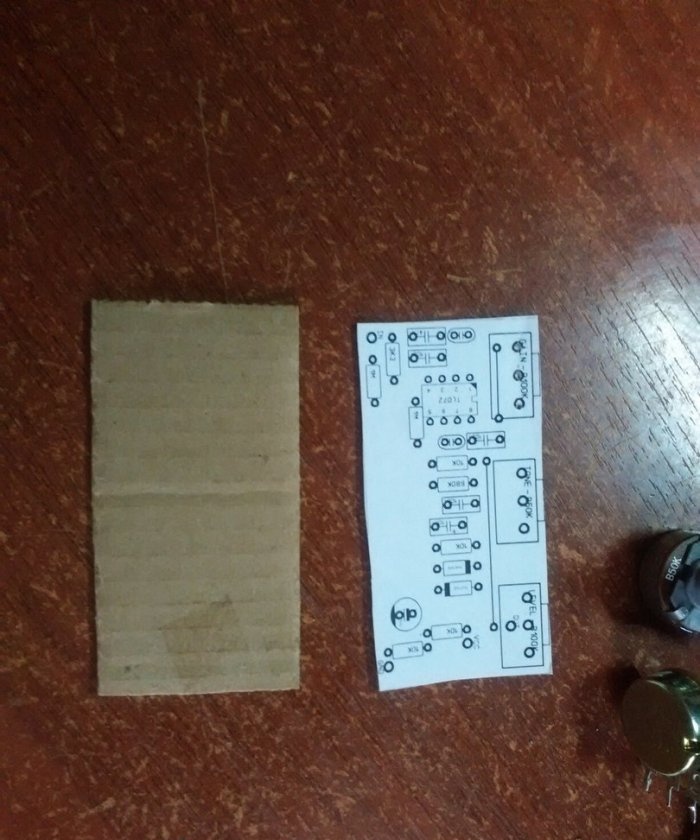
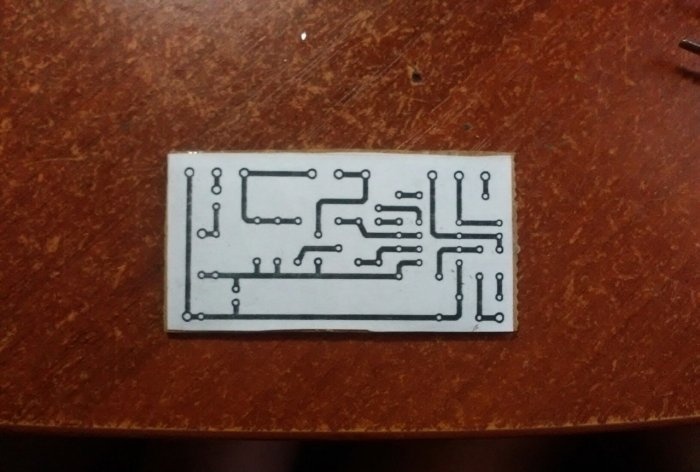
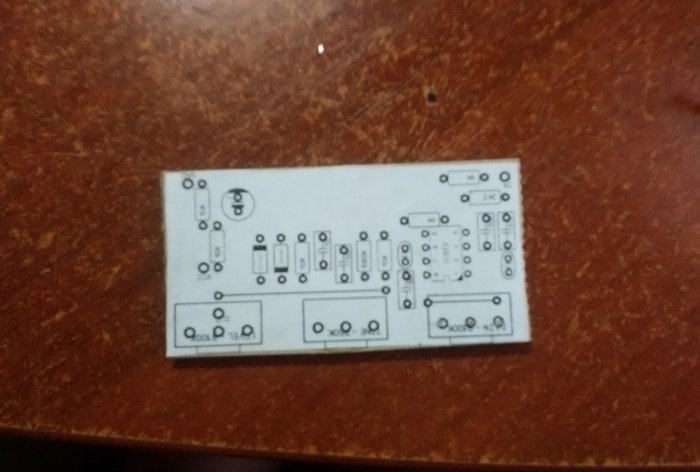
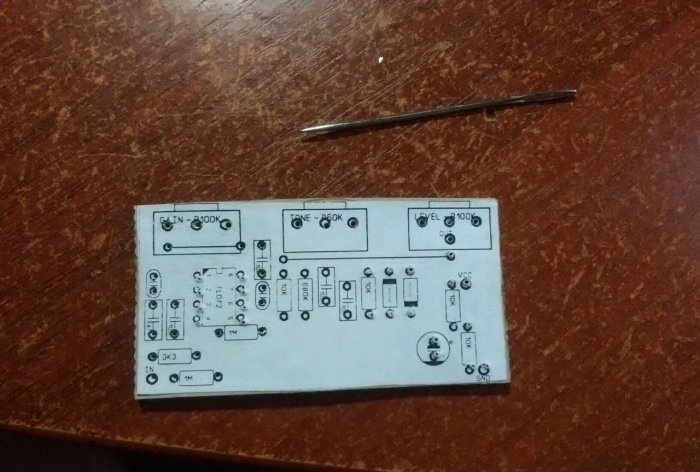
But we won’t do it on the board, since it will have to be manufactured first, and not everyone knows how to etch printed circuit boards. This pedal will be as simple as possible. We will assemble it on 66*33 mm cardboard, which will serve as the main board. The result will be something between a printed circuit board and a surface-mounted installation. Glue the project layout onto the cardboard using PVA.Before this, the layout must be printed in real size (as in the photo).
DIY Guitar Distortion Pedal

DIY Guitar Distortion Pedal

DIY Guitar Distortion Pedal

DIY Guitar Distortion Pedal

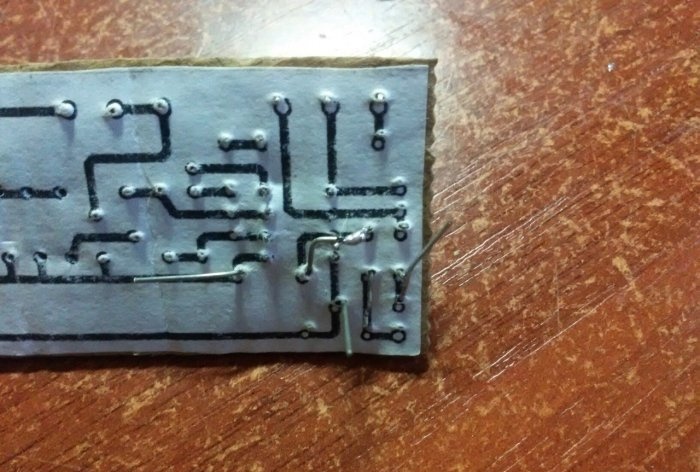
Next, using a sewing needle, I made holes in the cardboard for the feet of the radio components.
DIY Guitar Distortion Pedal

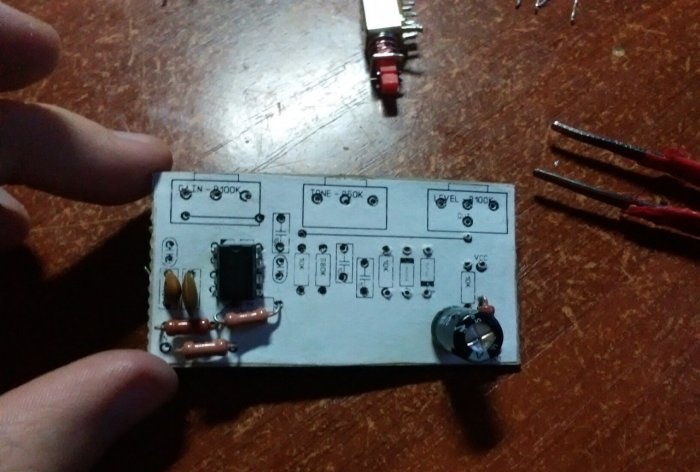
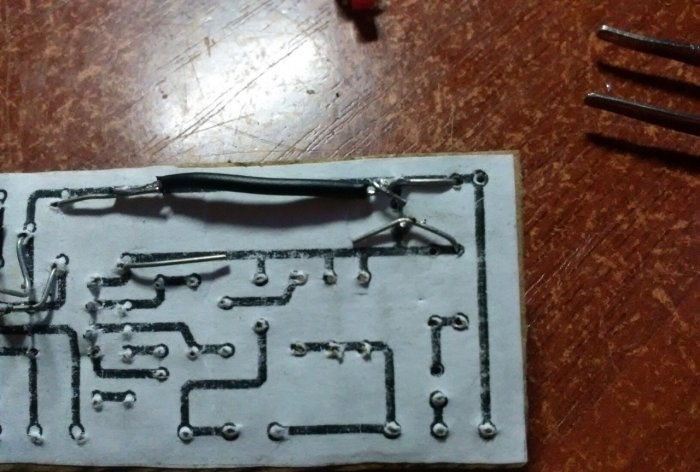
Under no circumstances should you cut off the legs of the parts; they will act as tracks. Now we insert the parts into their places, and solder the tracks on the back side. We won’t talk too much about this, everything is intuitive.
DIY Guitar Distortion Pedal

DIY Guitar Distortion Pedal

In some places they will not be long enough, so use wires. Like here:
DIY Guitar Distortion Pedal

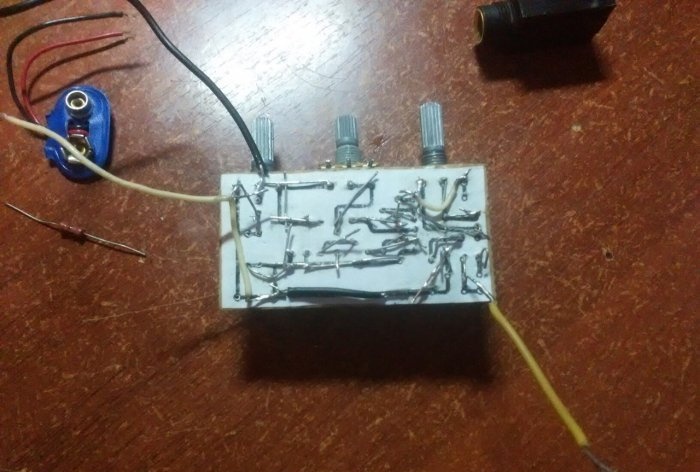
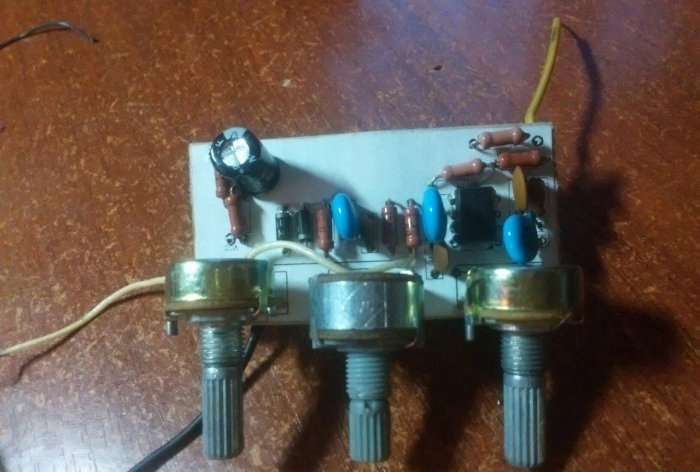
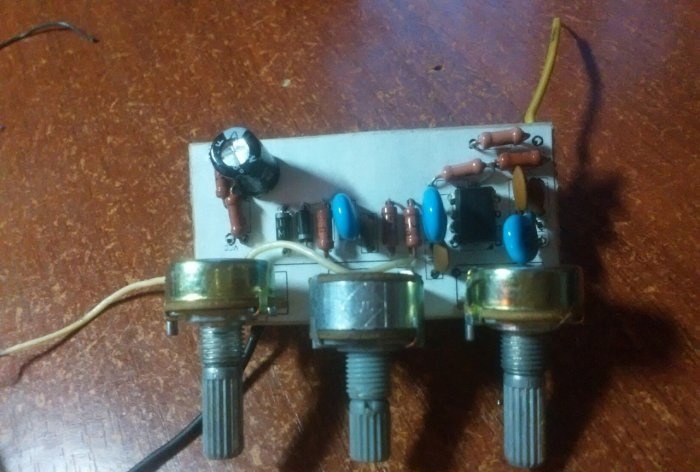
When everything is ready, the board will look like this:
DIY Guitar Distortion Pedal

DIY Guitar Distortion Pedal

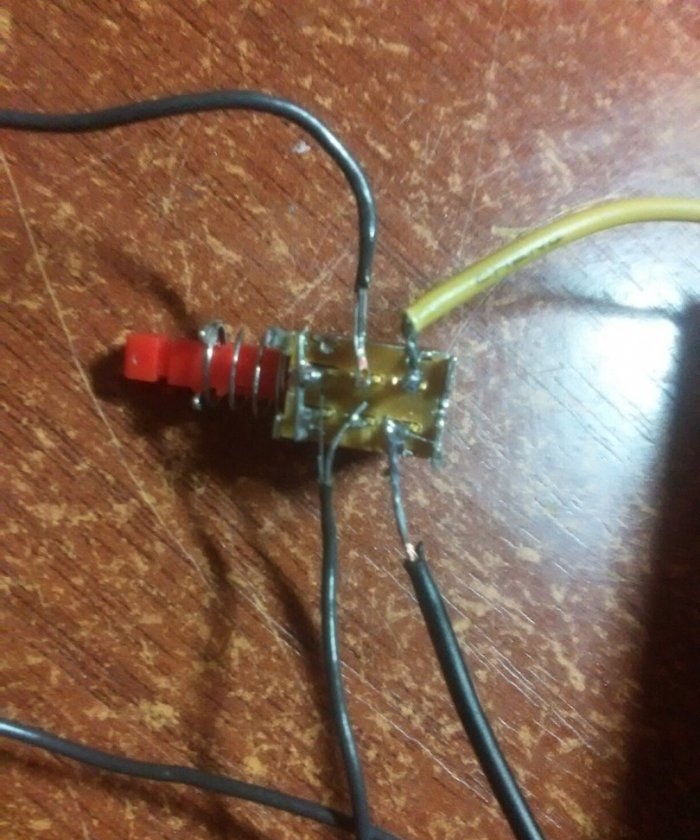
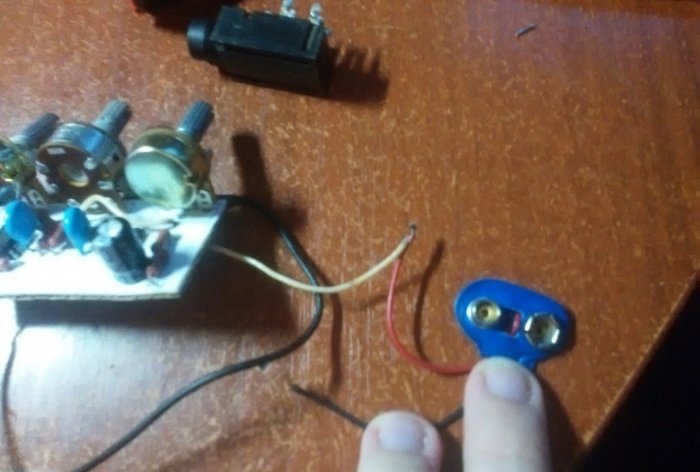
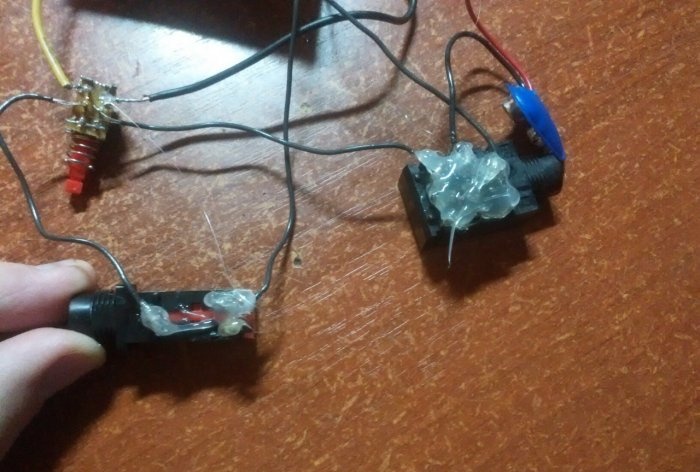
Now, according to the diagram that I gave earlier, we solder the button, the connector for the crown battery and the jack sockets.
DIY Guitar Distortion Pedal

DIY Guitar Distortion Pedal

I sealed the places where short circuits are possible with hot glue.
DIY Guitar Distortion Pedal

At this point, the production of the circuit itself is completed.

Frame


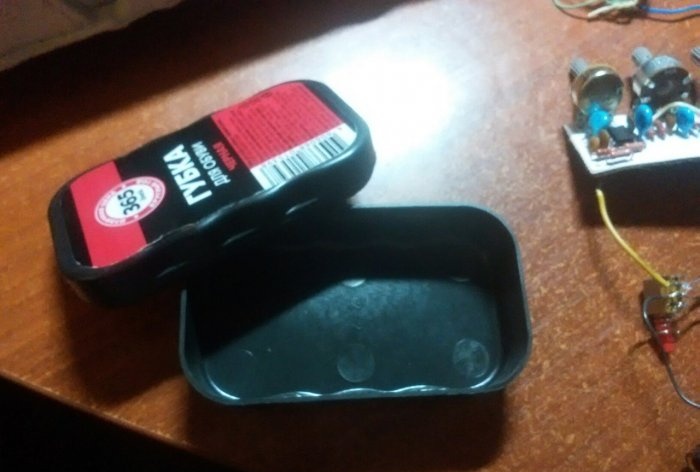
After a short test, it became clear that the pedal was working. Now we will make a body for it. Made from a shoe sponge box. A collective farm, of course, but the pedal was originally made “cheap and cheerful.”
DIY Guitar Distortion Pedal

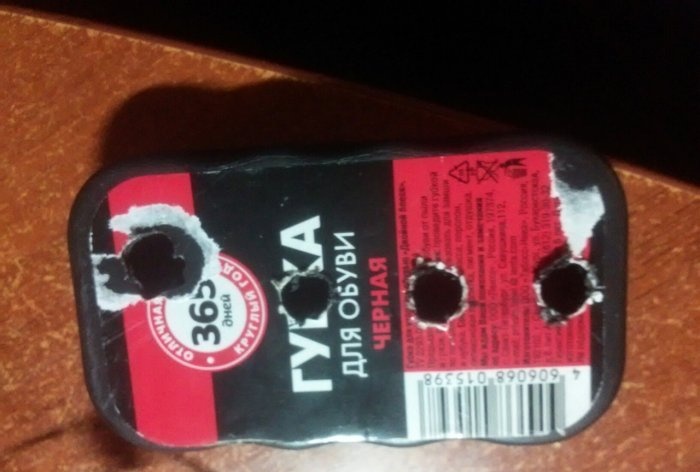
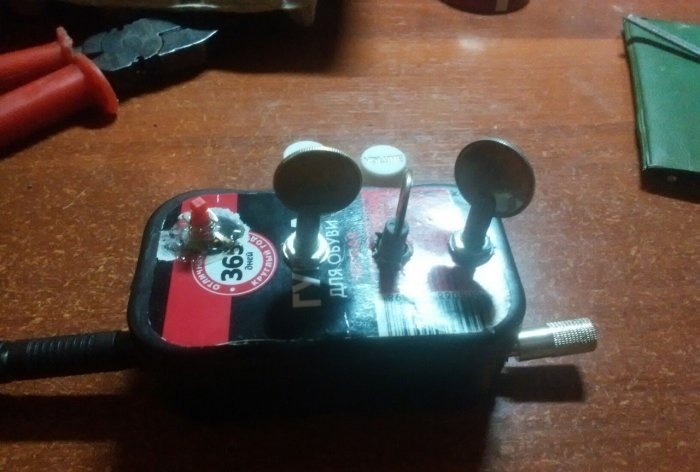
Holes for potentiometers and buttons are made in the cover. On the sides for jacks. The box turned out to be too small. And with the crown it was already barely closing, so I had to tape the lid with electrical tape.
DIY Guitar Distortion Pedal

I found a couple of handles for the twisters, but they didn’t fit here. So I used change to turn the gain, tone, and level knobs. This completes the manufacturing of the Distortion guitar pedal. The project is quite simple, but the sound suits me.
DIY Guitar Distortion Pedal
come back
Comment
  • bowtiesmilelaughingblushsmileyrelaxed relaxedsmirk
    heart_eyeskissing_heartkissing_closed_eyesflushedrelievedsatisfiedgrin
    winkstuck_out_tongue_winking_eyestuck_out_tongue_closed_eyesgrinningkissingstuck_out_tonguesleeping
    worriedfrowninganguishedopen_mouthgrimacingconfusedhushed
    expressionlessunamusedsweat_smilesweatdisappointed_relievedwearypassive
    disappointedconfoundedfearfulcold_sweatperseverecrysob
    joyastonishedscreamtired_faceangryragetriumph
    sleepyyummasksunglassesdizzy_faceimpsmiling_imp
    neutral_faceno_mouthinnocent
3+three=
Comments (10)
  1. Guest Alex
    #1 Guest Alex Guests 28 March 2018 17:59
    0
    Can you give more details? And a clearer photo of the location of the elements. Thanks in advance
  2. GOST
    #2 GOST Guests 9 April 2018 22:58
    1
    Please add an electronic version of the board for printing.
  3. GOST
    #3 GOST Guests 9 April 2018 23:11
    2
    Layout
    Here is the same layout.
    1. Guest Alexander
      #4 Guest Alexander Guests 11 January 2019 14:20
      3
      I can’t see the denominations where and what is located
  4. Ivan
    #5 Ivan Guests 12 November 2018 10:47
    3
    Why is there no diagram?
  5. Alex1487
    #6 Alex1487 Guests 3 April 2019 17:55
    0
    what is the electrolyte value? (volt, nanophorate)
  6. Timofey
    #7 Timofey Guests 12 May 2019 14:15
    2

    All diagrams, etc. are in the description of the video. I hope it will help someone, because I was looking for 3-4 days.
    1. Anon
      #8 Anon Guests 29 June 2022 12:24
      0
      Thank you, man!
  7. prp
    #9 prp Guests 30 November 2019 21:56
    1
    It's not interesting without a diagram
  8. Vasya Pupkin
    #10 Vasya Pupkin Guests 14 July 2022 16:41
    0
    What kind of driver in the end? Electrolyte, and everything that is known about it

How to reliably repair side tire damage with your own hands

How to fix a leak by soldering a plastic pipeline with your own hands

Baked Hasselback Potatoes with Garlic and Thyme | Do it yourself

Easter paper basket | Do it yourself

«Do it yourself - with your own hands» - a site of interesting homemade products made from scrap materials and items at home. Step-by-step master classes with photos and descriptions, technologies, life hacks - everything a real master or just a craftsman needs for needlework. Crafts of any complexity, a large selection of directions and ideas for creativity.

We recommend reading

Washing machine error codes