Do it yourself
Life hacks, master classes, useful tips, recipes.
home » Electronics » Simple circuits » Scheme of a simple metal detector
Diagram of a simple metal detector
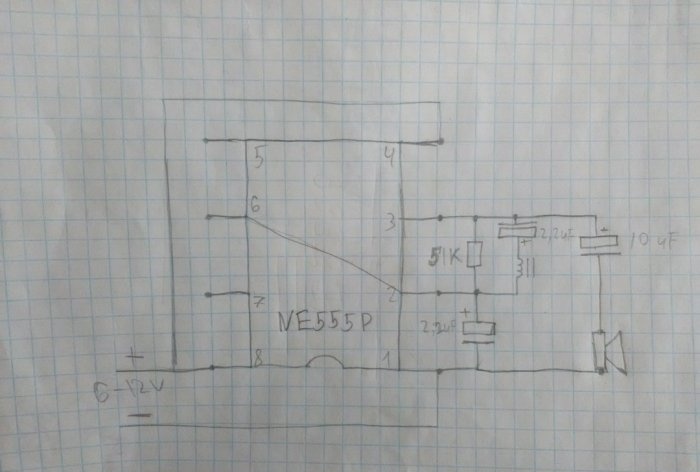
Hello friends, today we’ll talk about a homemade metal detector. First, I found a circuit on the Internet based on the NE555P timer chip, but it seemed too complicated to me for those who do not understand the symbols on radio circuits, and it was also difficult to display it on the board. Therefore, I slightly redesigned the circuit, and we will assemble it as something between a board and a surface-mounted installation. Here is the diagram itself:
Diagram of a simple do-it-yourself metal detector

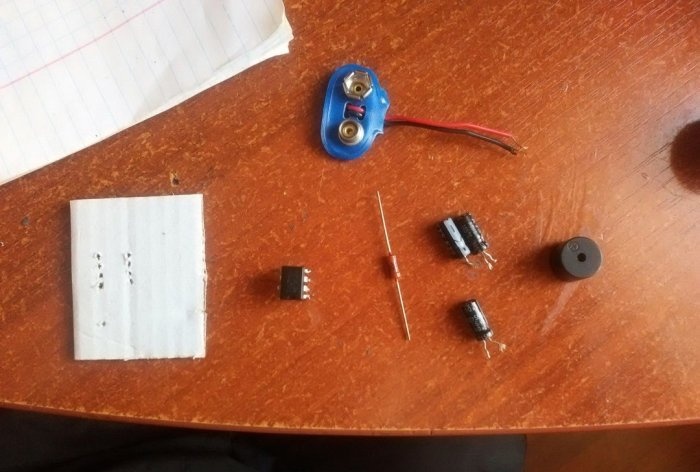
We will need


  • Chip NE555P.
  • Resistor 51 kOhm.
  • Capacitor 2.2 uF (2 pieces).
  • Capacitor 10 µF.
  • Buzzer.
  • Krona type battery and connector for it.
  • Copper wire 0.2 mm.
  • Cardboard 1-2 mm thick.

Making a simple metal detector


Diagram of a simple do-it-yourself metal detector

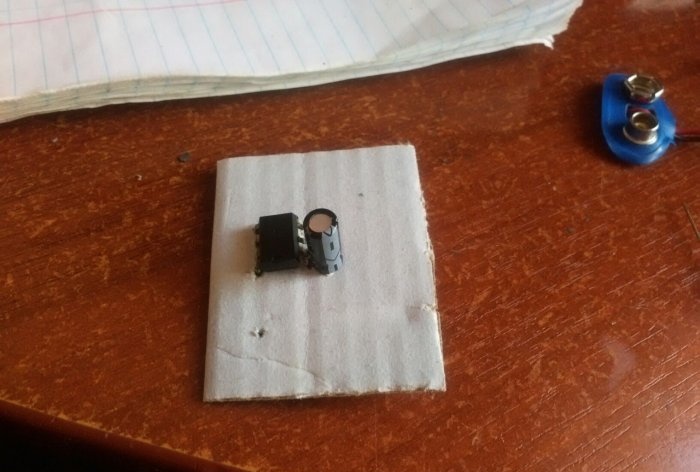
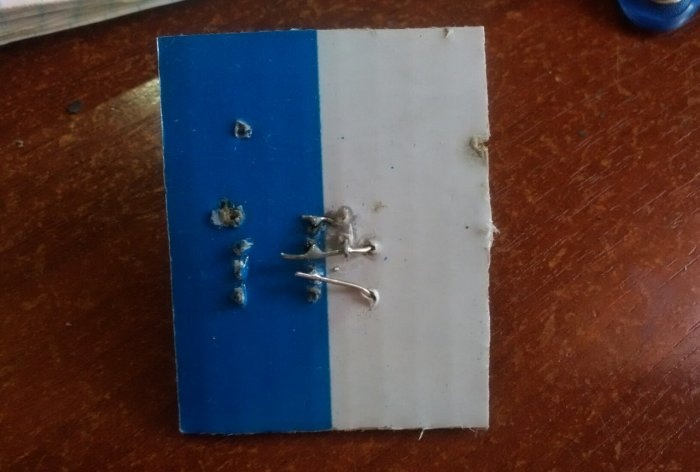
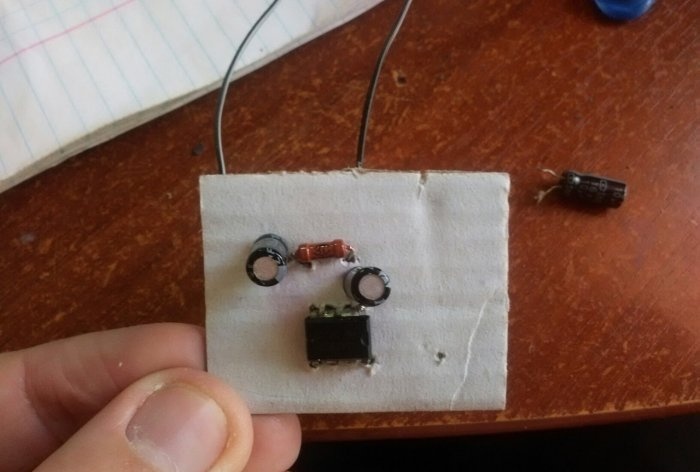
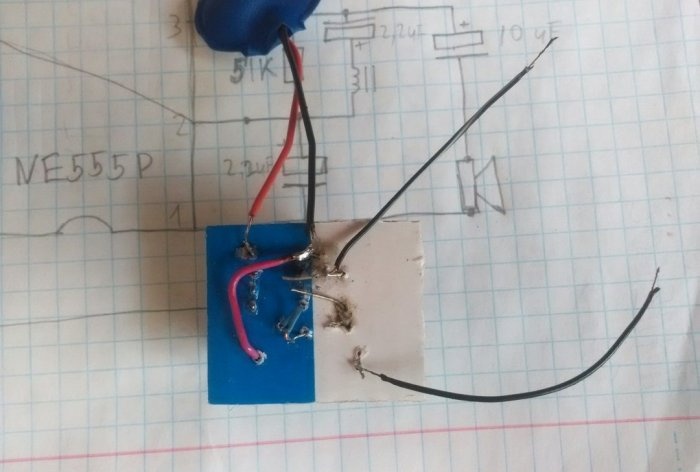
We will assemble the diagram on a piece of cardboard. In it, for each part, I made holes with a needle, since the legs of the radio components themselves are too thin. First, insert the microcircuit. Now we solder the negative leg of the 2.2 µF capacitor to the very first leg.
Diagram of a simple do-it-yourself metal detector

Now we insert the resistor. We solder one leg to the second leg of the microcircuit and the plus of the capacitor. We solder the second leg to the third leg of the microcircuit.
Diagram of a simple do-it-yourself metal detector

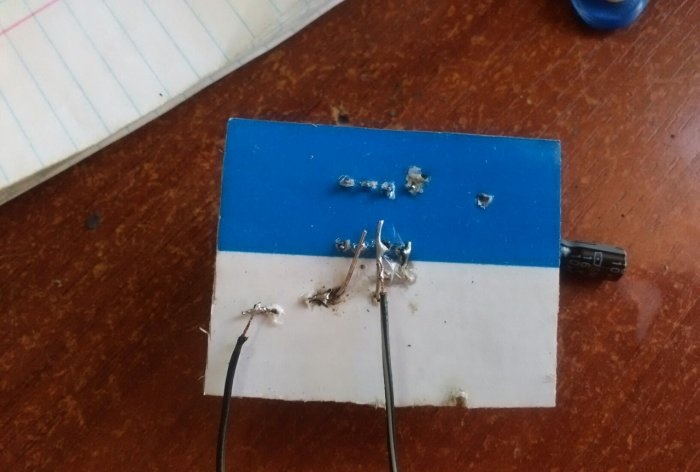
Now we insert a 2.2 µF capacitor.We also solder the negative leg to the third leg of the microcircuit. The positive one will go to the coil later, we will make it later. I soldered one wire to this leg. We also solder one wire to the second leg.
Diagram of a simple do-it-yourself metal detector

Diagram of a simple do-it-yourself metal detector

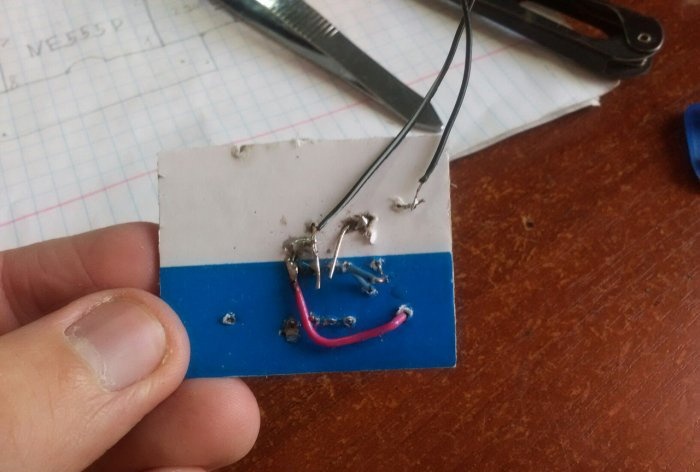
To the negative leg of the 2.2 µF capacitor we solder the positive leg of the 10 µF capacitor. The buzzer leg must be connected to the negative one. We connect the remaining buzzer leg to the first leg of the microcircuit. To connect the buzzer, I use blue and pink wires in the diagram.
Diagram of a simple do-it-yourself metal detector

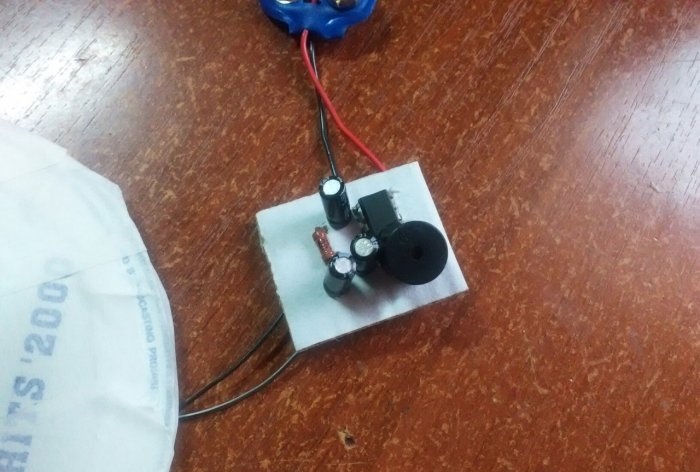
Now all that remains is to short-circuit the second and sixth legs of the microcircuit. And also the fourth and eighth, to the eighth we solder the positive wire from the connector for the crown. We solder the negative wire from the connector to the first leg of the microcircuit.
The scheme itself is ready.
Diagram of a simple do-it-yourself metal detector

Diagram of a simple do-it-yourself metal detector

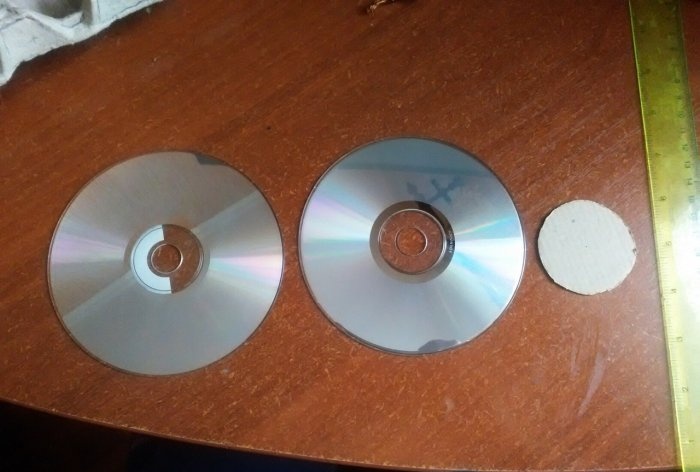
Now let's make a coil. It will require two CDs or DWD disks. Cut a circle with a diameter of 50 mm from cardboard.
Diagram of a simple do-it-yourself metal detector

Now we glue this circle between the disks. At first I tried using superglue, but it didn't stick to anything. Therefore, the gluing areas on the disks had to be scraped to make the surface rough, and instead of superglue I used hot glue. Now we begin to wind the wire onto the cardboard. You need to wind 315 turns. After winding, solder the ends of the coil to the two wires that were brought out before (I have them black). This completes the production of the metal detector. All that's left to do is make a handle for it.
The board turned out to be very compact and, even together with the crown, will fit into almost any case. You can take a thick PVC pipe, cut one end at 45 degrees, and glue a coil to it. And place the diagram and crown in the pipe itself. As soon as you insert the battery, the buzzer will start beeping, and when the coil is above the metal, the buzzer will start beeping differently, I think you will immediately understand.
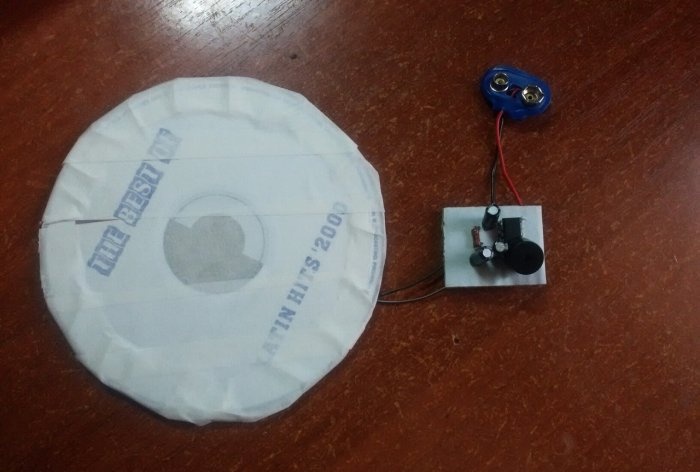
Diagram of a simple do-it-yourself metal detector
come back
Comment
  • bowtiesmilelaughingblushsmileyrelaxed relaxedsmirk
    heart_eyeskissing_heartkissing_closed_eyesflushedrelievedsatisfiedgrin
    winkstuck_out_tongue_winking_eyestuck_out_tongue_closed_eyesgrinningkissingstuck_out_tonguesleeping
    worriedfrowninganguishedopen_mouthgrimacingconfusedhushed
    expressionlessunamusedsweat_smilesweatdisappointed_relievedwearypassive
    disappointedconfoundedfearfulcold_sweatperseverecrysob
    joyastonishedscreamtired_faceangryragetriumph
    sleepyyummasksunglassesdizzy_faceimpsmiling_imp
    neutral_faceno_mouthinnocent
4 minus one =
Comments (10)
  1. Ilnur
    #1 Ilnur Guests 5 April 2018 16:36
    7
    And on what cardboard and how are 315 turns wound?
  2. A. Bekzhan
    #2 A. Bekzhan Guests 7 April 2018 13:29
    4
    Can I have a video of all this and the test?
  3. Fedya
    #3 Fedya Guests April 19, 2018 20:00
    5
    Well, you are our knee-jerk inventor
    wind a coil on yourself
    1. Guest Evgeniy
      #4 Guest Evgeniy Guests June 27, 2018 05:49
      1
      Well, you're a true Fedya! You've probably already reeled it in, you're a fan of reeling.
  4. Guest Alexander
    #5 Guest Alexander Guests 17 June 2018 09:08
    5
    radius (depth) of action?
  5. Zhas
    #6 Zhas Guests 29 April 2019 20:46
    2
    You can use the NE555N MICRO circuit
  6. Michael
    #7 Michael Guests 1 February 2020 22:29
    4
    Can you video and winding diameter?
  7. Basil
    #8 Basil Guests 26 May 2021 13:48
    2
    Where is the diagram and data on the coil - wire, number of turns and coil diameter?
  8. 88Andriy88
    #9 88Andriy88 Guests 8 October 2021 18:53
    2
    I assembled it, at first it clicked, then the microcircuit exploded and everything flew into my eyes, thanks to the author for staying alive and not going blind👌👍
  9. Danil
    #10 Danil Guests 4 May 2023 10:11
    2
    How long does the buzzer last?

Useful and interesting | Page 66 | Do it yourself

How to make a pump-washer for a screwdriver with your own hands

How to improve the clamping of the wiper arm

Why do carrots crack or grow “horned”, small and unsweetened?

«Do it yourself - with your own hands» - a site of interesting homemade products made from scrap materials and items at home. Step-by-step master classes with photos and descriptions, technologies, life hacks - everything a real master or just a craftsman needs for needlework. Crafts of any complexity, a large selection of directions and ideas for creativity.

We recommend reading

Washing machine error codes