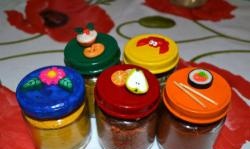
Each thing has its own purpose. Therefore, you need to store things carefully and carefully. Thus, it is convenient to keep cosmetic brushes and pencils in a separate place. You can use various cosmetic bags and jars as storage, but special organizers are best. Such organizers are convenient not only for storing brushes and pencils, but also easy to use.
You can make your own organizer from scrap materials.
Materials
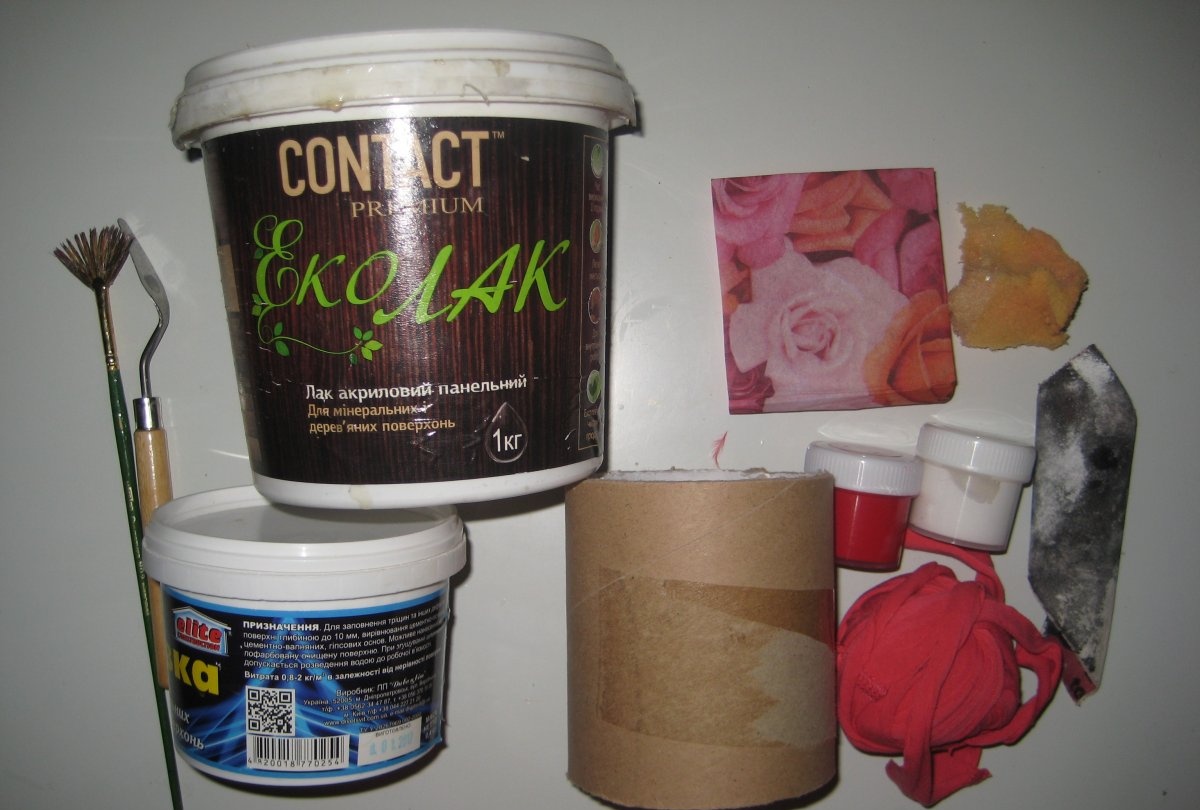
To work you will need:
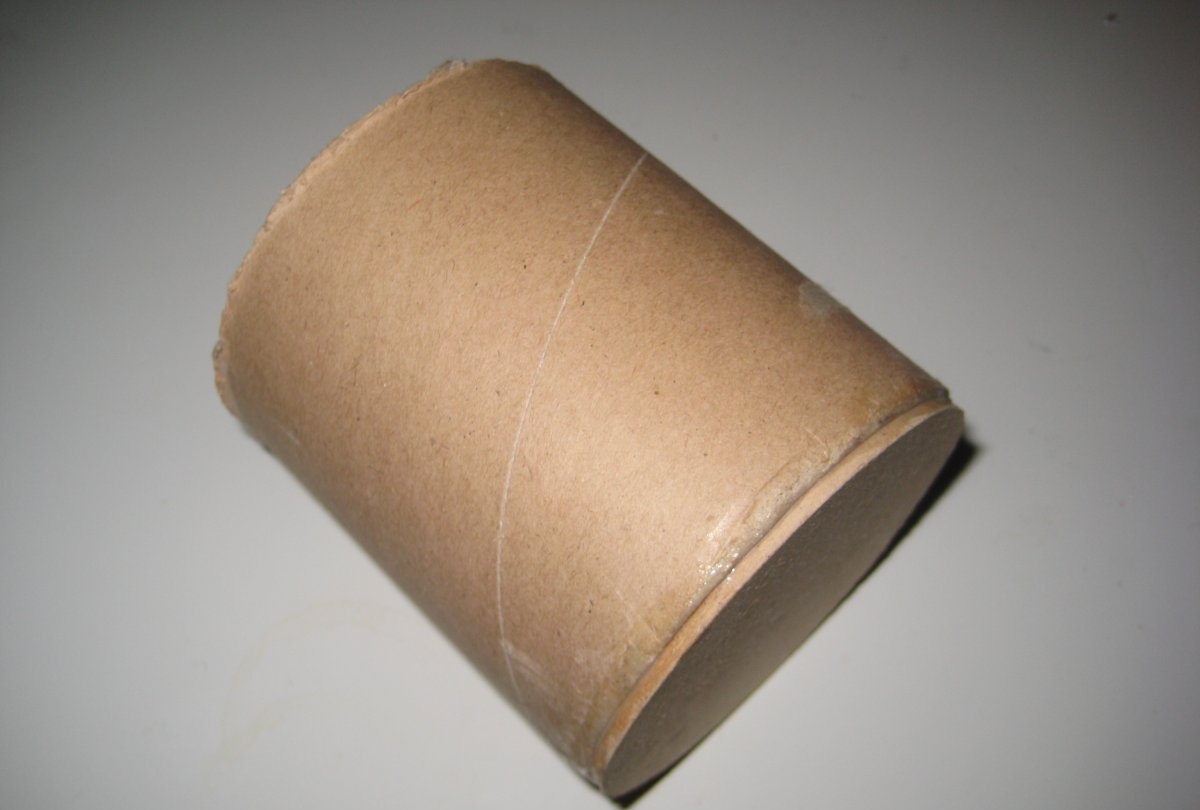
- Cardboard tube.
- Thick cardboard or plywood.
- Acrylic paints.
- Knitting yarn.
- PVA glue.
- Brushes, scissors, sponge.
- Sandpaper.
- Putty.
- Palette knife.
- Napkin for decoupage.
- File, water.
- Acrylic lacquer.
Organizer manufacturing process
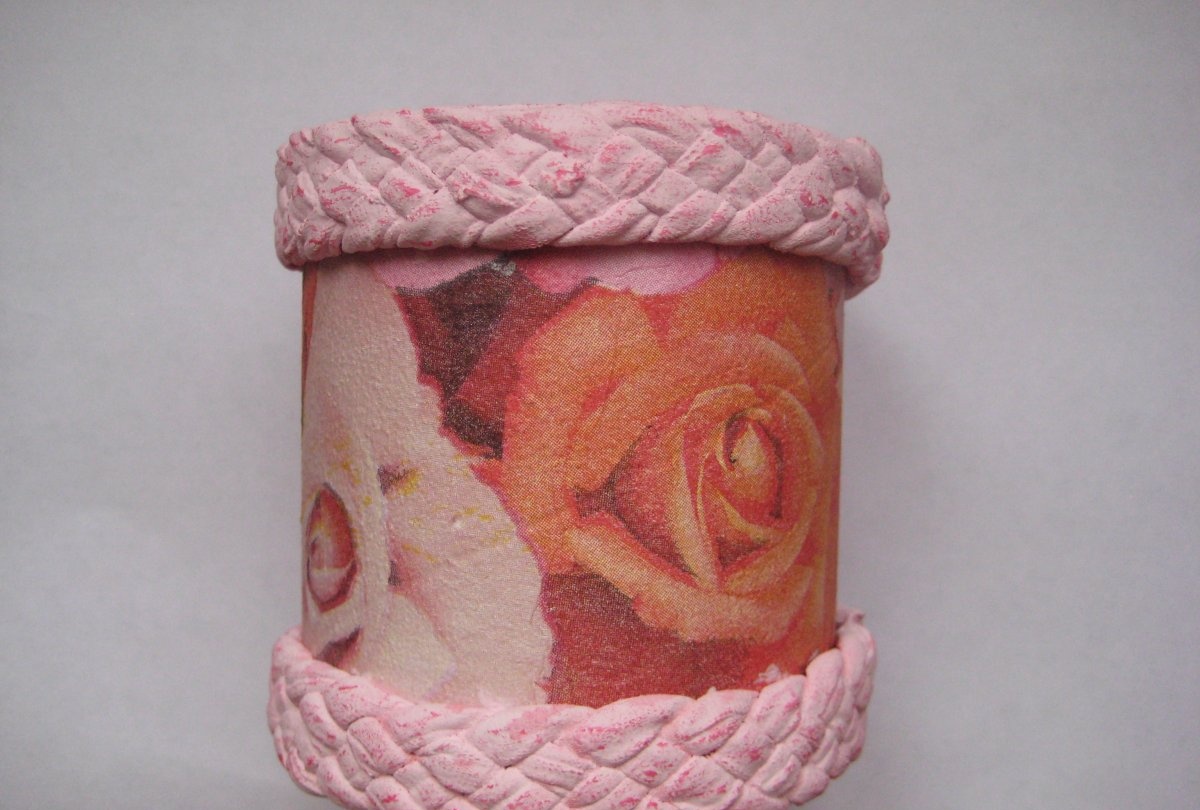
1. Cut the pipe to a height of 9.5 cm. Cut out a circle from cardboard or plywood with a diameter equal to the outside of the pipe. Using PVA glue, glue the cardboard circle to one side of the cylinder. We get a cylindrical organizer.
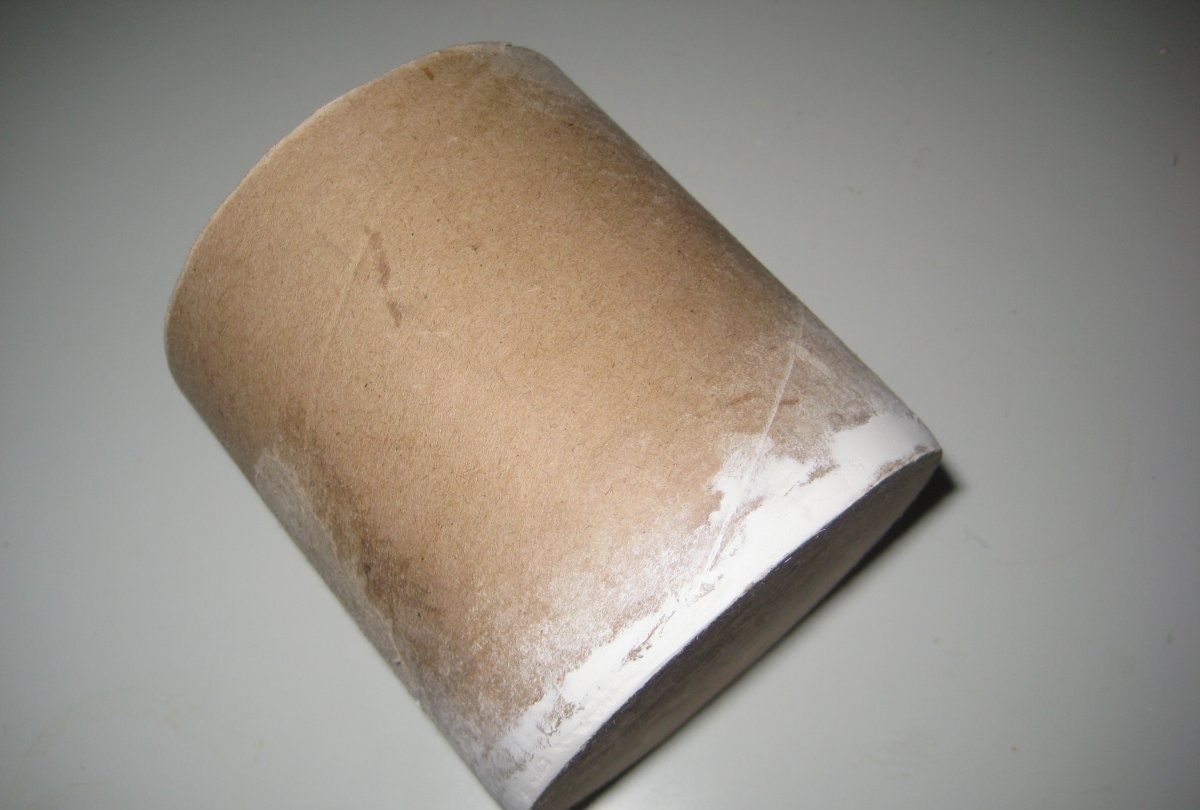
2. Using putty, close the junction of the cylinder and the bottom. When the putty dries, sand all the uneven areas.
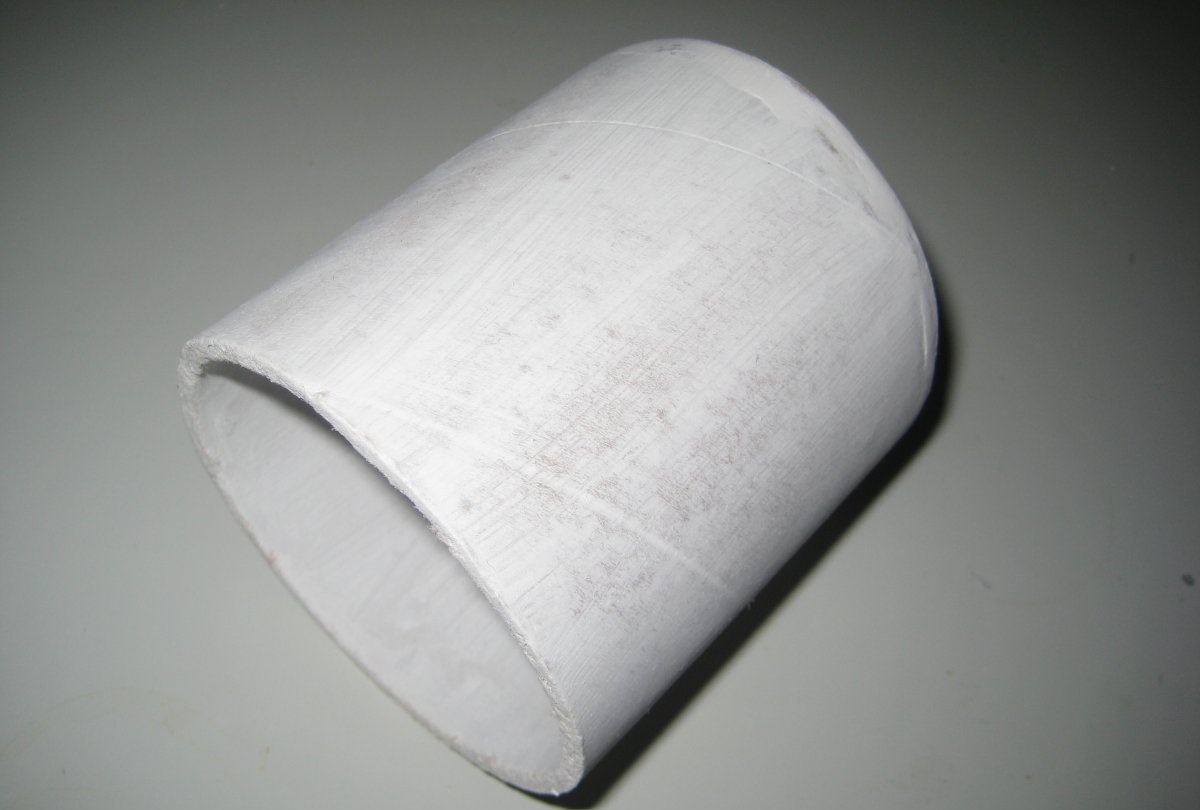
3. Prime the surface of the organizer both outside and inside with white acrylic paint. Apply the paint with a sponge. If necessary, prime in 2 layers.
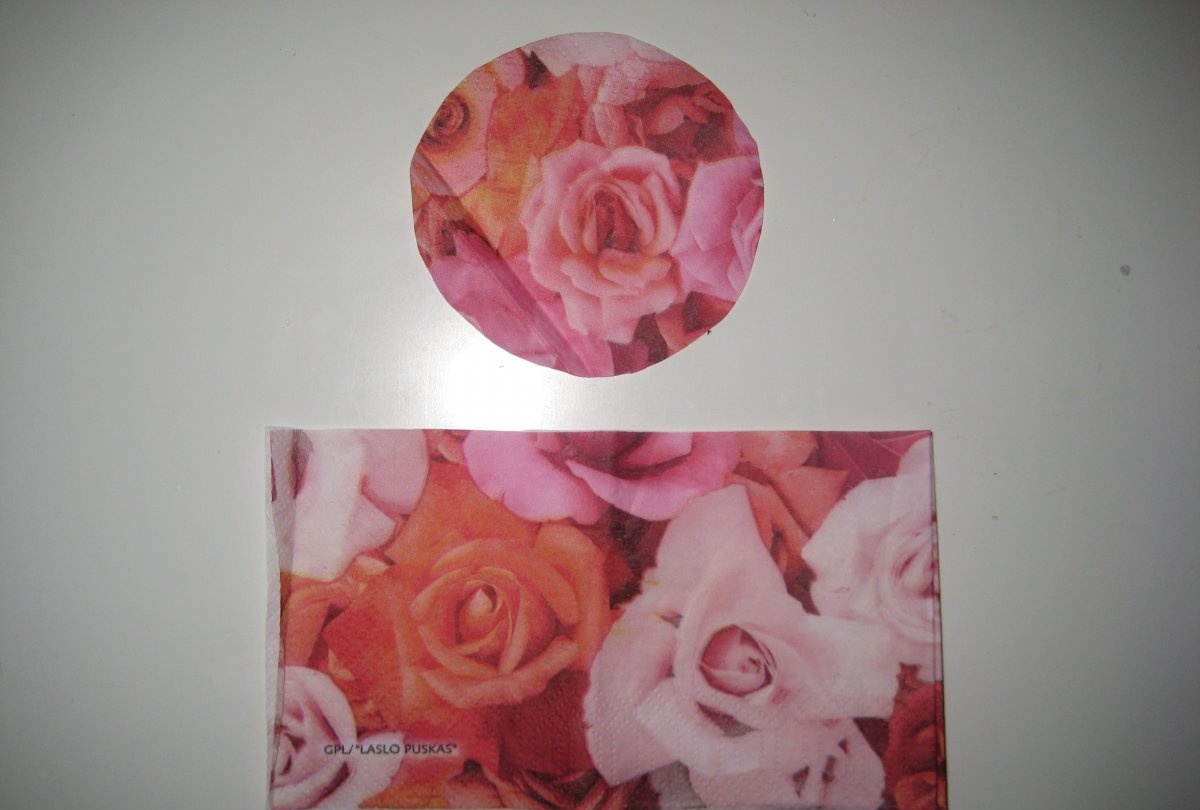
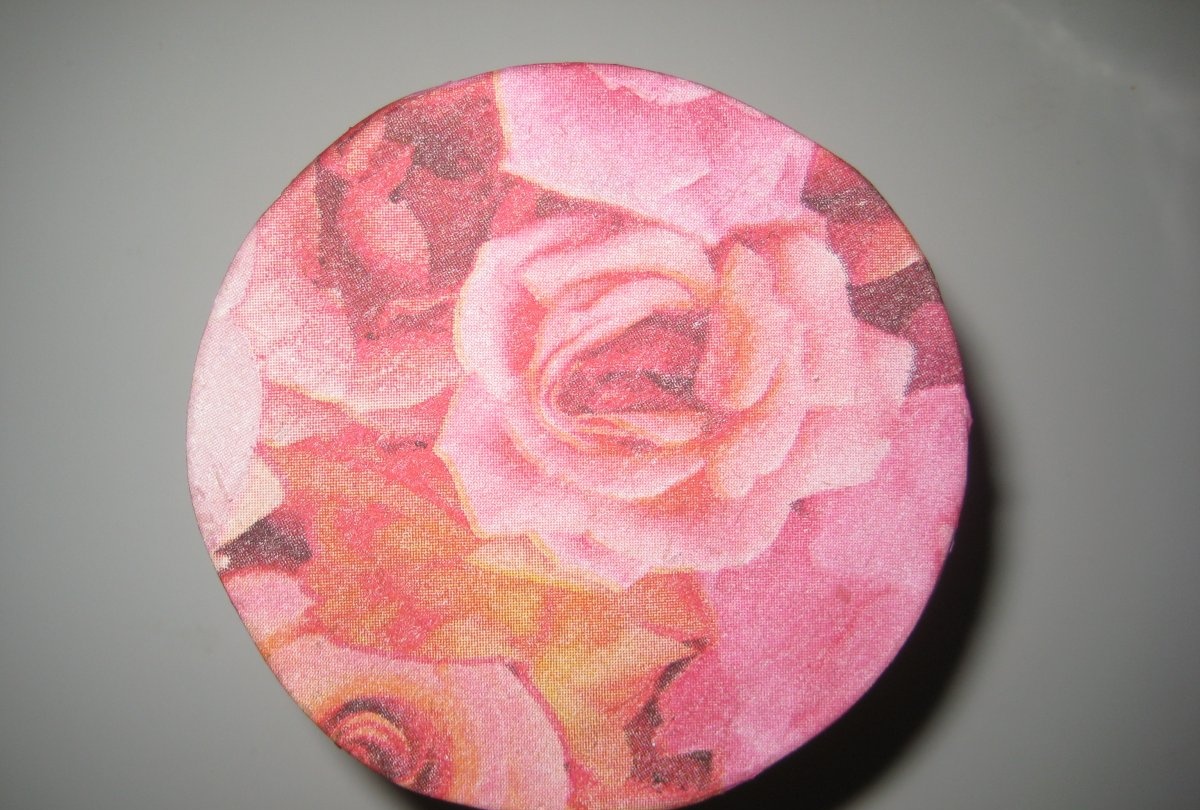
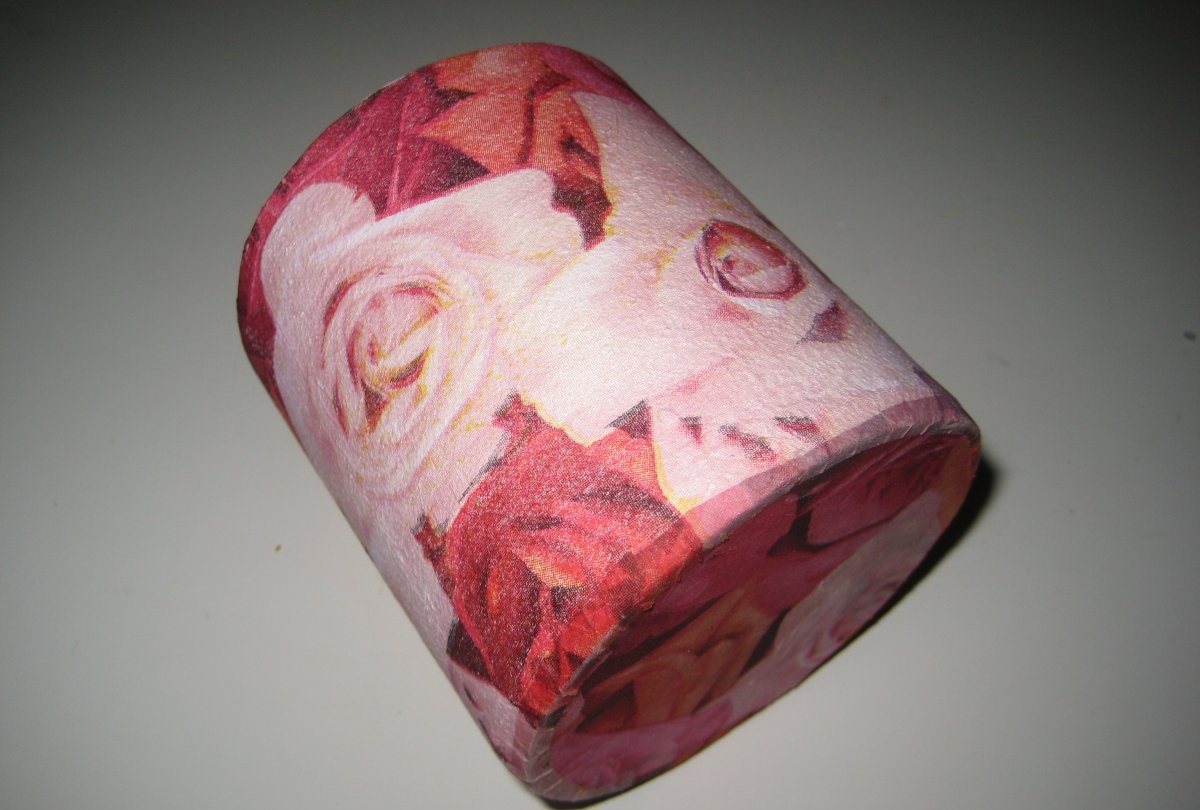
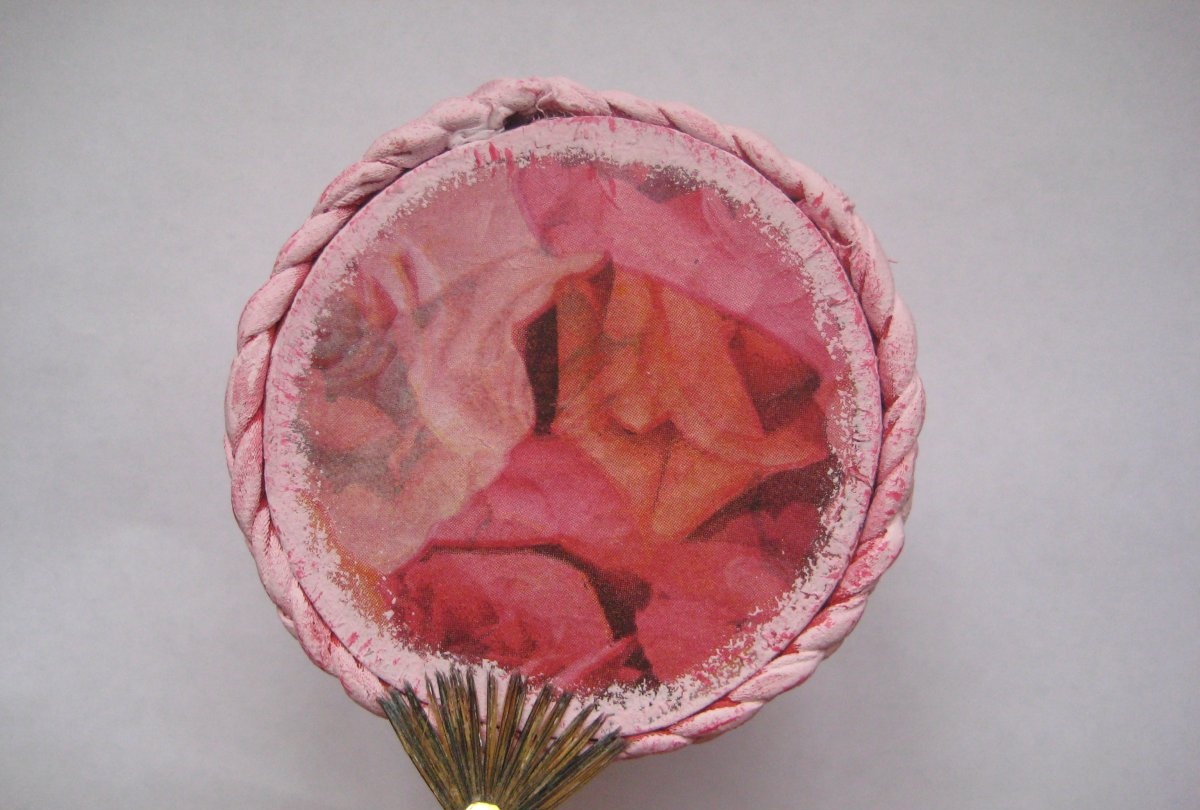
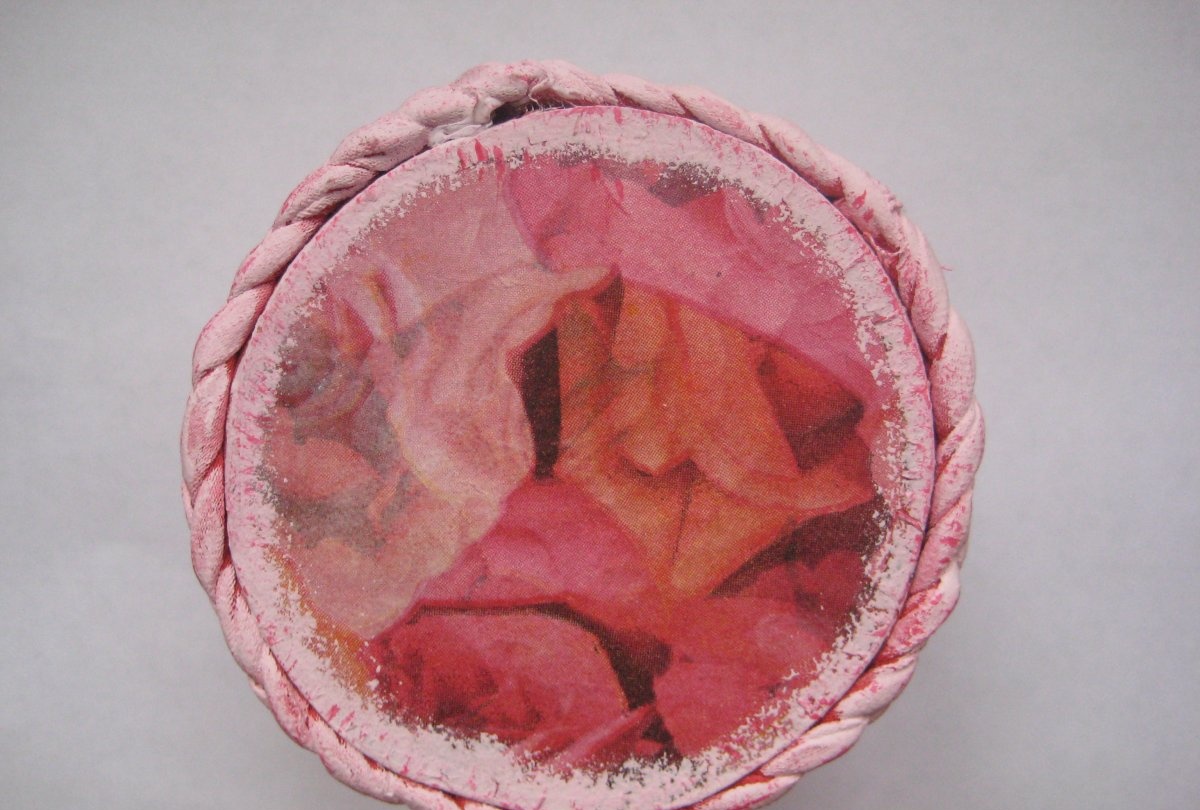
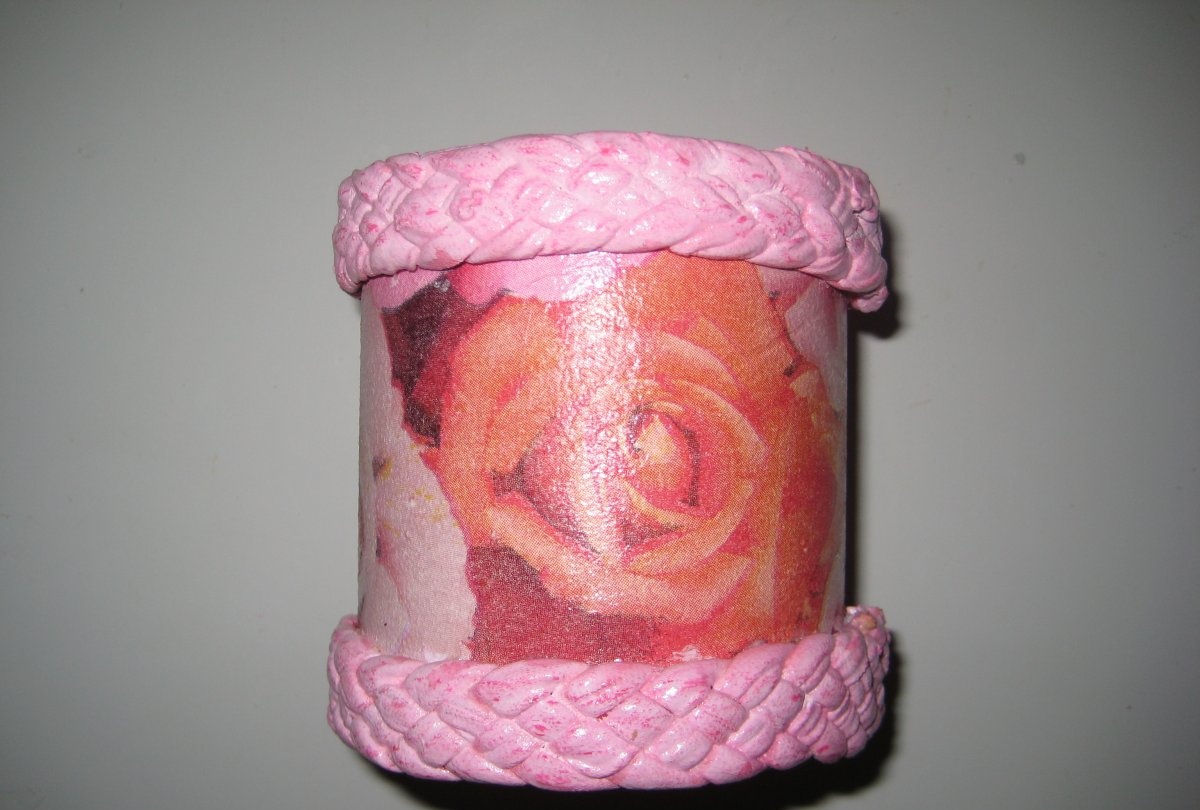
4. Let's start decorating the organizer. To do this we use a decoupage napkin. Cut out a rectangle from a napkin, the size of which will correspond to the size of the cylinder. We also cut out a circle that will decorate the bottom of the organizer.
5. Glue the napkin using the “file” method. To do this, place the napkin face down on the file, moisten it with water and carefully lay the design on the workpiece. We smooth the napkin and cover it with glue. First we glue the bottom of the organizer.
6. Then we glue the side of the cylinder.
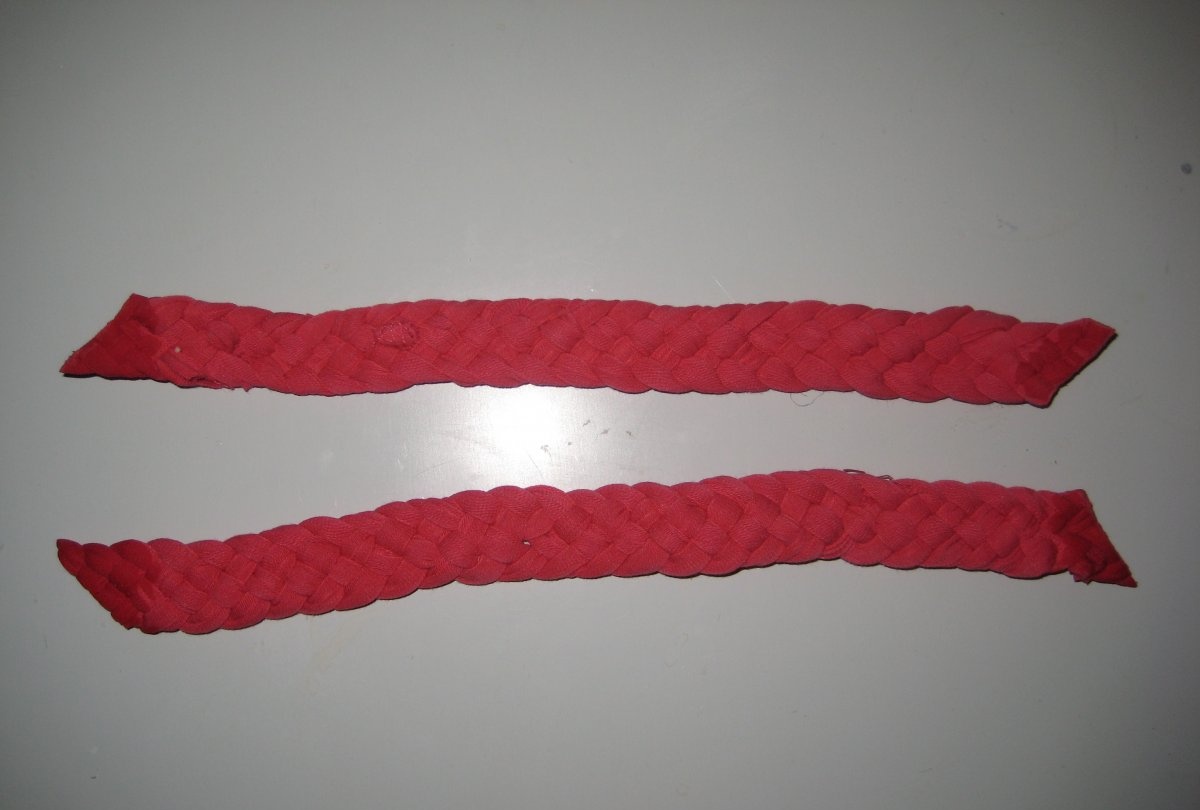
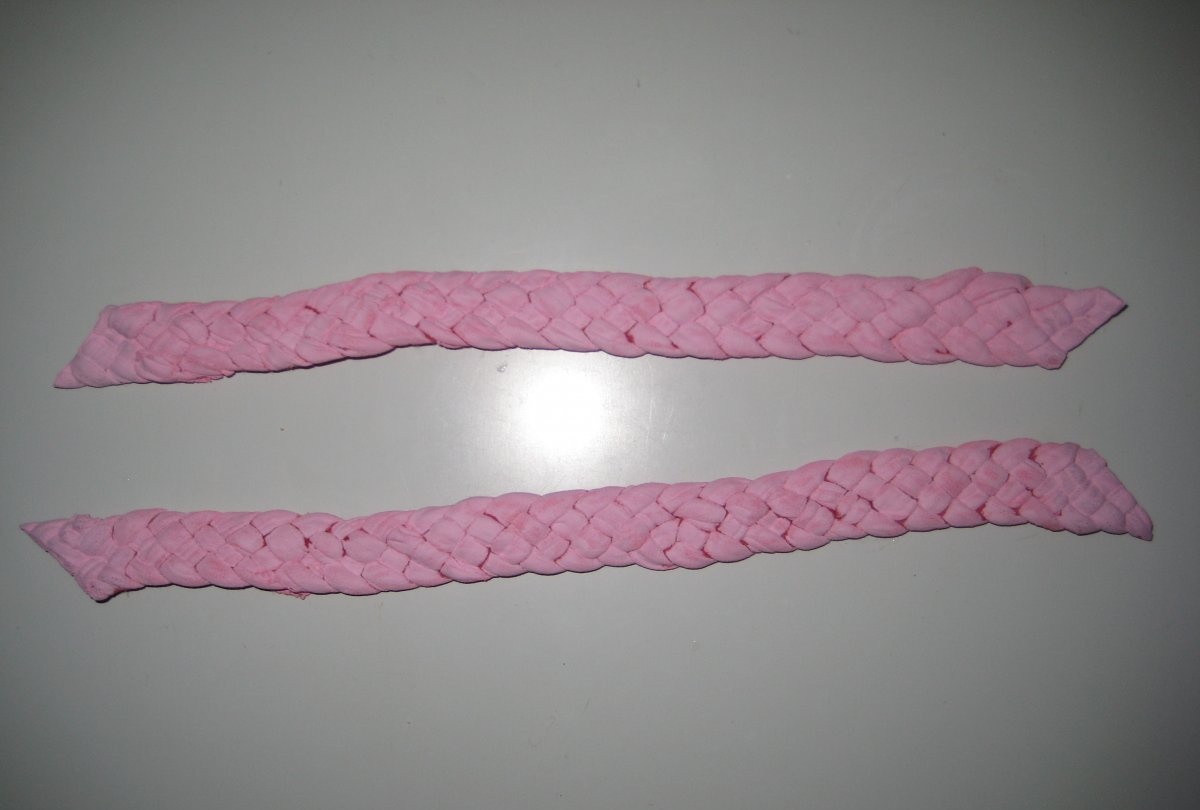
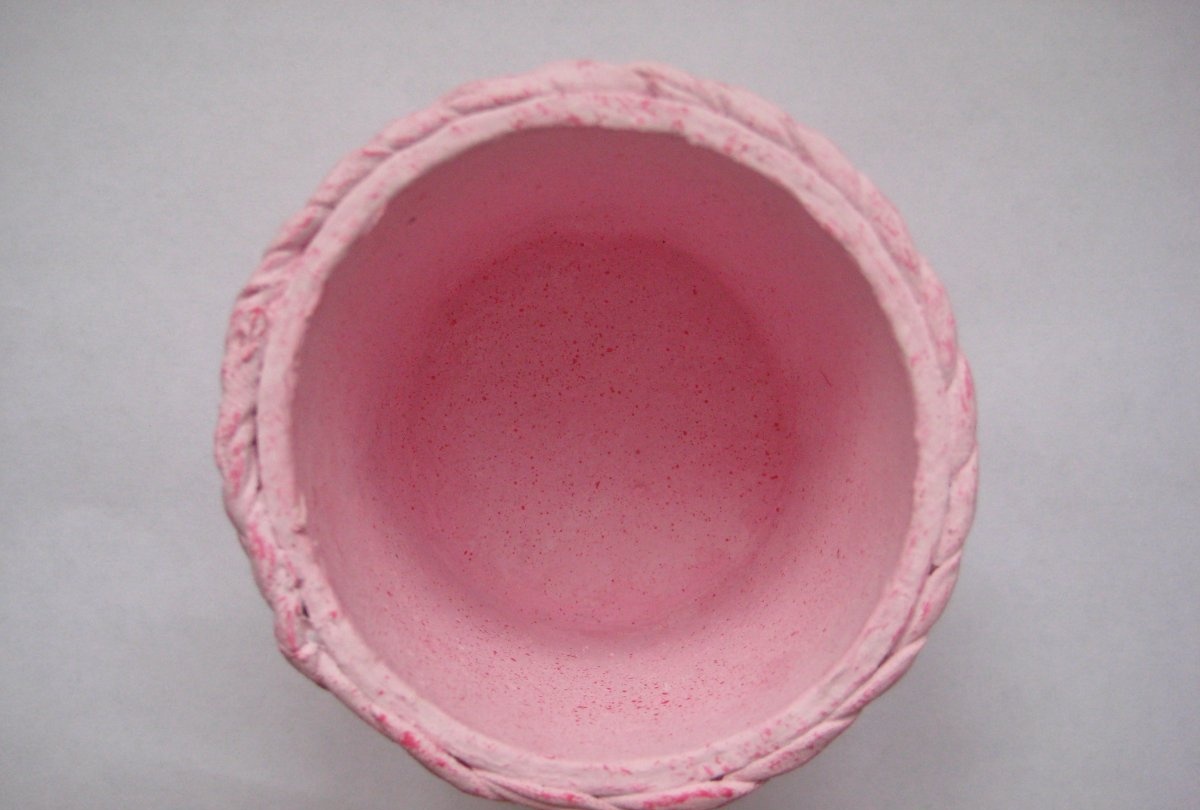
7. From knitted yarn we braid braids in 4 folds. The length of the braids should correspond to the circumference of the cylinder. We treat the edges of the braids with diluted glue and cut them at an angle.
8. Paint the braids with pink paint.
9. Glue the braids to the top and bottom of the organizer. If necessary, tint the gaps in the braids.

10. Using the “dry brush” method, paint the braids with red paint. Thus, we select the volume.
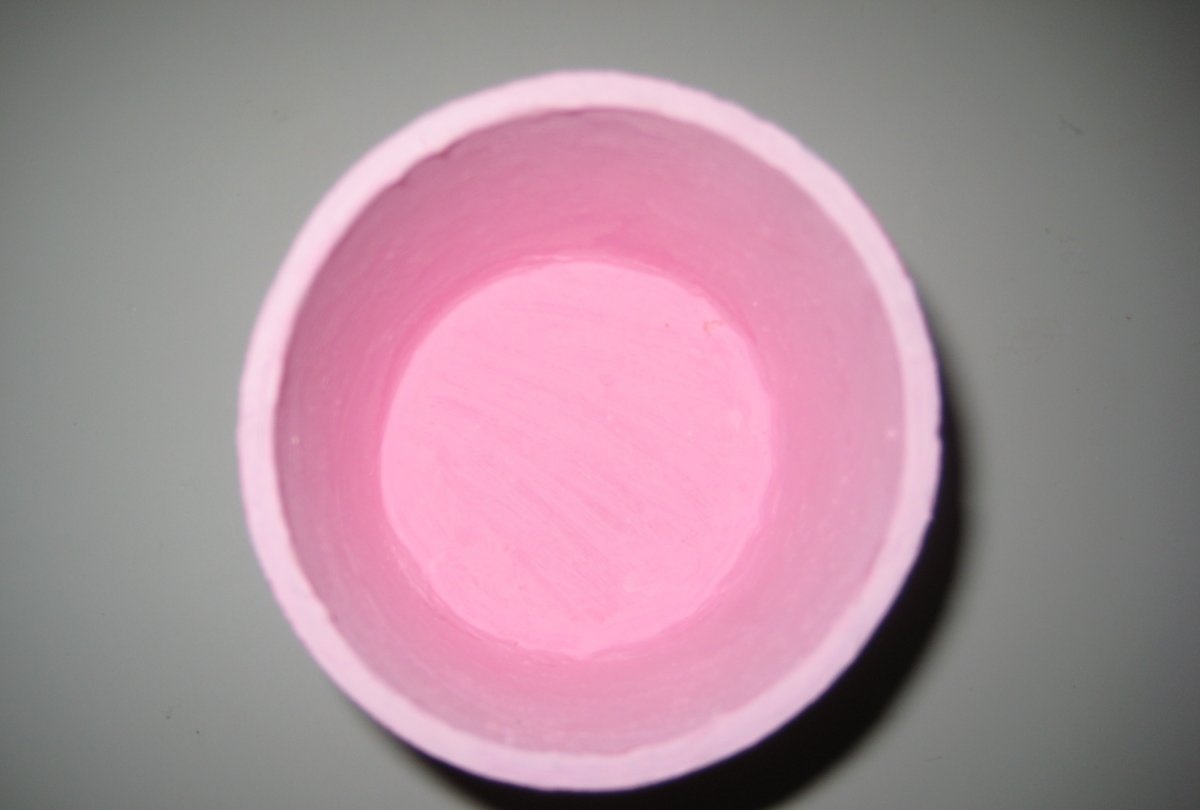
11. First highlight the bottom of the organizer with pink acrylic.
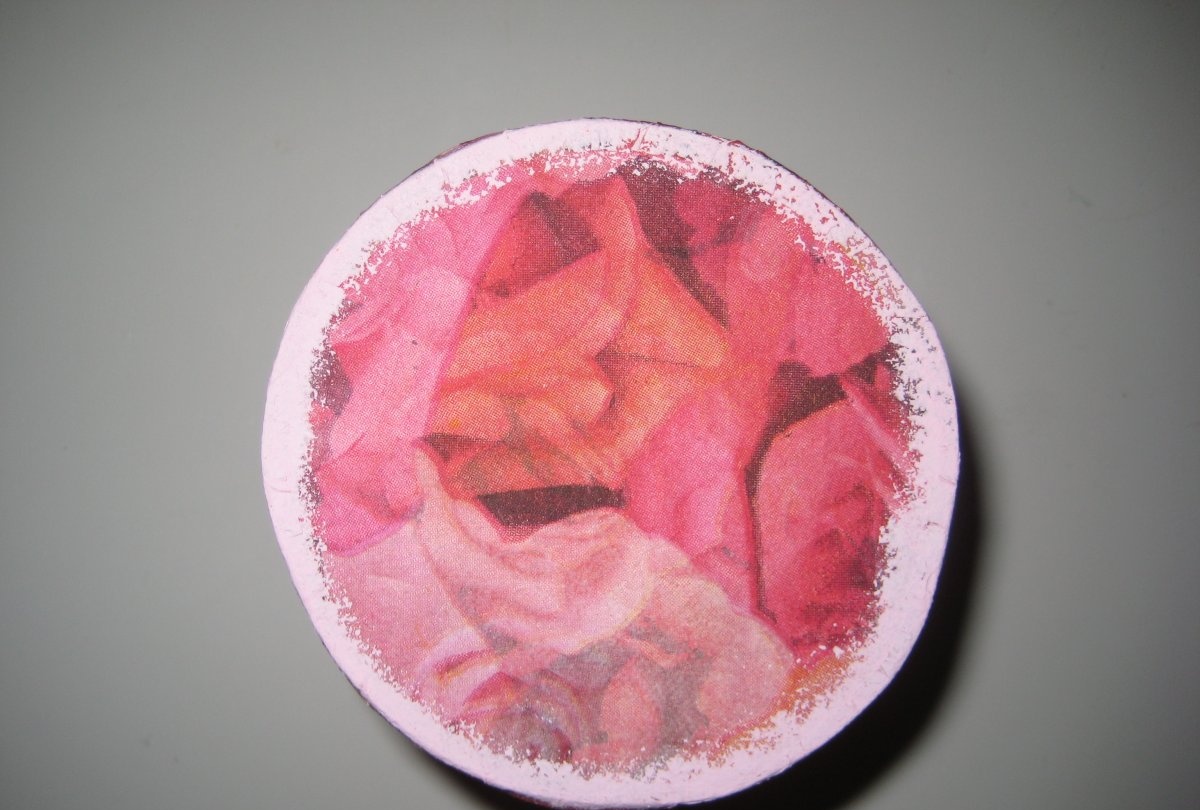
12. Then use a brush to make red strokes.
13. First paint the inside of the organizer with pink paint in 2 layers.
14. Then we spray with liquid red paint. To do this we use a toothbrush.
15. Finally, coat the product with acrylic varnish in 4 layers. Each layer of varnish must dry for at least 2 hours.
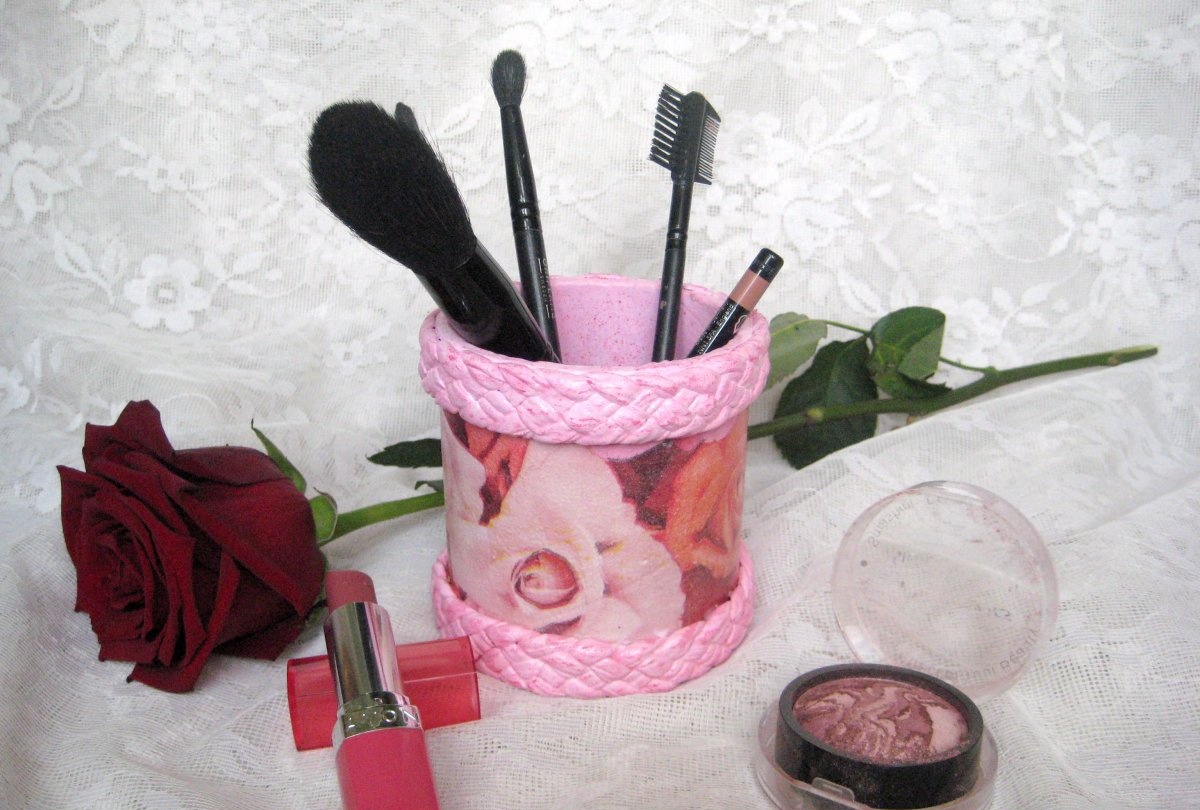
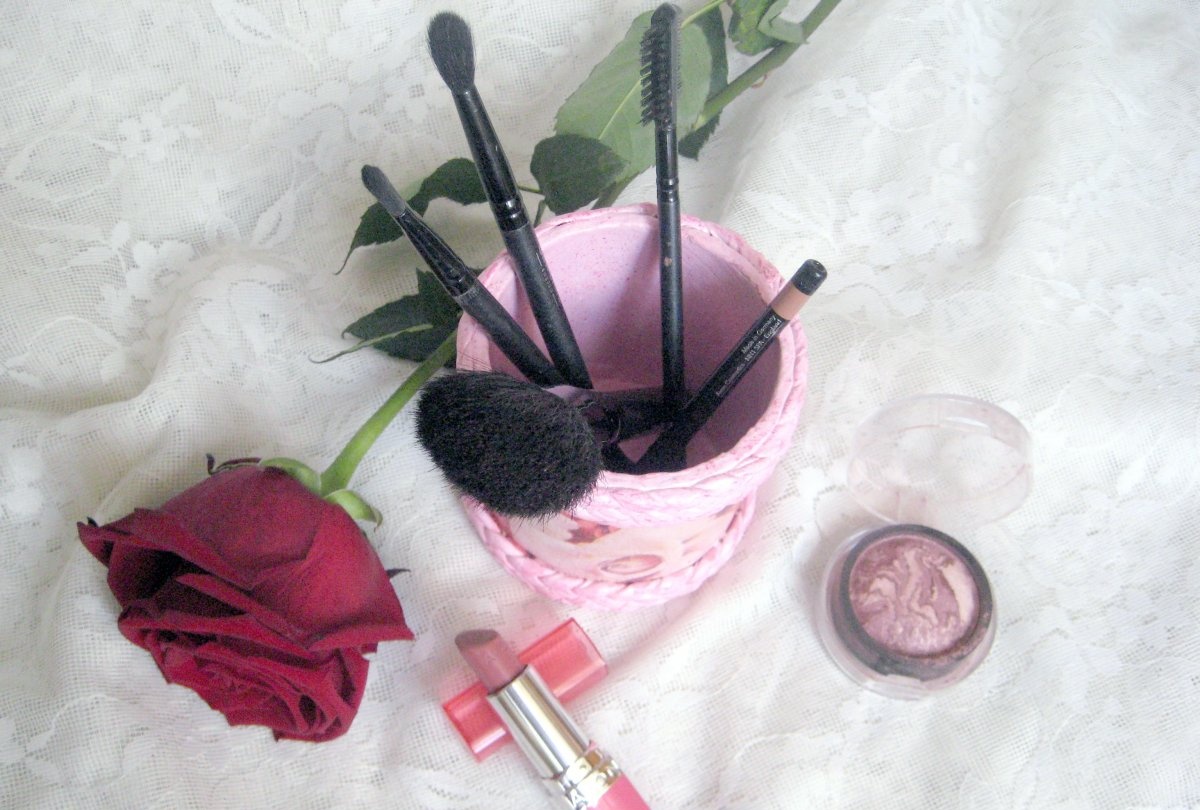
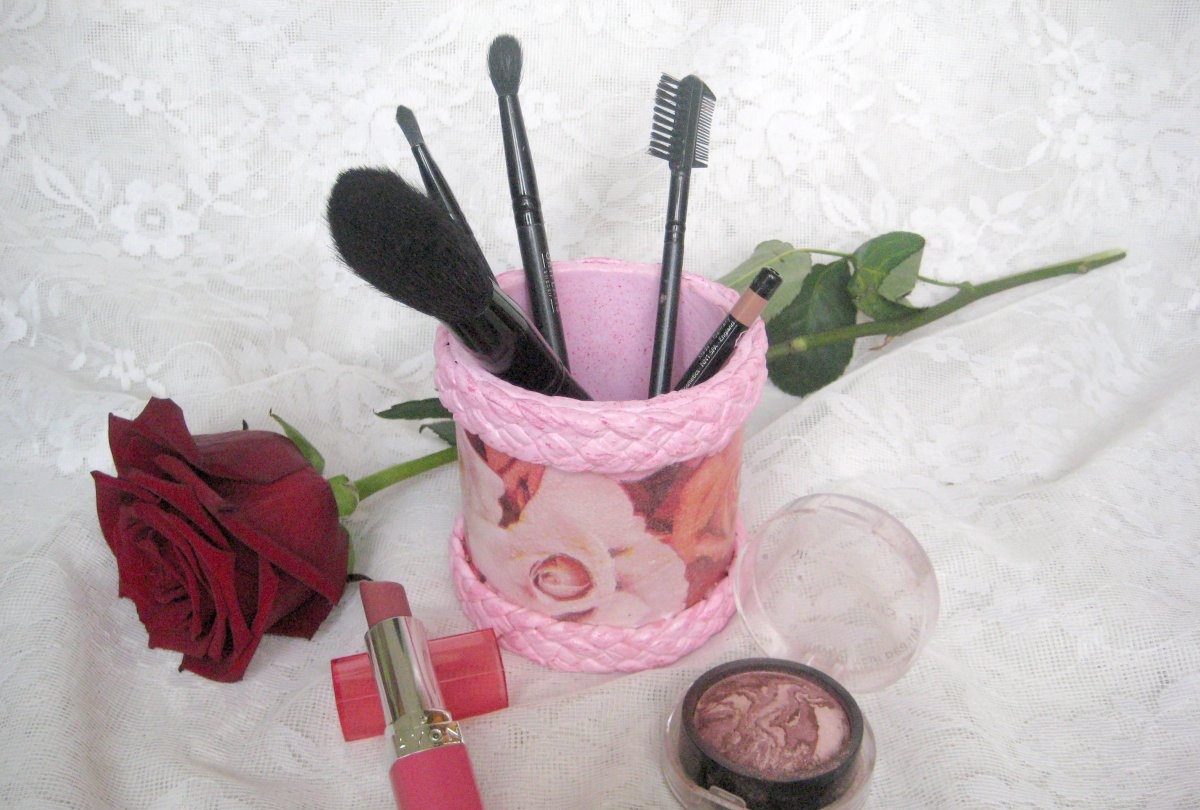
16. The organizer looks very nice and is easy to use.