Preparing to plant an apricot seedling
How to choose a suitable variety, what to look for when choosing planting material and the characteristics of a given fruit tree will require several separate articles. Here we will talk about the practical side, which includes:
Place
Contrary to the established stereotype, apricot, especially its new varieties, are not particularly afraid of frost. Moreover, if it is properly placed and cared for. But this tree is extremely susceptible to drafts! A real example - a seedling took root perfectly, managed to please us with a small but harvest for two years in a row, and then did not survive the winter, when the temperature did not drop below -14 degrees.And all because it was not planted very well - on a hill, between bushes, which formed a kind of corridor for a draft.
Therefore, it is better to choose an open, sunny place. It would be ideal if there is a fence or buildings to protect from the cold wind from the north, northwest and west. With rare exceptions, most apricot varieties have a fairly spreading crown, which requires about 3-4 meters of free radius around the tree. In addition, it is desirable that there are no tall trees from the east-south-west.
Neighborhood
If you have to plant apricots close to other trees, then let them not be fruit trees. He is a "maverick" and will be a bad influence on everyone around him as he grows up. For cherries, plums, apple-pears, currants and even unpretentious raspberries, this will mean a noticeable decrease in yield.
The soil
Apricots prefer black soil and loam, although there may be other options, the main thing is that the acidity of the soil is low or neutral. Accordingly, if there is too much sand on the site, it is advisable to add clay, and vice versa.
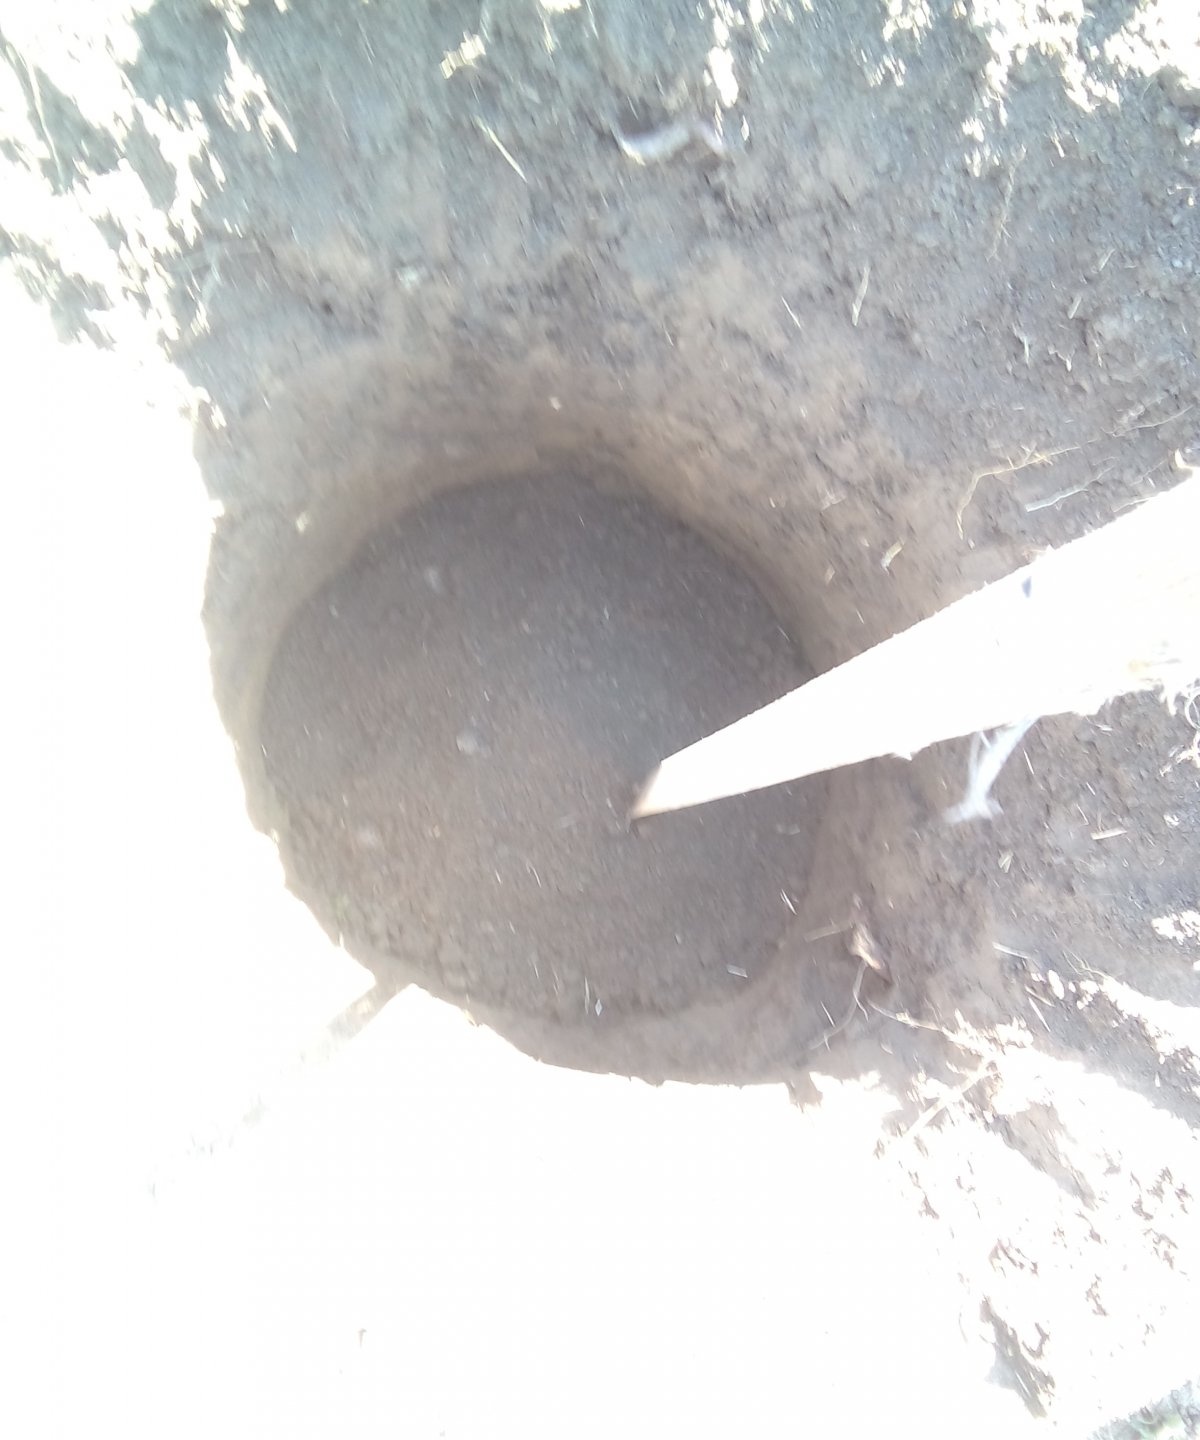
Planting pit for apricot
It needs to be prepared in advance. Since in this case we are talking about spring planting, in the fall, before frost, in the chosen place you should dig up a square area with sides of 1.2-1.5 meters. Digging depth to the length of the bayonet, it is very important to thoroughly clear the ground of weeds and roots. If it didn’t work out in the fall, you can do it in the spring, the main thing is that at least 3 weeks pass before planting.
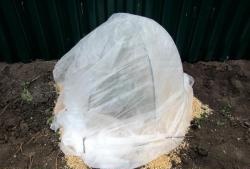
Worth knowing: Apricot planting in spring is carried out from the third decade of March until the end of April. The exact time is determined by the local climate - at the time the seedling is transferred to open ground there should no longer be night frosts.If it gets colder again after planting, you will definitely need to hide the seedling under a cape made of non-woven material.
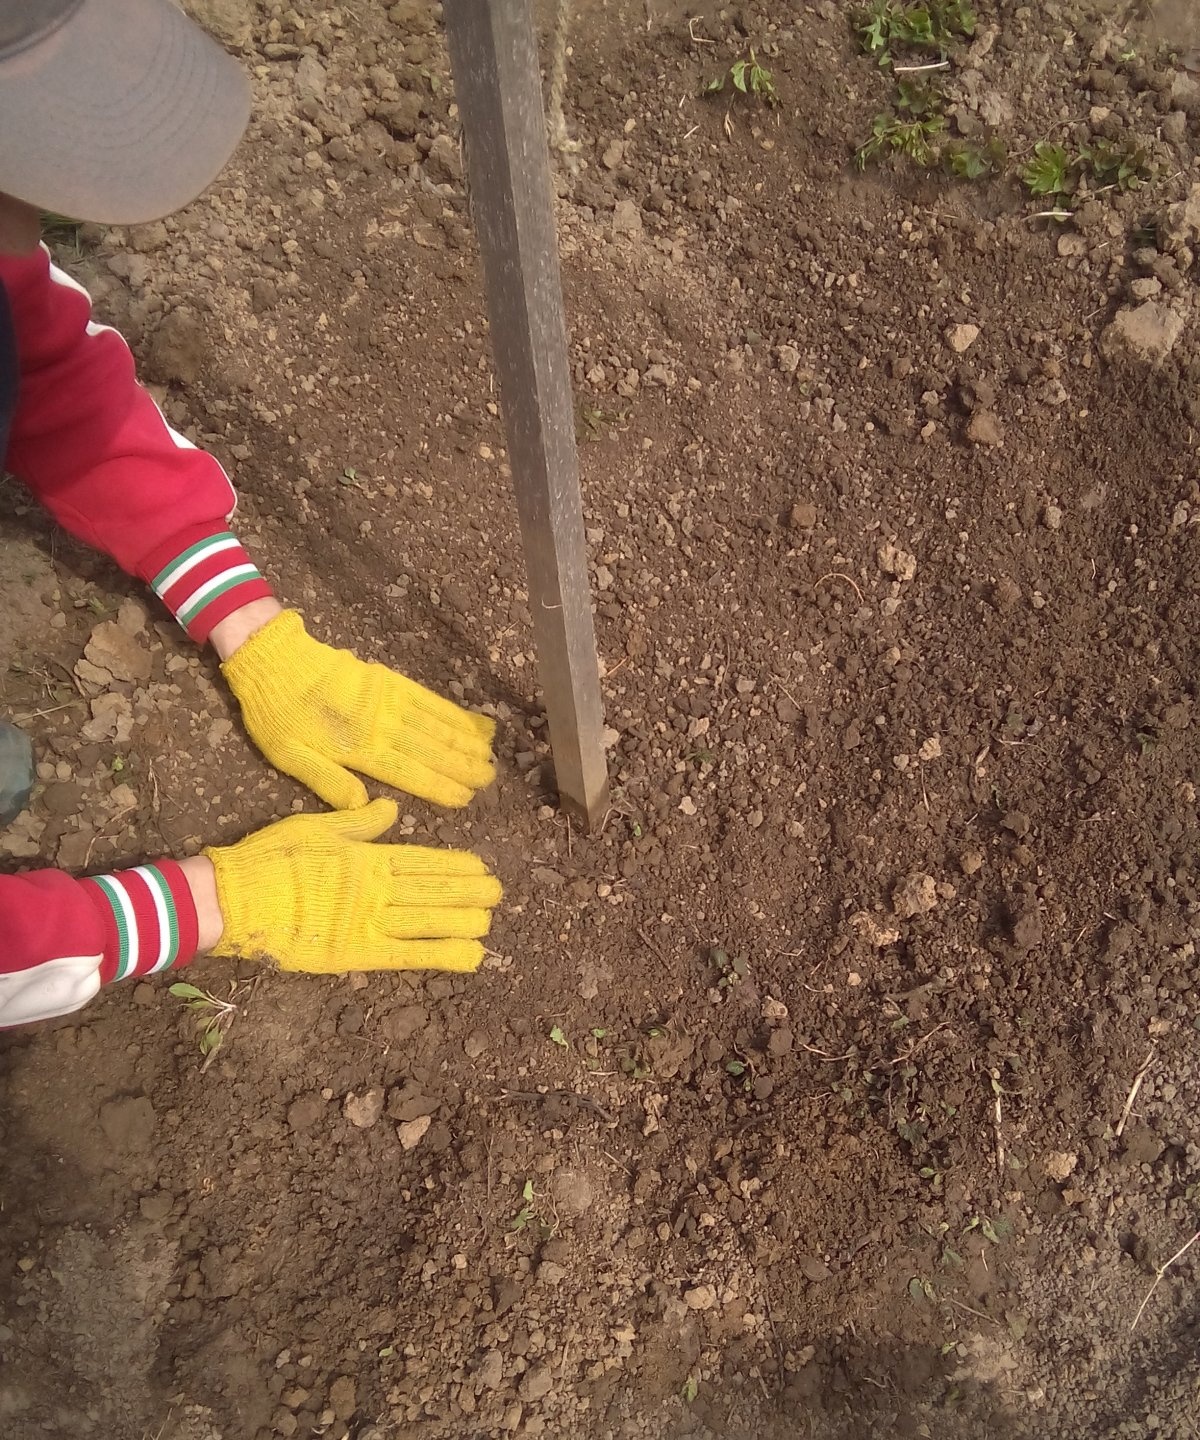
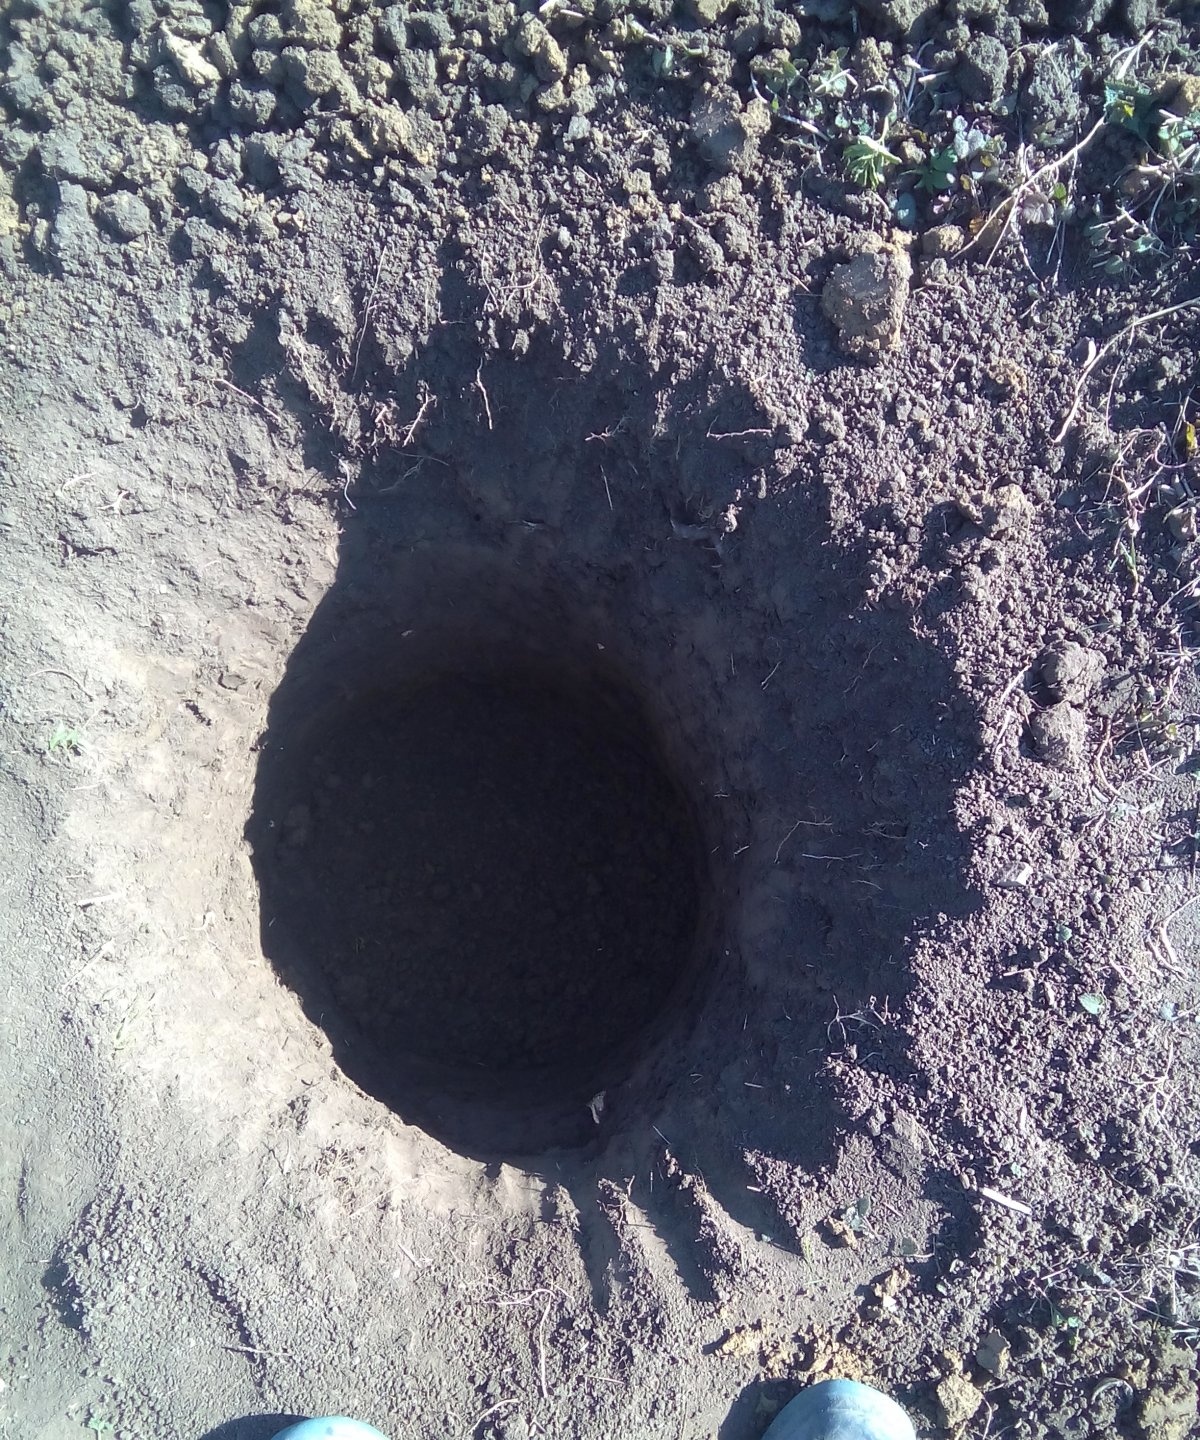
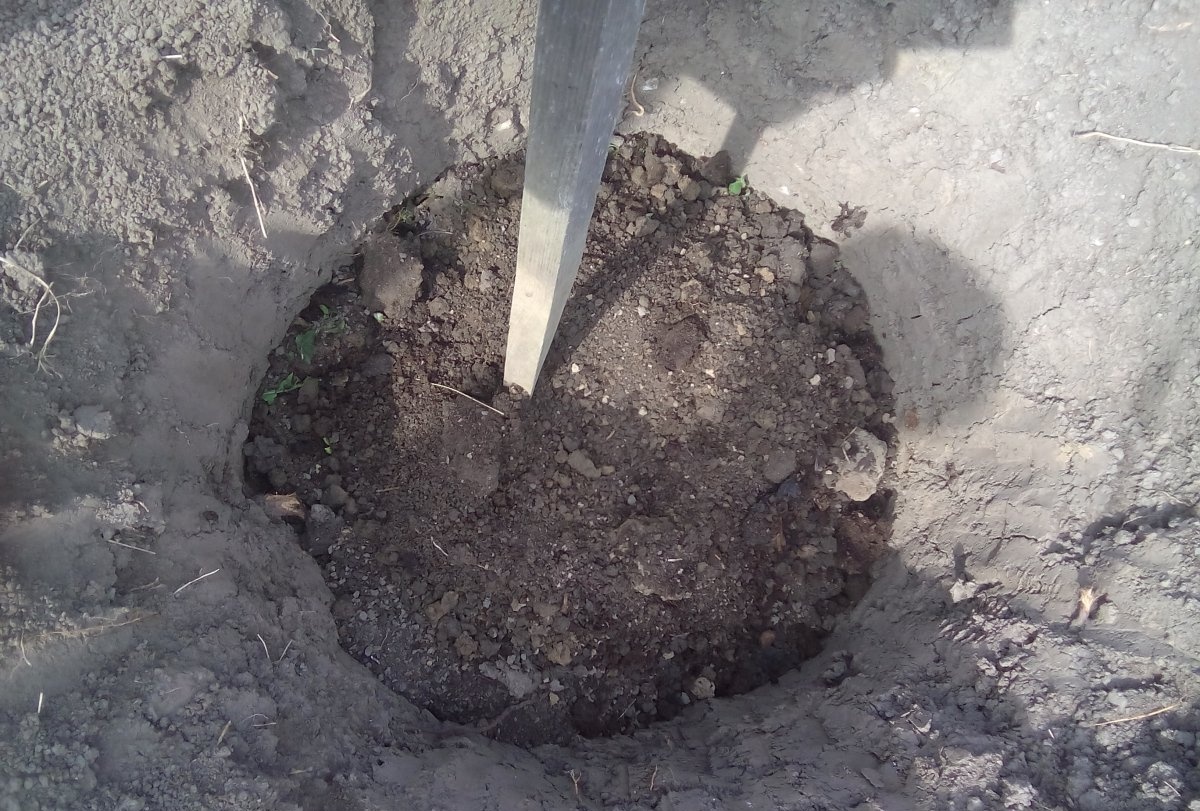
7-10 days before planting, you need to dig and prepare a hole. Its recommended diameter is about 70 cm, depth is up to 80 cm. When digging, the top pre-dug soil is poured separately to prepare the base mixture. At the bottom of the pit, especially if the soil is clayey, drainage is arranged from crushed stone and (or) broken brick (layer within 6-9 cm). A little to the side of the center, the future support is hammered in so that its top deviates from the surface by at least 50-60 cm. And a planting mound from the prepared nutrient mixture is placed on the drainage.

Making the mixture is very simple. Several components are added to the soil that was previously dug up and cleaned, and then thrown aside:
- Organic humus (same volume).
- Ordinary earth (4-5 times more).
- Wood ash (about two cups).
Adherents of natural products limit themselves to this, but if you want active development and a “margin of safety,” you can add about 50 grams of superphosphate.
The prepared mixture is poured into the center of the pit until a mound of the required height is formed. It is selected based on the characteristics of the root system of the selected seedling in such a way that after arranging a recess under the roots, the neck of the scion protrudes 4-5 cm above the surface. Pour the remaining mixture separately; it will be needed later.
Step-by-step process of planting apricot
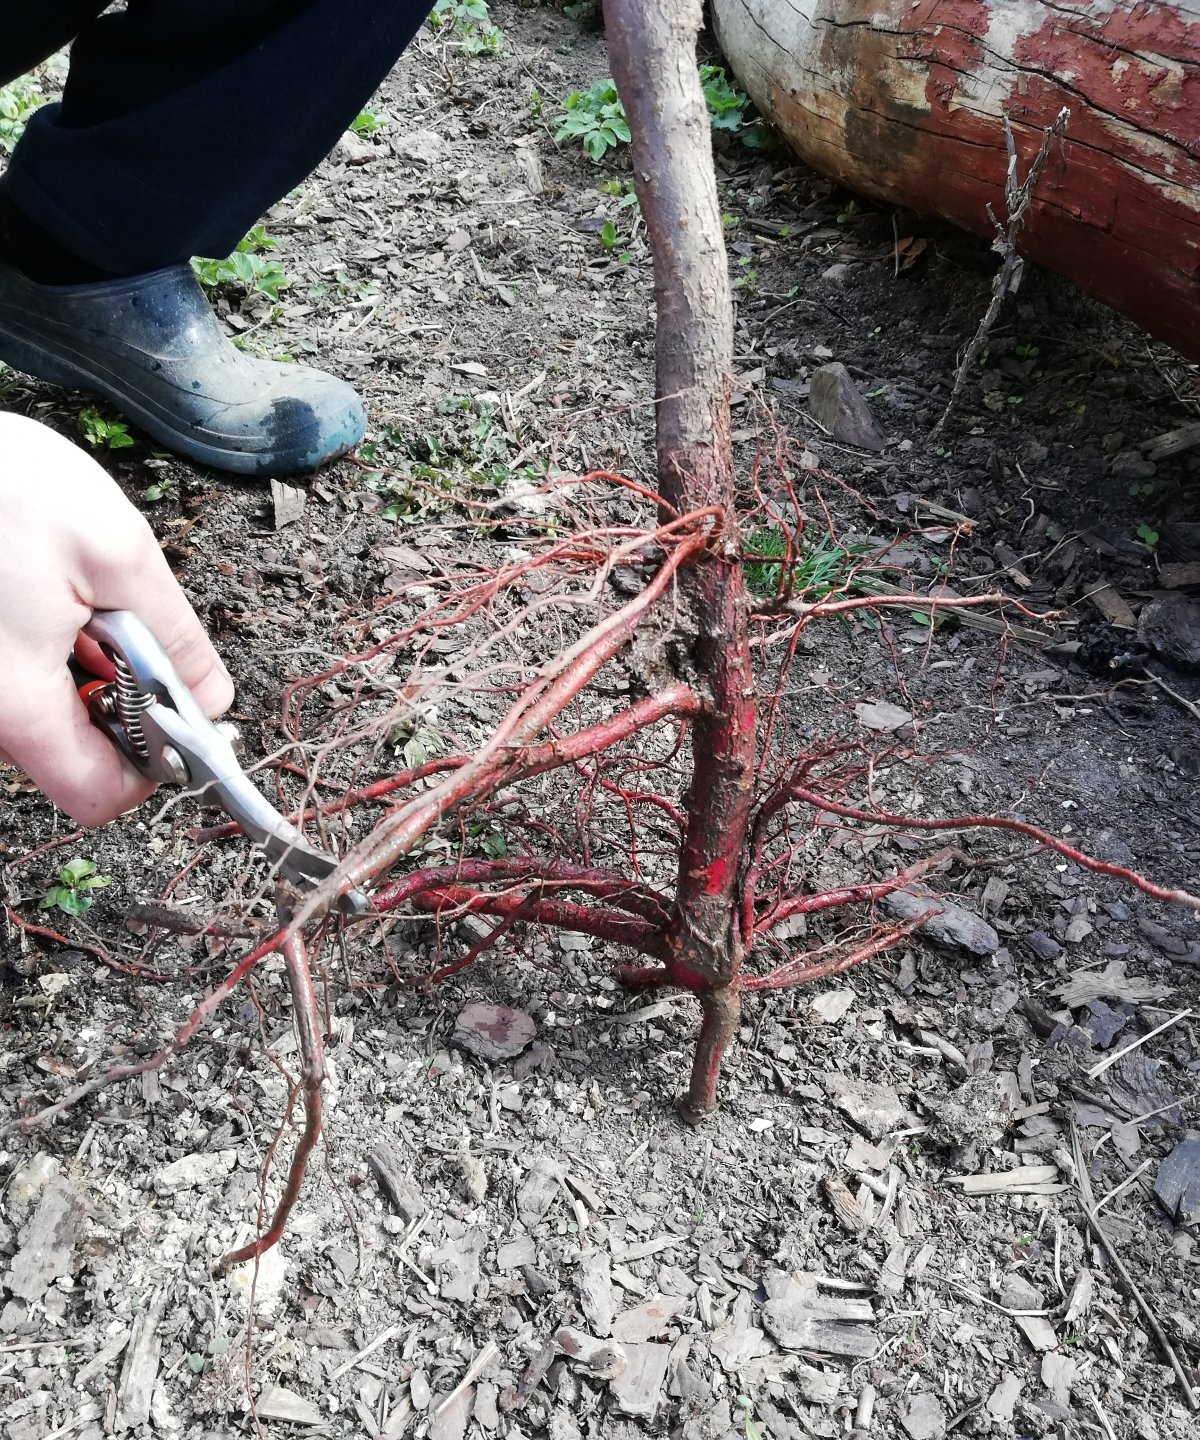
If the seedling is purchased in advance, the day before planting you need to wrap the roots with a wet cloth or simply soak them in a bucket to activate internal processes. In the morning, just before planting in the ground, the roots can be coated with a mixture of manure and clay and allowed to dry. Landing is done like this:
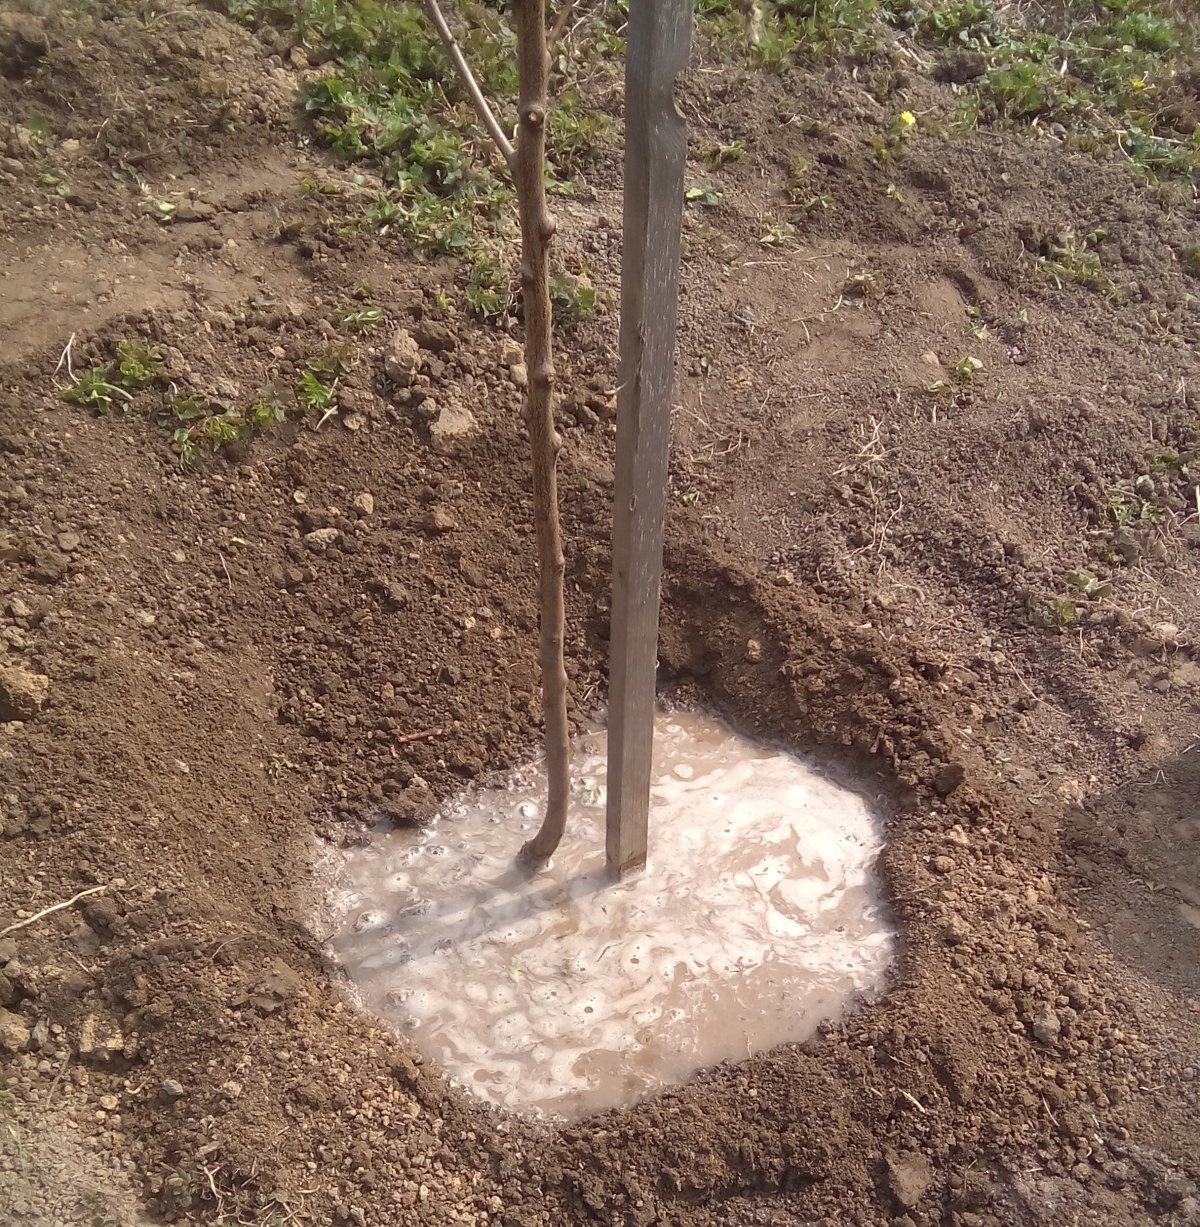
1.A depression is made in the planting mound for the roots, and half a bucket of water is poured out.
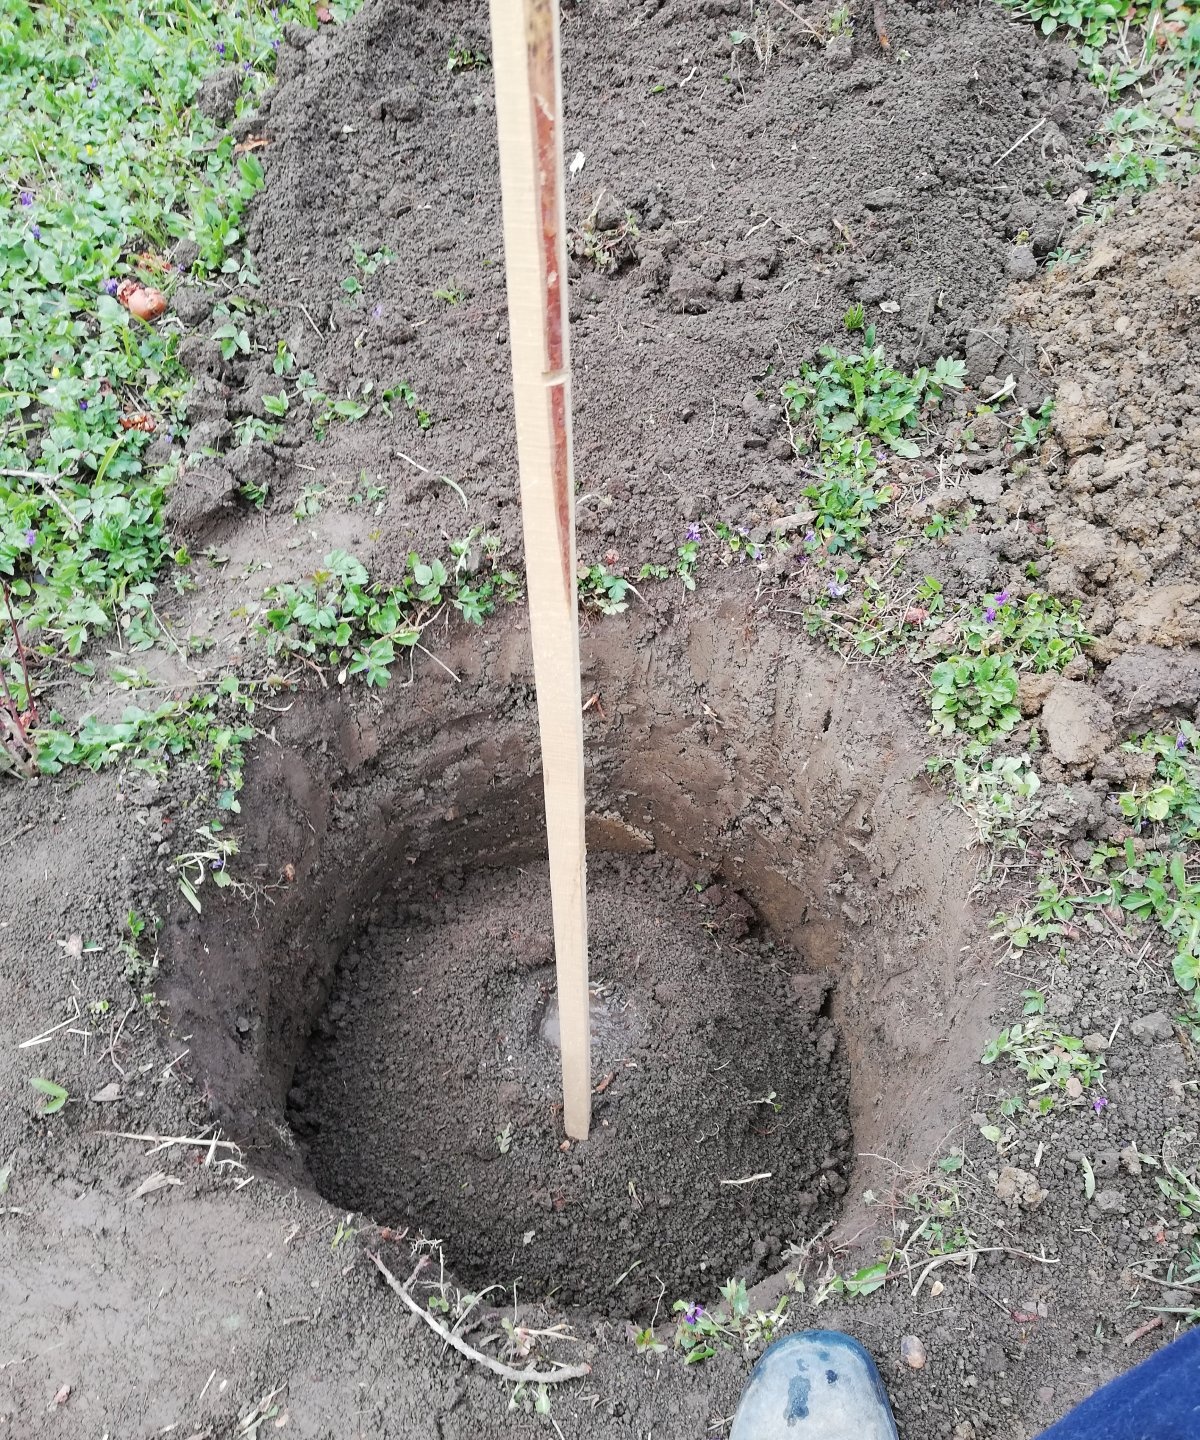
2. Next, the apricot is placed, the roots need to be straightened, any broken or too long ones should be cut off (do not forget to monitor the height of the root collar)
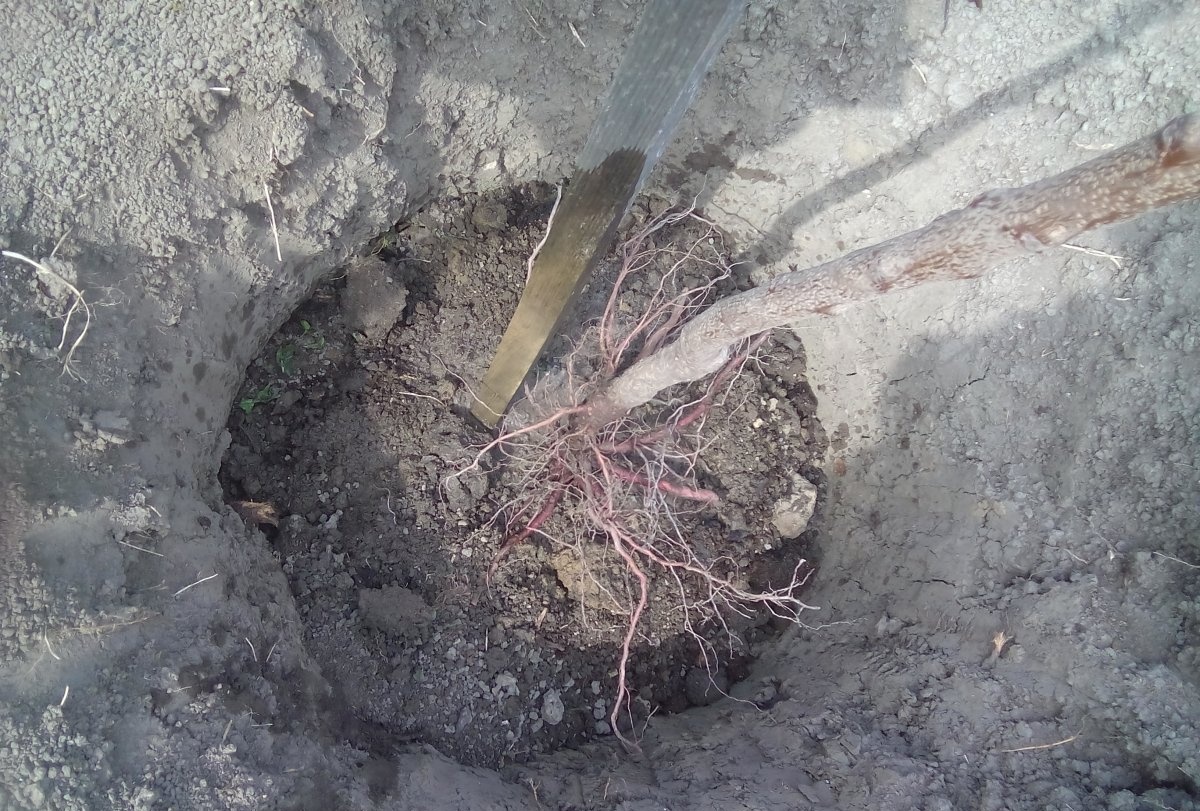
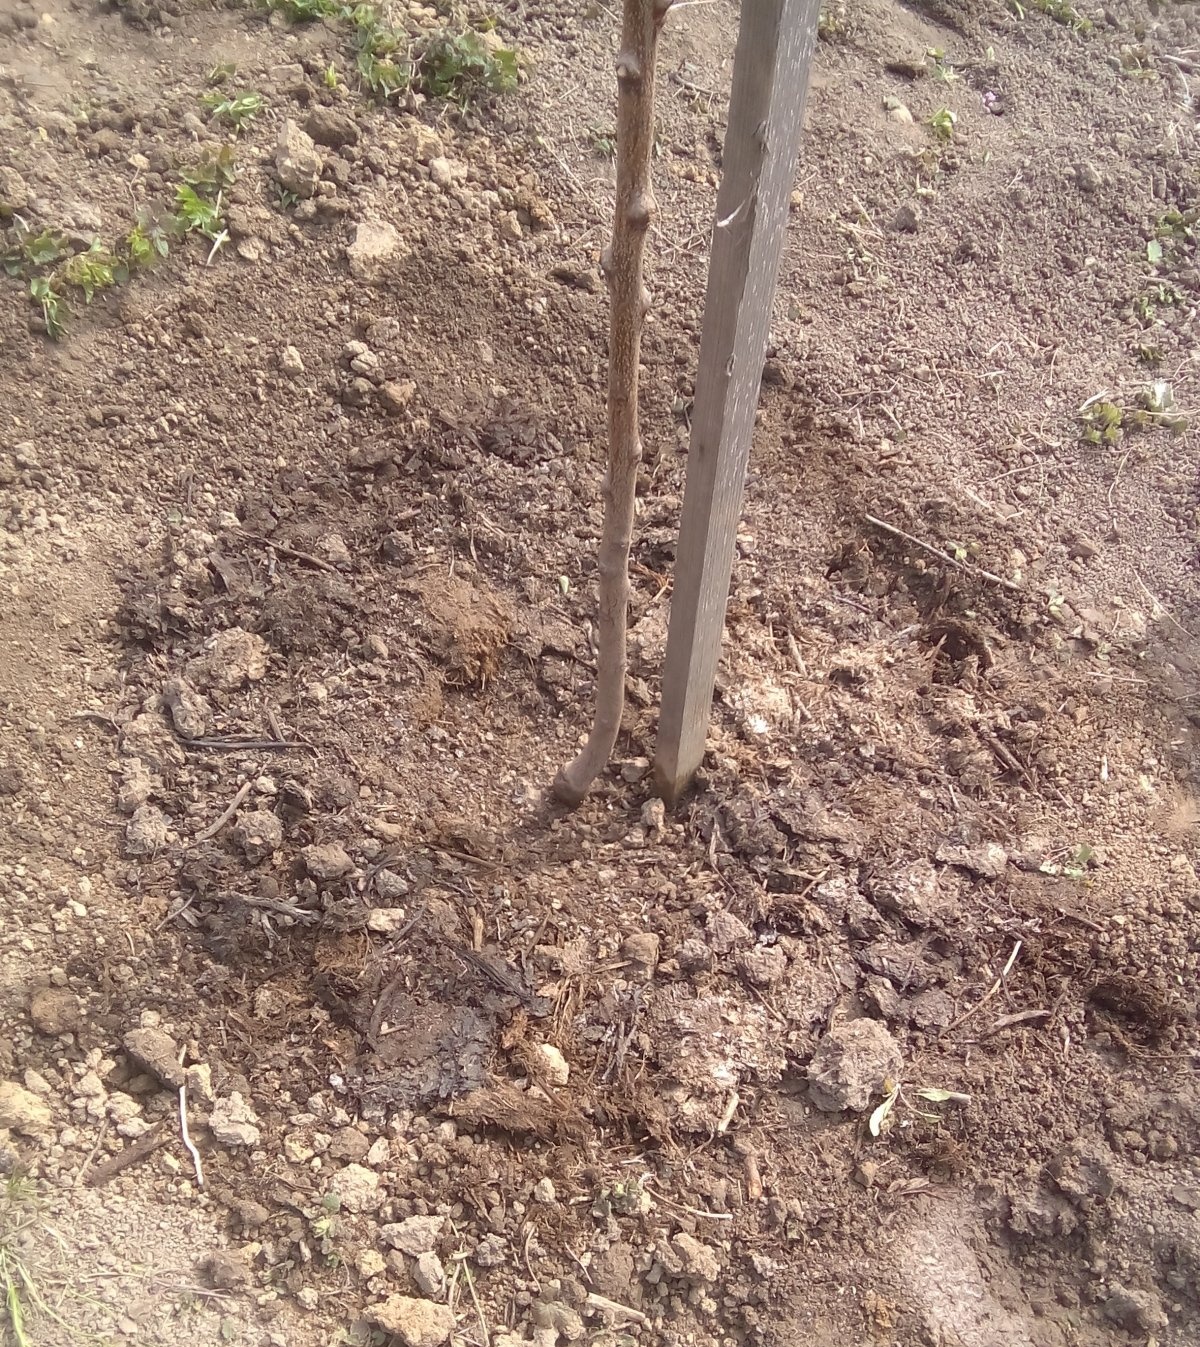
3. The roots are sprinkled with the remaining nutrient mixture, the soil is easily compacted (by hand) to fill the voids
4. The hole is filled with the remaining soil with a small margin for shrinkage
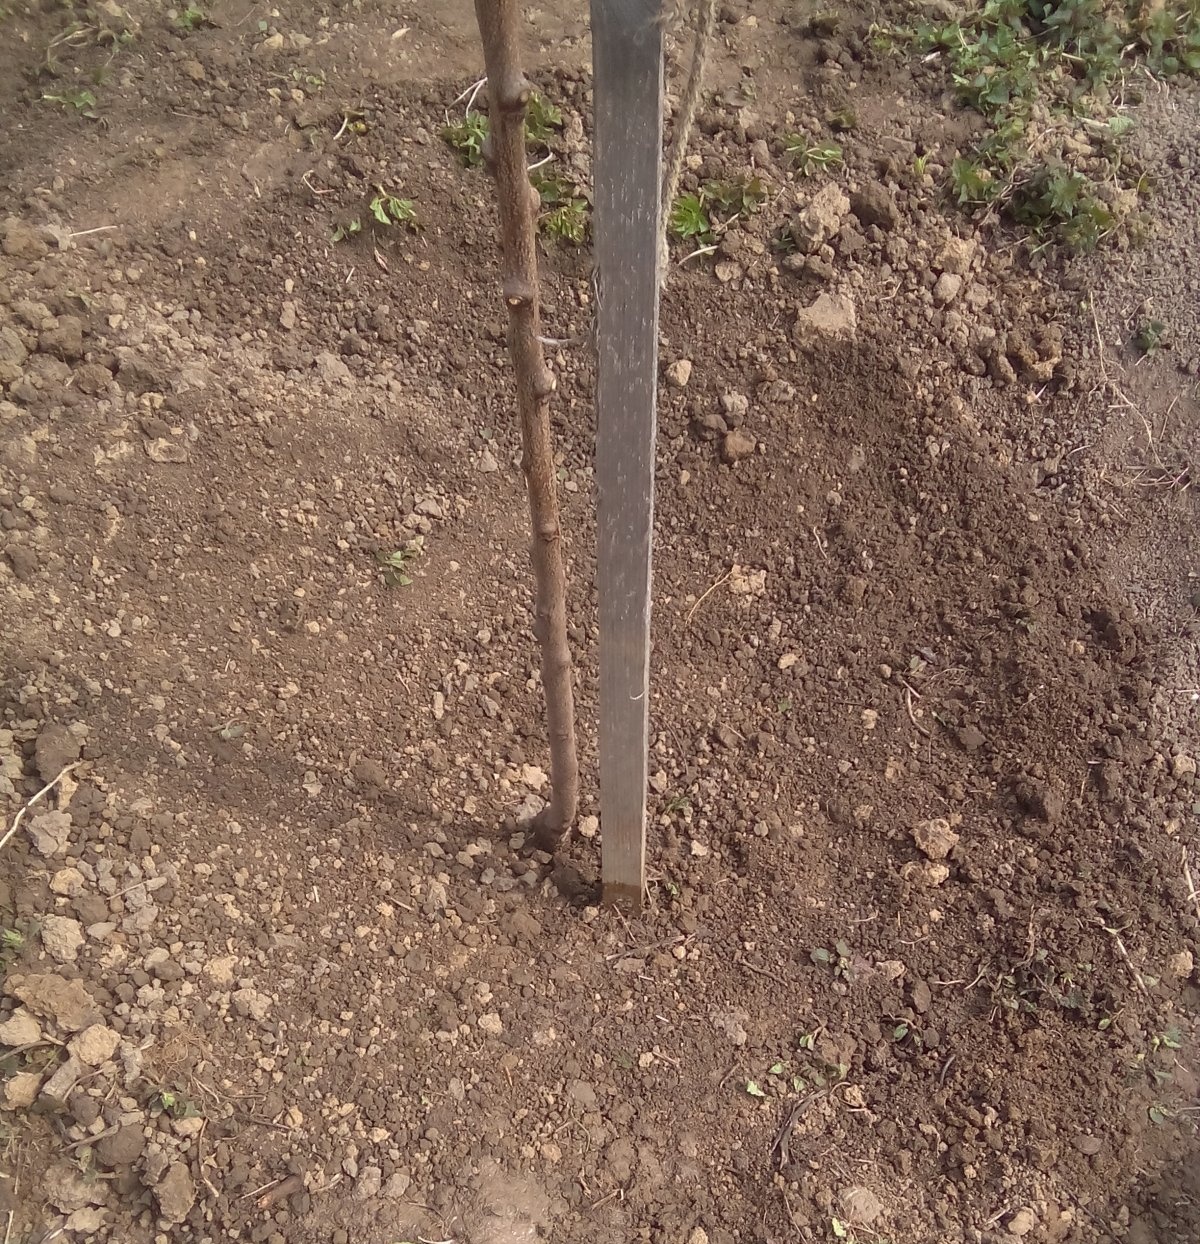
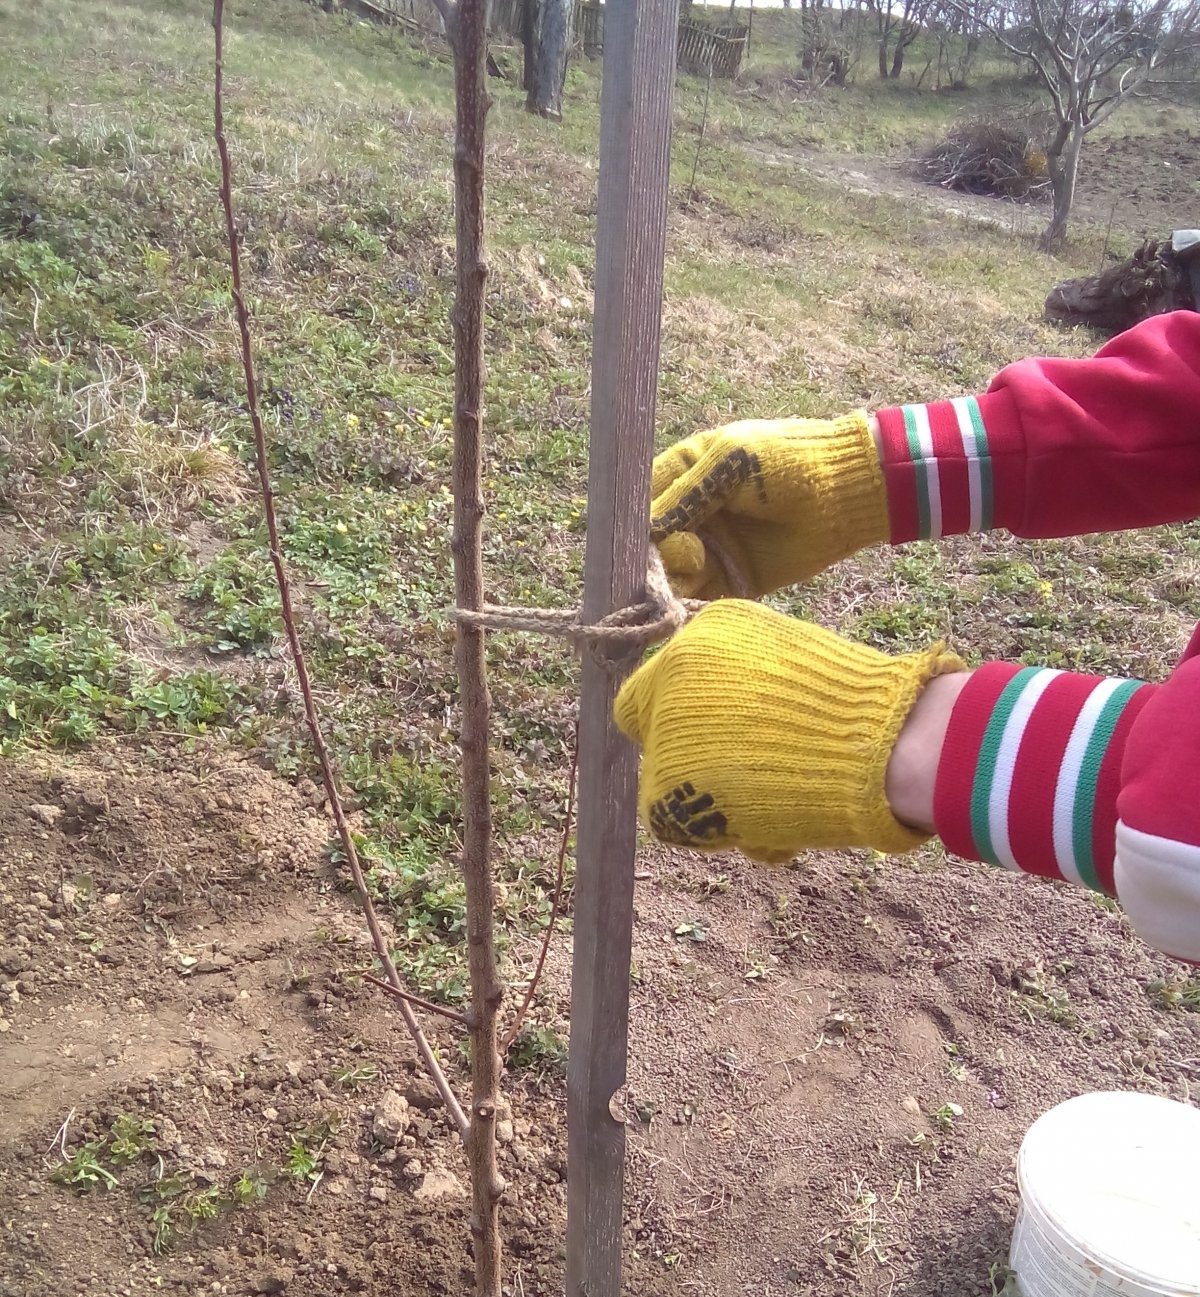
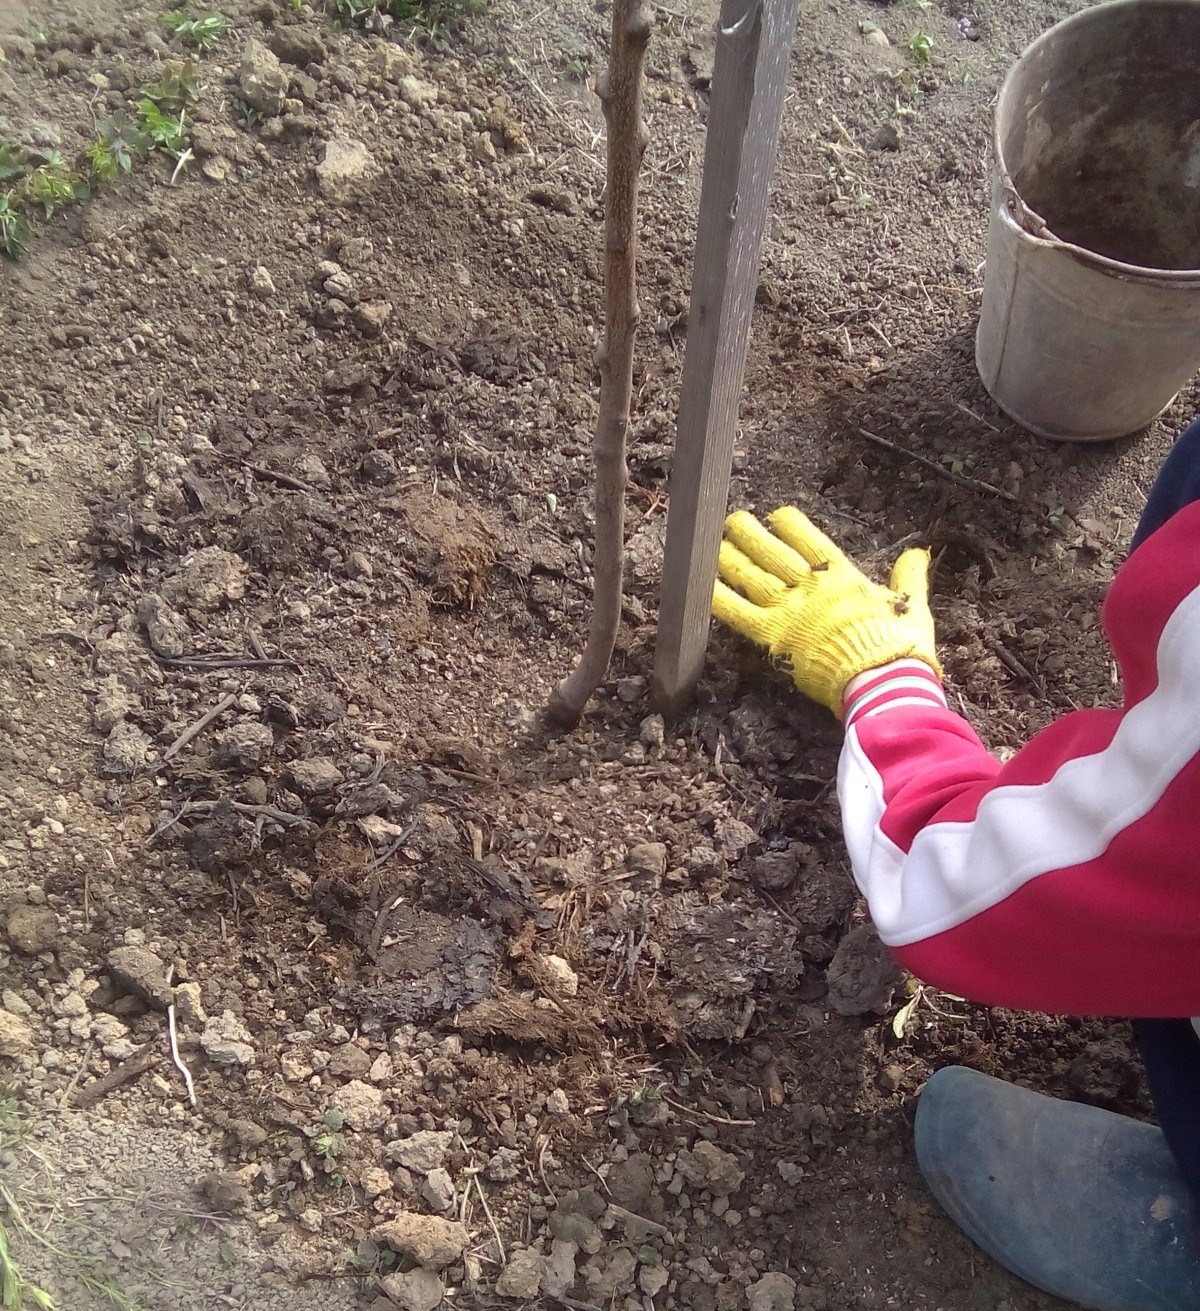
5. The seedling is fixed to the support with twine or tape
6. After that, arrange an earthen roller along the diameter, water the hole with water (2 buckets) and, after absorbing the moisture, level the ground
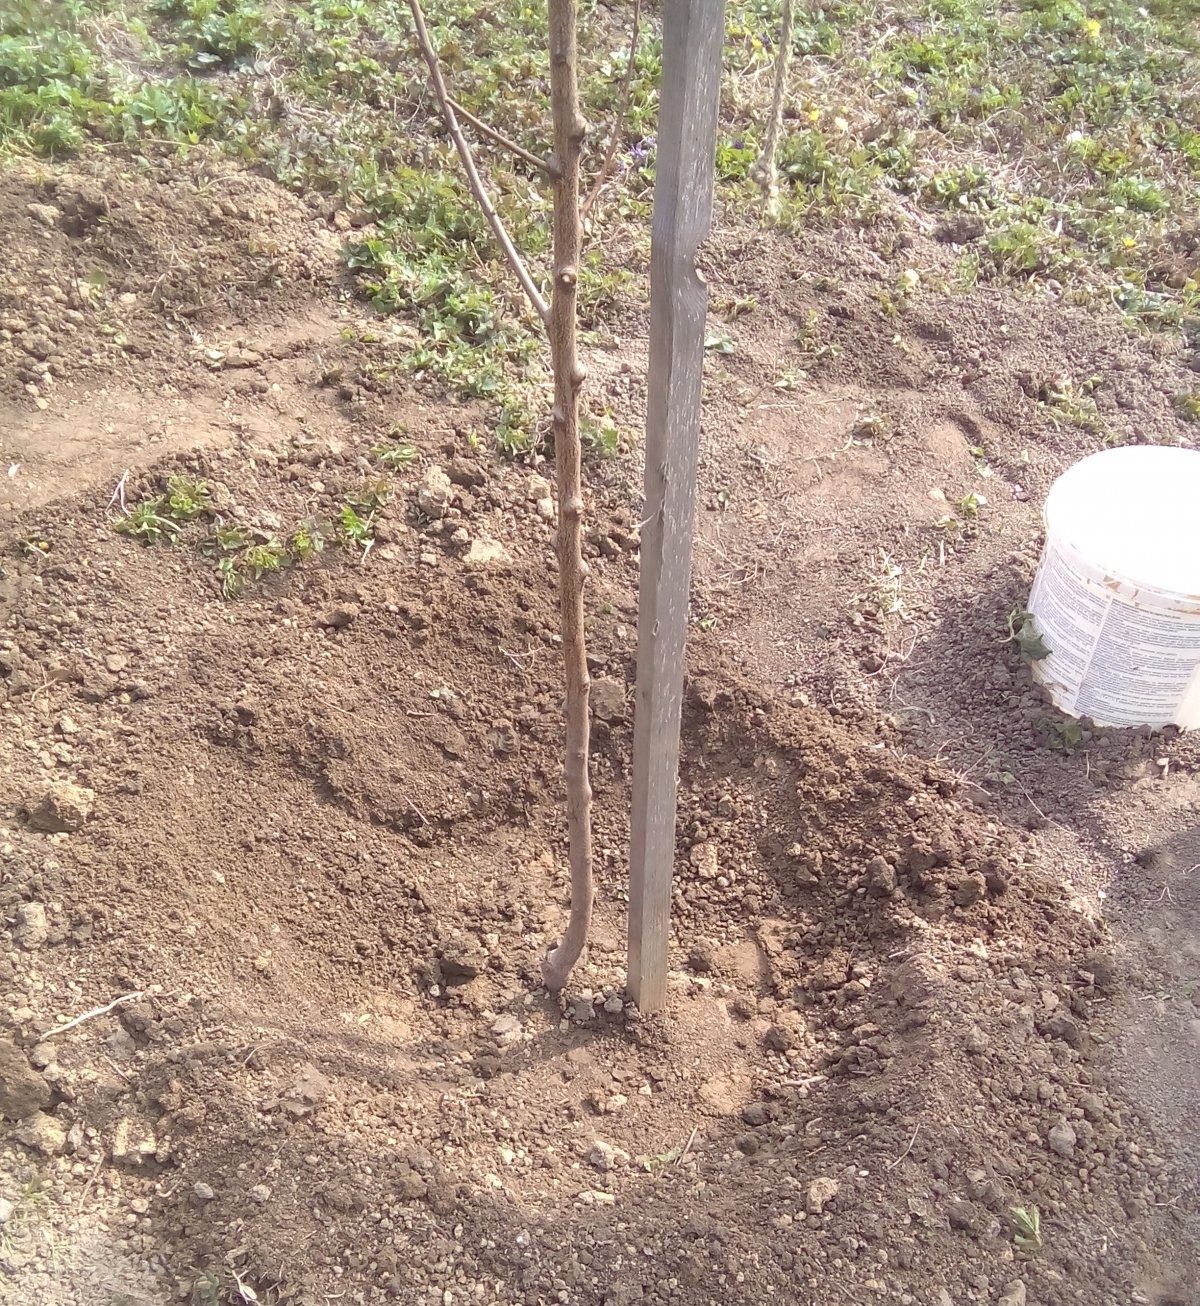
7. Finally, mulch 3-5 cm thick from humus or peat is laid on the trunk circle
It is very important that the mulch does not reach the trunk, allowing it to breathe, and does not cause steaming and rotting!
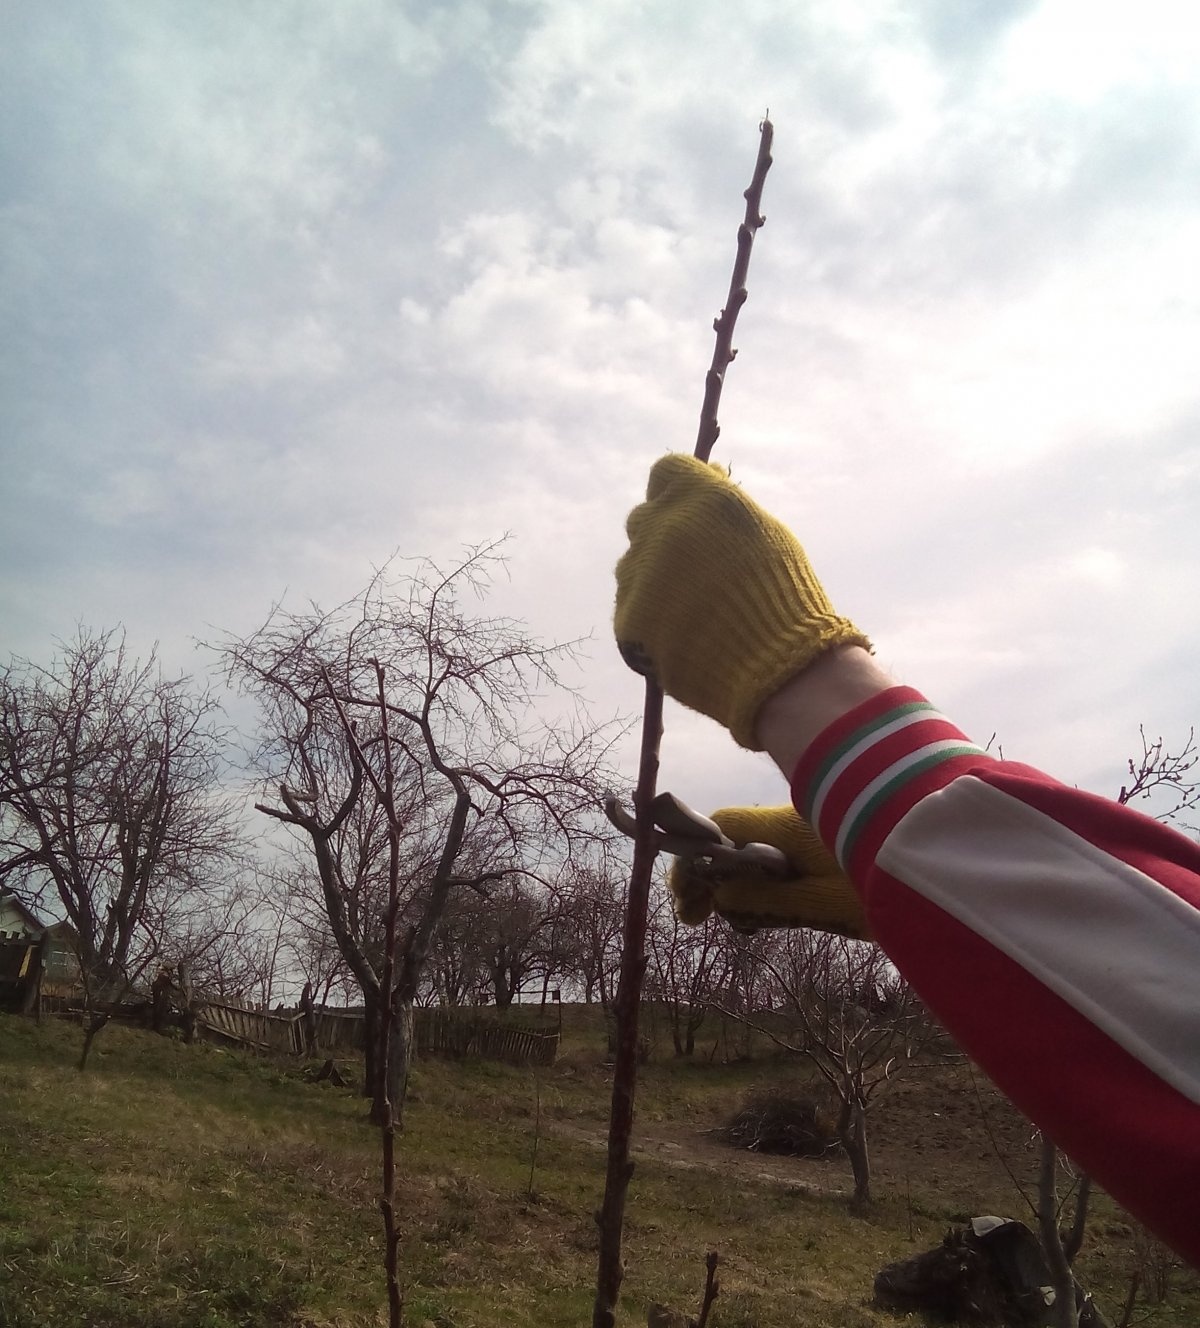
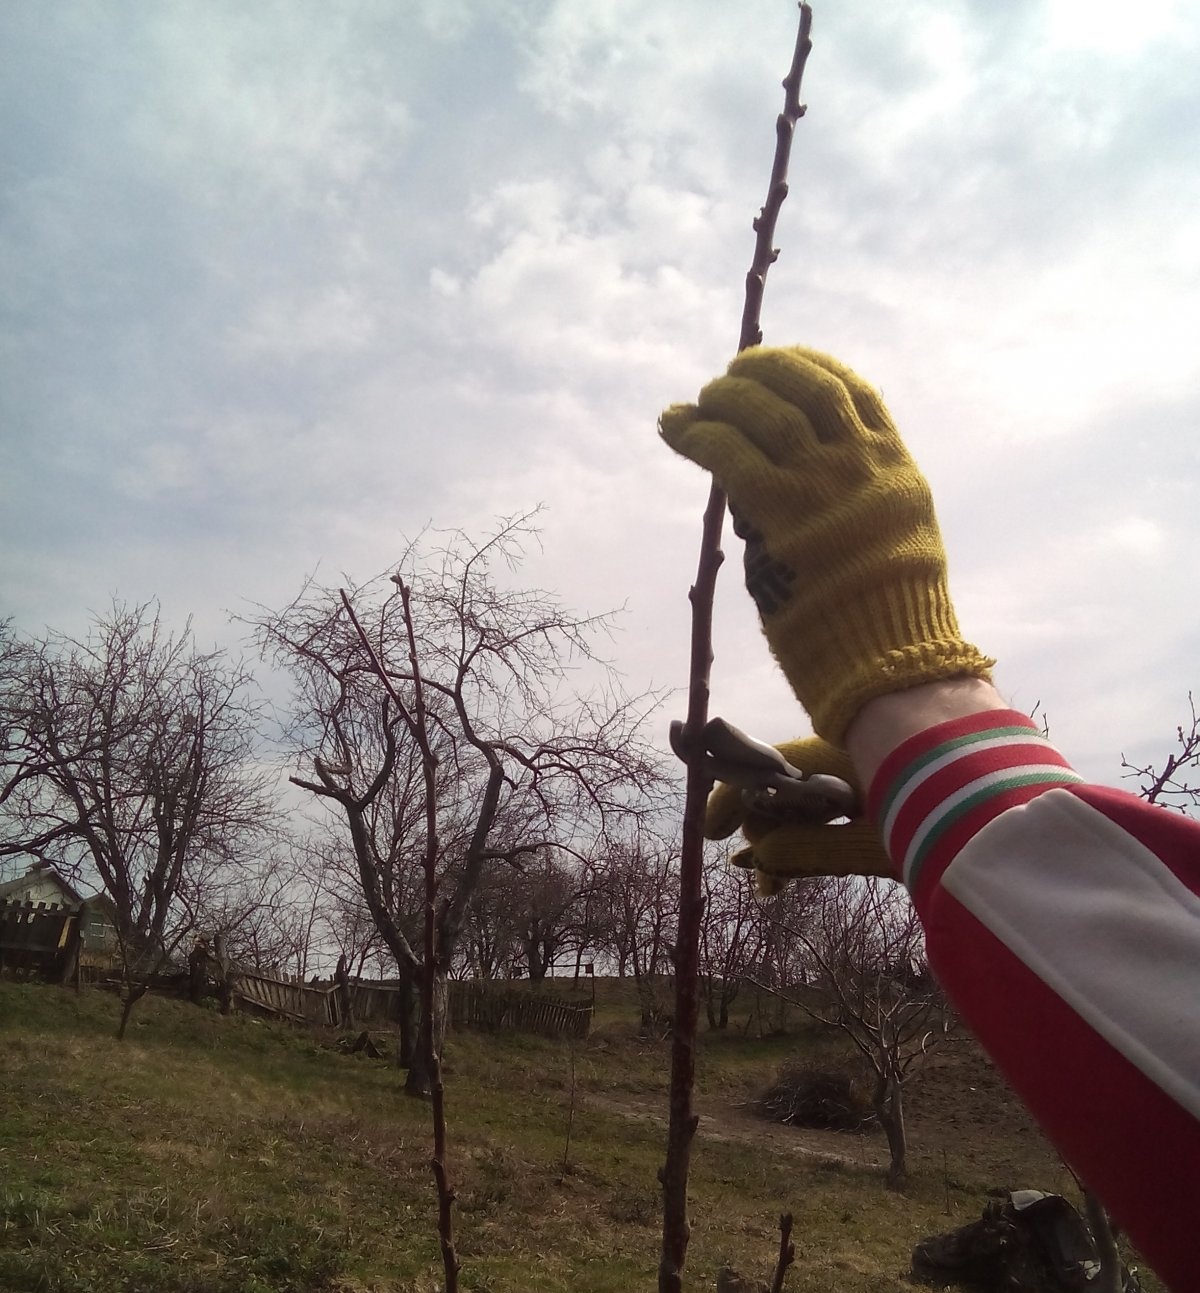
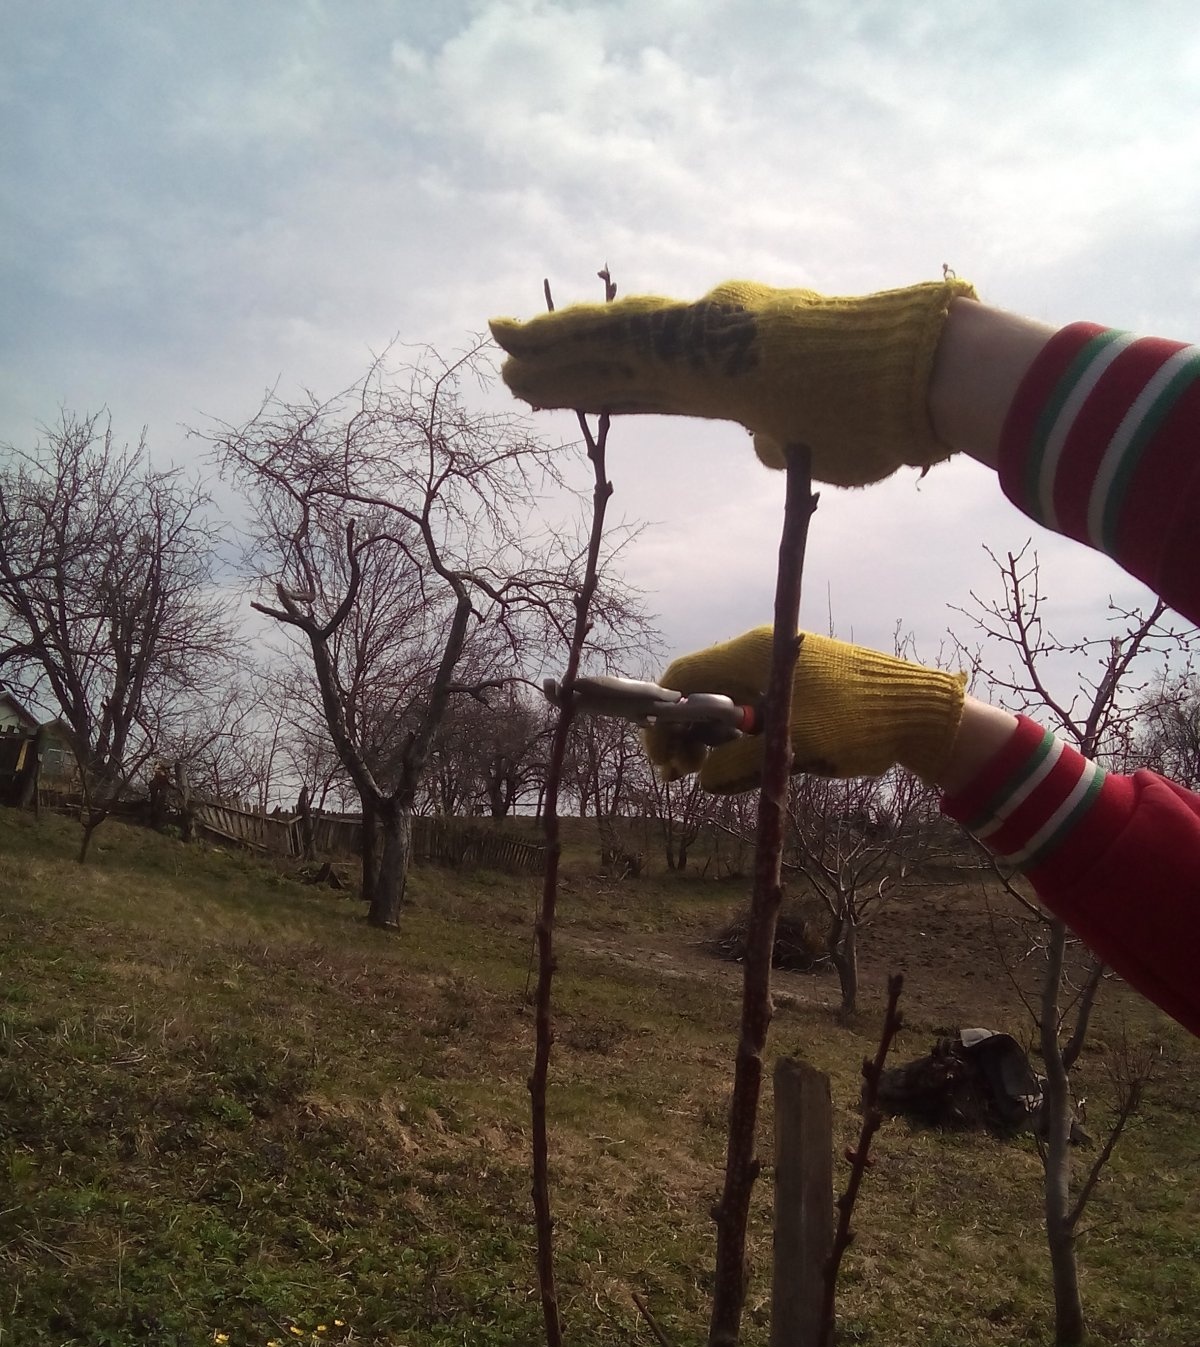
8. If the seedling has not yet been pruned, after planting the upper parts, including long shoots, are cut off
In the future, it remains to water the apricot seedling in time, not allowing it to dry out, but also not allowing the hole to become waterlogged. And if pests or diseases are discovered, immediately carry out appropriate procedures to destroy the former and treat the latter. It is better not to apply fertilizing until next year - there are already enough nutrients in the hole...