Old photographic films are like a suitcase without a handle - it’s inconvenient to carry and it’s a shame to throw it away. You can, of course, take them to any photo studio and print them. But this is long and expensive. Moreover, printing and storing photographs in our digital age is not a very good idea - they have the unpleasant property of fading and scratching. It’s easier to convert them into digital form and save them on a flash drive or hard drive. And watch it whenever you want. In today's master class, I want to tell you how to digitize photographs from developed film at home. This is a fast and very interesting thing. And most importantly, you don’t need any professional or expensive equipment. The only equipment you need is a mobile phone with a good camera, which everyone has, and some simple photo editor.
Will need
- Box without lid, approximately 20x15x8cm. (L.W.H)
- Two pieces of thick cardboard, slightly larger in area than the bottom of the box.
- A piece of white or matte thin plastic.
- Mobile phone with a good camera and photo editor.
- Ruler.
- Scissors.
- Stationery knife.
- A simple pencil.
- A small lamp or flashlight.

Film digitization
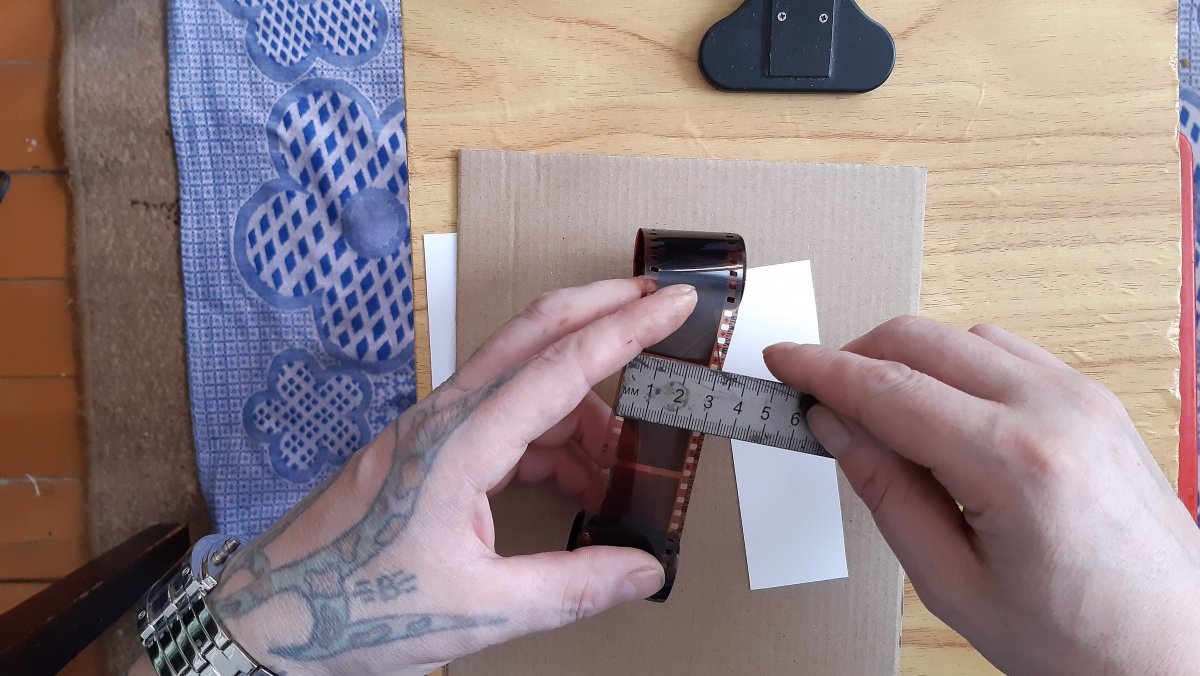
First, using a ruler, you need to measure the length and width of one frame.
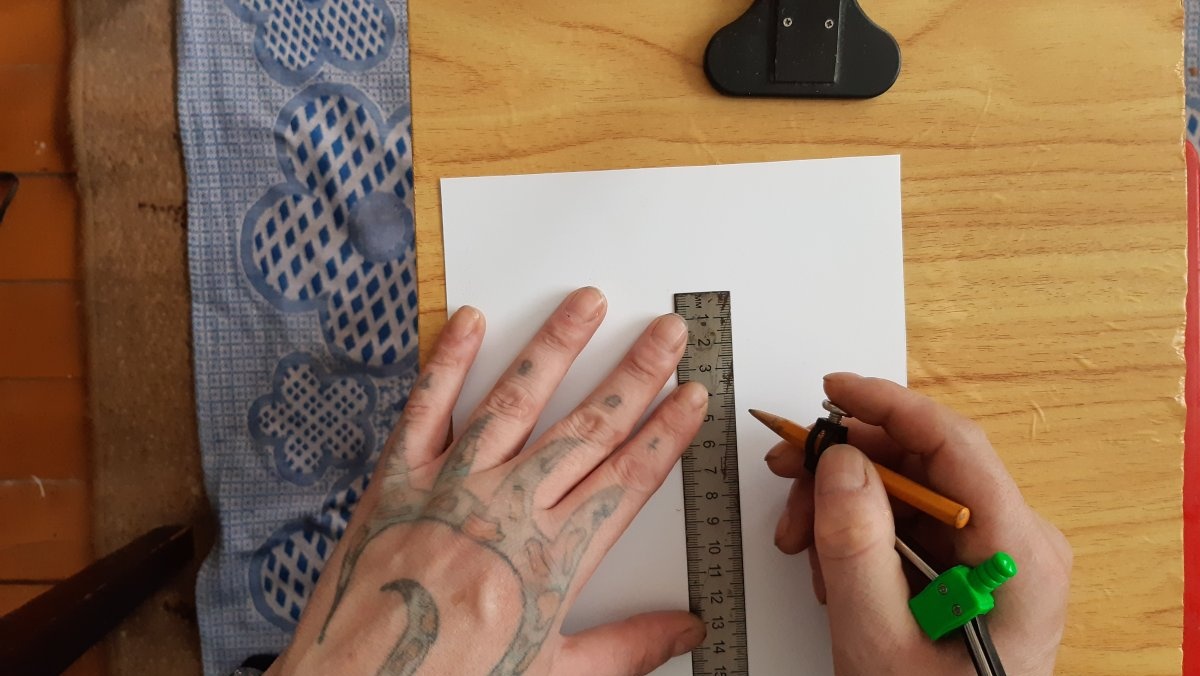
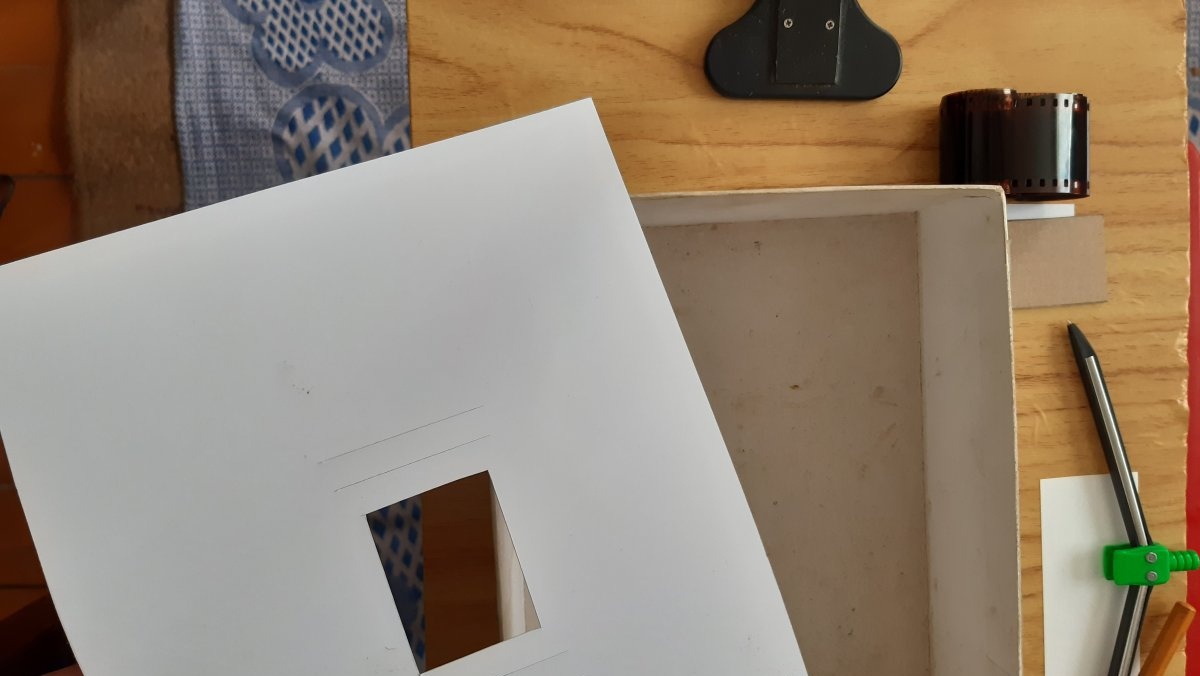
Then, using a simple pencil, we transfer these parameters onto one of the sheets of cardboard. In the center. Cut out the resulting rectangle.
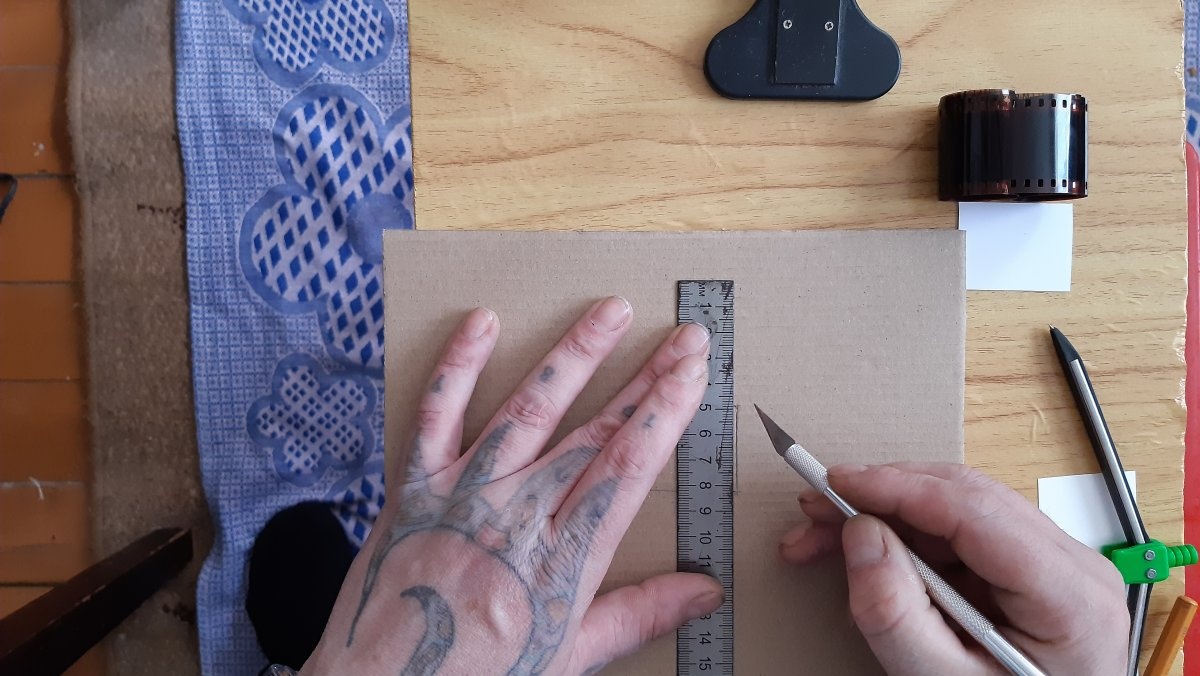

Repeat the same procedure with the second sheet of cardboard.
Next, on the sides of the cut out rectangular window, indented by a centimeter, we make cuts slightly longer than the width of the window. From this cut, another centimeter further, we make a second similar cut. Repeat on the other side of the window. It should look like this:
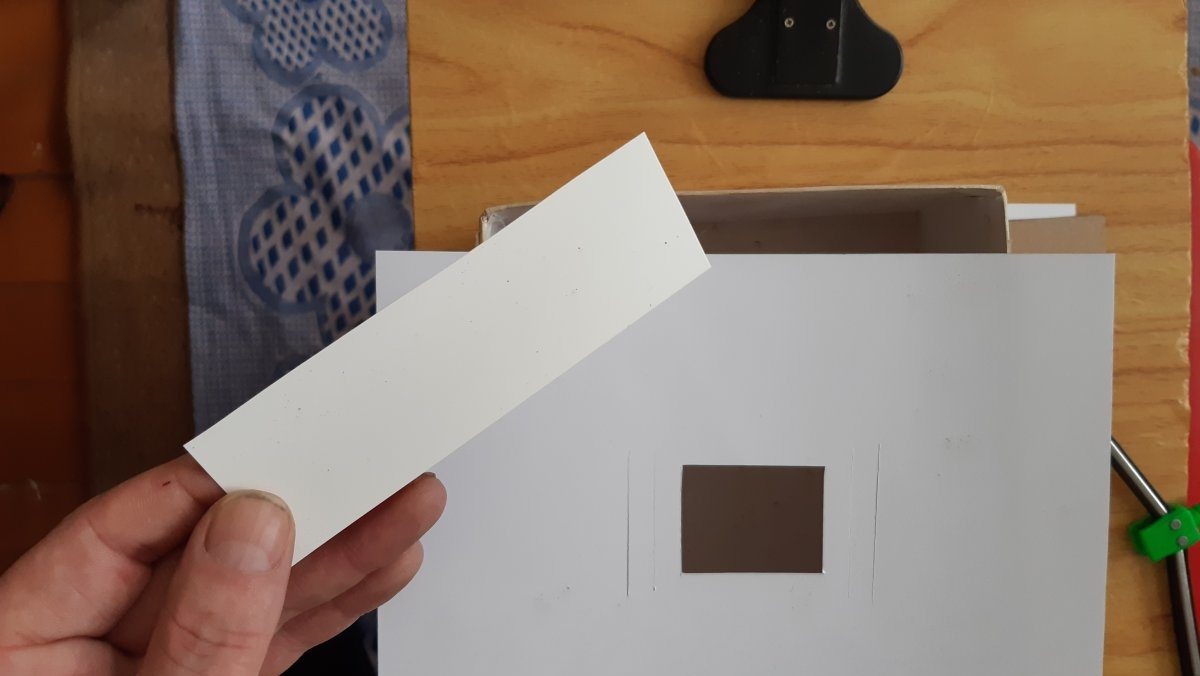
Now you need to cut out the light diffuser from the flashlight, from matte or white plastic. We measure the width of the cuts on the sides of the window, and cut out a plastic tape of the same width, approximately 8-10 centimeters long.

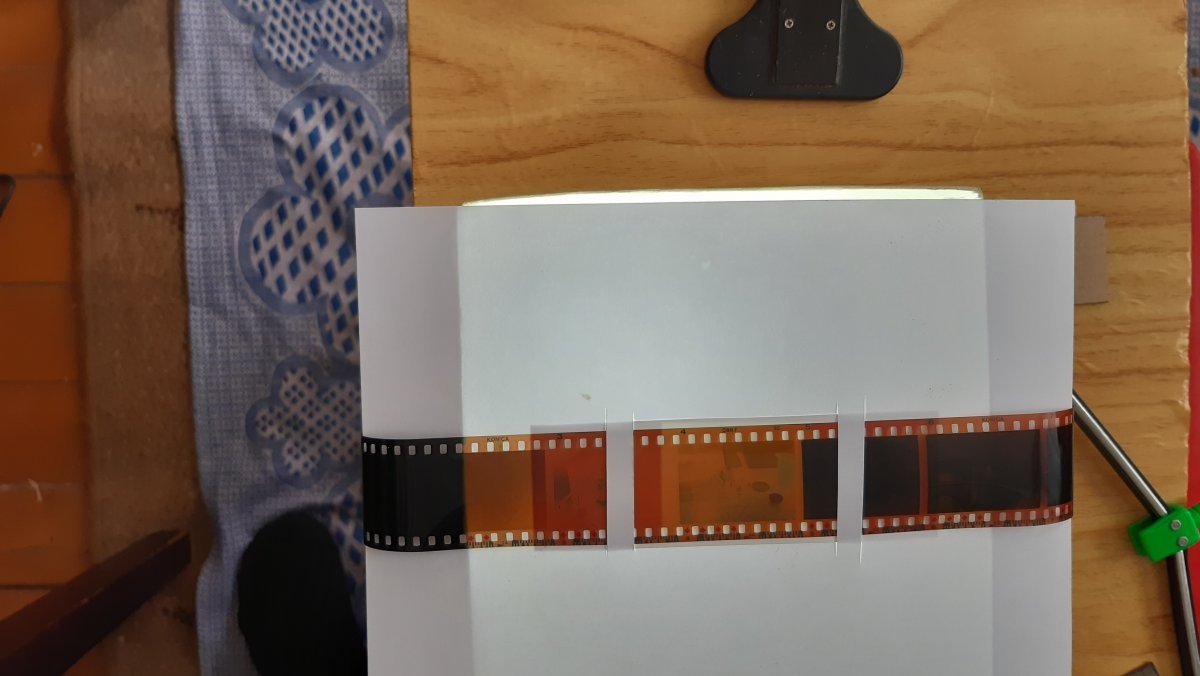
Next, we thread the film through the cuts, over the plastic tape, as shown in the picture.

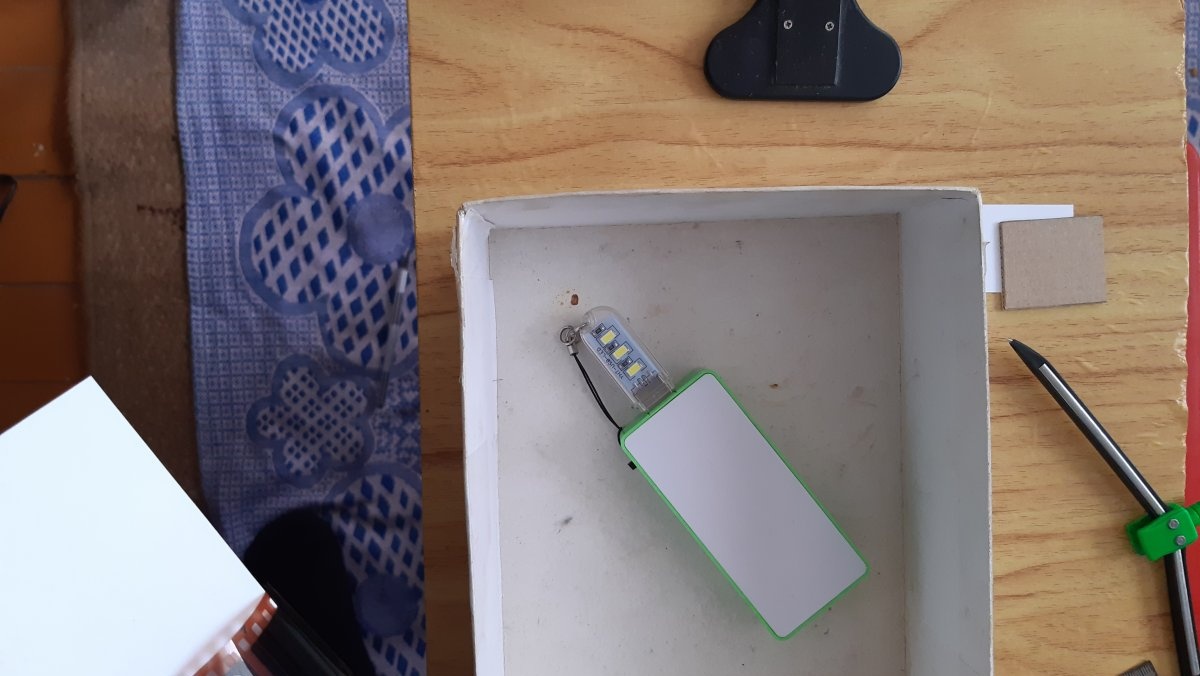
We remove everything unnecessary from the table that might interfere, put a box, put a flashlight inside, turn it on, and place a structure on top with a photographic film threaded through it.
Place a second sheet of cardboard on top so that the windows meet. This is necessary so that excess light does not hit the camera during shooting. Now we look for the frame you are interested in and, using macro photography, photograph it.

The result was a negative image. It's time to work with a photo editor. We open the resulting photo in the appropriate application, select the fragment we need, and crop it. Like this:


Next, open the filters in the application, find the “invert colors” or “negative” action and click on it. And our photograph immediately acquires natural colors.


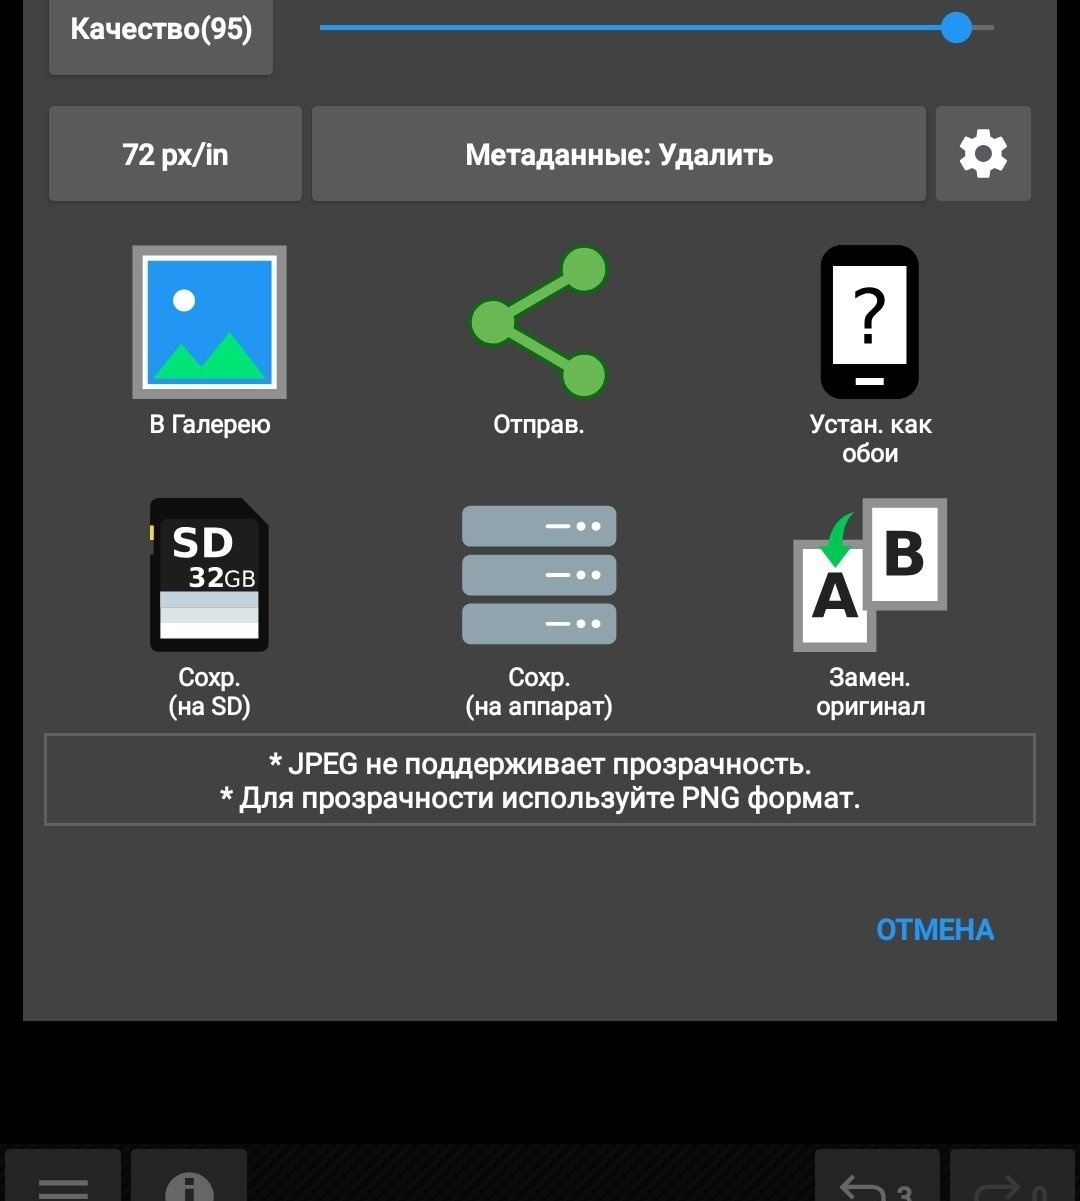
We adjust the contrast, brightness and saturation, and save it to the device’s memory.
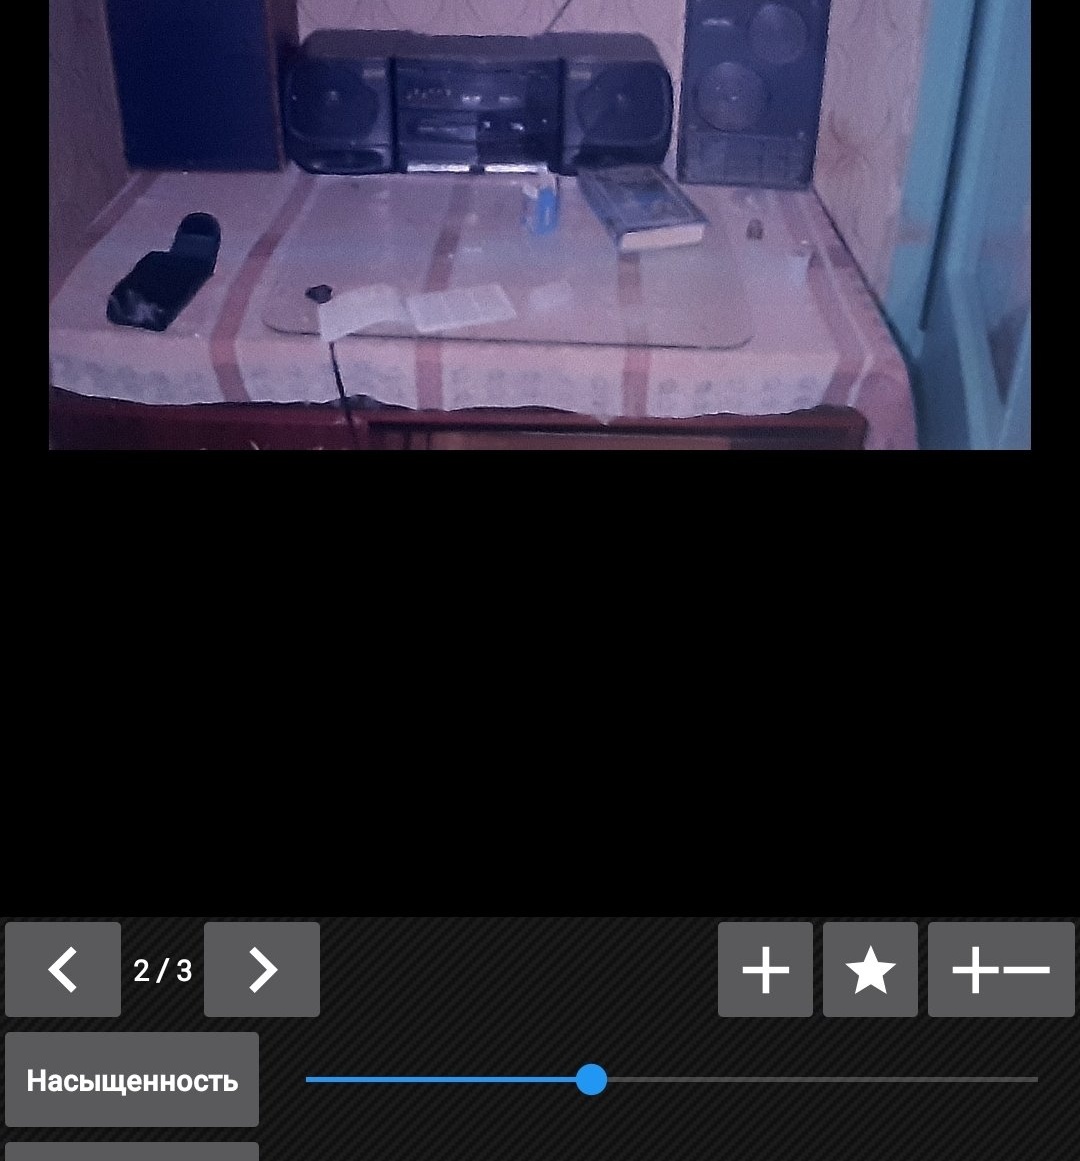
The result is a fairly passable and legible digital photograph.

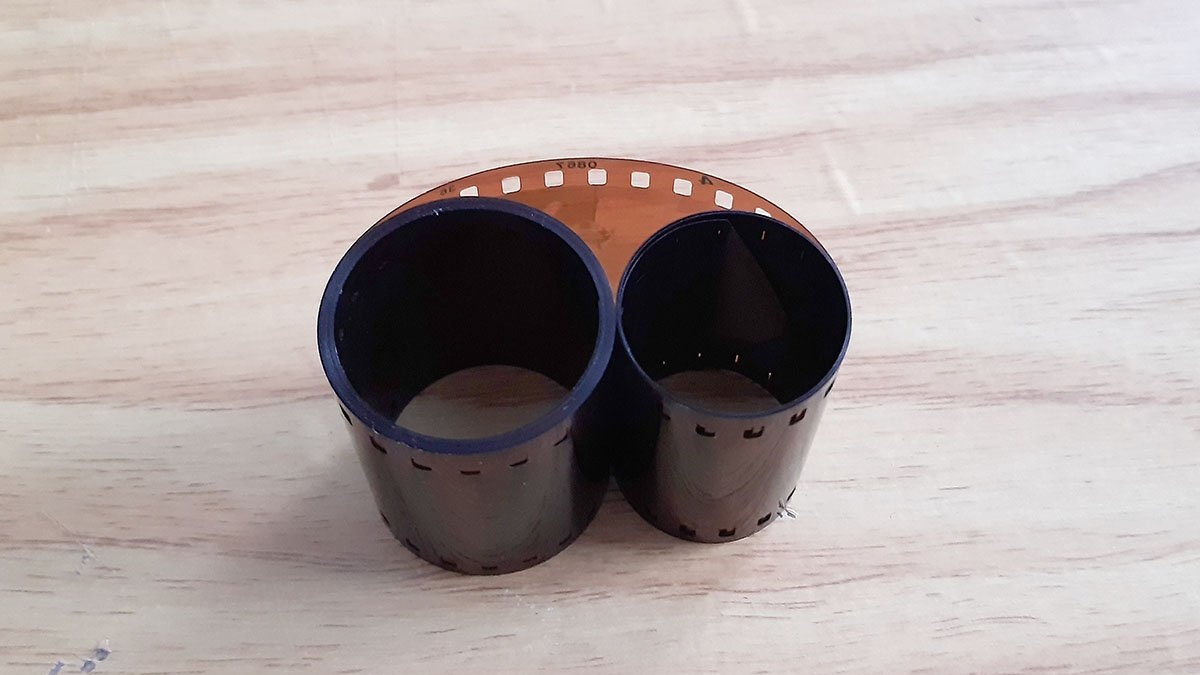
And this also takes into account the fact that I photographed in daylight, which, undoubtedly, does not have the best effect on the quality of the final result. It is better, of course, to do this in twilight or darkness, then the image will be clearer. Well, the condition of the film itself cannot but affect the result. I've had it since the early 90s. And even without a protective tube. It was just lying around in a box of junk. If your film is not worn out and was stored properly, then the result, again, will come out much better. This is how, in just a few minutes, you can get a digital version of an image from an old photographic film. This, of course, is not professional digitization, but still, the result is also not bad.