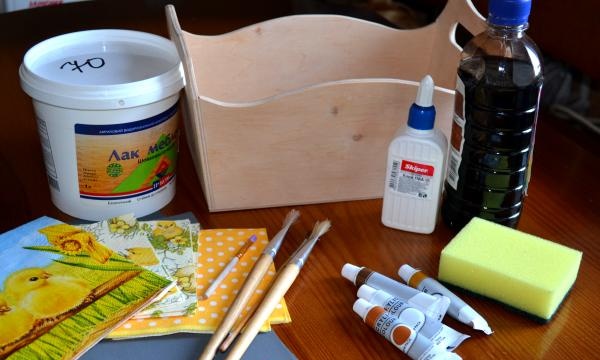
Prepare:
-wooden or plywood box;
-water- or alcohol-based stain;
- three-layer napkins;
- acrylic primer;
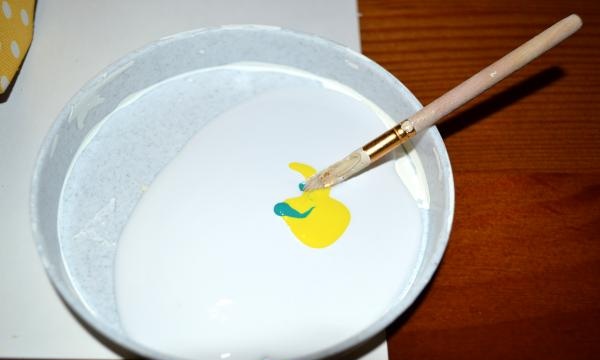
-acrylic paints;
-office file;
-acrylic lacquer;
- a household sponge;
-PVA glue"
- various brushes made of artificial bristles;
-fine sandpaper.
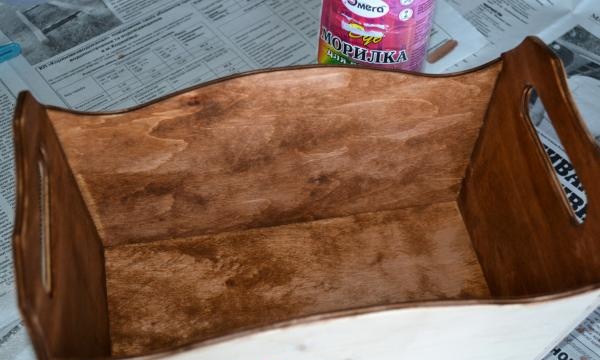
Prepare the box. It is necessary to remove all burrs and minor flaws; for this, use sandpaper. Prime the inner walls of the box with stain. Leave for 15 minutes to dry.
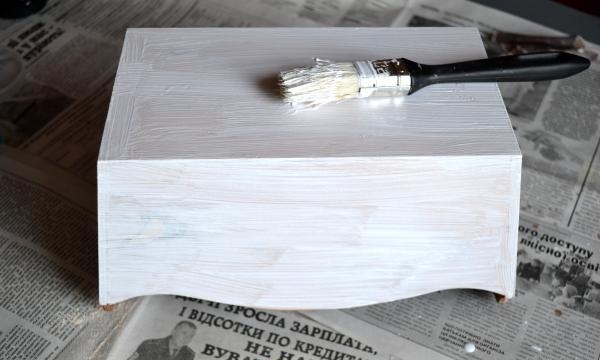
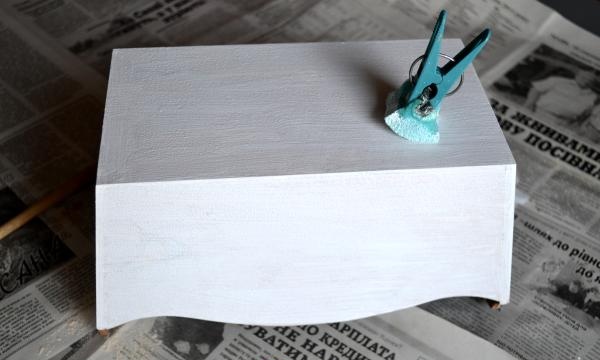
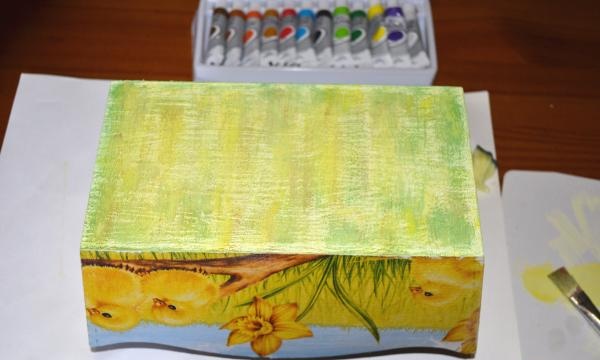
Prime the outer sides of the box with acrylic wood primer. Use a medium width brush. Wait 20 minutes and paint over it with white acrylic paint. It is better to apply the paint with a piece of a household sponge; do not smear it, but press the sponge, moving in small strokes in one direction, as if “smacking” the paint. Let dry for 20 minutes.
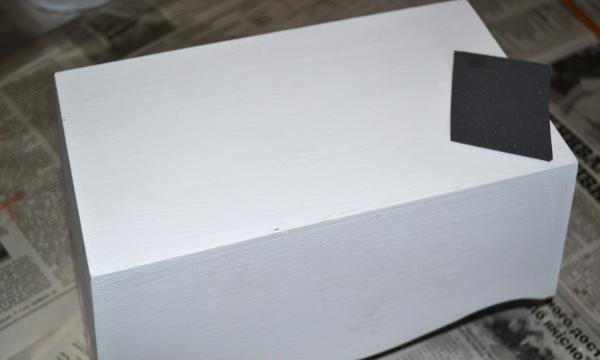
Cut a small piece of fine sandpaper and rub the entire outer surface of the box in a circular motion. You need to achieve a smooth feel. This is very important for further work with the napkin.
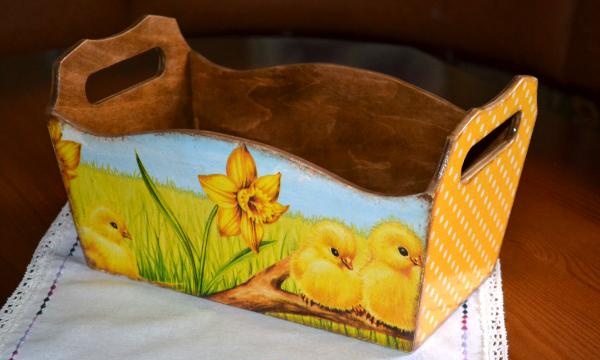
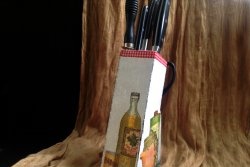
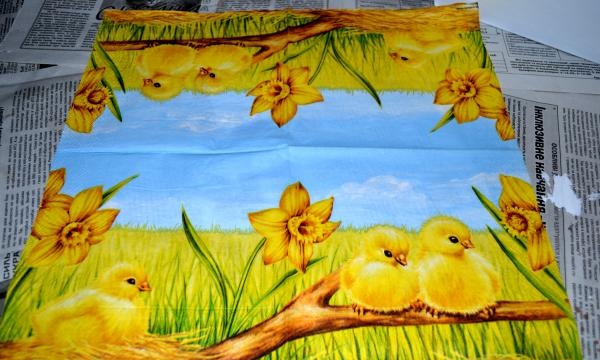
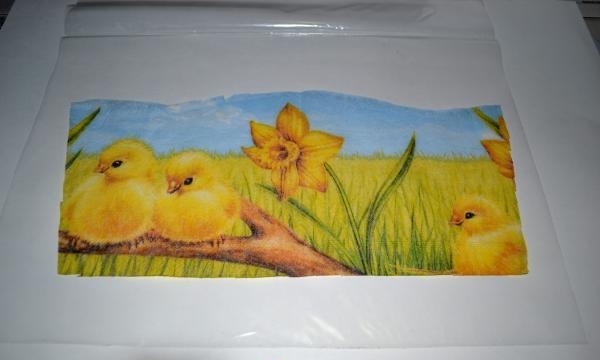
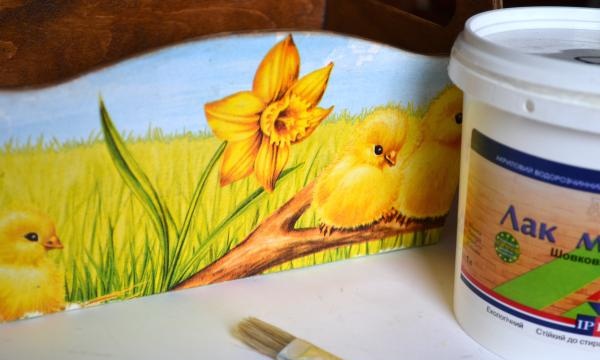
Take a napkin and separate the two white layers, we don’t need them. Apply the colored one to the side of the box and press it lightly to the corners to get an imprint of the borders of the side.
Stepping back a few millimeters from the intended lines, cut out the part needed for gluing.
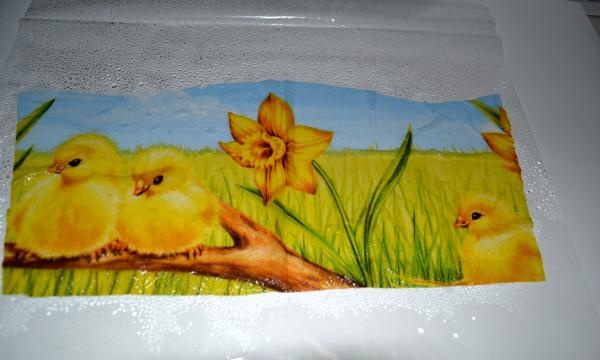
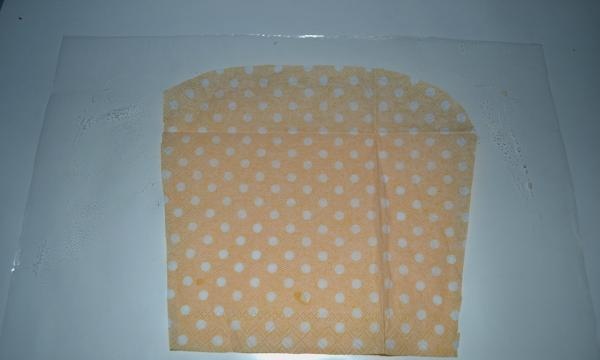
Take a regular office file. Place the cut out part face down on it and generously wet the napkin with a spray bottle; it should float in the water.
Lightly spread the napkin with your fingers, because it has wrinkled from getting wet. Don't be afraid, if you don't make any sudden movements, the napkin in a puddle of water will easily slide over the file! Lift the file, excess water will drain, and the napkin will remain stuck to it.
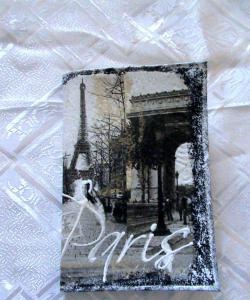
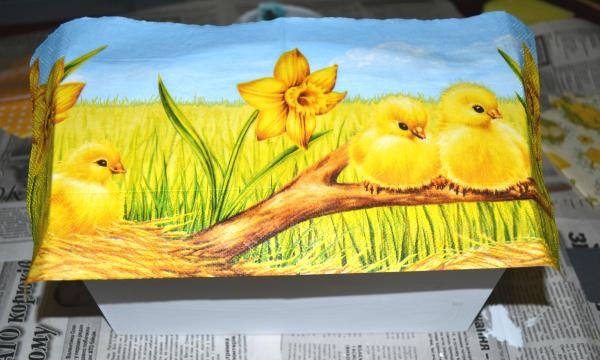
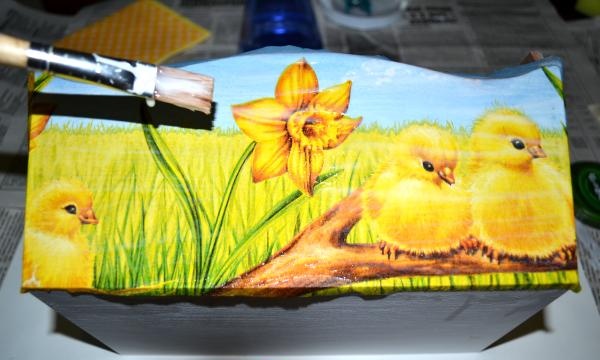
Slowly place the napkin along with the file on the wall of the box - with the napkin facing the box. Using a brush or piece of fabric, iron the napkin through the file, pushing out excess water and air. When you see that the napkin lies evenly on the wall of the box, pick up the file by the corner and remove it from the napkin.
Place PVA glue on the brush, apply it sparingly, and apply it to the napkin with gentle movements. One side is glued.
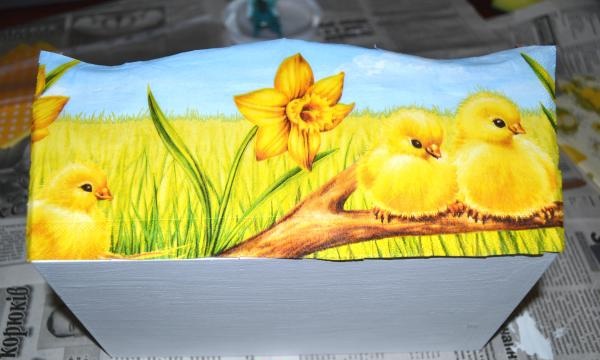
Cover all other three sides in the same way.
Let the box covered on all sides dry for an hour.
Use fine sandpaper to wipe off any protruding parts of the napkin.
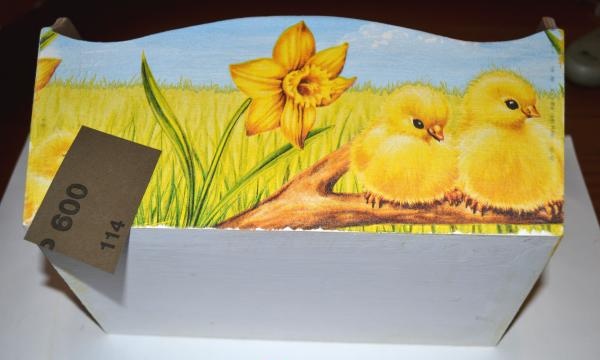
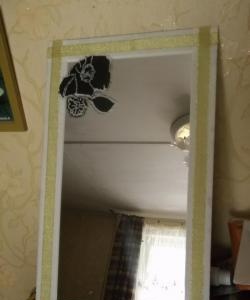
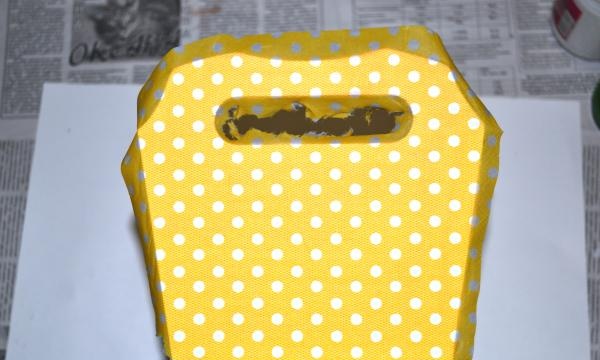
Let's move on to the outside of the bottom. While you have it white, you need to paint it to match the sides. To do this, mix the paints until you get the shade you want and paint the bottom with a dry brush. Let the paint dry.
The stained, glued and painted box must be varnished. Apply several layers.Before applying a new coat of varnish, check that the previous one has dried.
Paint the protruding parts of the box (corners, ends) with brown paint. And go over it with varnish again.
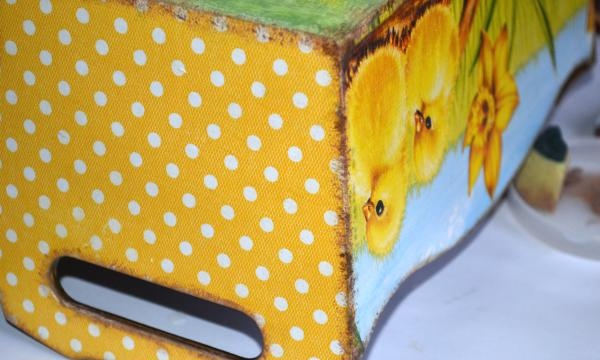
The egg box is ready!