After all, it makes it much easier to arrange your workspace and keep your desk tidy. It is this item that we propose to make with your own hands from the most ordinary thick cardboard. Moreover, this activity does not require any special skills or effort. And to ensure that a stationery organizer made from cardboard yourself lasts a long time, it can be covered with vinyl or non-woven wallpaper. Which, in fact, is what we plan to do.
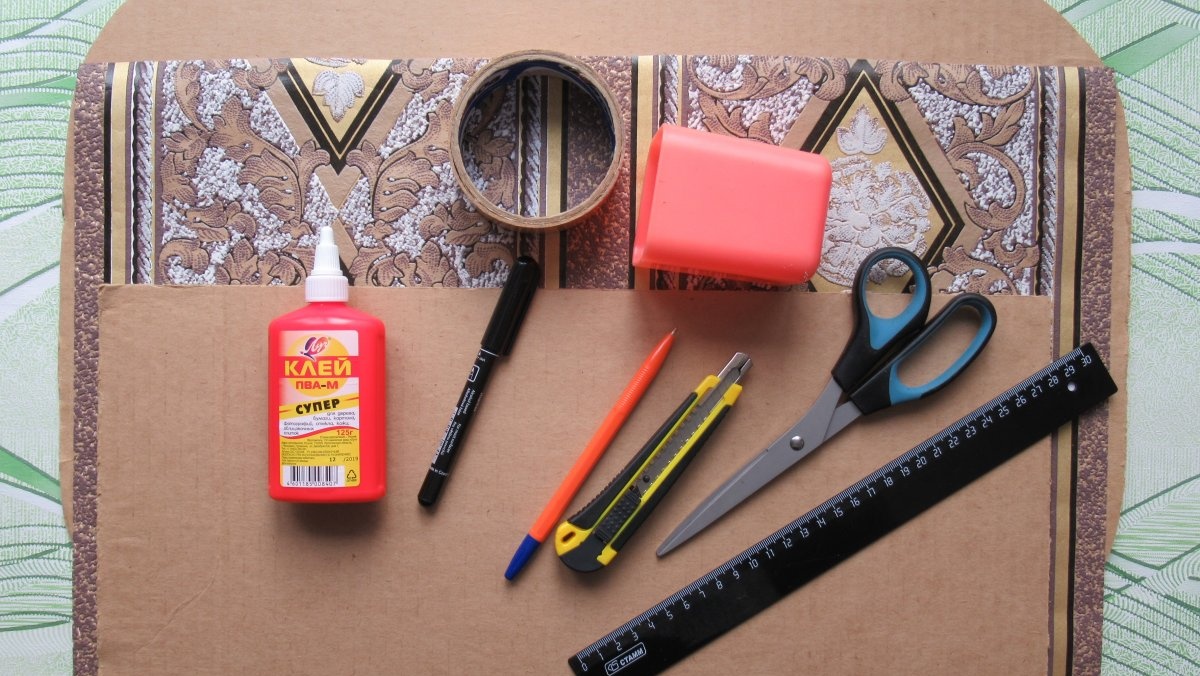
Necessary materials:
- corrugated cardboard – slightly larger than A2 format;
- scissors;
- stationery knife;
- ballpoint pen (or pencil);
- ruler;
- black felt-tip pen (optional);
- PVA glue (you can use a glue stick);
- double-sided tape;
- vinyl wallpaper;
- small plastic cup.
How to make a desktop organizer with your own hands:
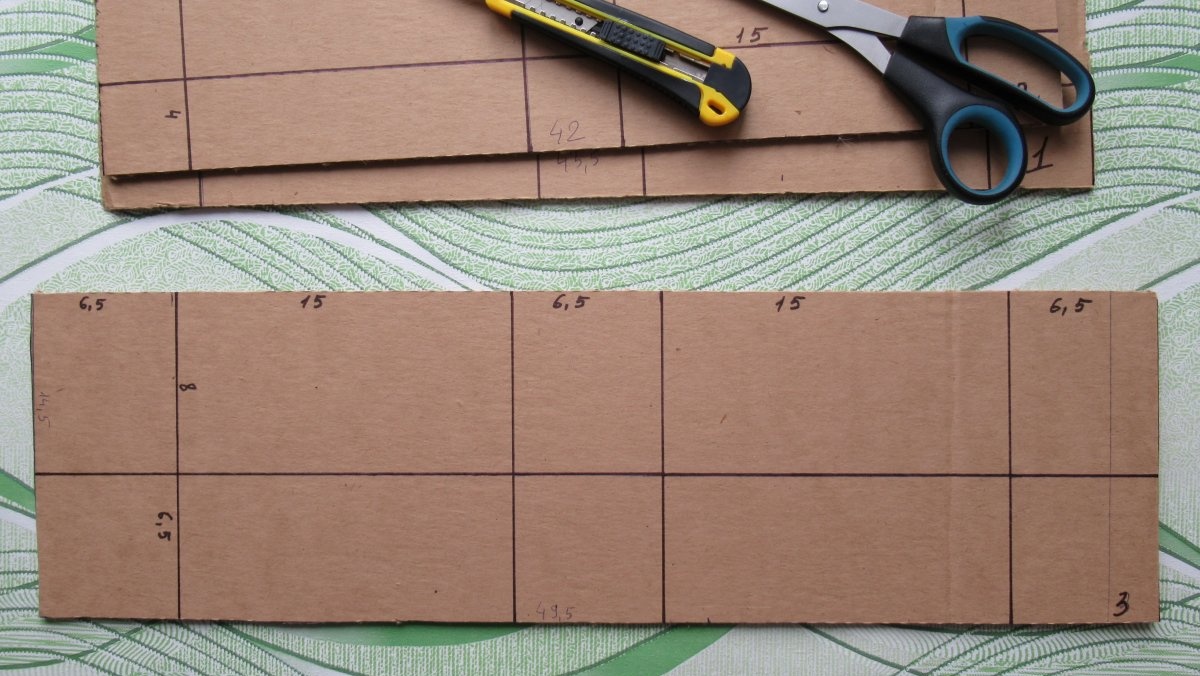
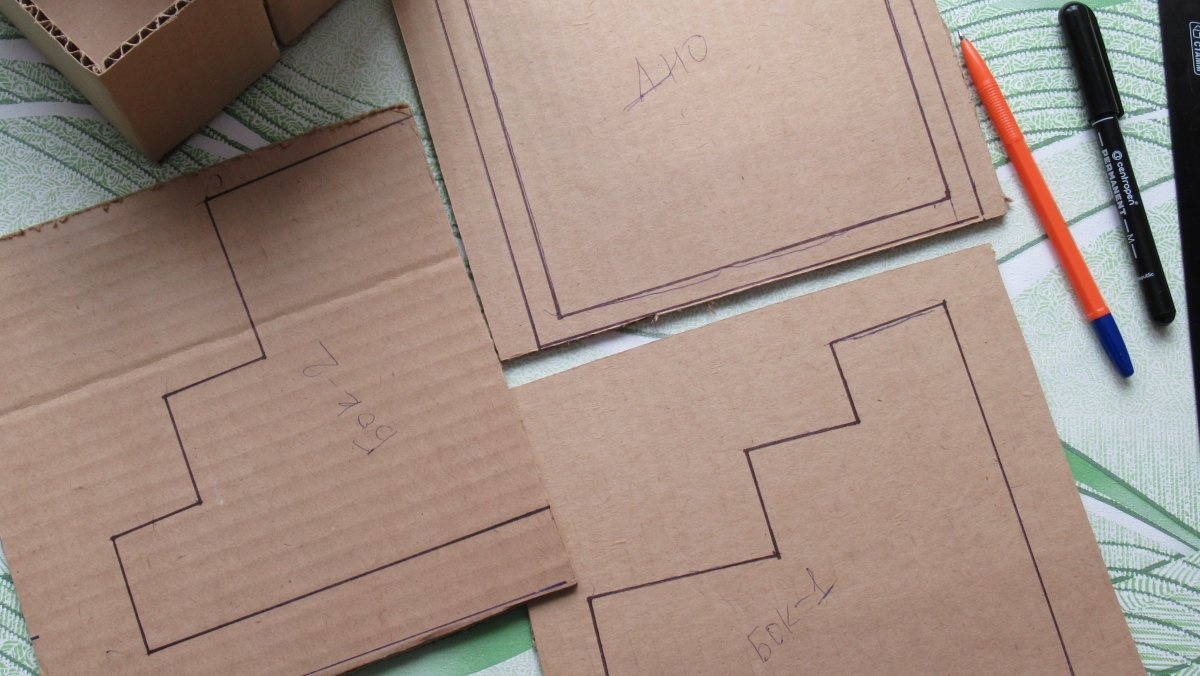
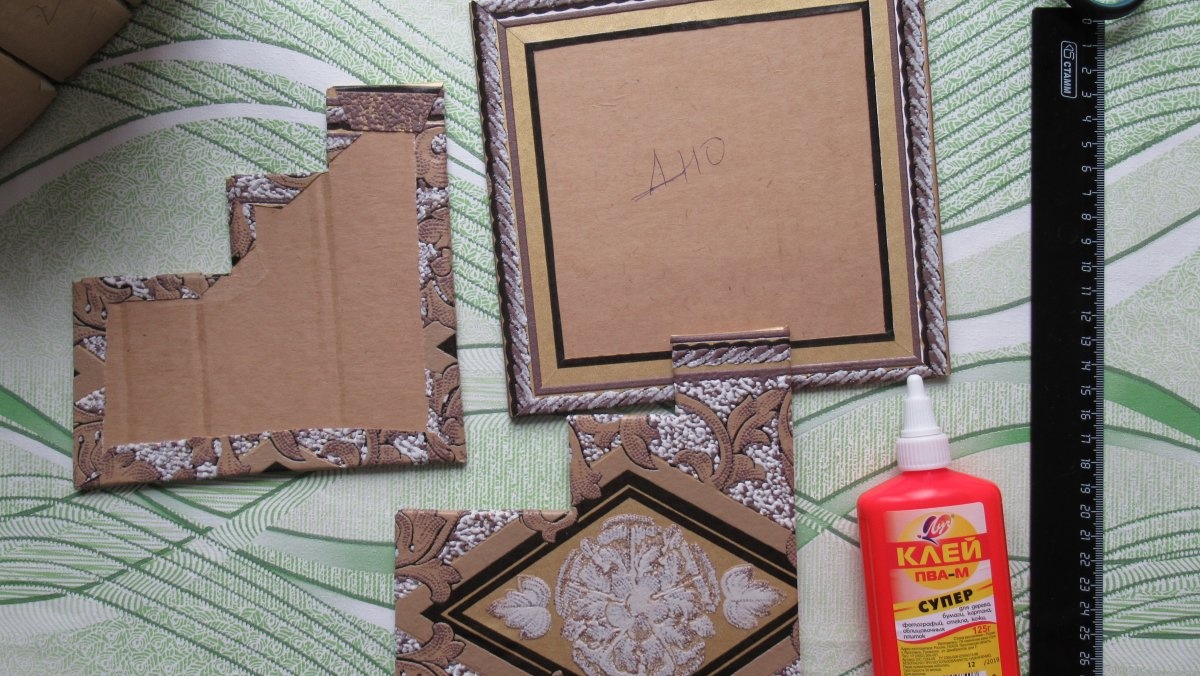
We are preparing a cardboard base for our organizer, which will consist of three parts of different heights and widths. The length of all compartments will be the same - 15 cm.
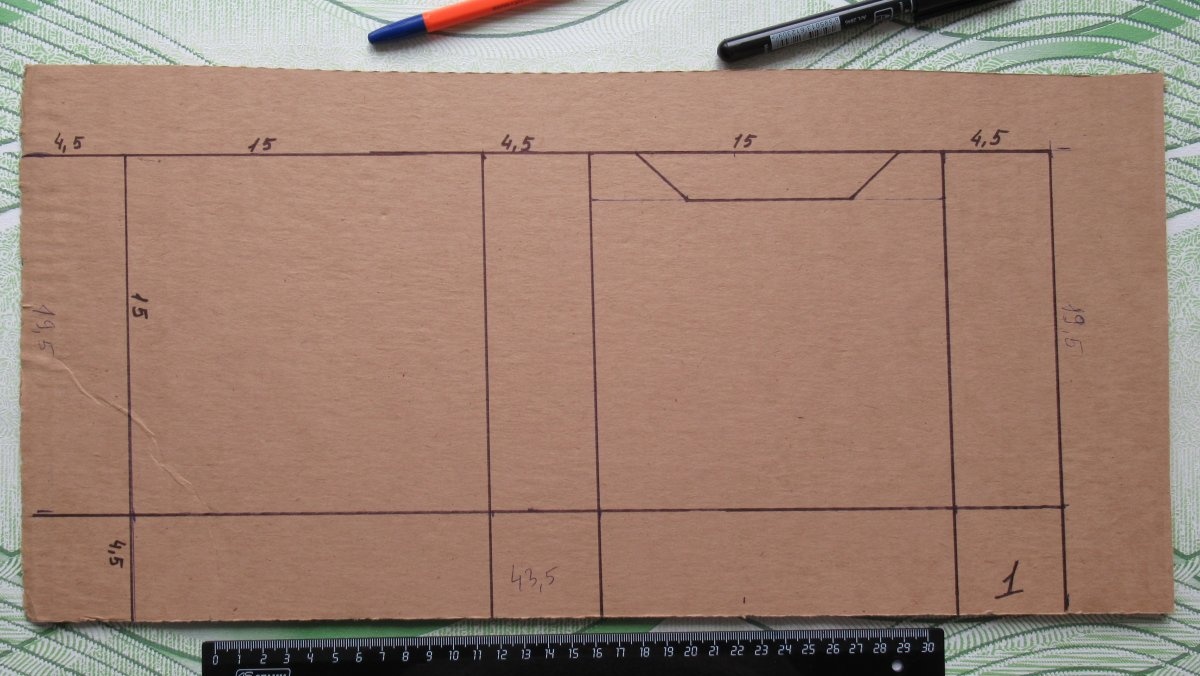

The dimensions of the largest part of the organizer are as follows: width - 4.5 cm, height - 15 cm. For it, we measure and draw out a solid piece with overall dimensions of 19.5 x 43.5 cm (including allowances for hems for gluing).
The dimensions of the middle part are as follows: width - 4 cm, height - 12 cm. For it, we draw a solid part with dimensions of 16 x 42 cm.
The dimensions of the small part are as follows: width - 6.5 cm, height - 8 cm. For it, we draw a solid part with dimensions of 14.5 x 49.5 cm.
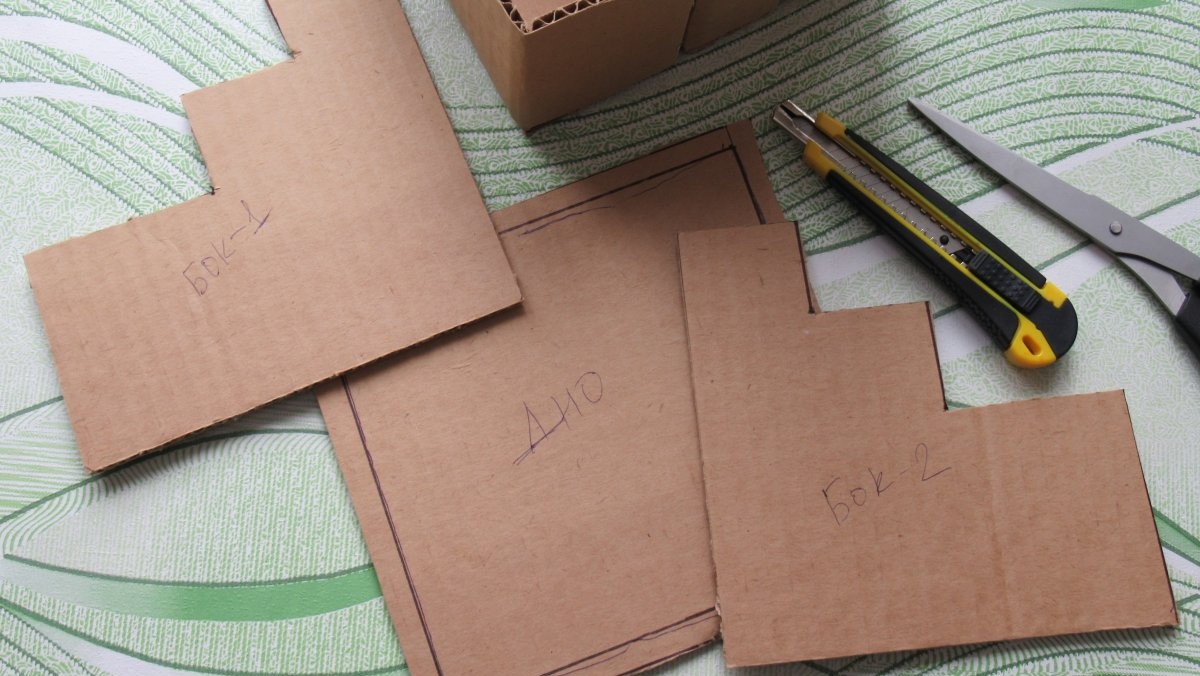
We cut out cardboard blanks using a stationery knife and scissors.

We bend the cardboard along all the drawn lines and cut out the extra elements.

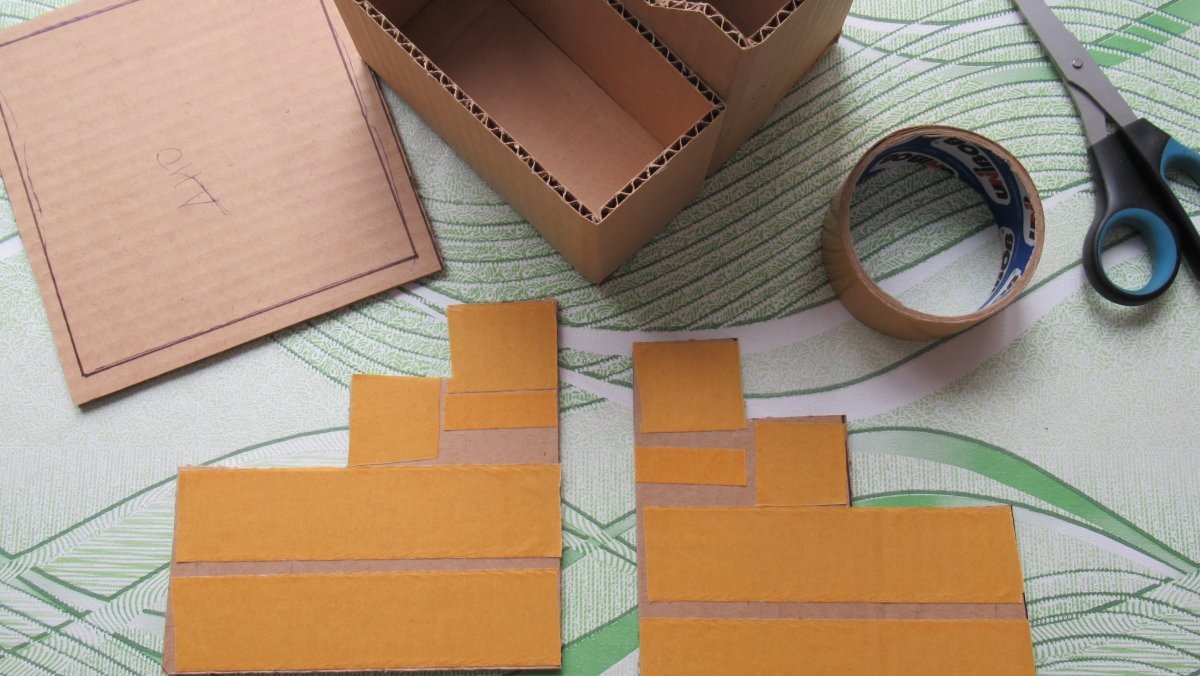
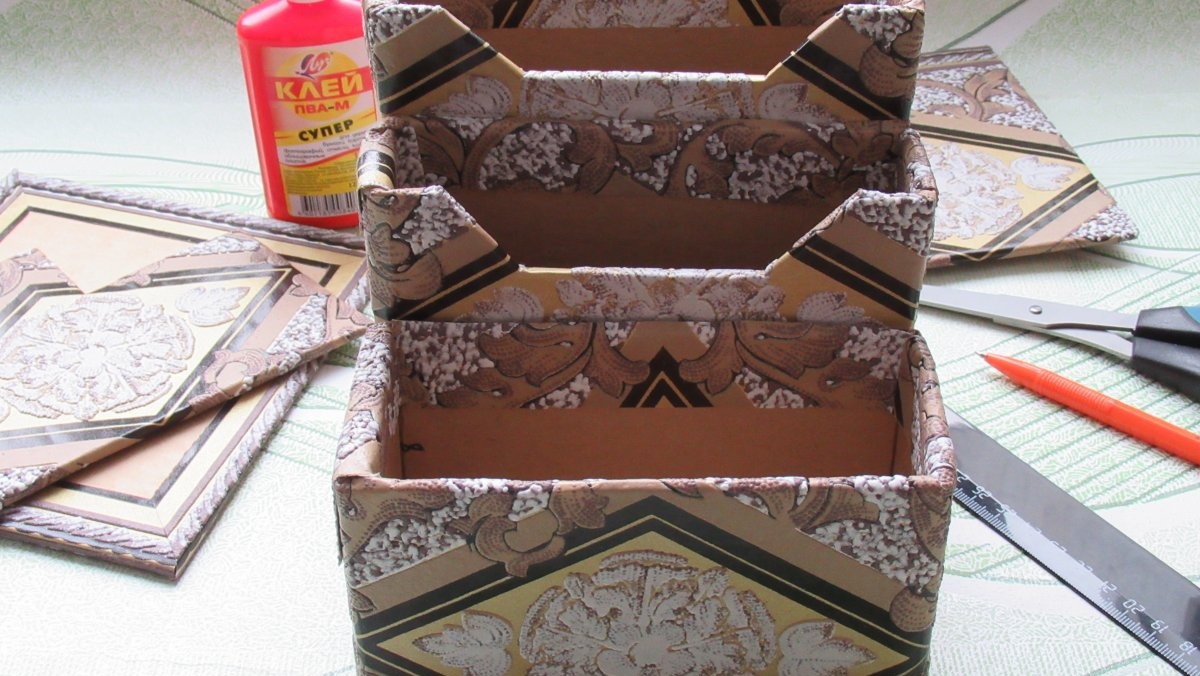
We place strips of adhesive tape on each workpiece on one lower part, which will serve as the bottom, and one side.
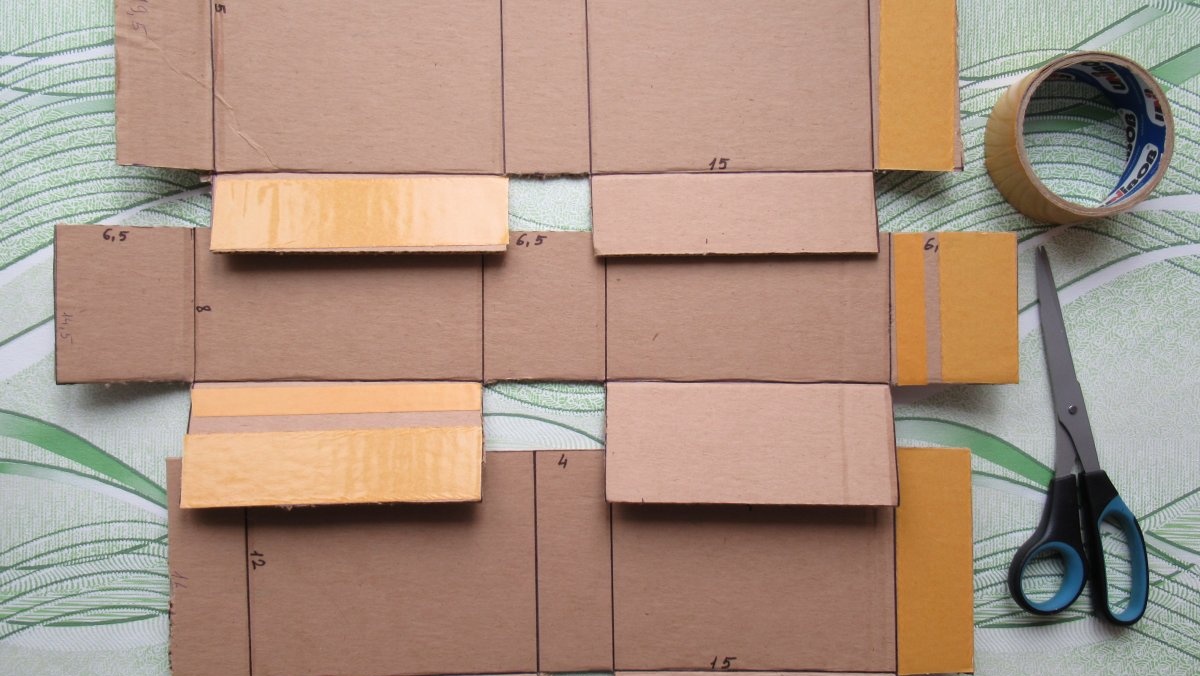
We remove the protective layer from the tape, glue the two side parts and the two bottom parts on each workpiece. As a result, we get three boxes.
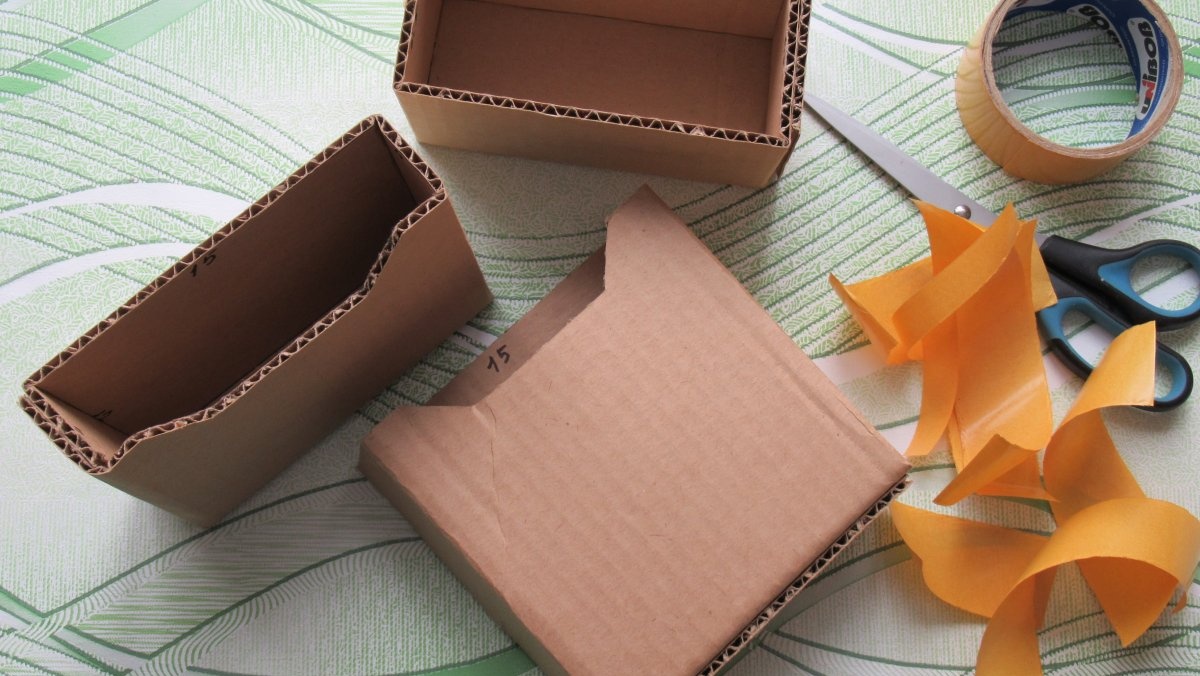
We place strips of tape on the back wall of the medium and small boxes and glue the three compartments of the future organizer together in descending order in height.

On cardboard we outline both sides and the bottom of the resulting figure. Add a centimeter to the bottom contour on all sides. Cut out the details.
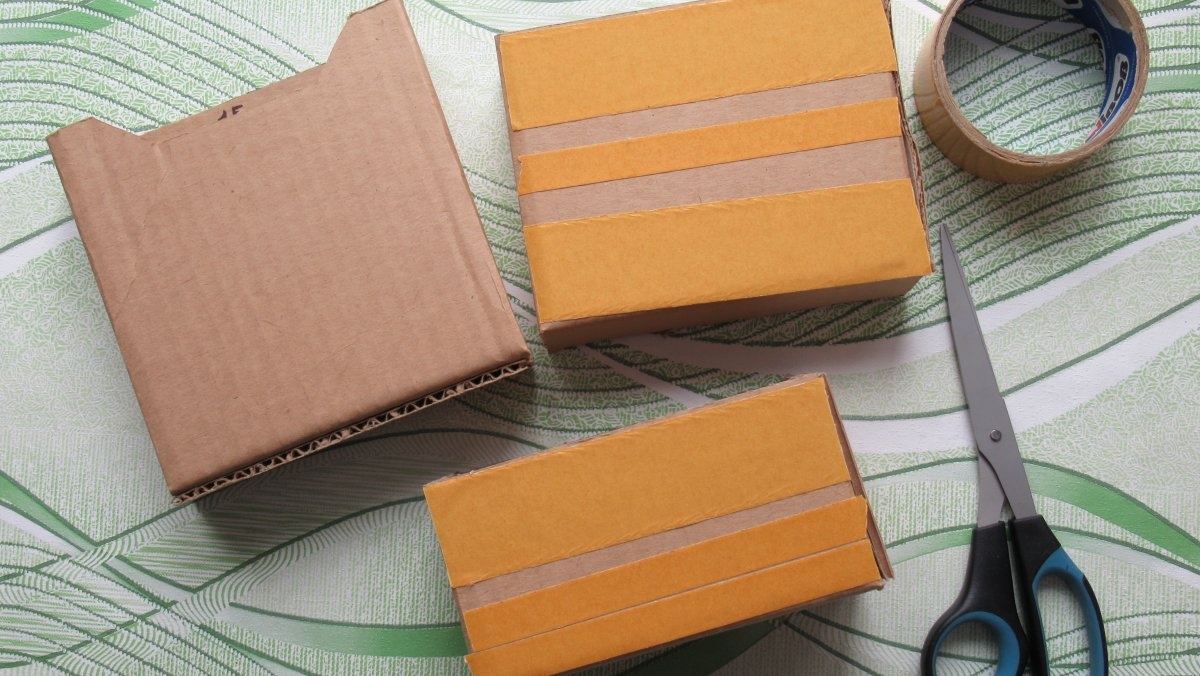
We put tape on the sides and glue them to pieces of wallpaper. Then, adding one and a half centimeters to the allowances, cut it out. For the bottom, cut strips of wallpaper about 3 cm wide.
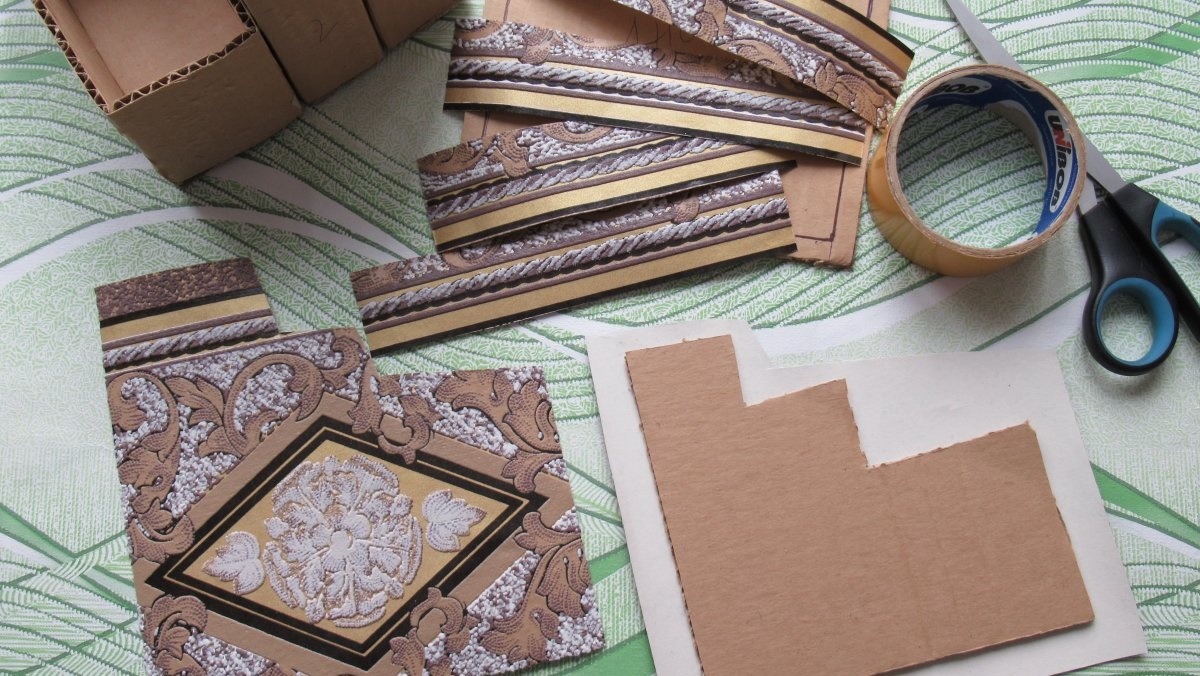
At the side parts we bend the allowances to the wrong side and fix them with glue. We cover the bottom with strips (we put 1.5 cm on the front side, and fold 1.5 cm back).
Now we cut out fragments from the wallpaper according to the sizes of the open front parts of the organizer (we have three of them) and the back, not forgetting to add allowances (at least one and a half centimeters).

Glue the prepared wallpaper fragments. Then we run strips along the entire perimeter of the inside of the glued compartments (boxes) so as to simultaneously cover the edges of the corrugated cardboard.

We put tape on the bottom and sides, covered with wallpaper, on the wrong side and glue it to the base, that is, we assemble our organizer.


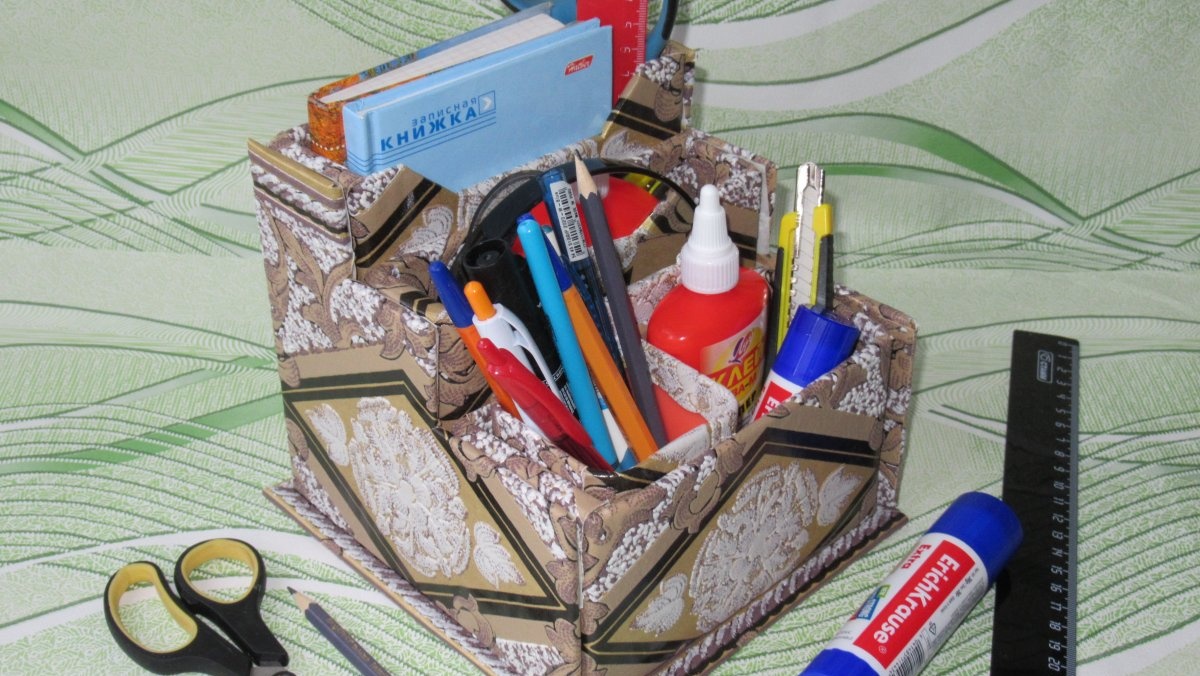
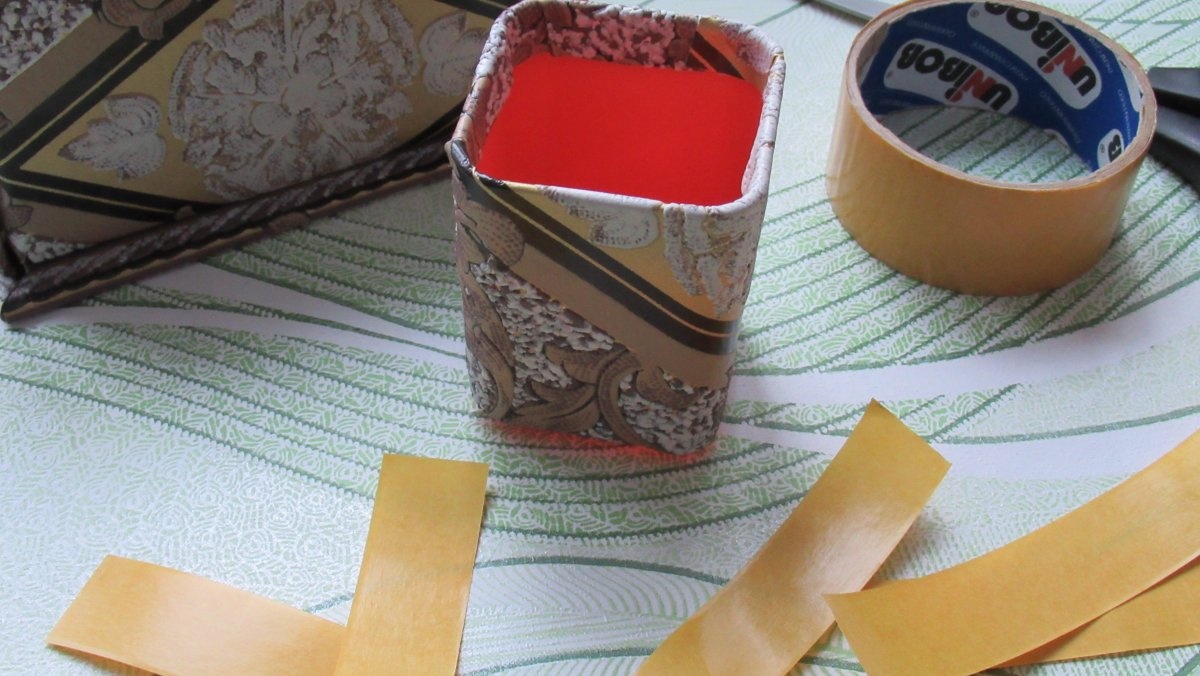
That's all, actually. We cover the plastic cup with wallpaper and insert it into the small compartment of the organizer (it will contain pens and other writing utensils).
Ready. All that remains is to fill our organizer with stationery items and give it a convenient place on your desk or computer desk.


Enjoy!