Namely:
- - a couple of pallets.
- - remains of OSB sheet.
- - several strips of 18 mm plywood (although material from pallets could be used).
- - 32 mm self-tapping screws, Moment carpentry glue and moisture-resistant paint.
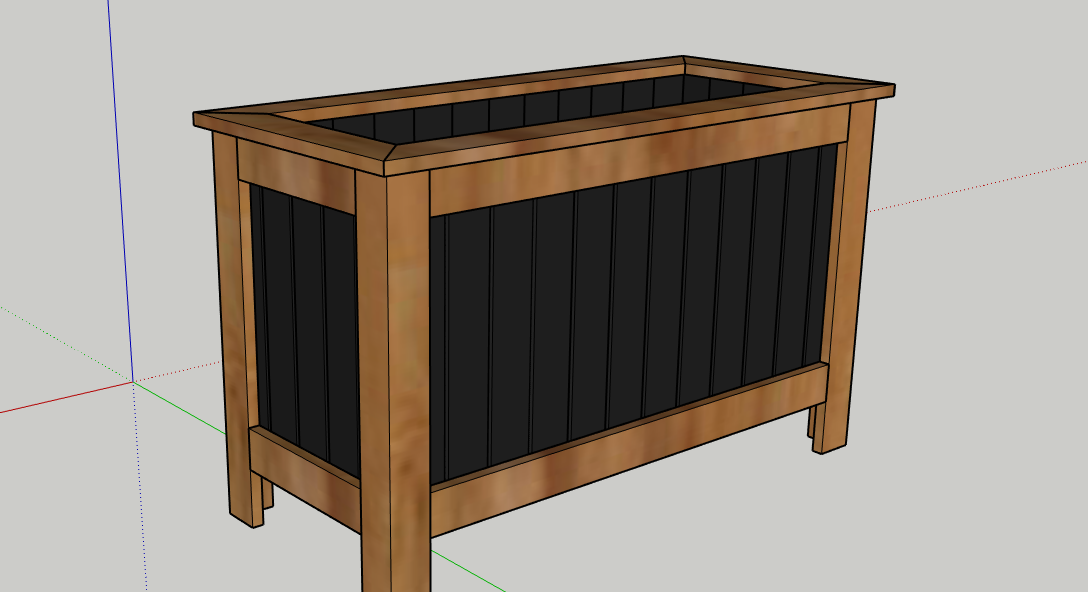
Stage one (3D model)
I drew a 3D model in SketchUp (I am attaching a link to the model) to roughly understand how much material I will need.
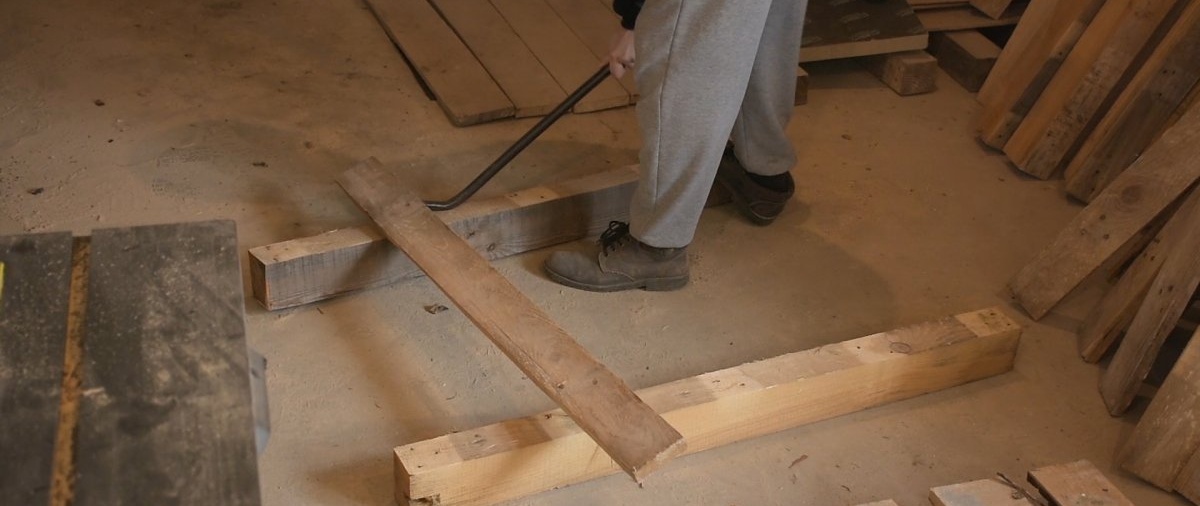
Stage two (material preparation)
I started dismantling the pallets and removing nails from them.

To make the nails come out easier, I carried out one manipulation in the form of a couple of strong presses on the corners of the pallet.
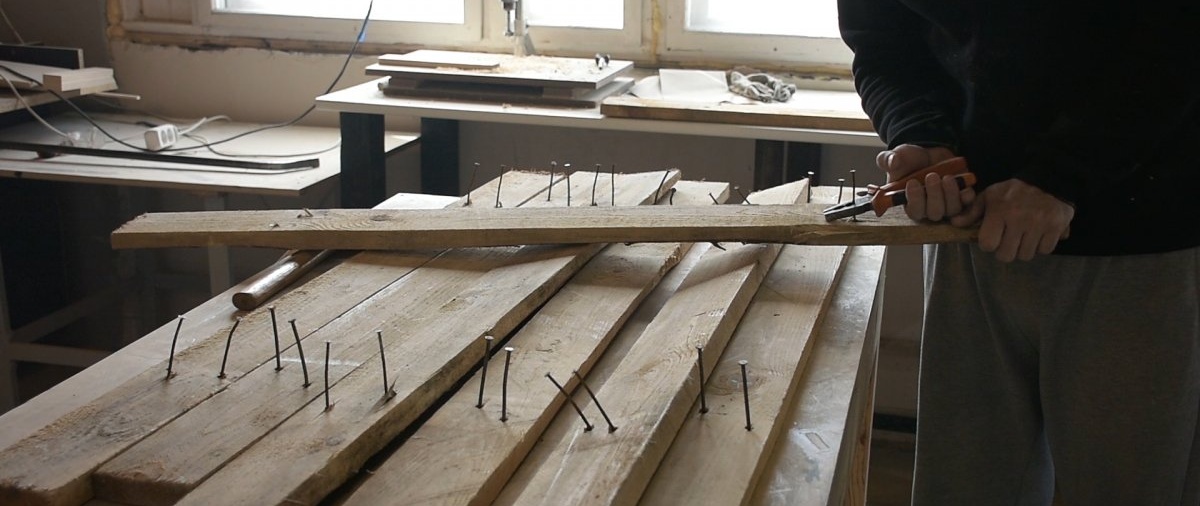
After disassembly, I removed all the nails from the boards and went to plan them.
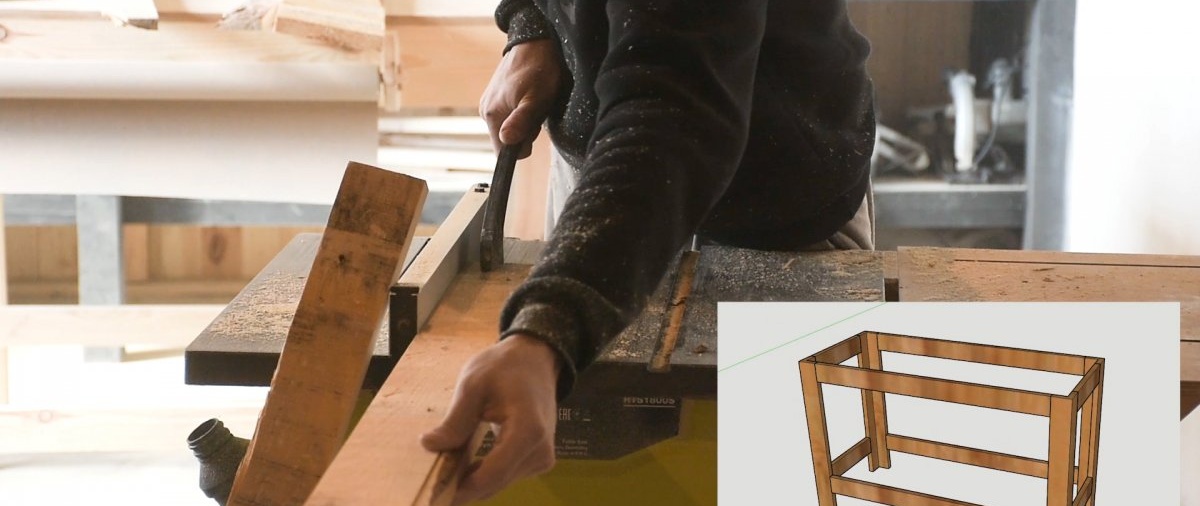
I planed two sides on the jointer for a right angle.

To begin with, I prepared the first batch of boards that were intended for lining the container. The width of the boards for covering is 80 mm.

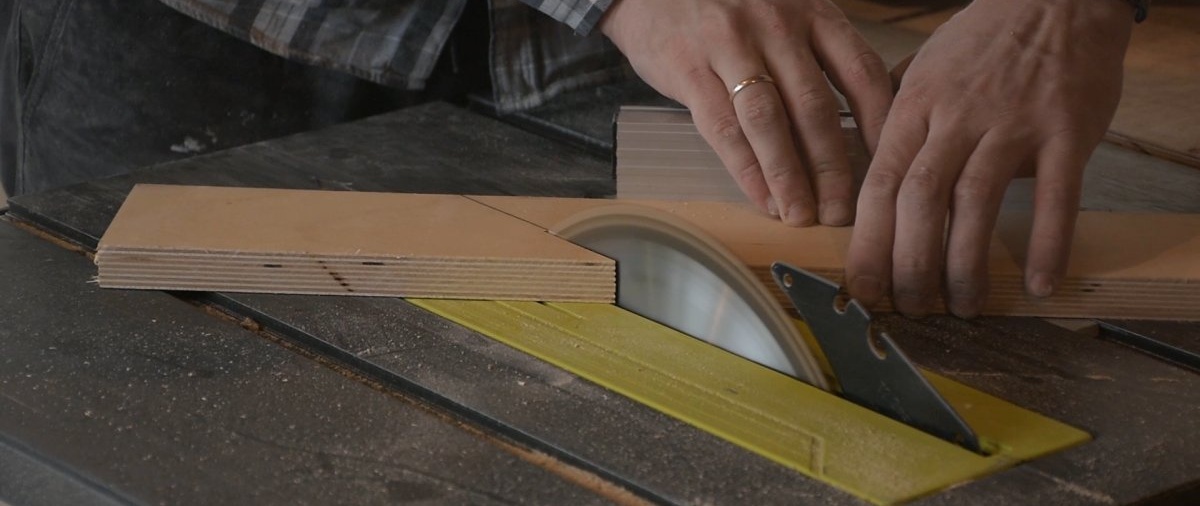
And I cut this batch on a carriage into a size of 500 mm.

I unravel the second batch of boards for the frame of the container. The width of the boards is 70 mm.
And I also cut all the parts on the carriage to size.
Container frame dimensions.

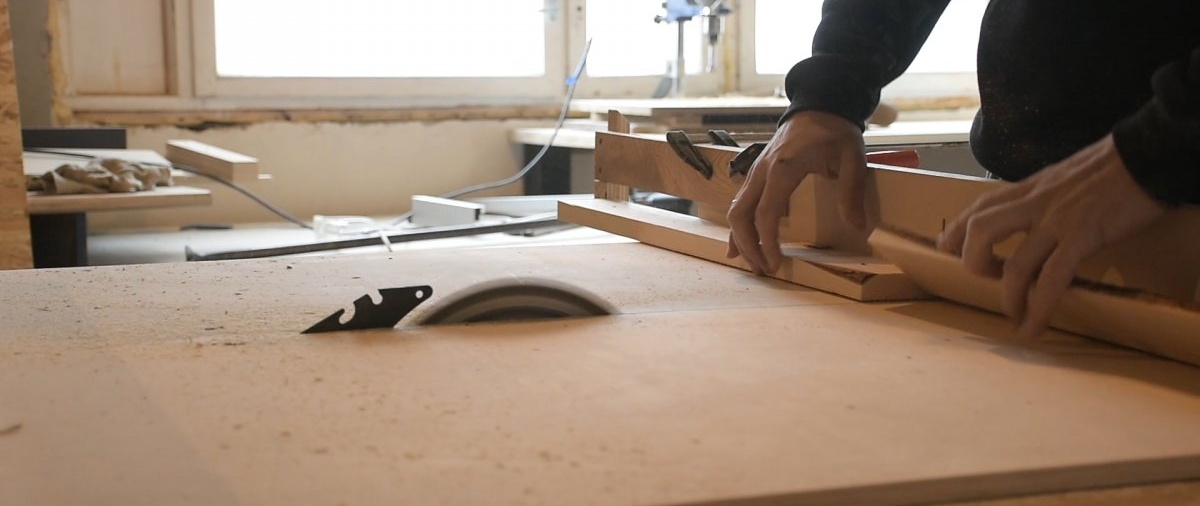
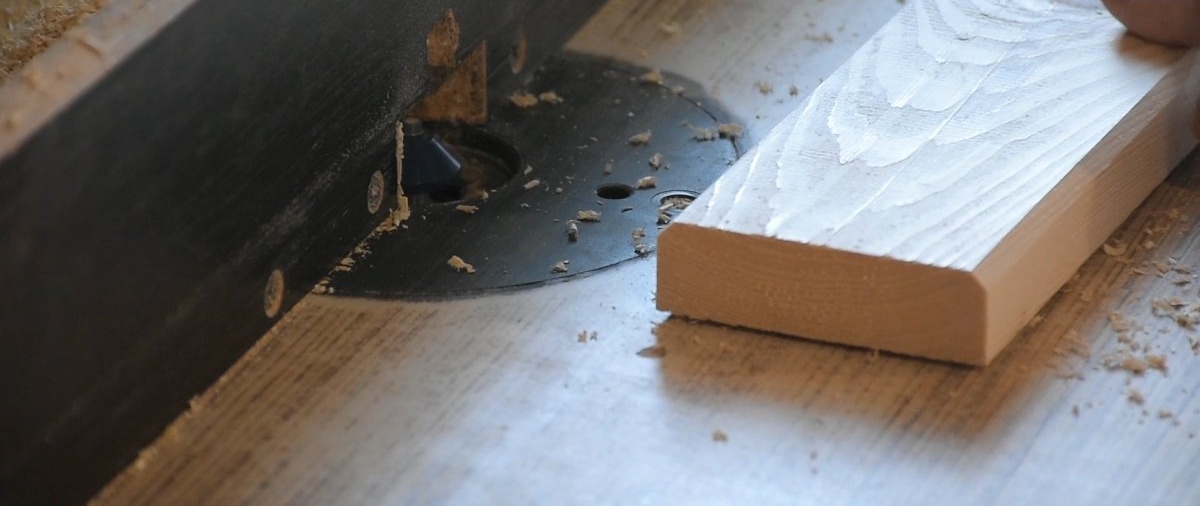
After cutting all the parts, I used a router to chamfer at 45 degrees on all the front faces of the container elements.
Stage three (container assembly)
I assembled the frame of the container using an “oblique screw” connection (below is a picture of this connection) with the addition of “Moment carpentry” glue.

4 legs were also pulled together with an oblique screw. The leg was made of two parts, the first part is 635 mm x 70 mm, the second part is 635 mm x 50 mm. The thickness of the boards is 20 mm, so the end result is a flat corner with sides of 70 mm x 70 mm x 635 mm.

The result of the frame assembly.


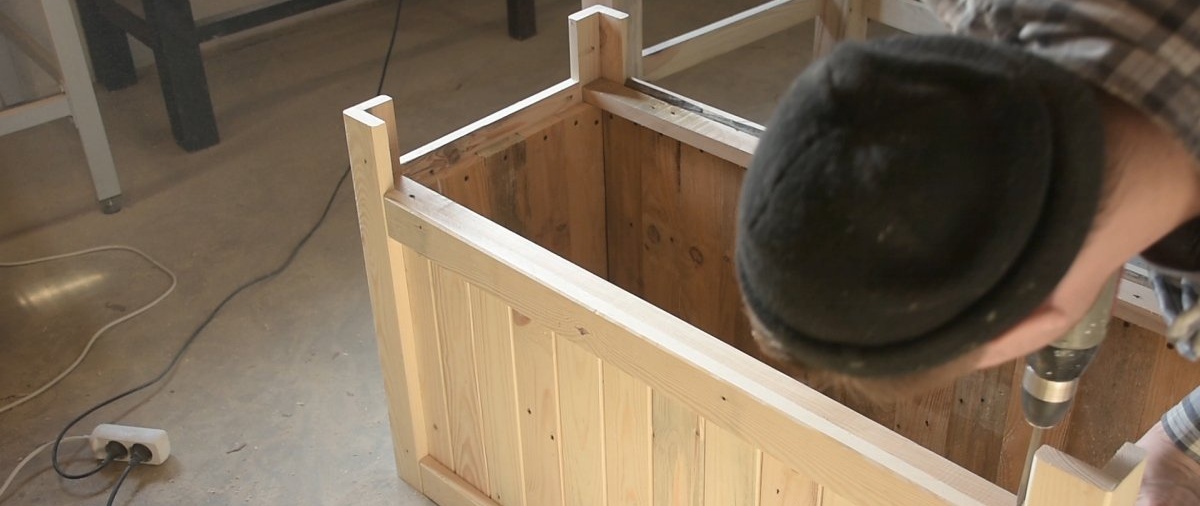
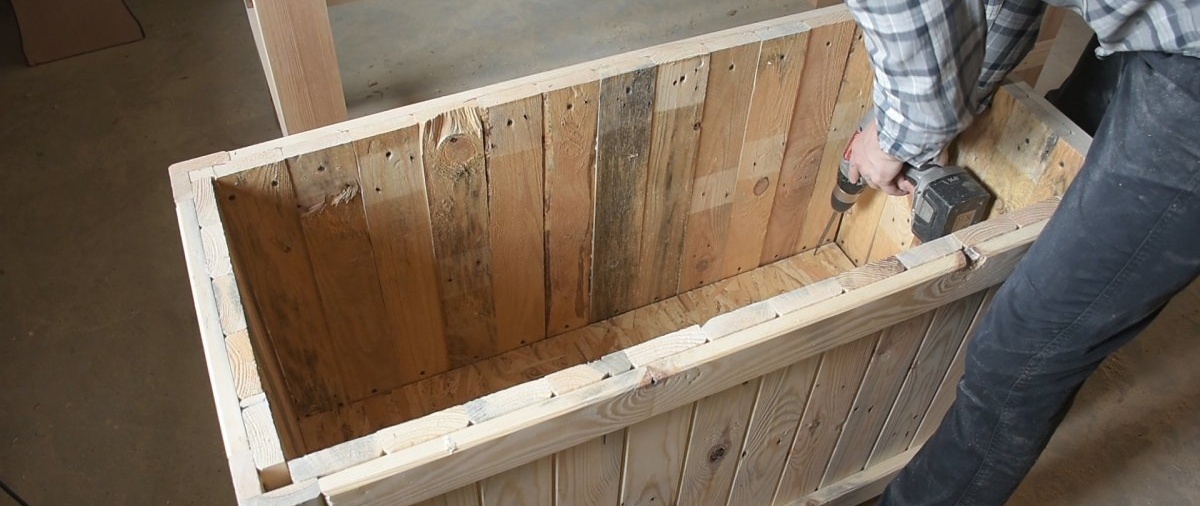
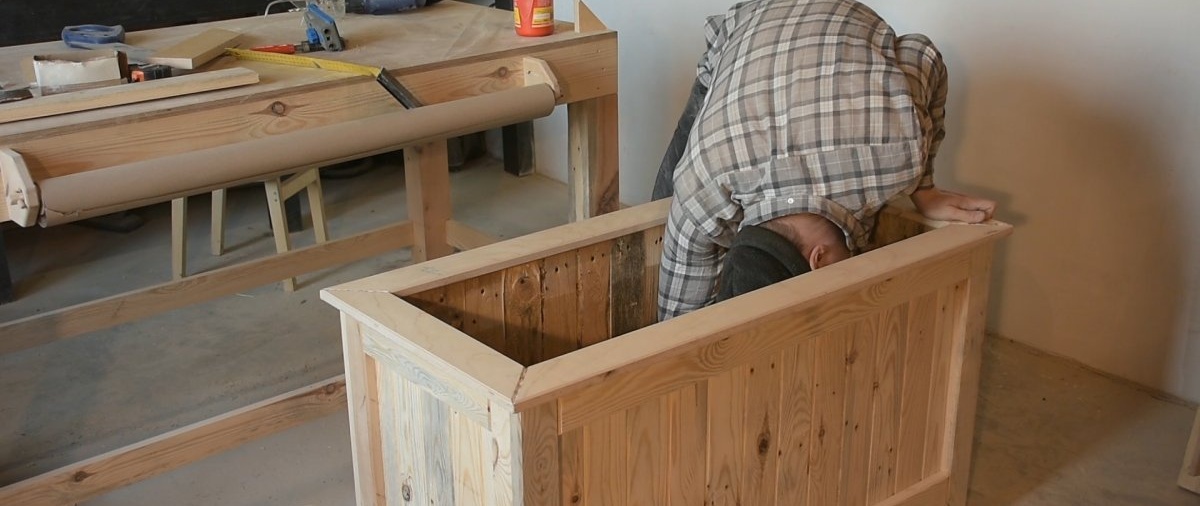
Having previously sanded the sheathing, I began installing it. I used screws and wood glue.

The result with the sheathing.

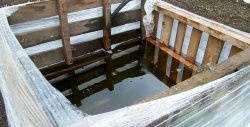
For the bottom of the container I used an OSB sheet and to strengthen its fastening I added a birch block along the perimeter on which the sheet would rest.
Having cut the OSB sheet to size, I place it on the bars and fasten it with self-tapping screws.

For the trim on top of the container I used 18mm plywood. The strip width is 80 mm.

The connection of the platbands was made at 45 degrees. I also chamfered all the edges of the platbands.
I screwed the trims onto the same oblique screw and wood glue.
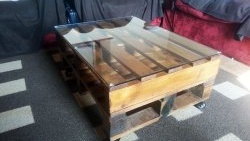
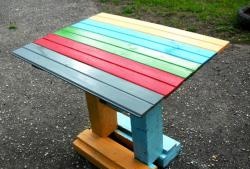
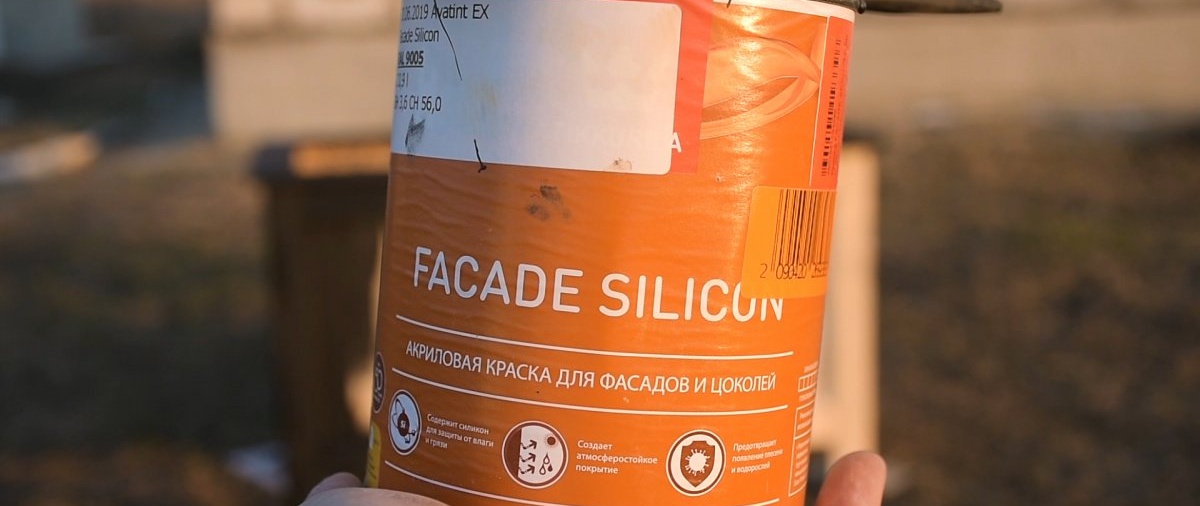
All that remains is to coat the product with moisture-resistant paint.

I used this façade acrylic paint.
And you're done!
The detailed manufacturing process can be seen in the video below.
Thank you for your attention!