The key to high yields of garlic lies in its proper planting. If this is initially done in a bad place and at the wrong time, then neither watering nor fertilizers will help.
Selecting a location
Garlic should be planted in fertile soil, well lit by the sun, in which there is no stagnant water. It is important that its predecessors are not onions and potatoes. Also, it should not be planted in the same place for the second year in a row. It grows well after legumes, cucumbers, corn, pumpkin, and cabbage. The bed is dug up or milled with a walk-behind tractor 2-3 weeks before planting, but preferably before the autumn rains.

Boarding time
You need to time it so that the garlic can take root before the temperature drops. This is done 2-3 weeks before serious night frosts. If you plant it too early, it will sprout and then freeze. It should not be planted before the end of the rainy season. It is optimal for the night temperature to reach 5-6 degrees Celsius.
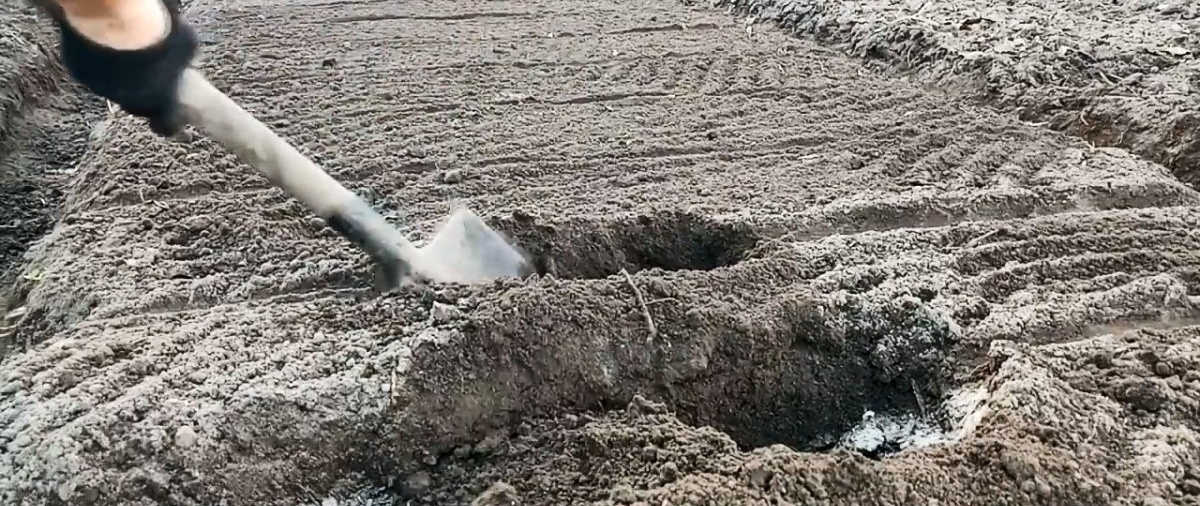
Drainage furrows
You need to dig deep furrows on the sides of the bed. Melted snow will flow into them in the spring. If this is not done, possible stagnation of water will cause the heads to rot. In summer, the furrows can be covered with earth.
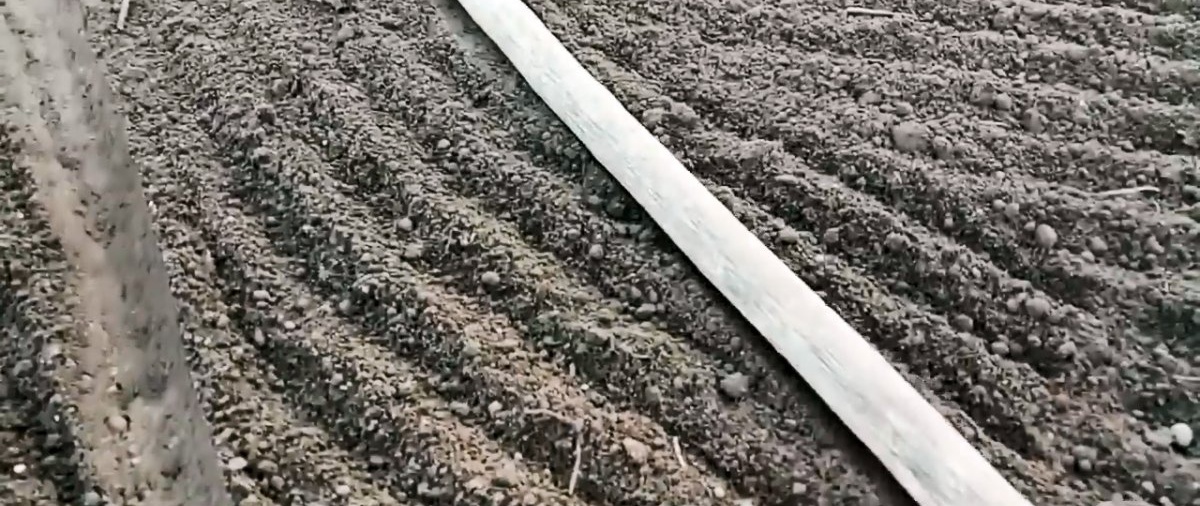
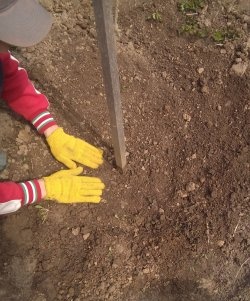
Preparing the rows
Immediately before planting, rows are marked on the site at intervals of 25-28 cm. Each of them is dug out with a shovel turned sideways. Humus and ash are poured into the bottom of the furrows. When preparing the next row, the soil from it is used to backfill the previous one. That is, they almost completely overlap. The task is simply to put organic fertilizer on the bottom. The backfill is done in such a way that it remains visible where the work was done.
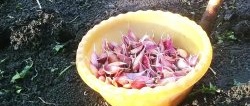
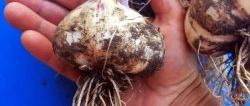
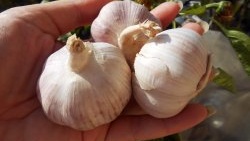
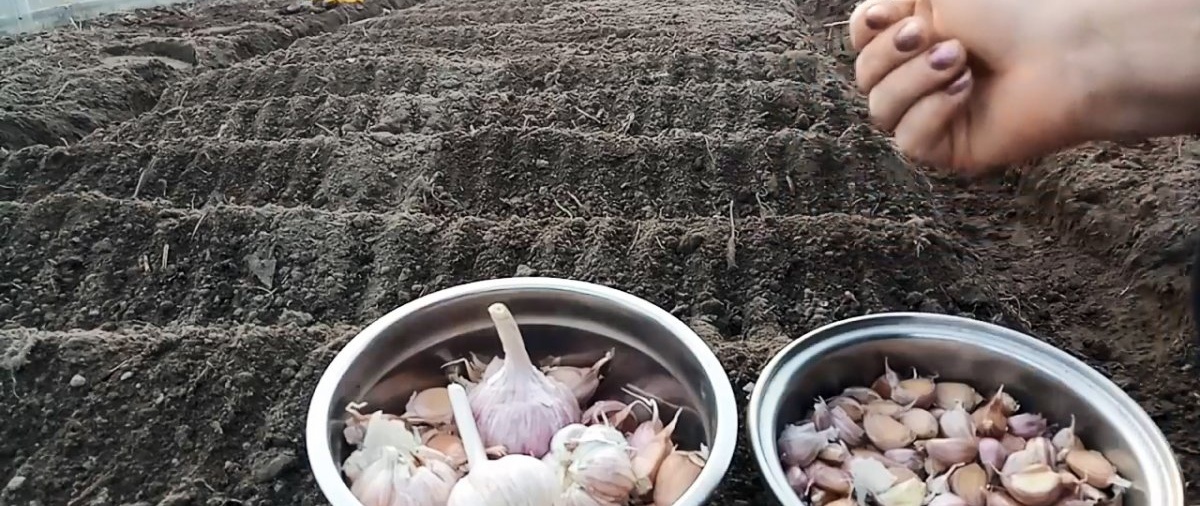
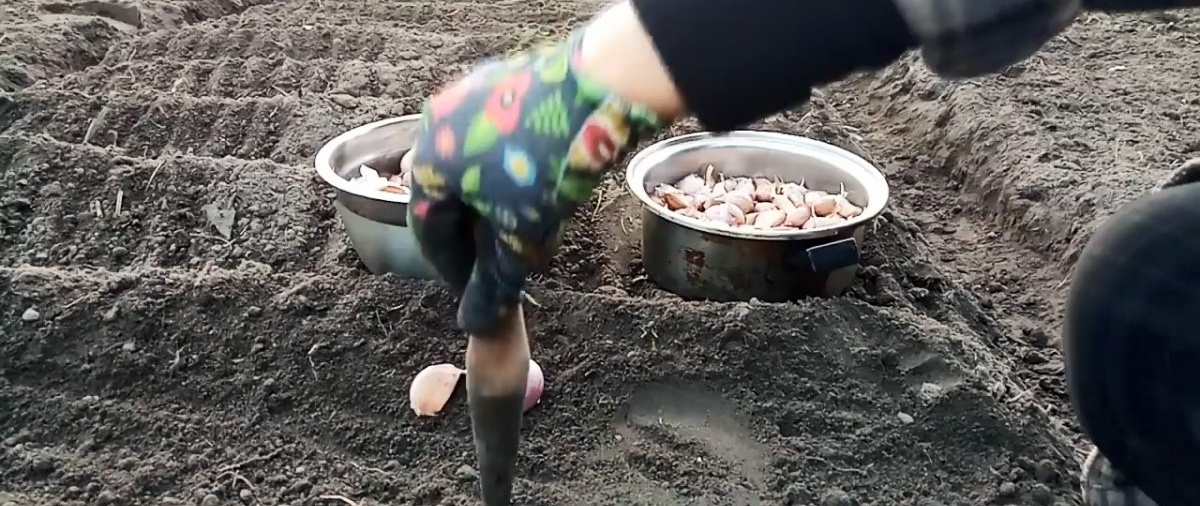
Preparing slices for planting
The heads are separated into slices on the day of planting. The largest healthy teeth are selected. In this case, the exfoliated husk is not removed from them. You need to tear off the bottom plug with dry roots from the cloves.
Landing in the ground
Along the remaining grooves from the previously fertilized rows, you need to make holes for planting. They make their way with a peg. The distance between them is left according to the recommendations for the selected variety, usually 10-15 cm. The holes are made so that when planting, the fingers holding the segments are buried in the soil to the seeds. It is important not to force the bulbs into the ground, as this can damage them.
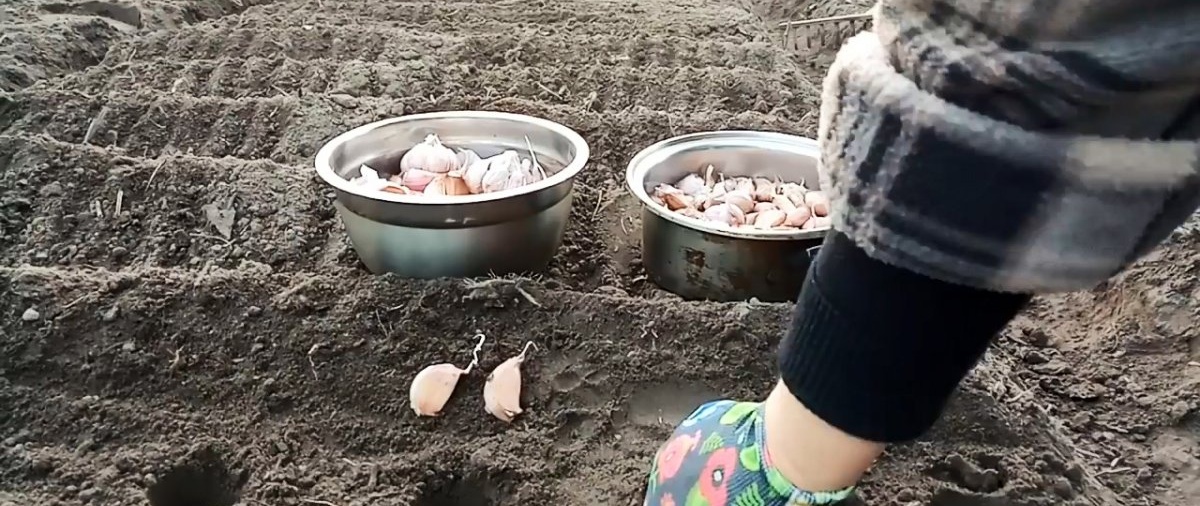
The top of the holes is sprinkled with soil. This is done by hand. If your region has very frosty winters, then the beds can be covered with raspberry trimmings or leaves.