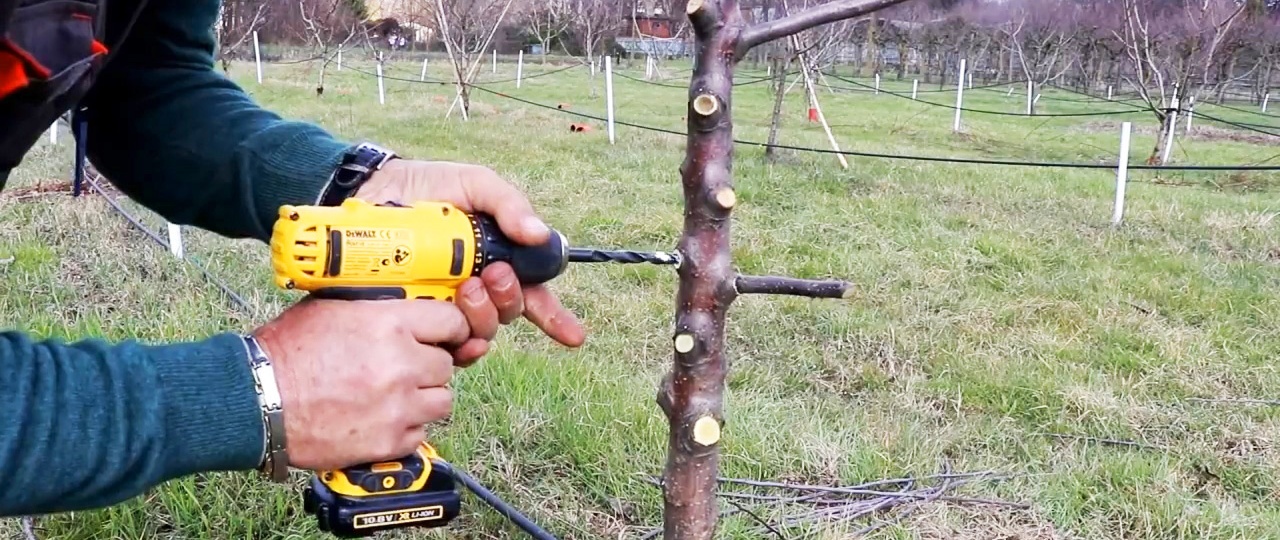
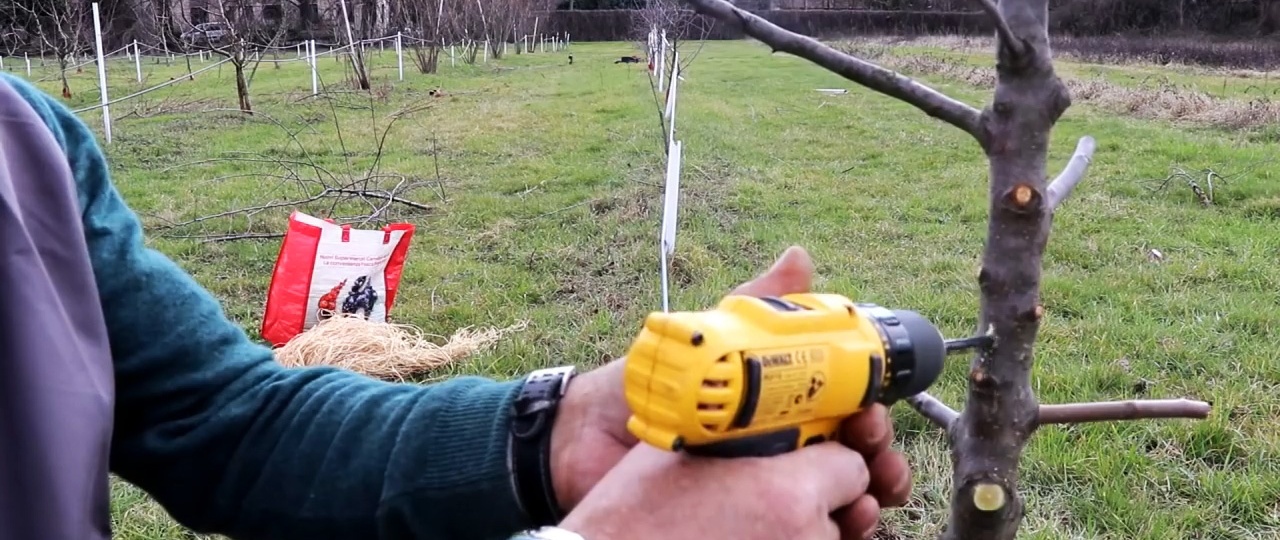
If the rootstock is thick, you can graft the scion onto it into a hole drilled with a screwdriver or drill. This is a fast and fairly effective method that gives good survival rate. It will allow you to graft new branches even onto the trunk of a grown tree.
What you will need:
- Drill;
- drill equal in diameter to the scion;
- countersink;
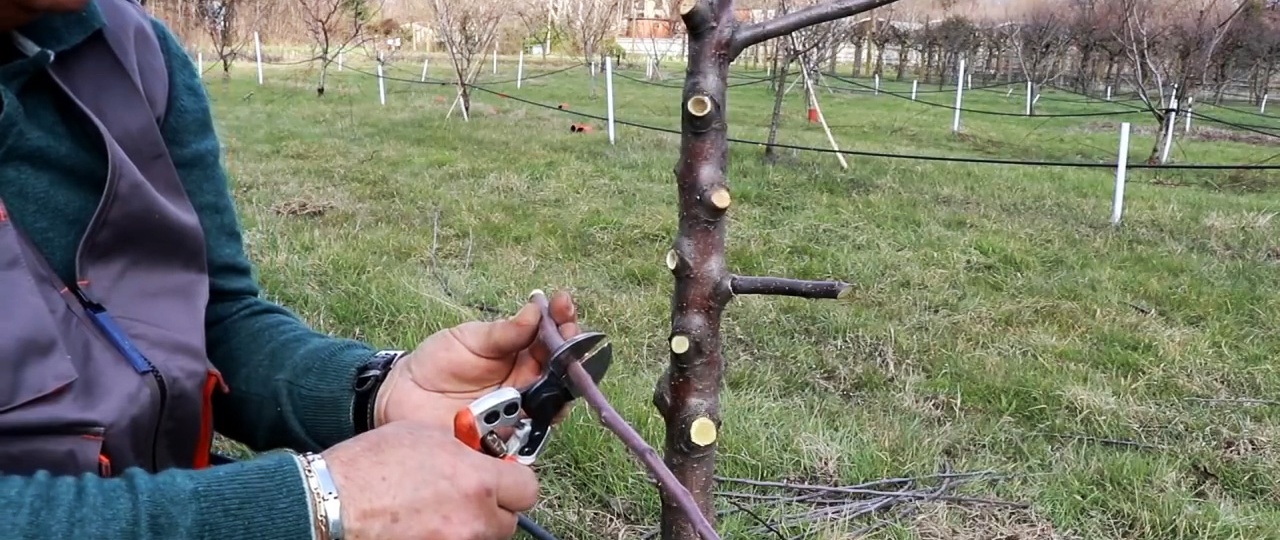
- pruner;
- grafting knife;
- garden var.
Grafting process using a screwdriver or drill
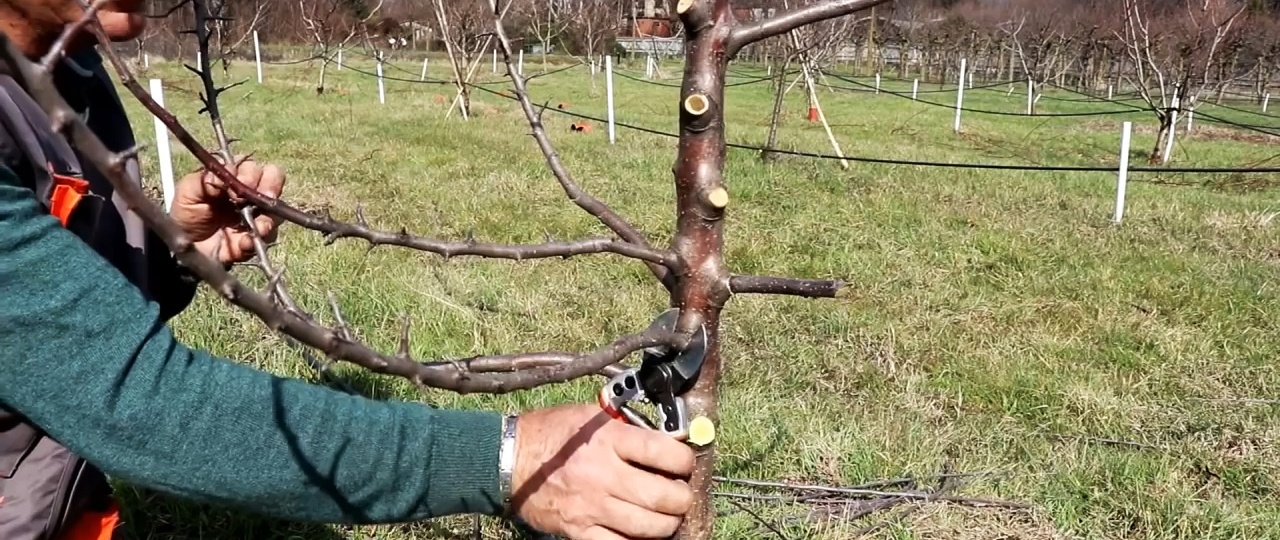
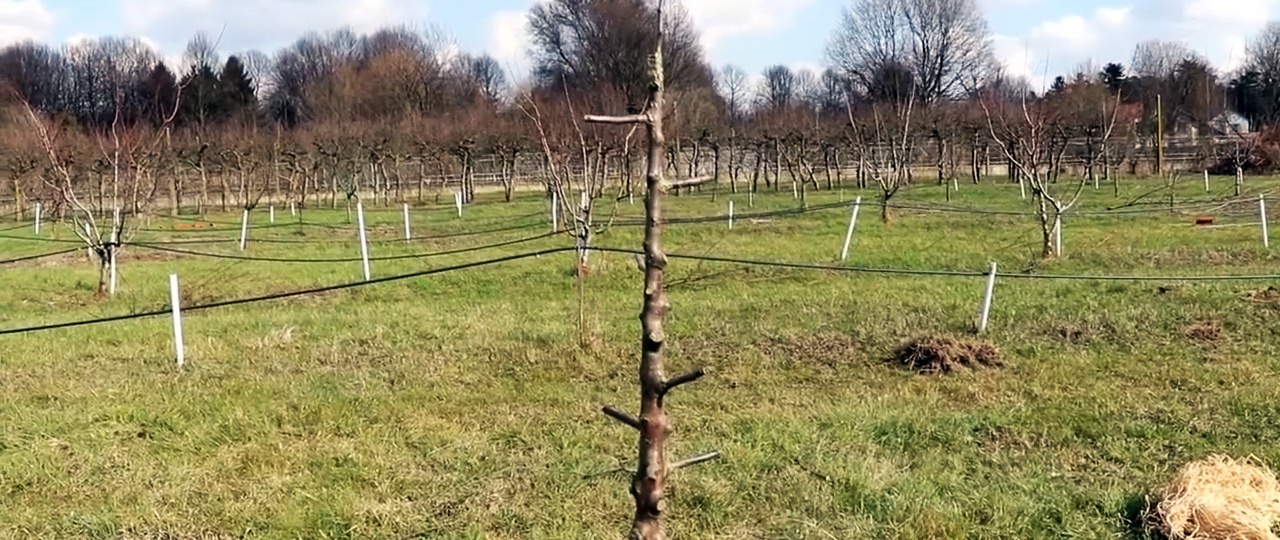
Vaccination with this method is done in March-May, depending on the region. It is necessary that the buds on the scion have not yet opened. To graft, it is necessary to remove all growth points from the rootstock trunk. Only if it does not have its own buds will the tree direct its forces to the graft.
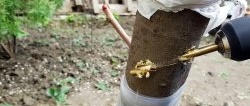
It is very good to do this grafting into a freshly cut branch, using a scion of the same diameter. A hole 10 mm deep is drilled in it. It should then be countersinked.
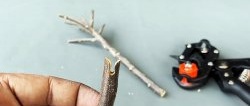
On the scion you need to make a circular cut 10 mm from the edge, and remove the upper bark to the cambium. It is important that the remaining diameter corresponds to the cross-section of the hole.
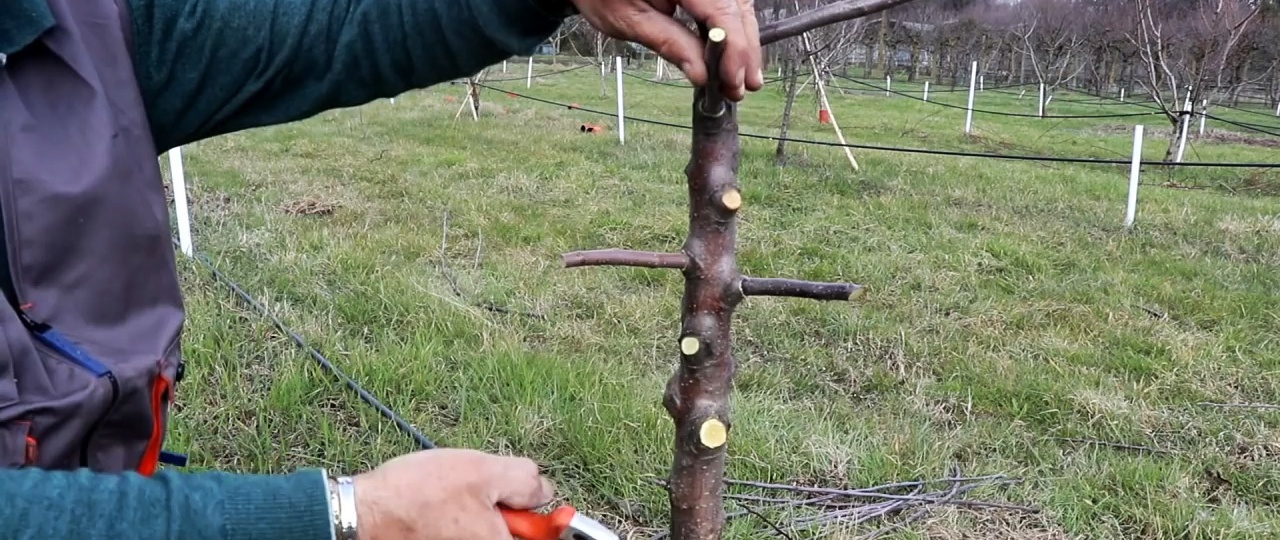
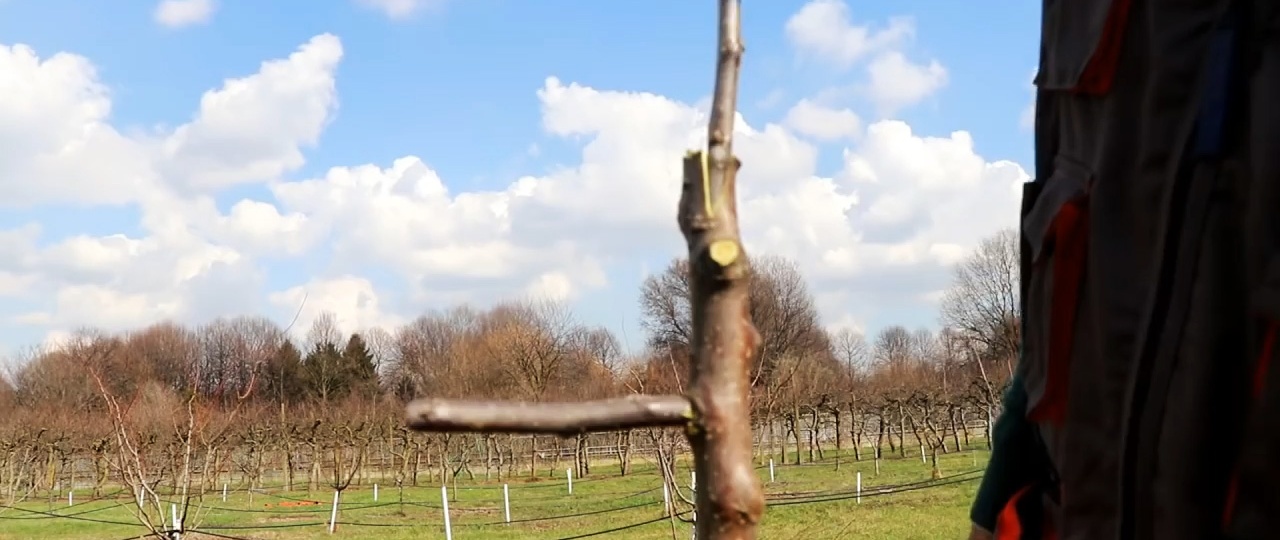
Then a short scion with a pair of buds is driven into the rootstock.
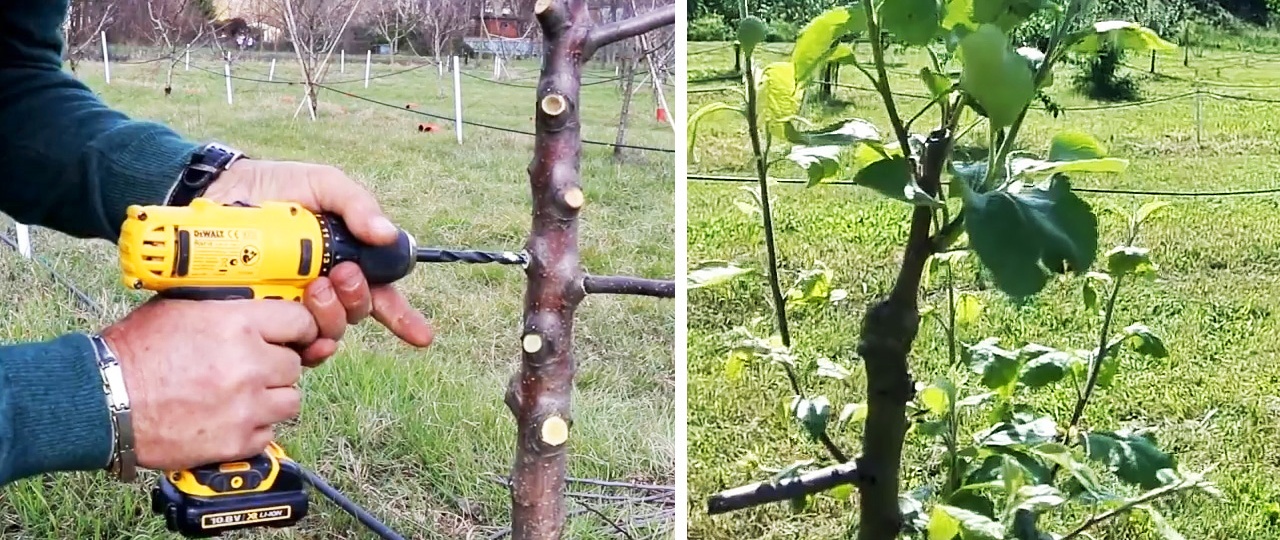
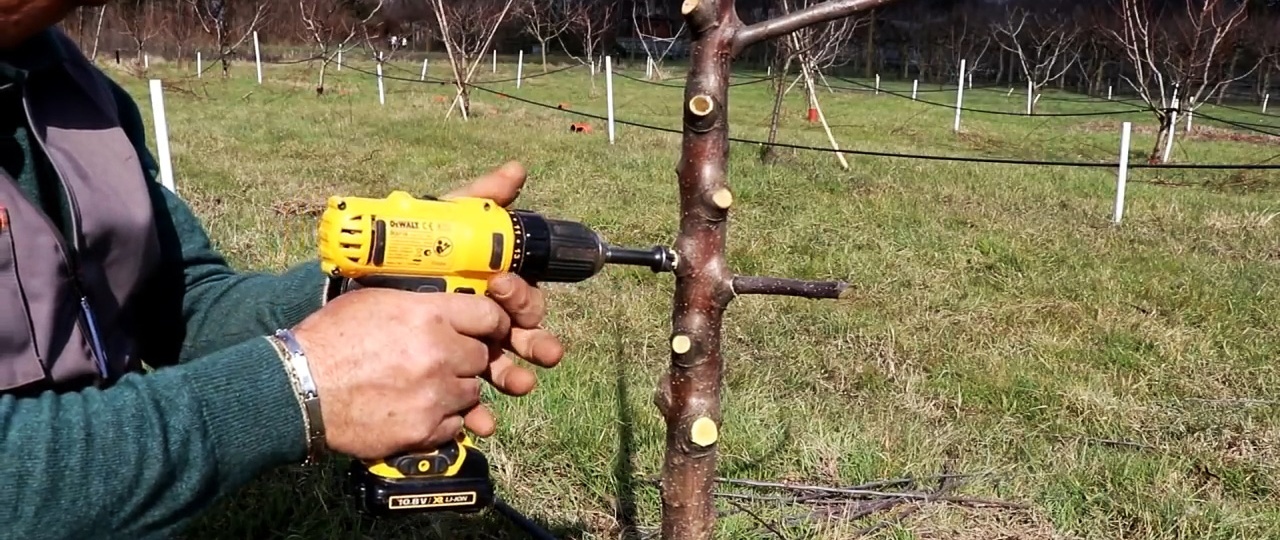
In a similar way, you can graft a graft into a hole made in the smooth part of the trunk. This mainly happens when the rootstock is already too thick.Before docking, be sure to trim the bark around the hole down to the cambium to increase survival rate.

The top of the rootstock needs to be cut off. Since it is thick, it will not be possible to graft a twig onto it like a twig. The hole method is not suitable in this case. You can leave the cut, or do a classic grafting with a scion of a triangular cross-section. To do this, you need to sharpen its end into a triangle, and cut a groove of the appropriate shape on the edge on the rootstock.
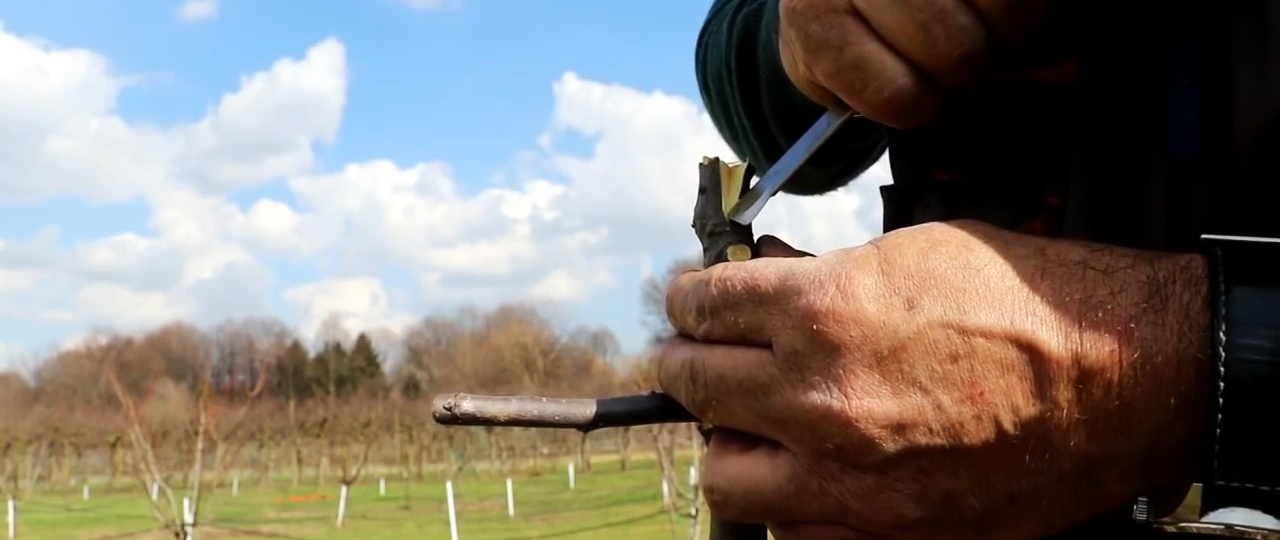
The twig is then driven tightly into it to join the green cambium.
Then she rewinds.
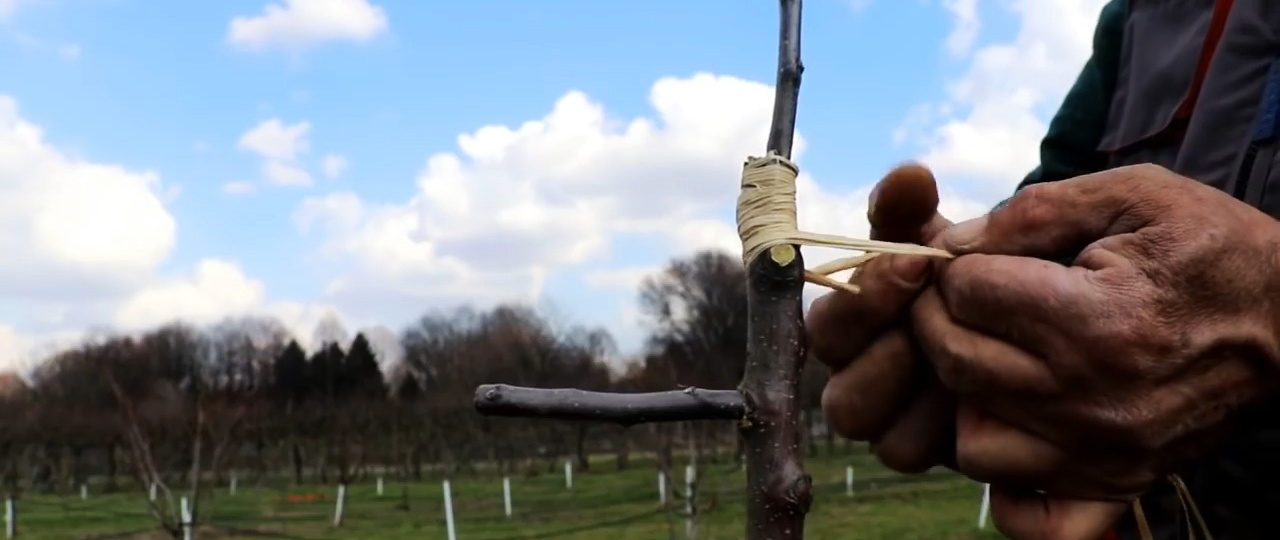
After grafting, all connection points are covered with garden varnish.

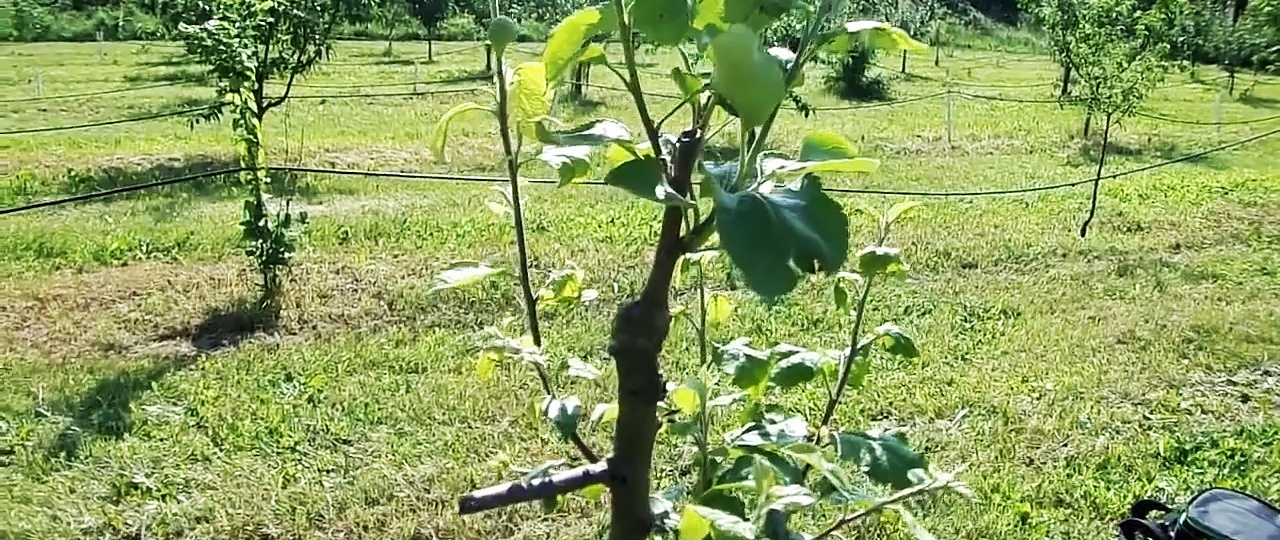
If the sun is already bright, then you can slightly shade the scion with a bandage for the first weeks. After 1-1.5 months, new branches will not only sprout new shoots, but will also grow well with the trunk. You just need to make sure that the rootstock does not open its own buds, since in this case the grafted material will most likely dry out.
Watch the video
How to make a garden auger from a saw blade - https://enn.washerhouse.com/5176-kak-sdelat-sadovyj-bur-iz-pilnogo-diska.html