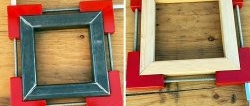
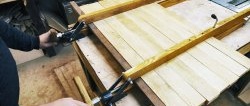
When gluing wide wooden pieces, you cannot do without a long clamp. Although this is a simple tool, it is not cheap at all in the store. So it’s more profitable to do it yourself. When you need several of these clamps, if you make them yourself, the savings are enormous.
Materials:
- Profile pipe 25x25 mm;
- threaded rod M16-M20;
- nuts, washers for stud threads;
- corner 30x30 mm;
- rod 6 mm.
Clamp manufacturing process
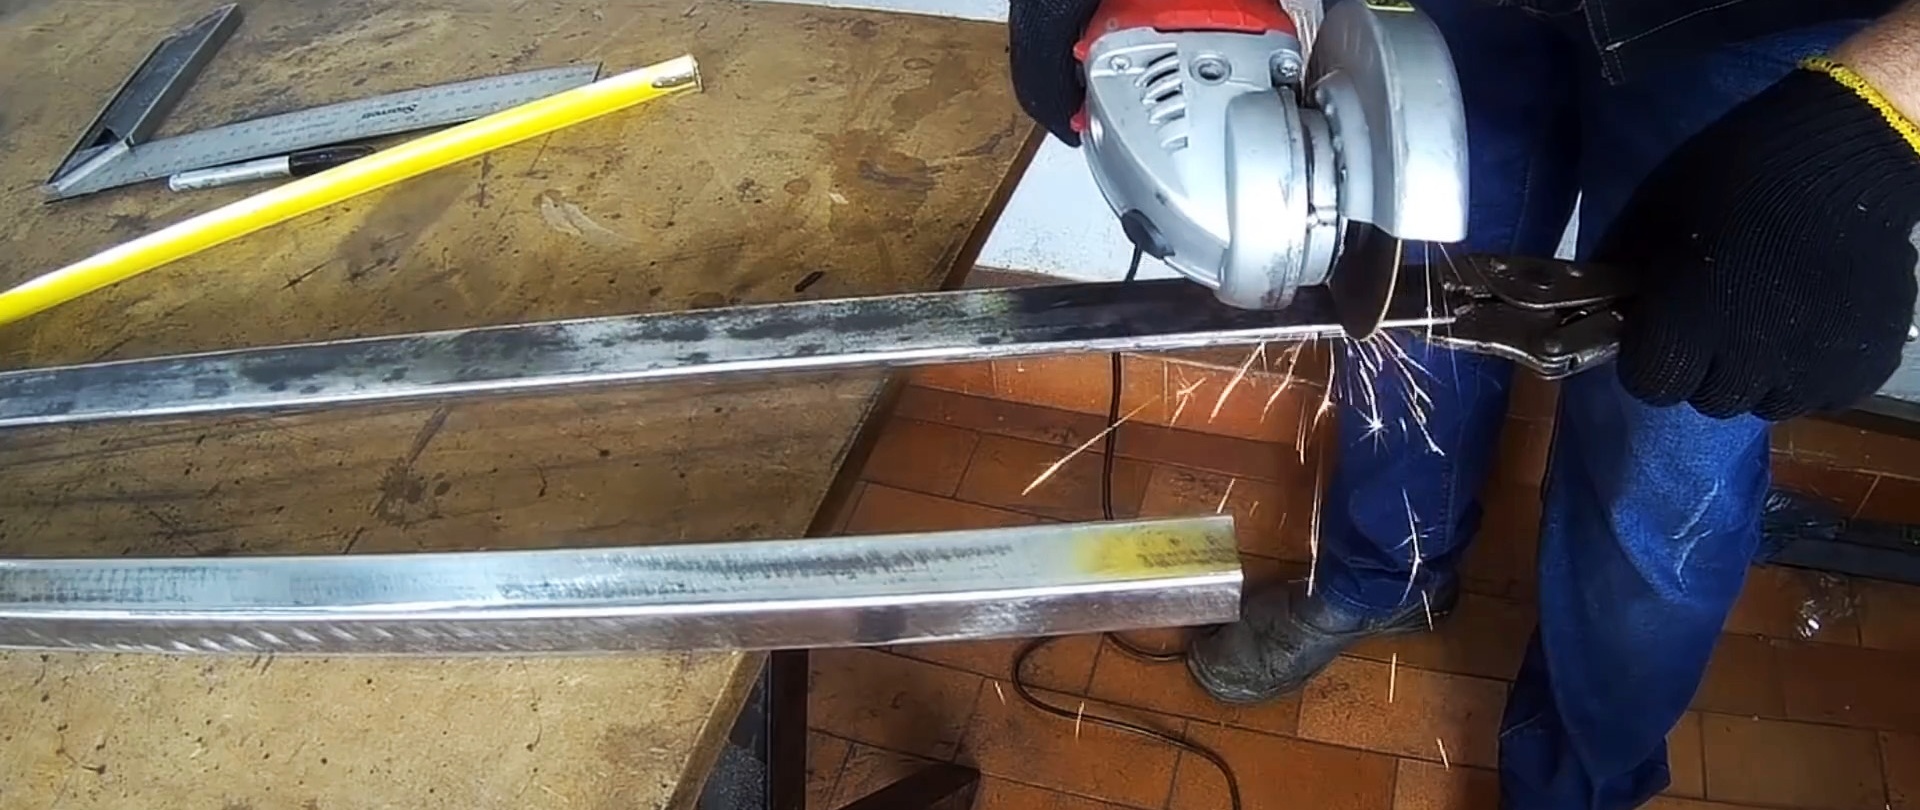
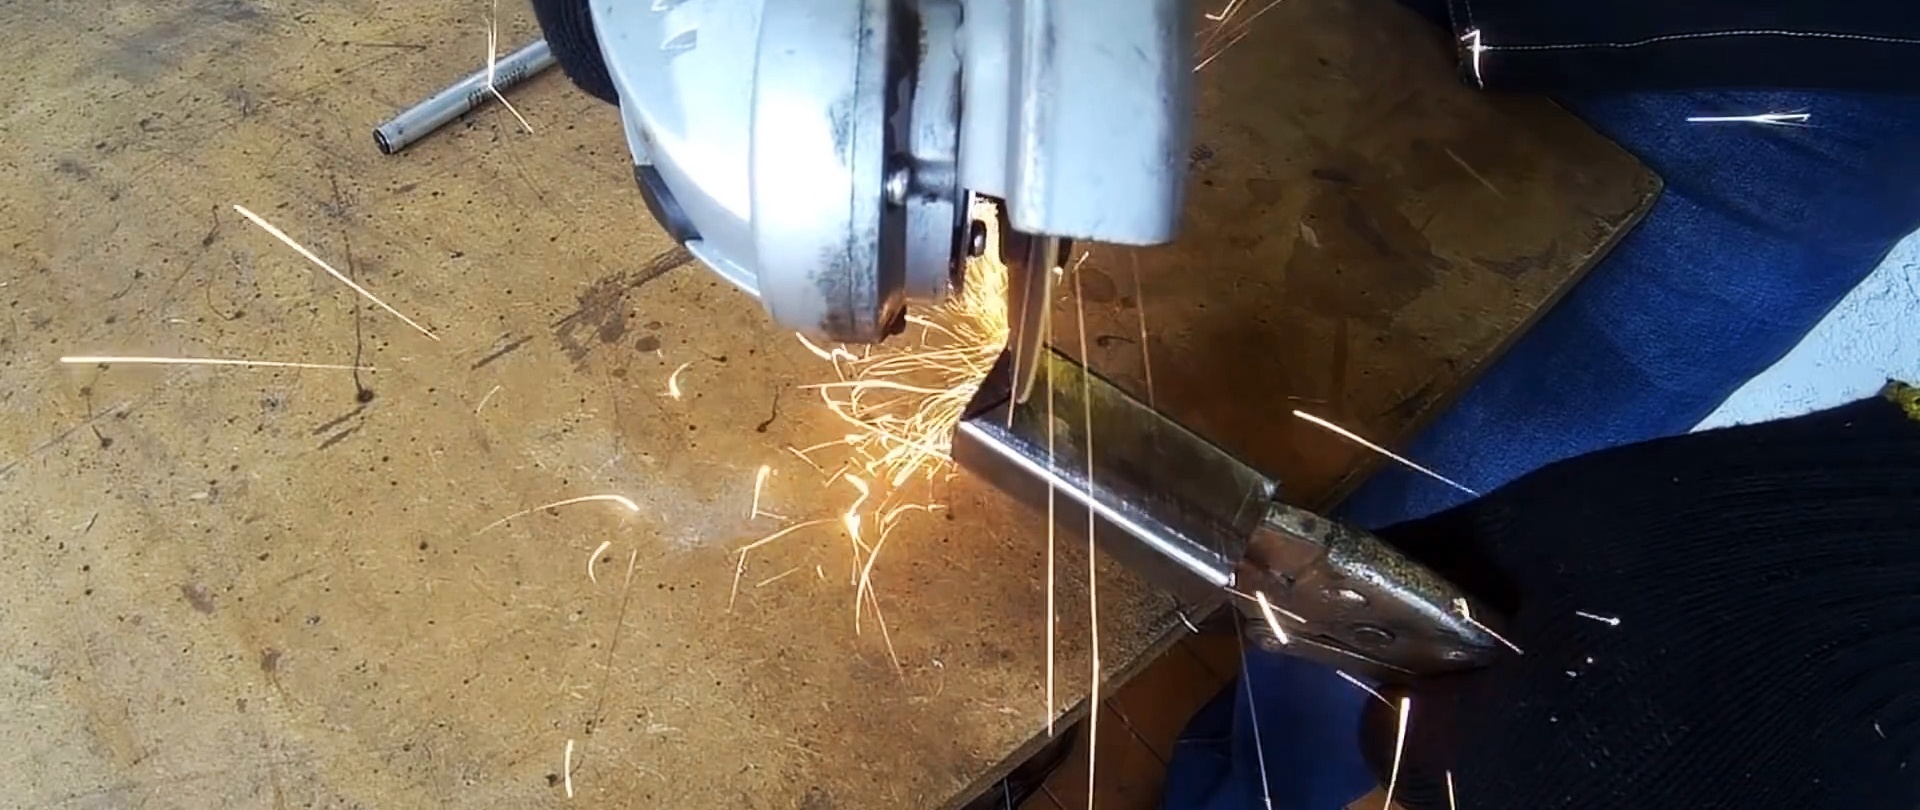
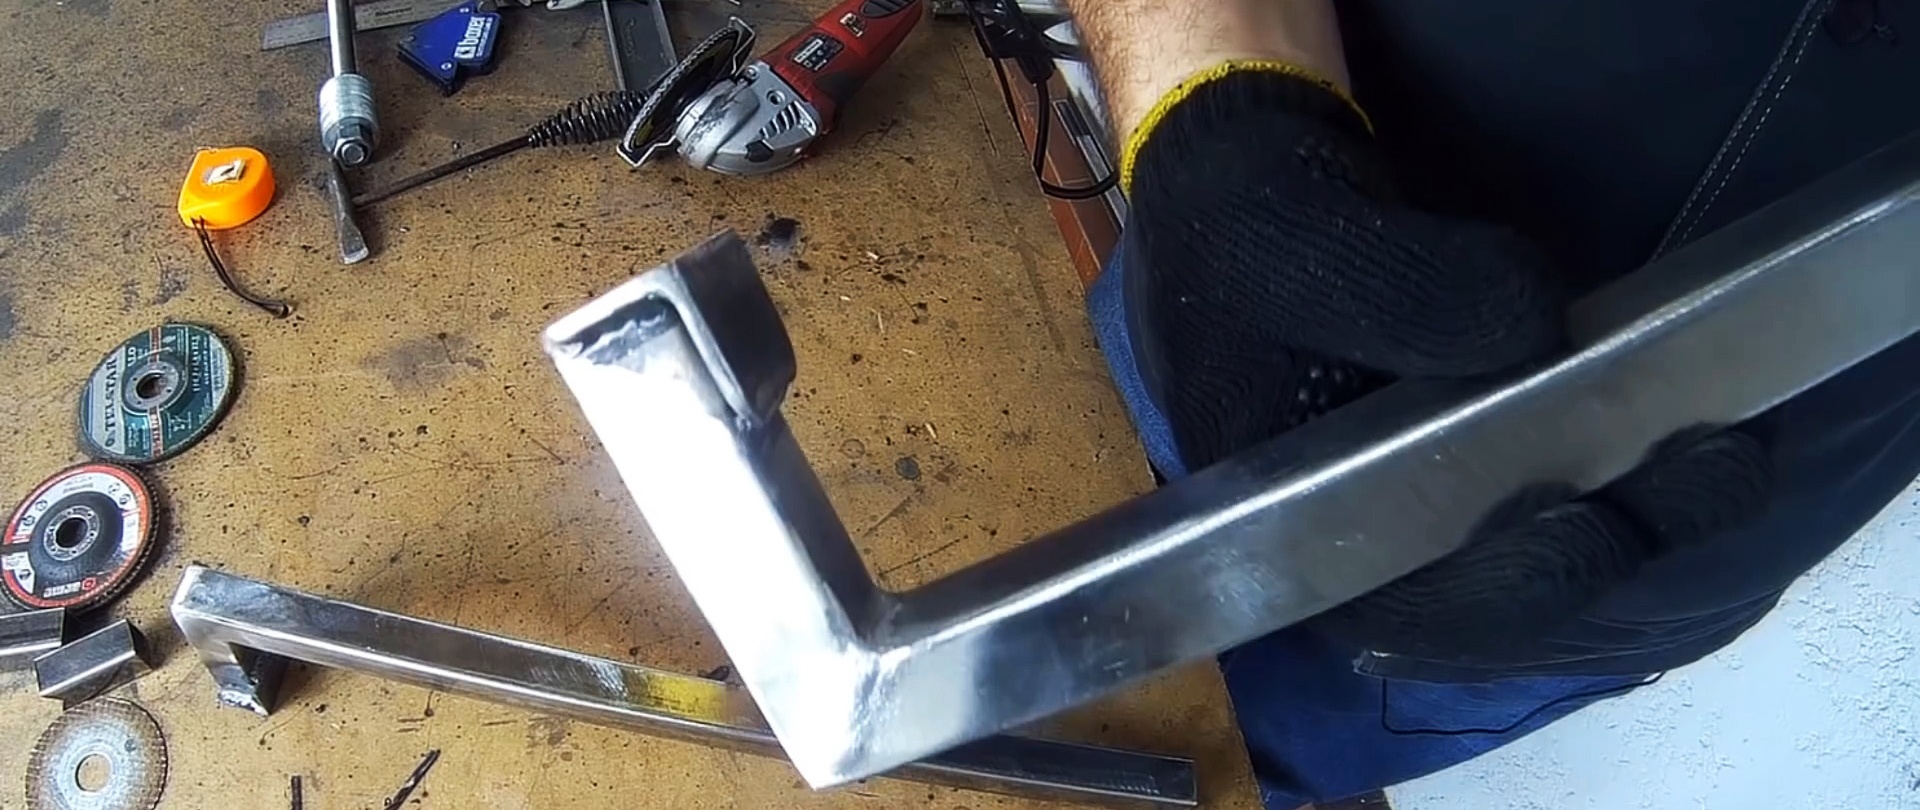
For the clamp frame, it is necessary to saw off a section of profile pipe 500 mm long. One side of it is cut at 45 degrees.

It is optimal to make a couple of clamps at once, then all the parts are prepared in two sets. The second part of the frame is sawed off from the same pipe, also with a cut at 45 degrees, but already 120 mm long.
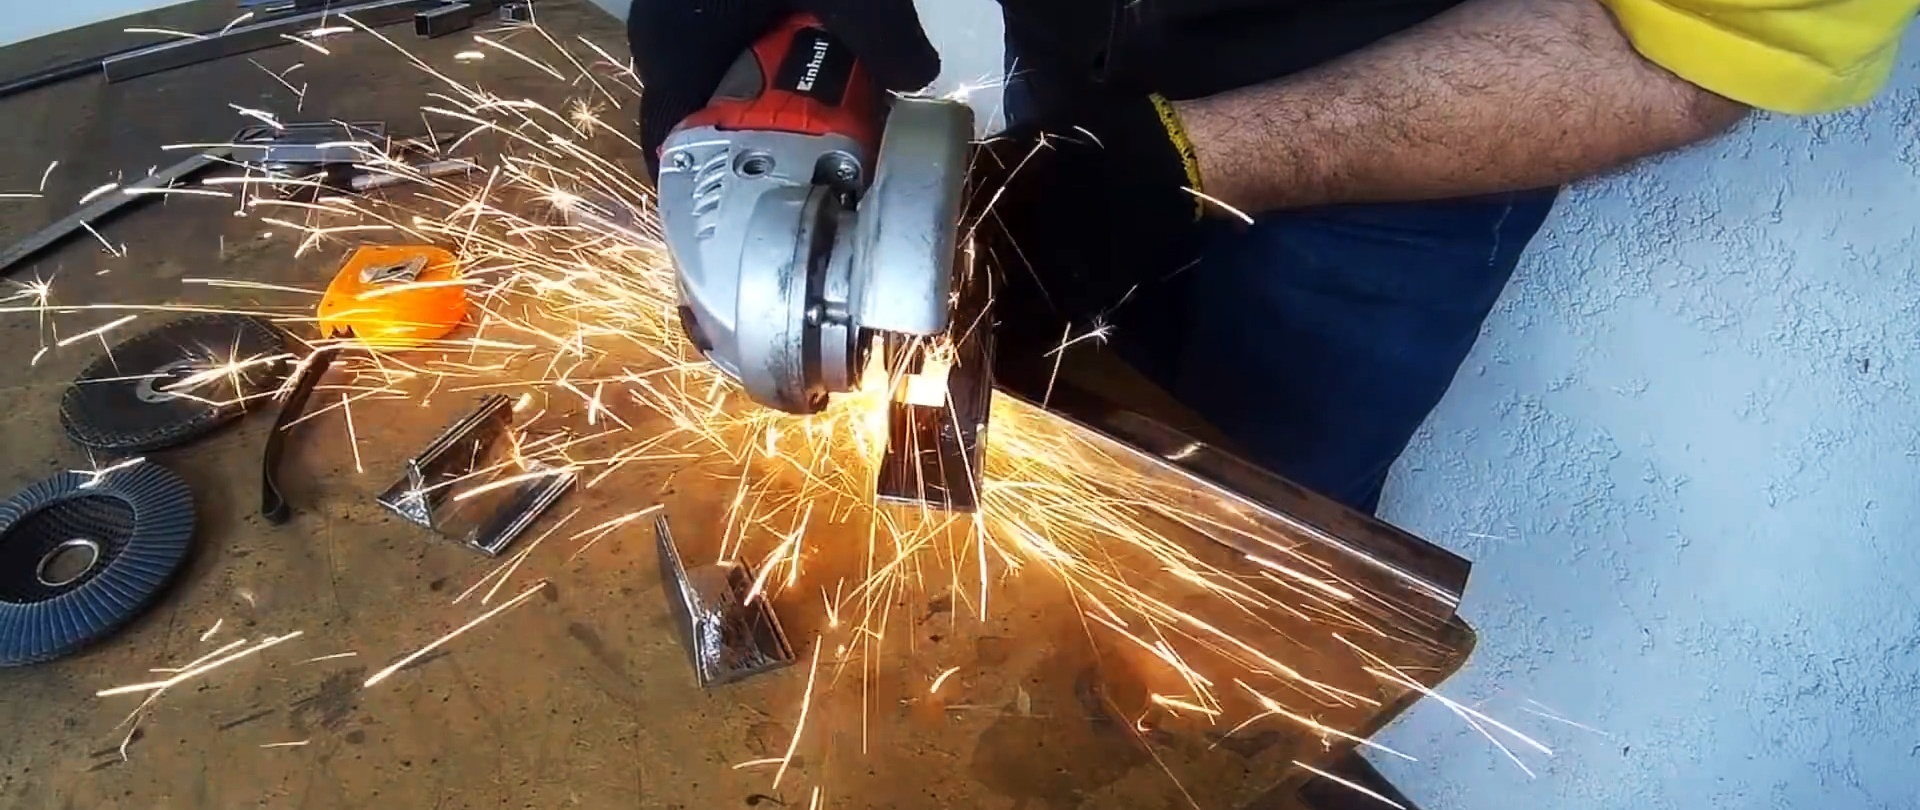
From a 30x30 mm corner it is necessary to cut a piece 40 mm long and 2 pieces 50 mm long. If 2 clamps are assembled, then the parts needed are correspondingly 2 times larger.
A blank 55 mm long is made from a profile pipe.

It must be cut from the end inward so that the edge of the nut fits under the stud into the cut.

You also need a piece of 6 mm rod with a length of 100 mm.

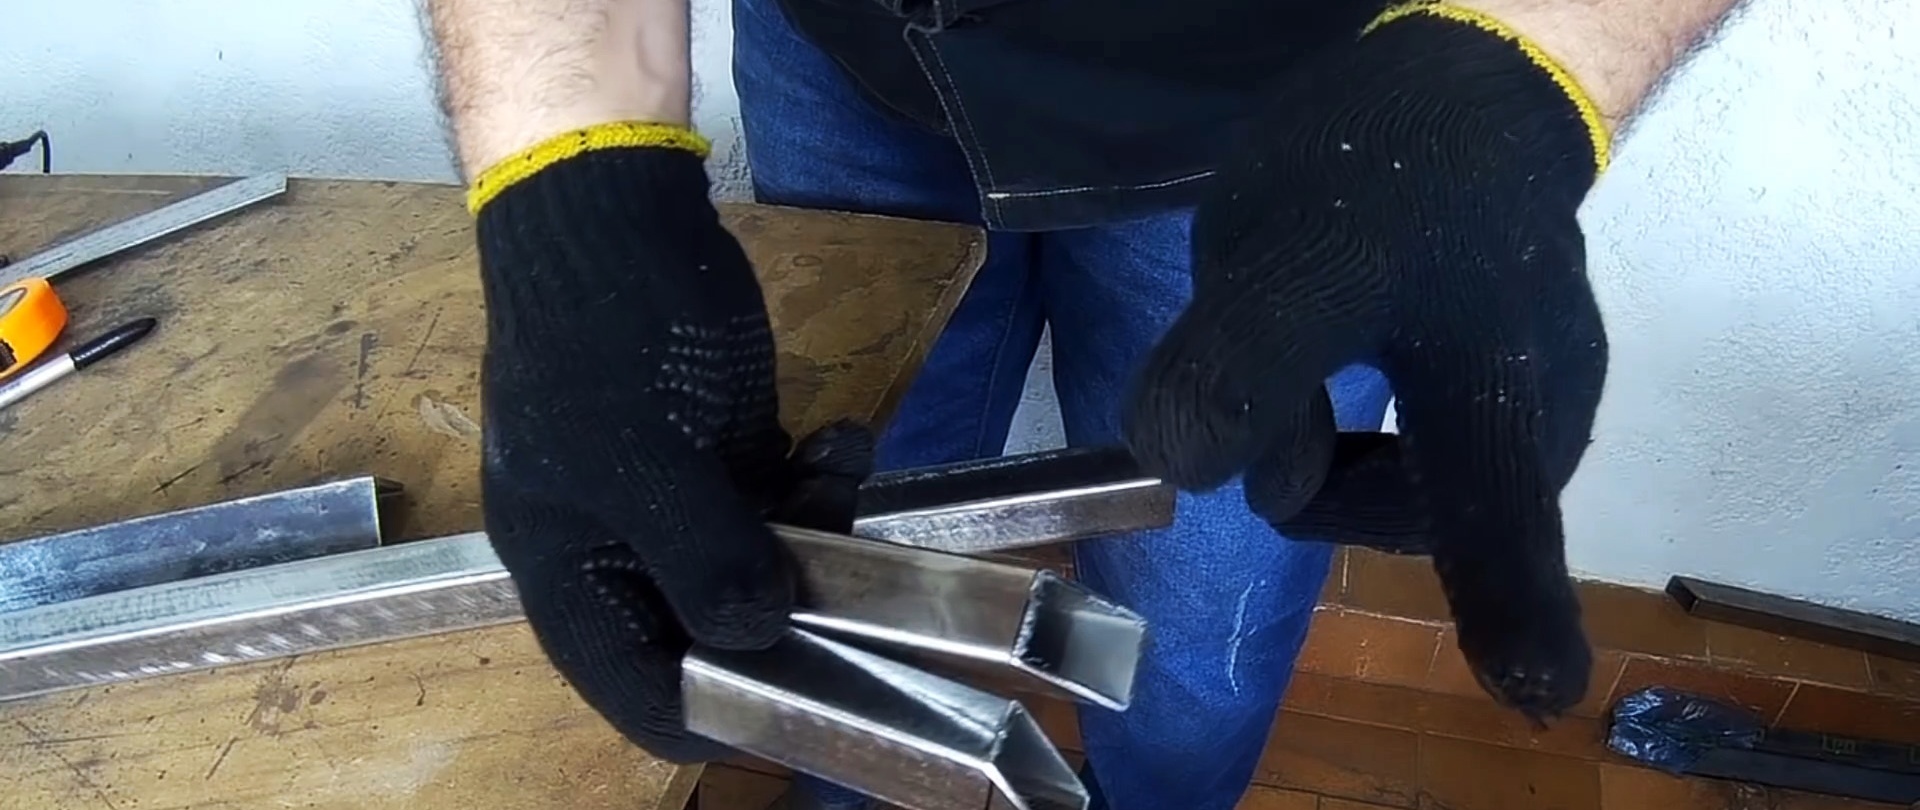
Identical sections of the corner are needed to make a tube out of them that will slide on the frame. To do this, the inner corner is ground into them to remove the roundness. You also need to narrow them by cutting off the excess width.
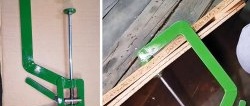
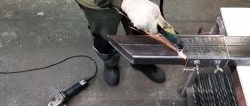
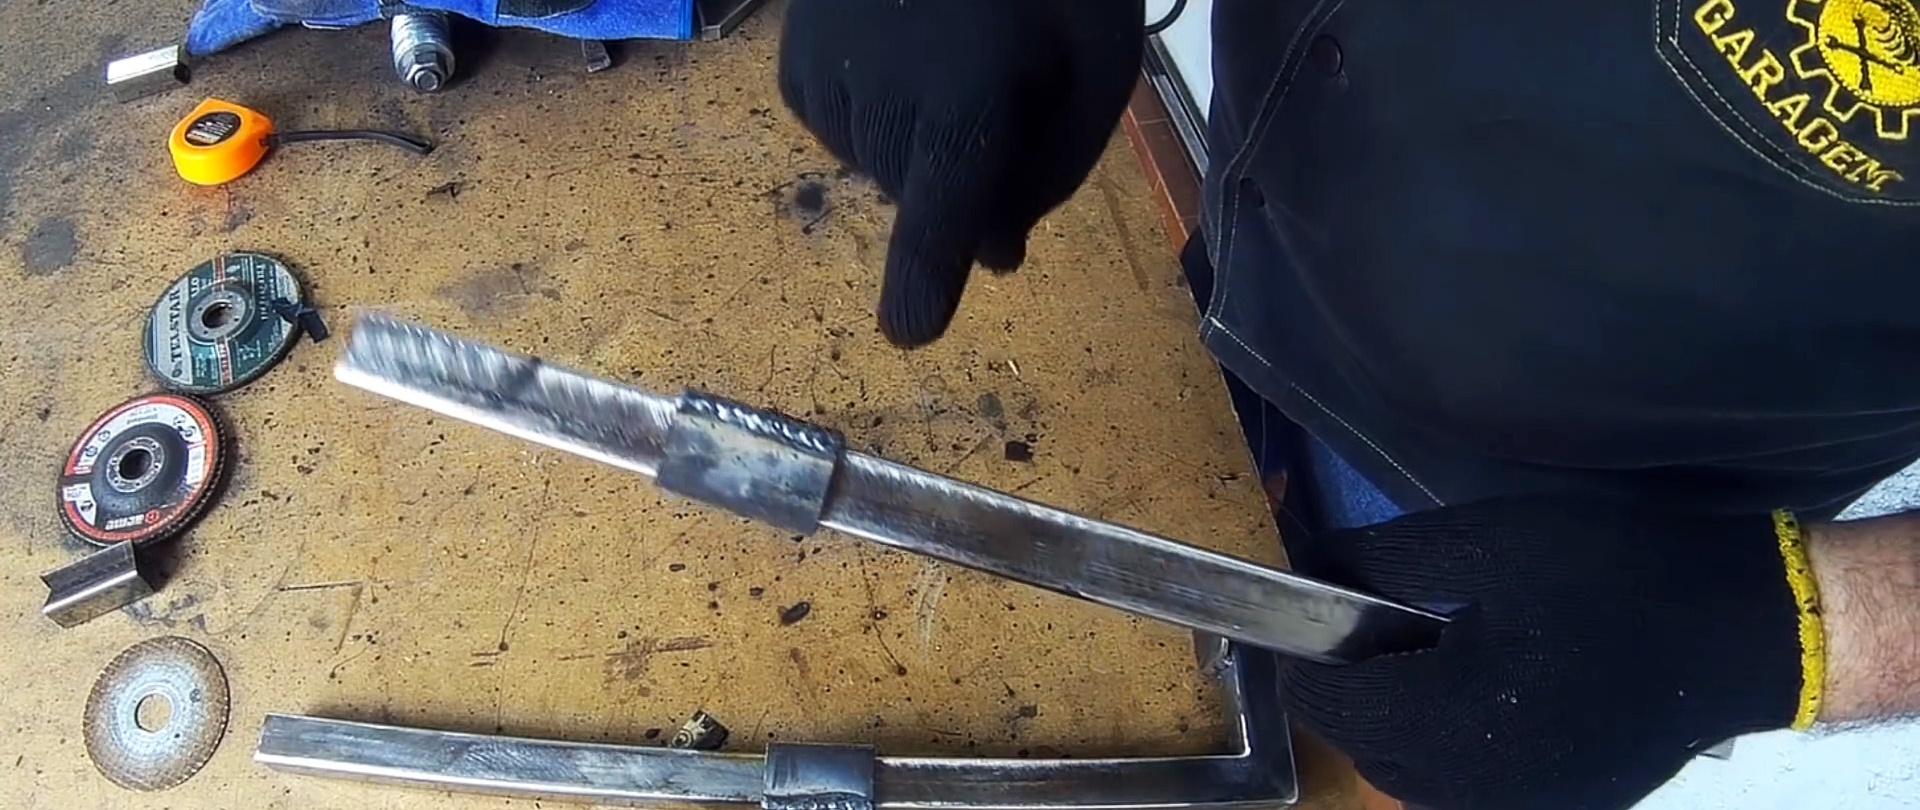
The parts of the frame sawn at 45 degrees are welded. The seams need to be cleaned to perfection. A corner is welded to the end of the short side. This will be a sponge for clamping the workpieces.


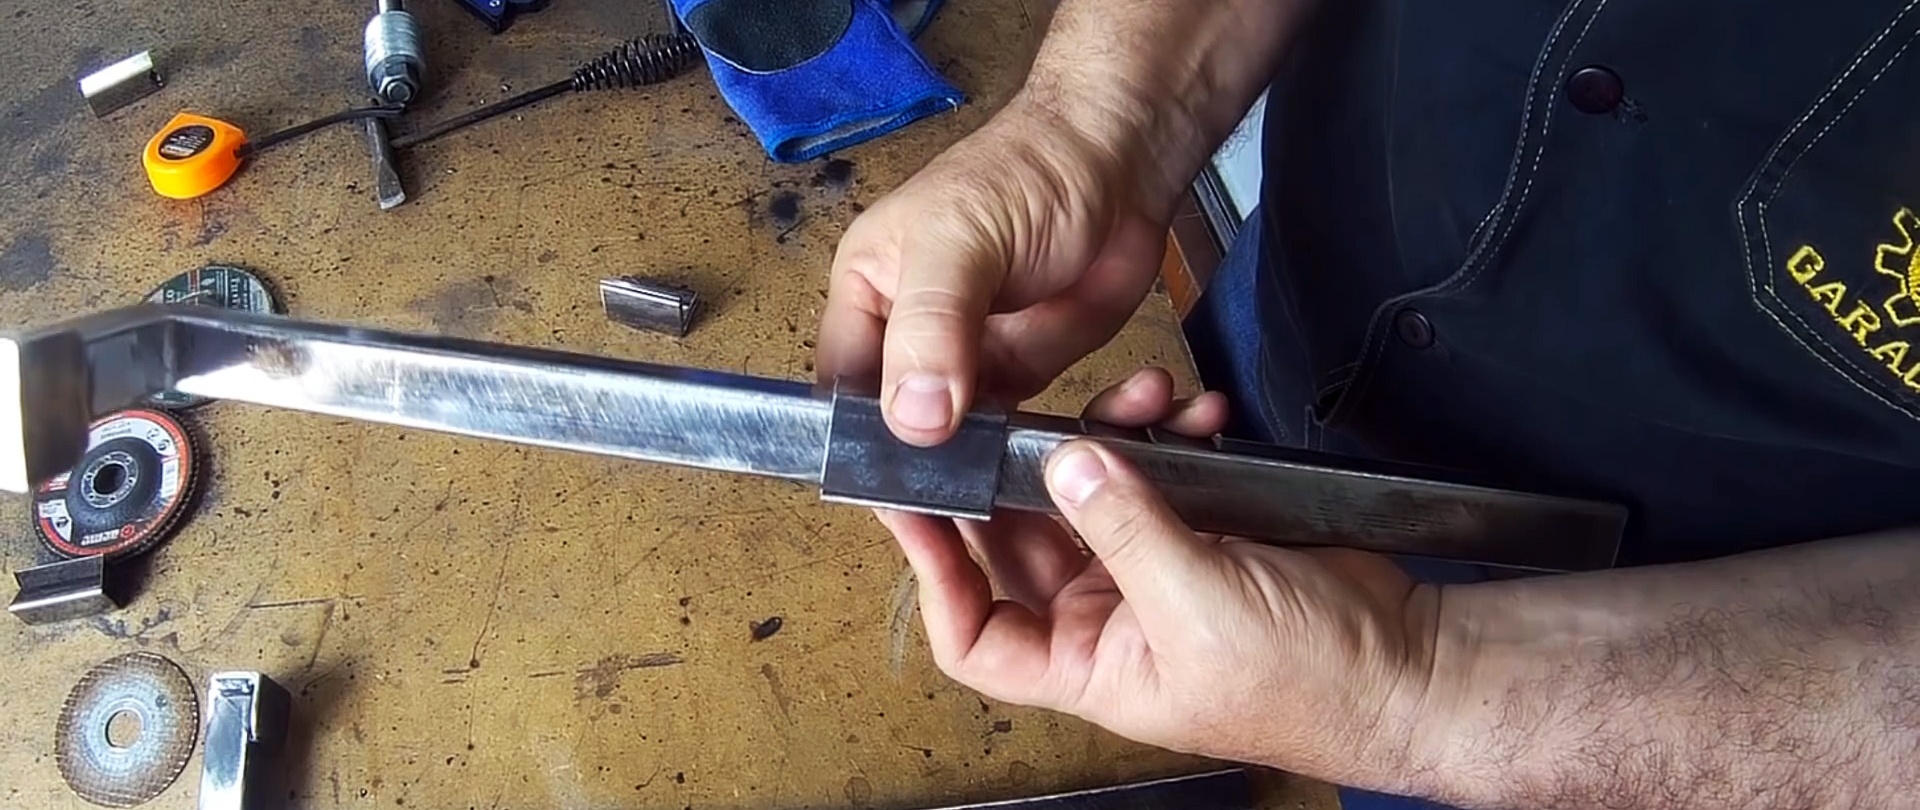
From the cut corners, 40 mm long, you need to weld a tube onto the frame. To make it slide, paper is placed between them to create a gap.
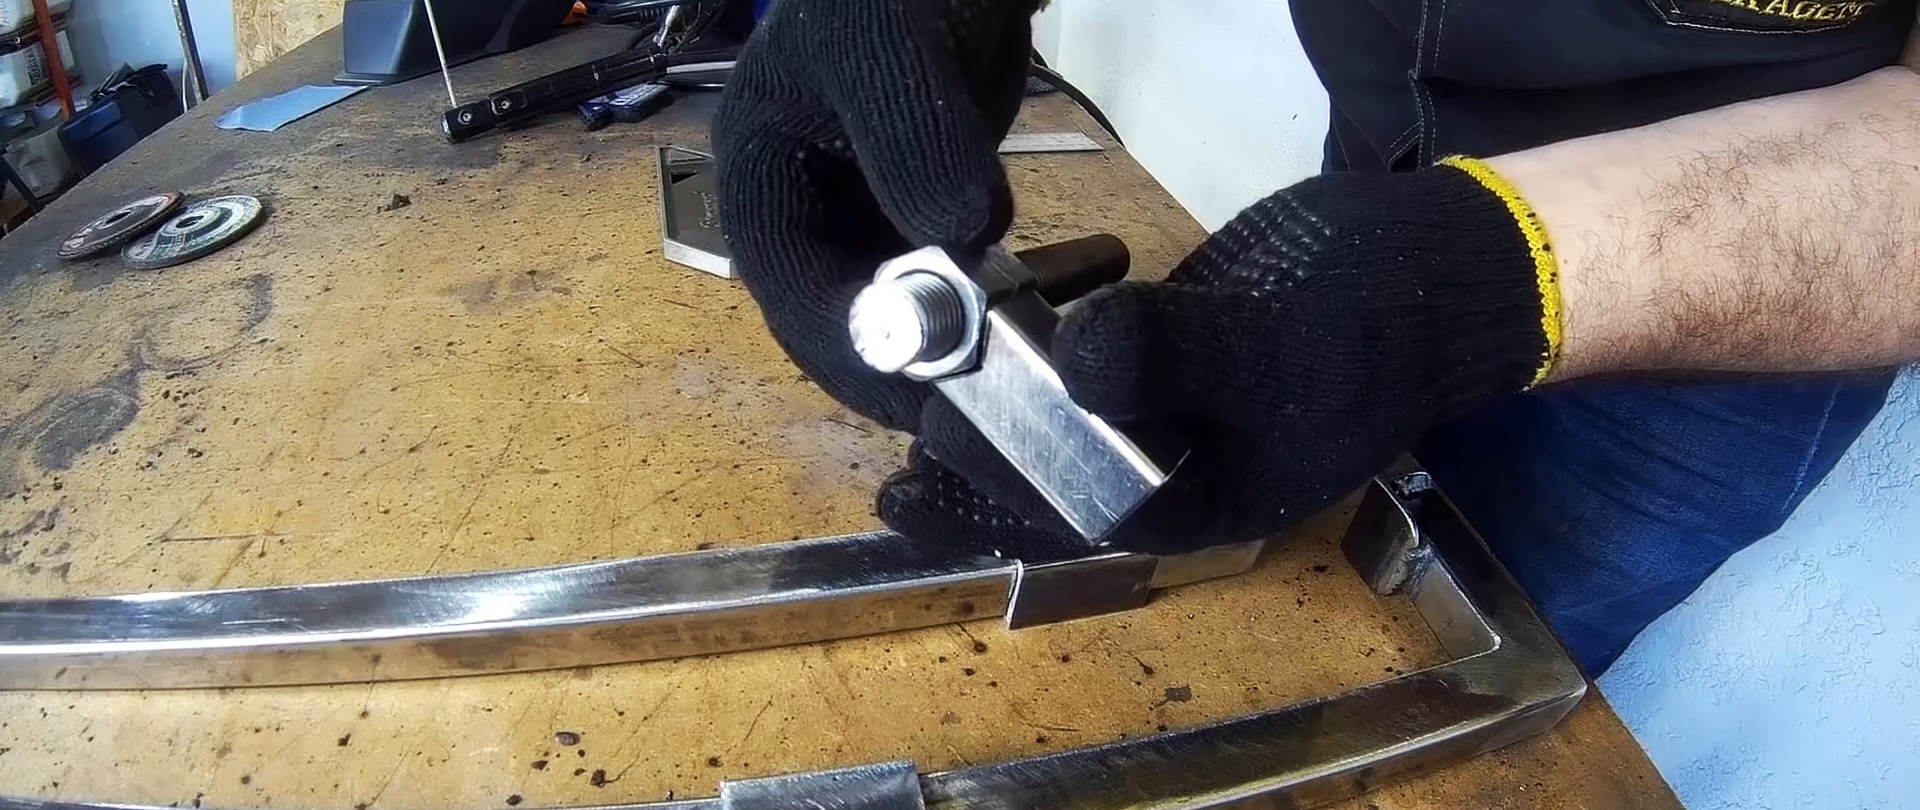
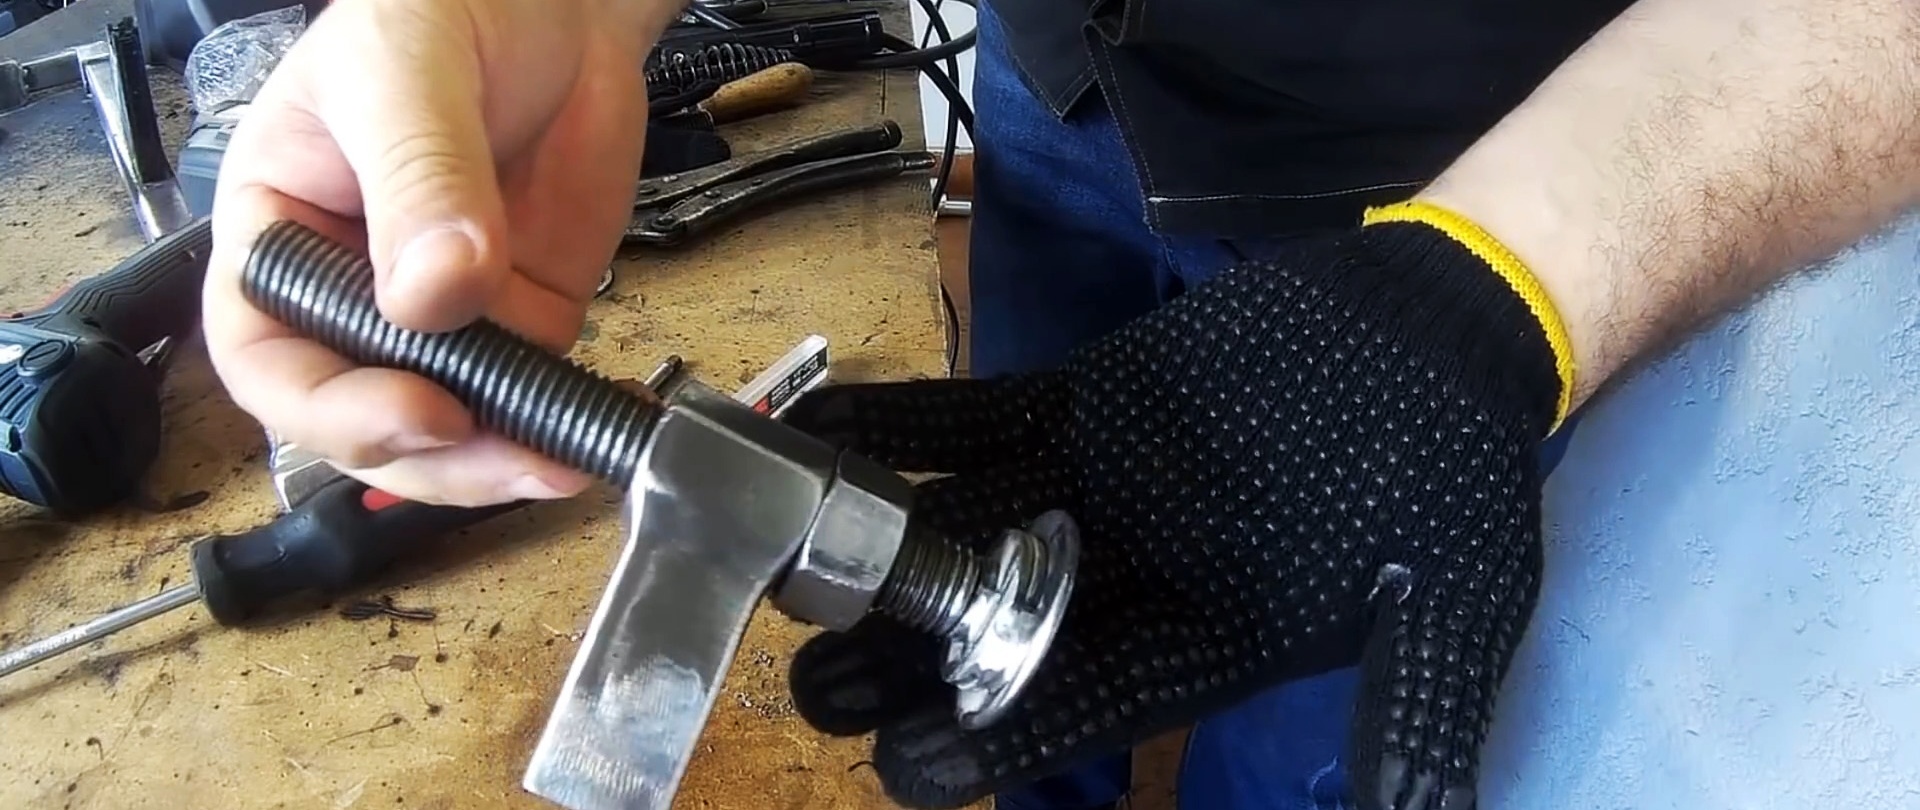
On a workpiece from a profile pipe with a cut inward, you need to weld 2 nuts screwed onto a stud so that their thread pitch coincides. The resulting seam is cleaned.

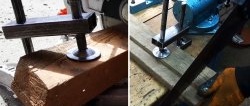
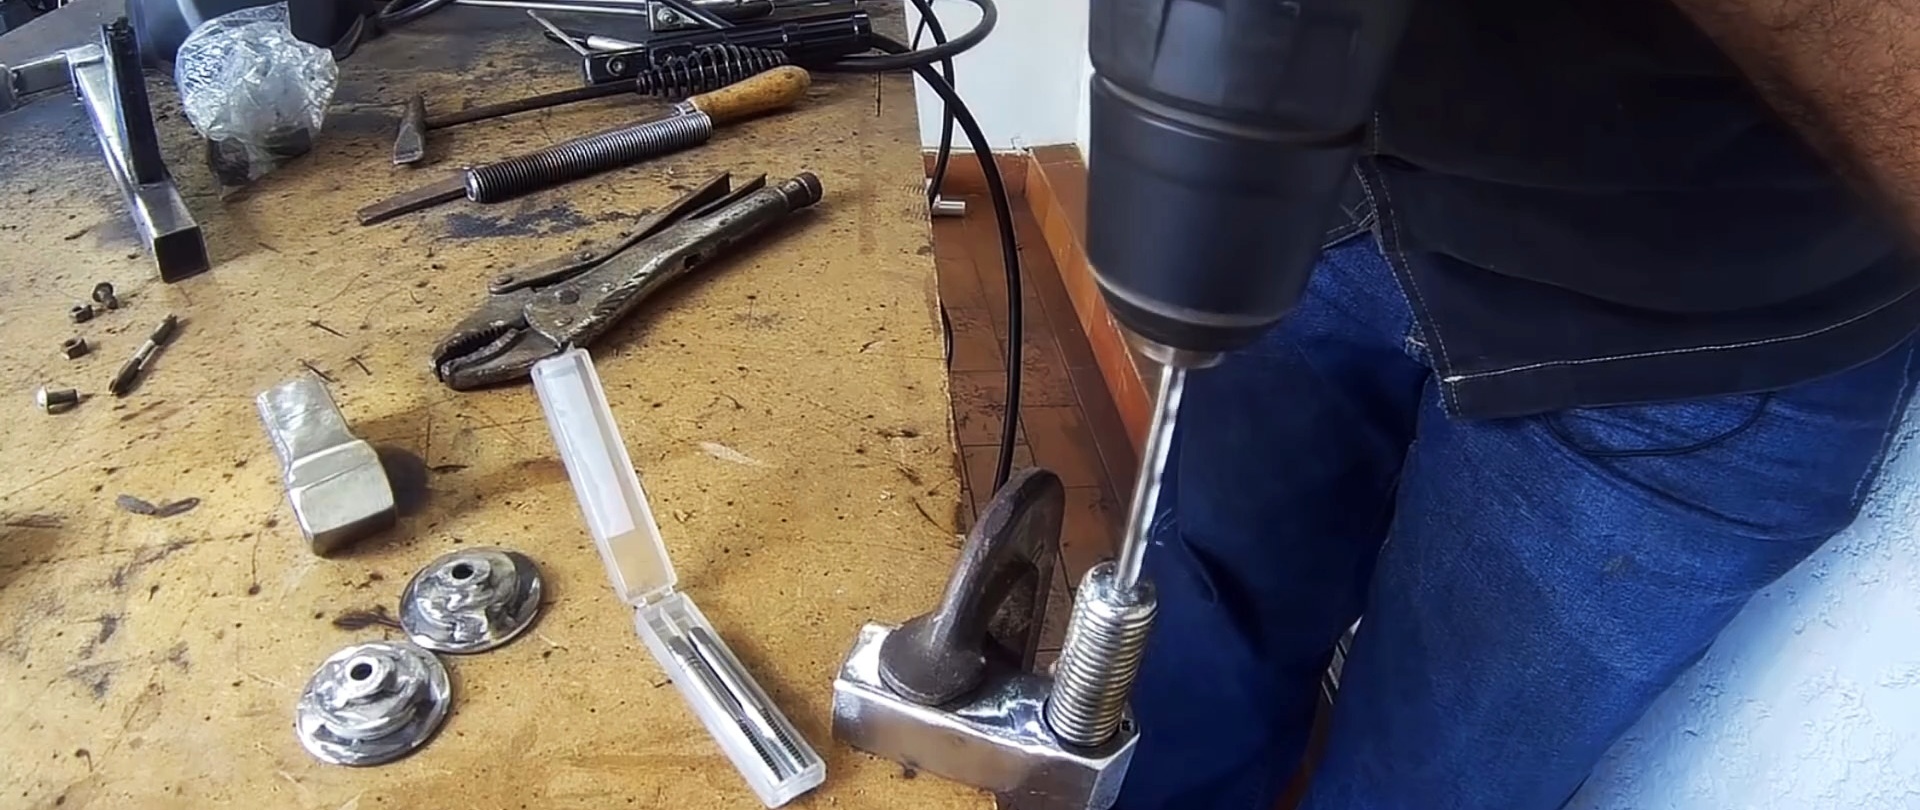
Next, the clamp support plate is made. To do this, washers of different diameters are welded into a pyramid.
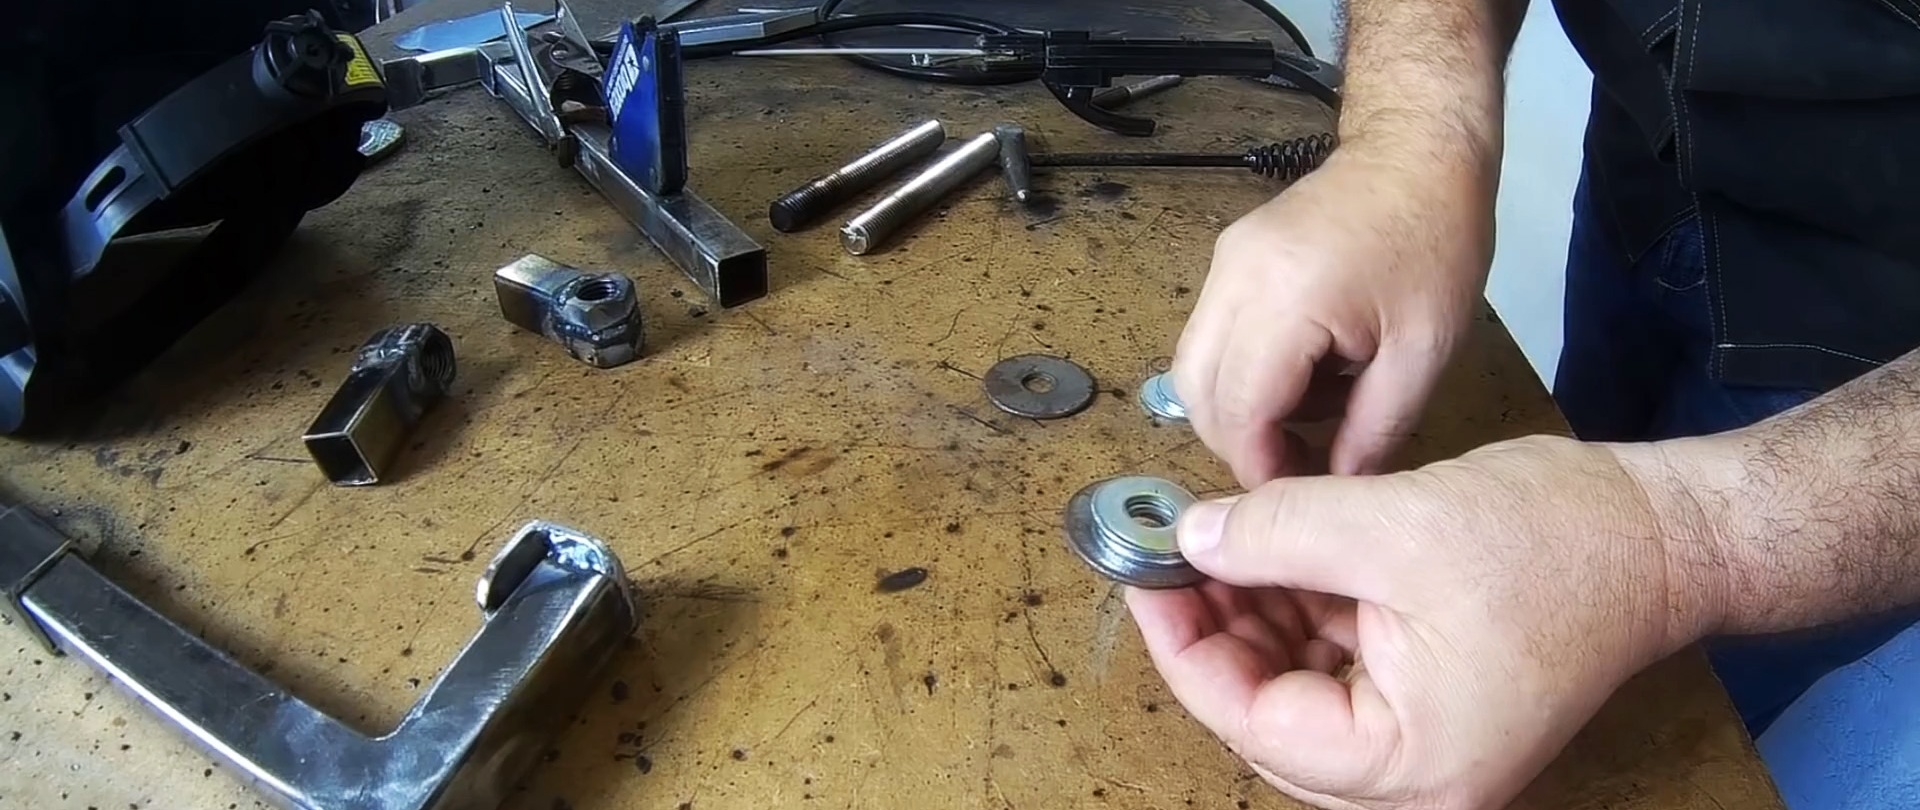


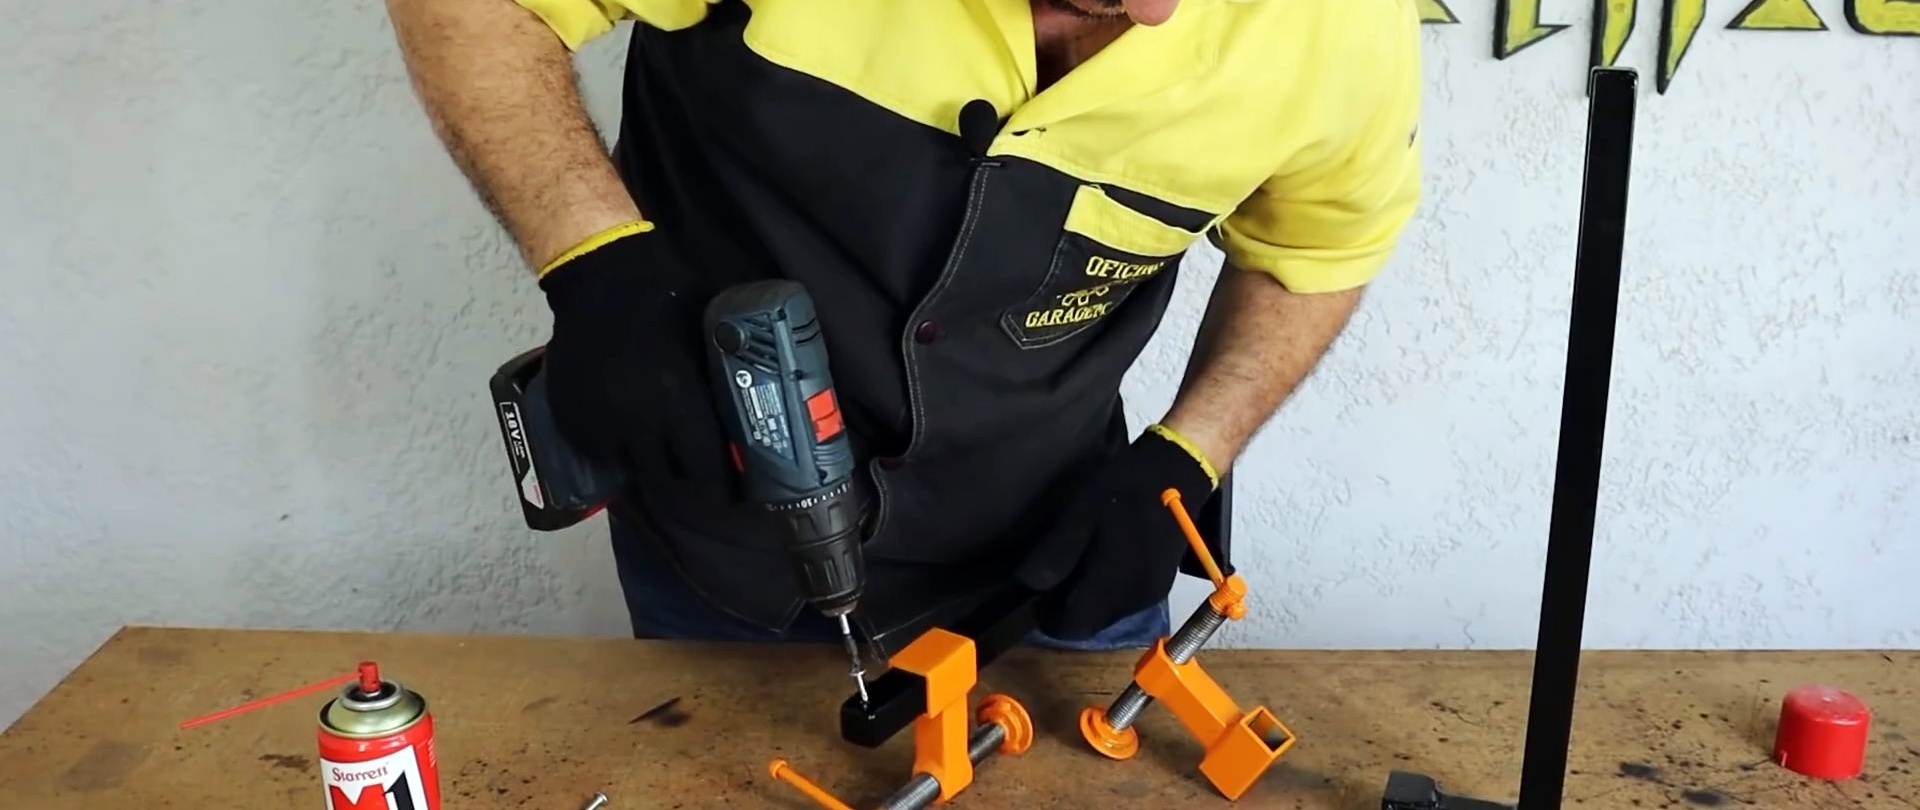
A hole is drilled at the end of the stud for a thin screw, and a thread is cut into it. This way you can screw the plate to the stud with a screw. The cap of the latter will hide in the wide holes of the large washers, so it will not interfere.

The second edge of the stud needs to be drilled across for a handle made of 6 mm rod.

The open end of the frame must be sealed. In order not to look for a plastic plug, you can cut off 3 walls of the tube by 25 mm and bend the remaining one. The resulting gap is welded.
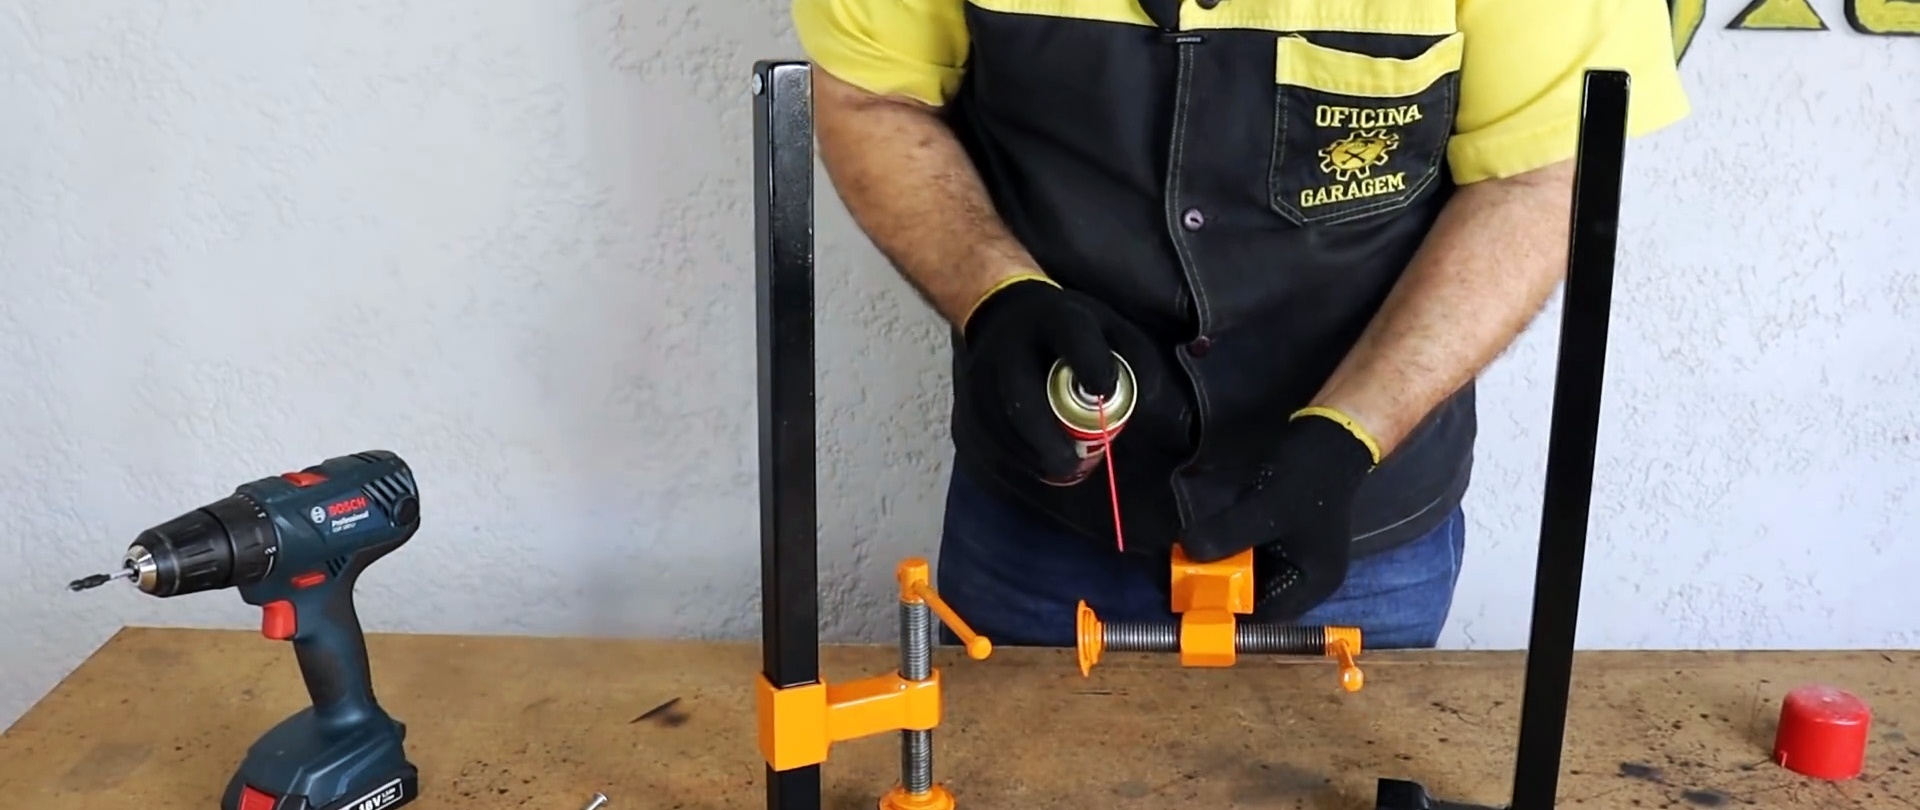
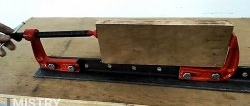
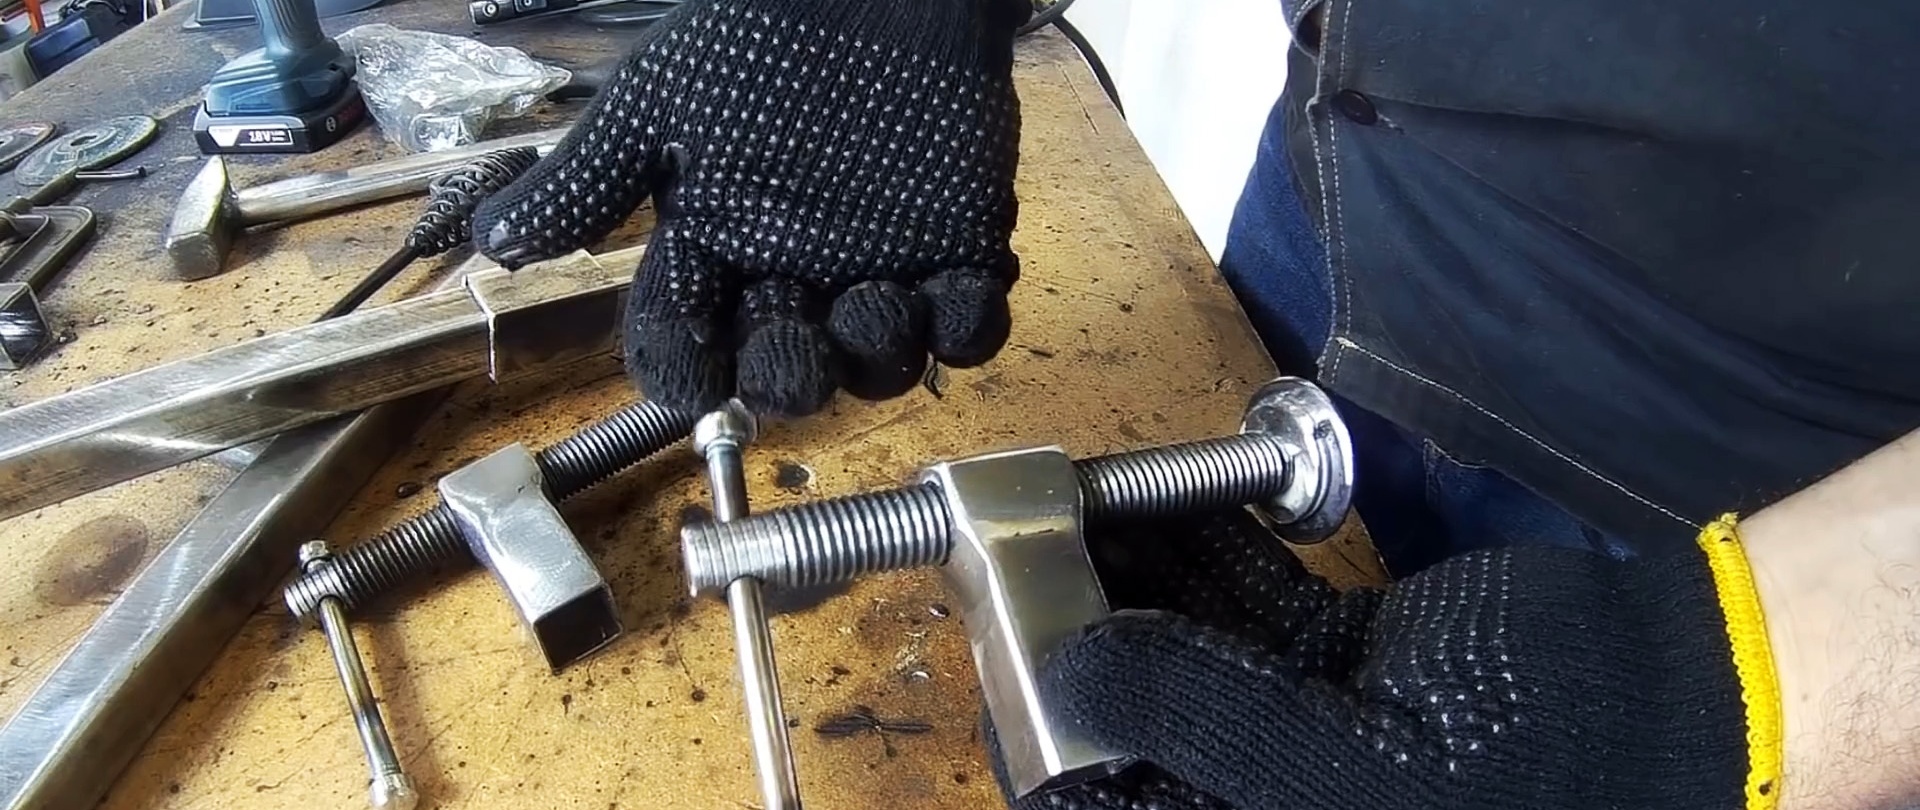
The resulting screw is welded by fastening to a sliding tube on a clamp strictly at a right angle.That's it, the tool can be painted and used for its intended purpose.


The final touch is to screw a bolt onto the upper end of the frame so that the sliding part does not fly off. As you can see, if you try, this clamp looks just like a store-bought one, but the cost of its manufacture is several times lower.