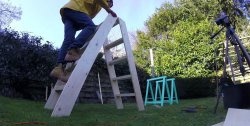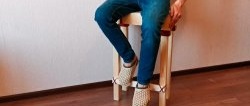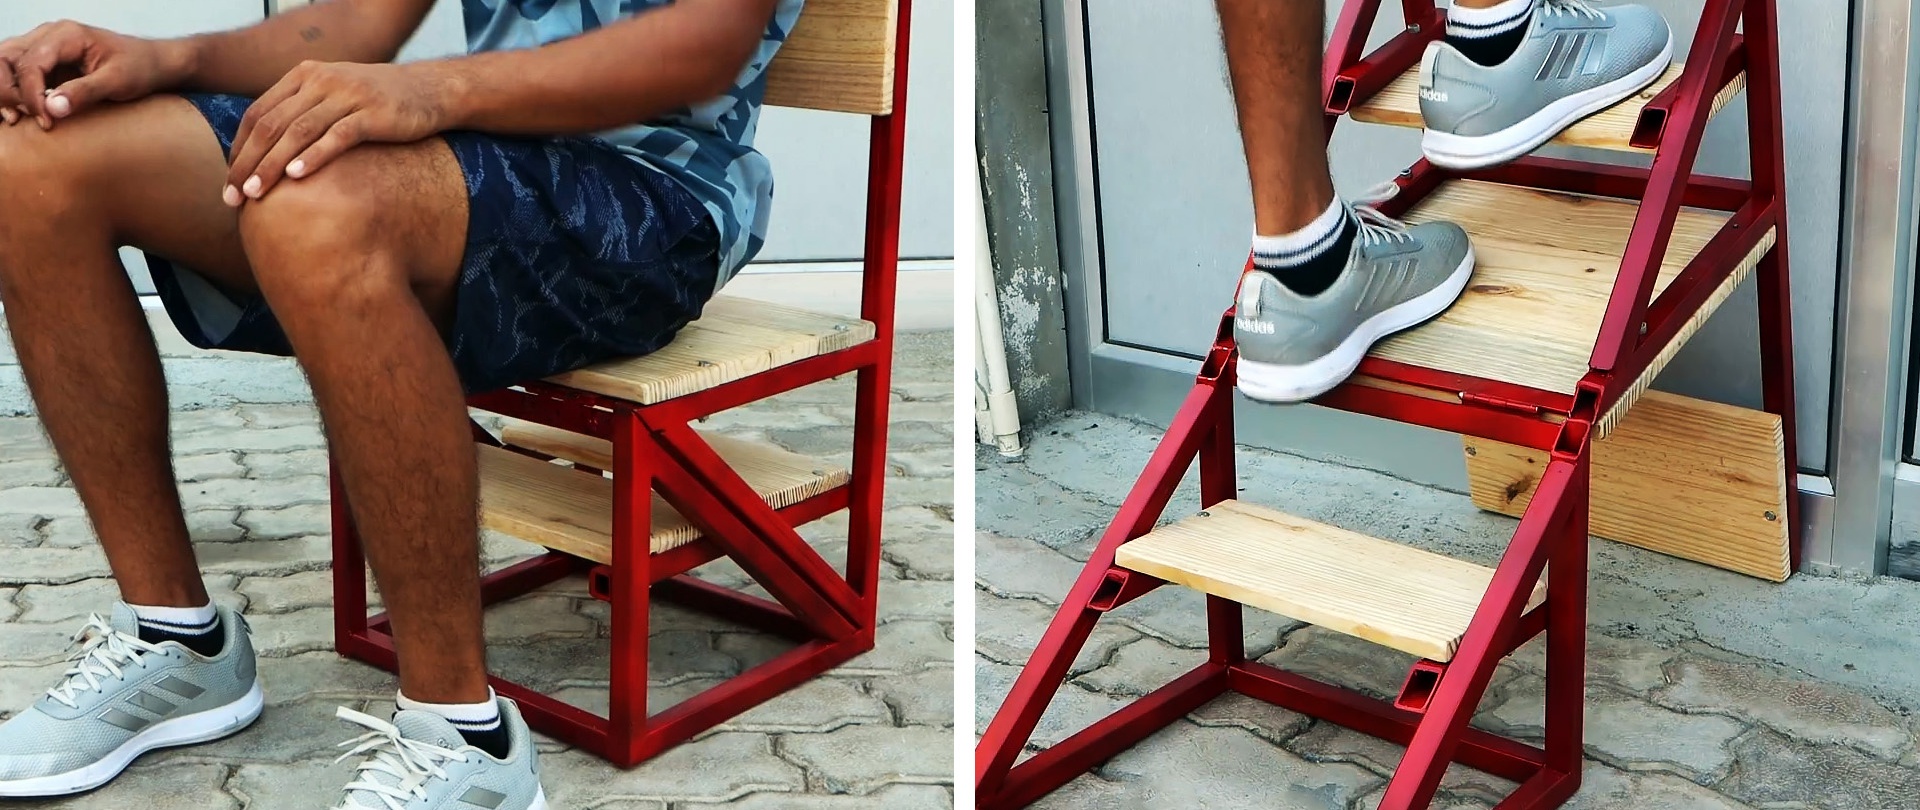
In a small workshop you have to sacrifice certain amenities in favor of more necessary things, since it is impossible to fit everything in a cramped space. Multifunctional tools and items help to significantly relieve space. They replace several necessary things at once. An example of such versatility is the staircase chair, which you can make yourself.
Materials:
- Profile pipe 20x20 mm;
- door hinges – 2 pcs.;
- board or plywood;
- strip 20 mm;
- bolts, nuts, washers.
Ladder chair manufacturing process
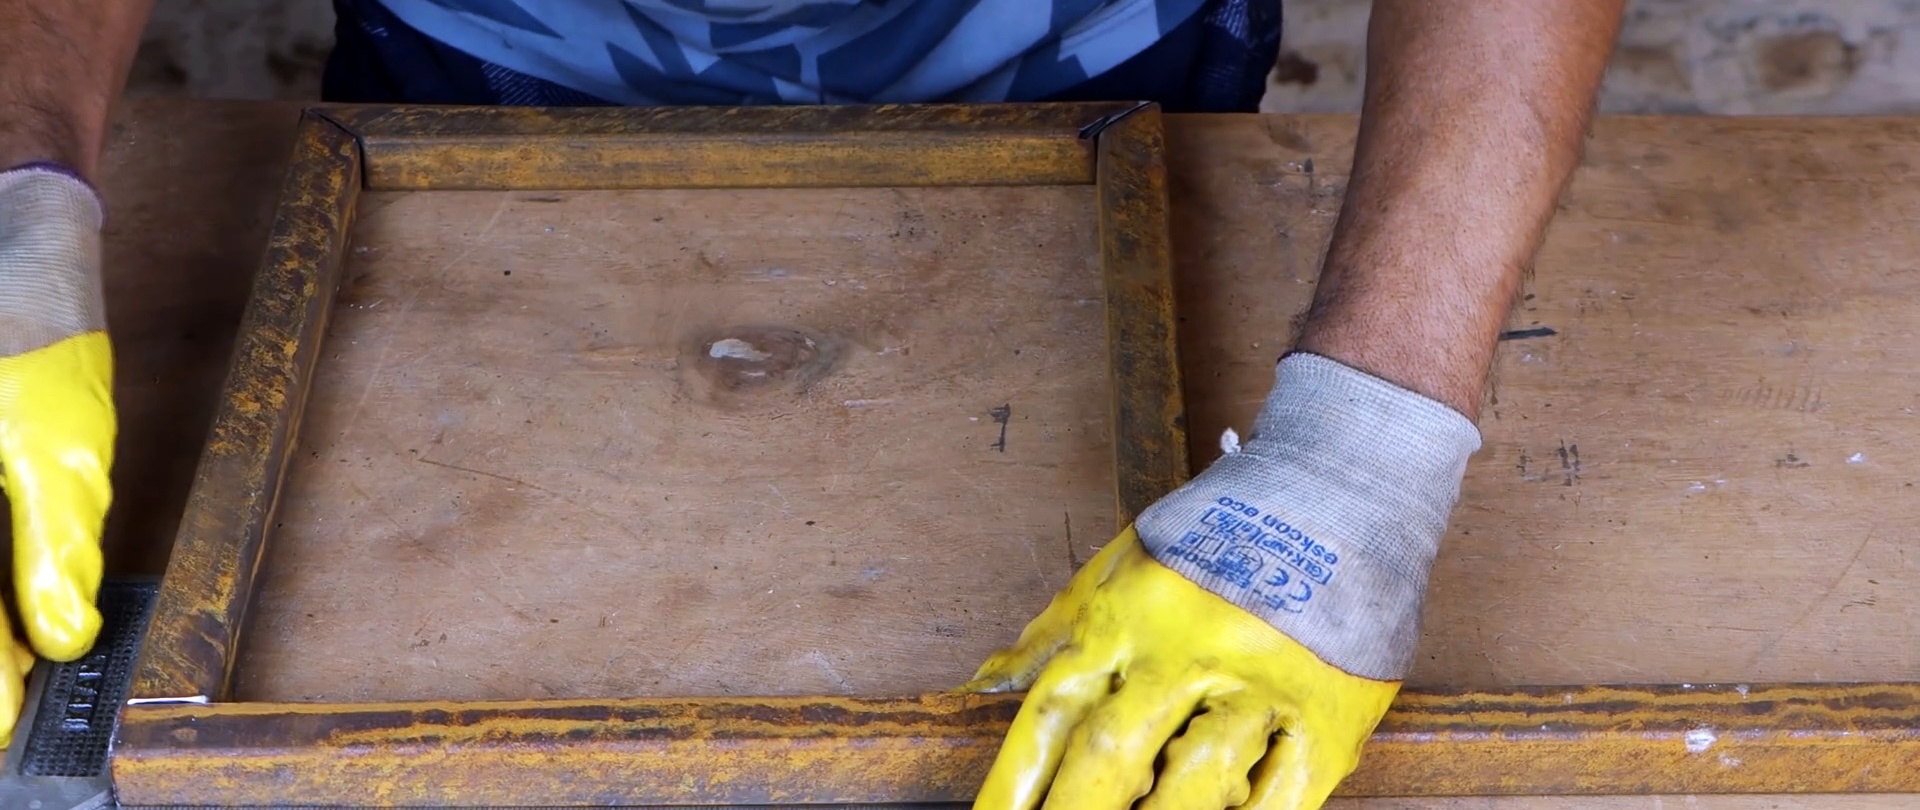
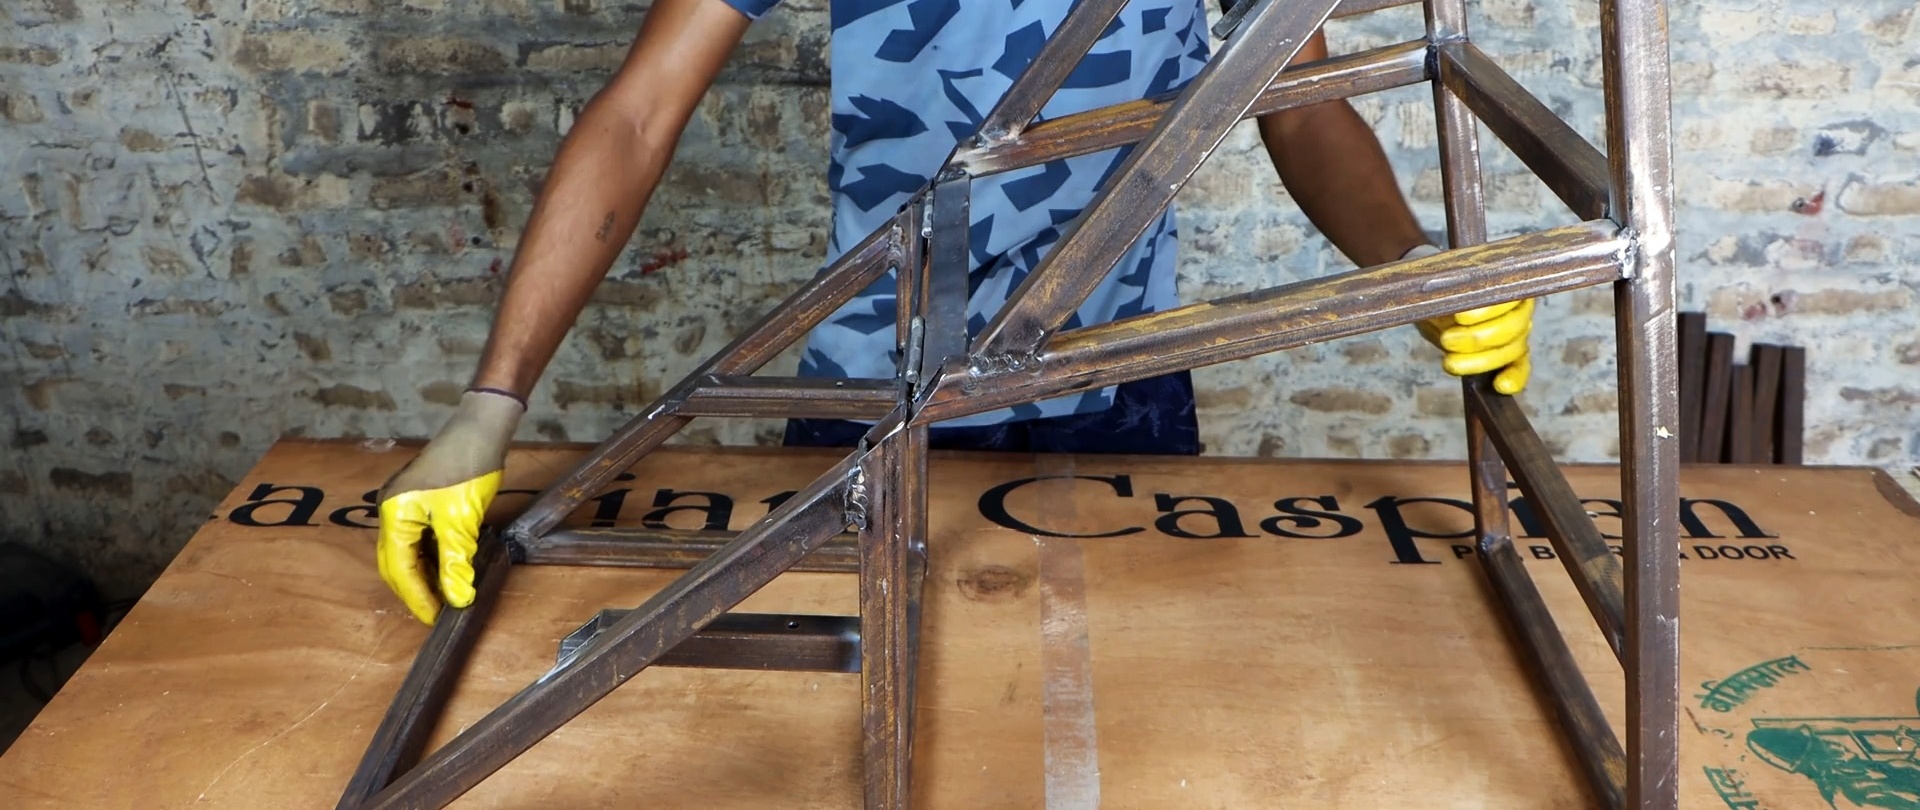
The chair frame is made of profile pipe. It can have any size convenient for you. In this case, the height of the legs is 32 cm. For the frame, you will need to weld two P-shaped parts, where a long pipe will serve as a support for the backrest. It is desirable that the height of the backrest be the same as the legs, but not less. In this case, the last step of the staircase turns out to be horizontal in all planes.

It is necessary to lay out one P-shaped half of the frame from the cut pipe on a flat base. 2 tubes are inserted into it diagonally.Their ends will need to be cut at 45 degrees. The frame is welded. Please note that you do not need to weld the corner at the top of the front with a continuous seam; a temporary tack is sufficient. Then the same second half is done.

Next, you need to weld jumpers from a profile pipe between the halves of the frame. The longer they are, the wider the chair and, accordingly, the ladder will be. But here it is important not to overdo it, so that the structure does not turn out to be excessively heavy. Pipe jumpers are welded everywhere except the front upper corner.


In the missing corner, 2 jumpers from the strip are welded to form a corner from them. Then the door hinges are welded onto them.
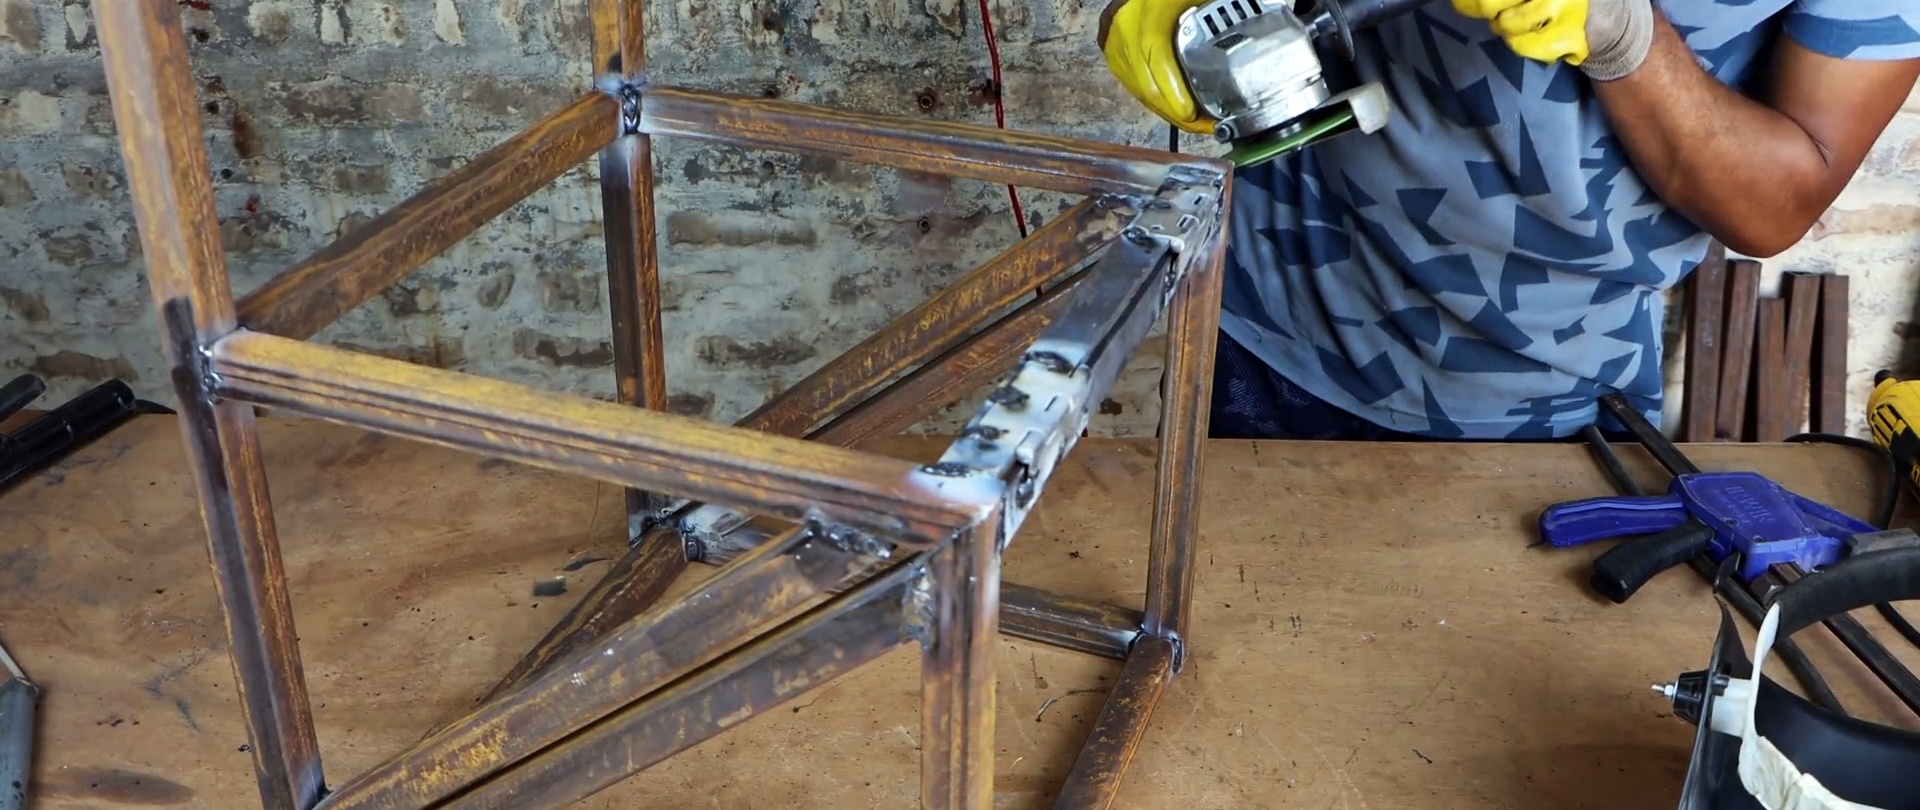
Now you have to trim the chair frame in the lower corner under the back diagonally, and cut the potholders in the upper corner. As a result, the chair will open on its hinges.
2 pipe jumpers are welded onto the chair legs. They will need to be cut between the diagonal inserts so that the structure can open again. After this, the frame can be painted.

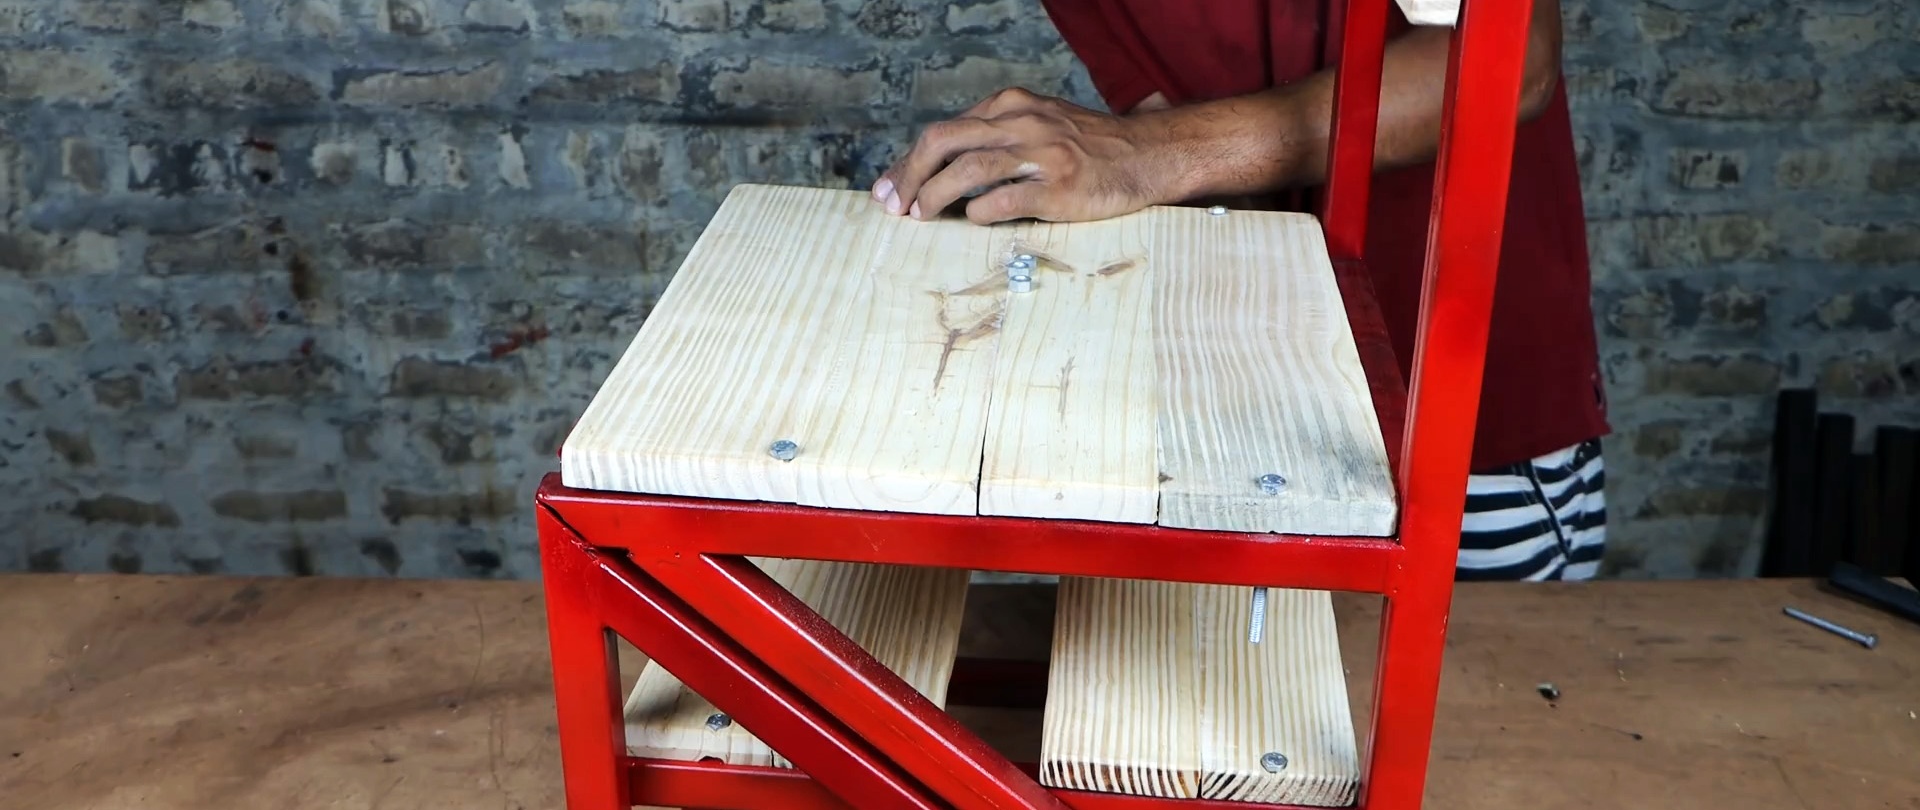
2 boards are screwed onto the last cut lintels. Then the back and seat are installed. The boards must be secured to the frame with bolts.
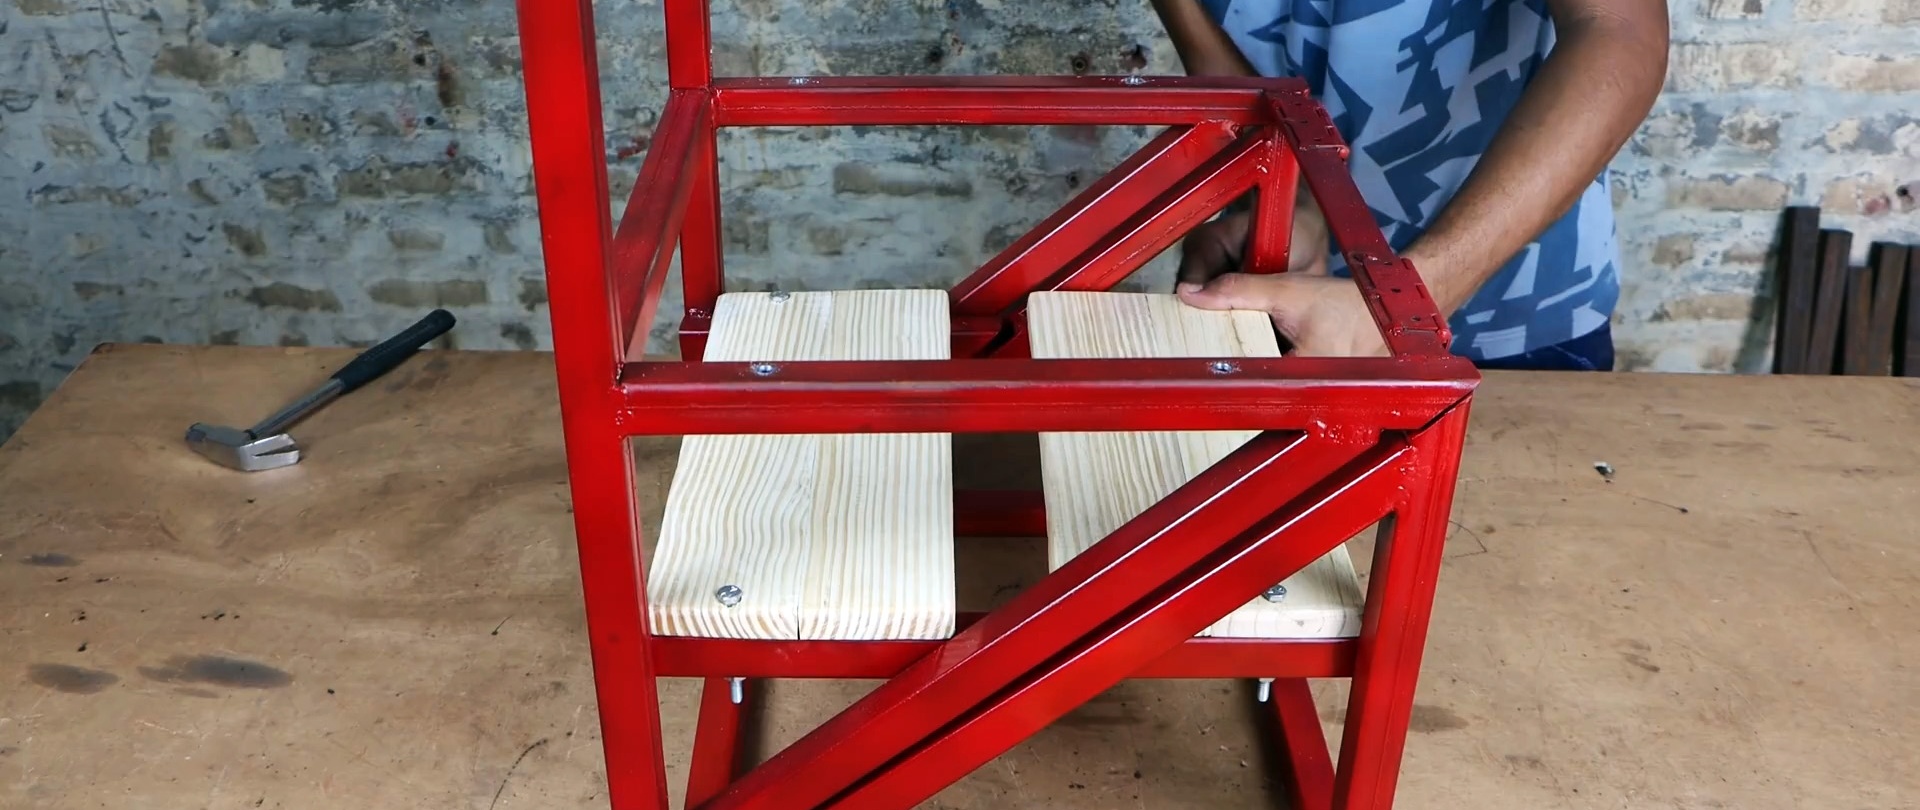
The resulting chair, when tilted in half on its hinges, turns into a staircase with three steps. Please note that you have to stand on the second and third ones from the reverse side, that is, they support the person’s weight only due to the bolts. This must be taken into account and use strong boards and reliable bolts and washers.