There is always a use for such a tool in the home workshop: it is easy to mark the places for drilling holes, draw a line at 45 degrees, and find the center of the circle (visually at the end of the article). Even a high school student can make it from simple and cheap materials.
Will need
Materials:- Pieces of multilayer plywood;
- steel flexible plate;
- wood glue;
- three brass pins;
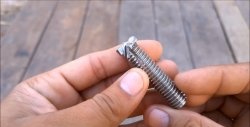
- plastic handle-lock;
- steel ruler.
Marking tool manufacturing process
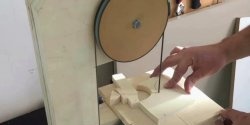
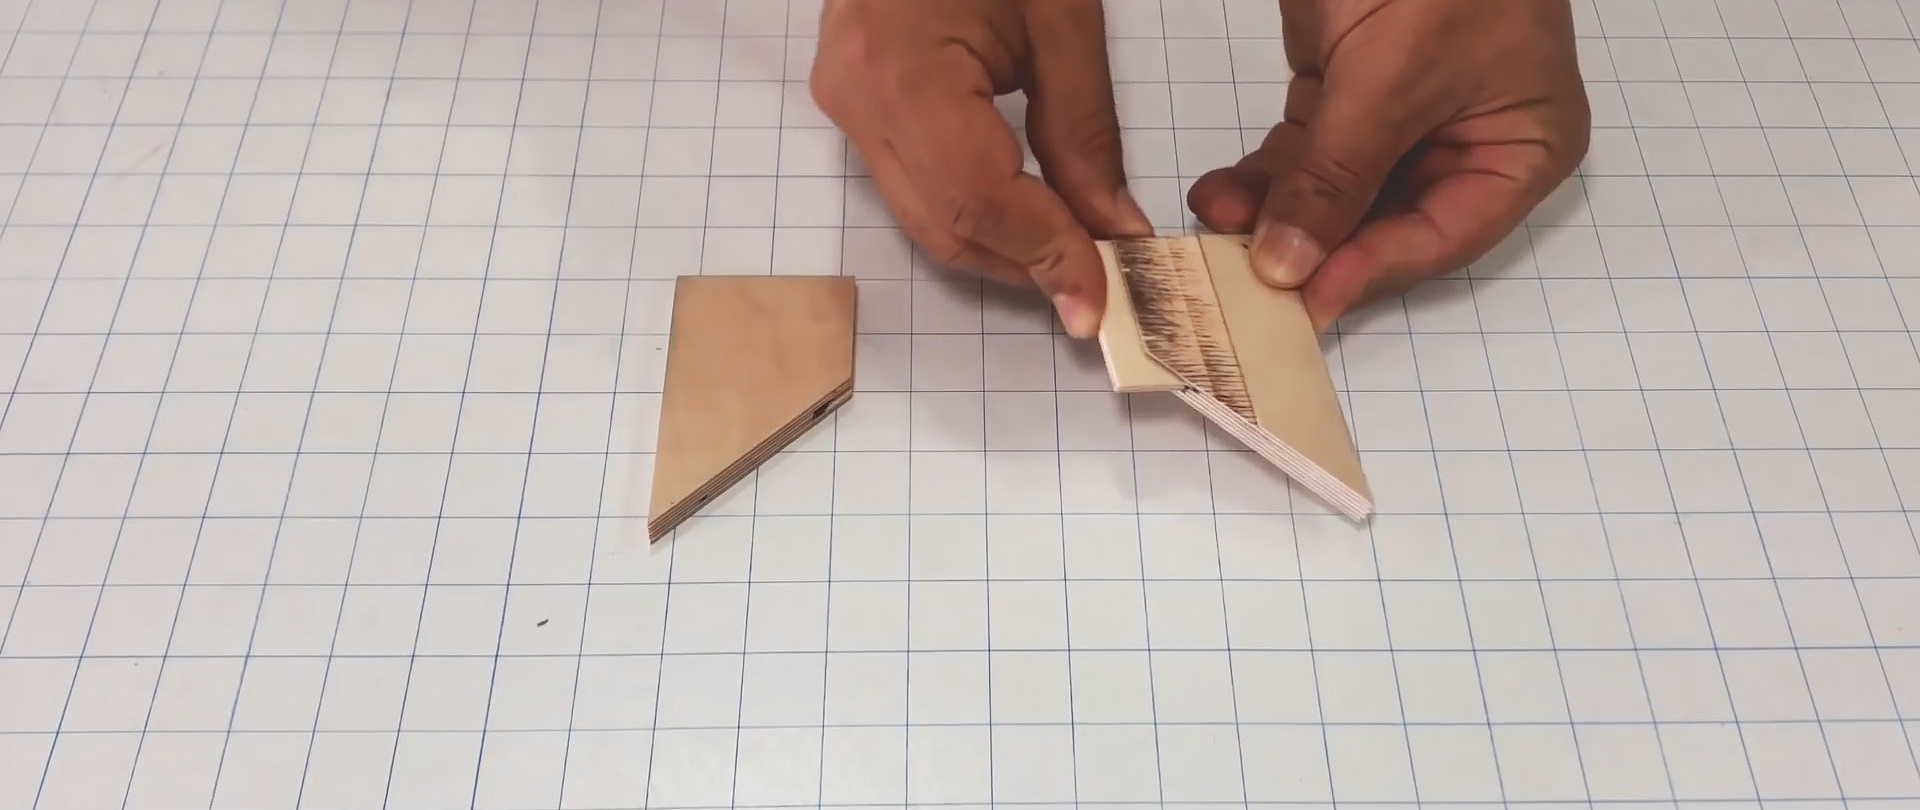
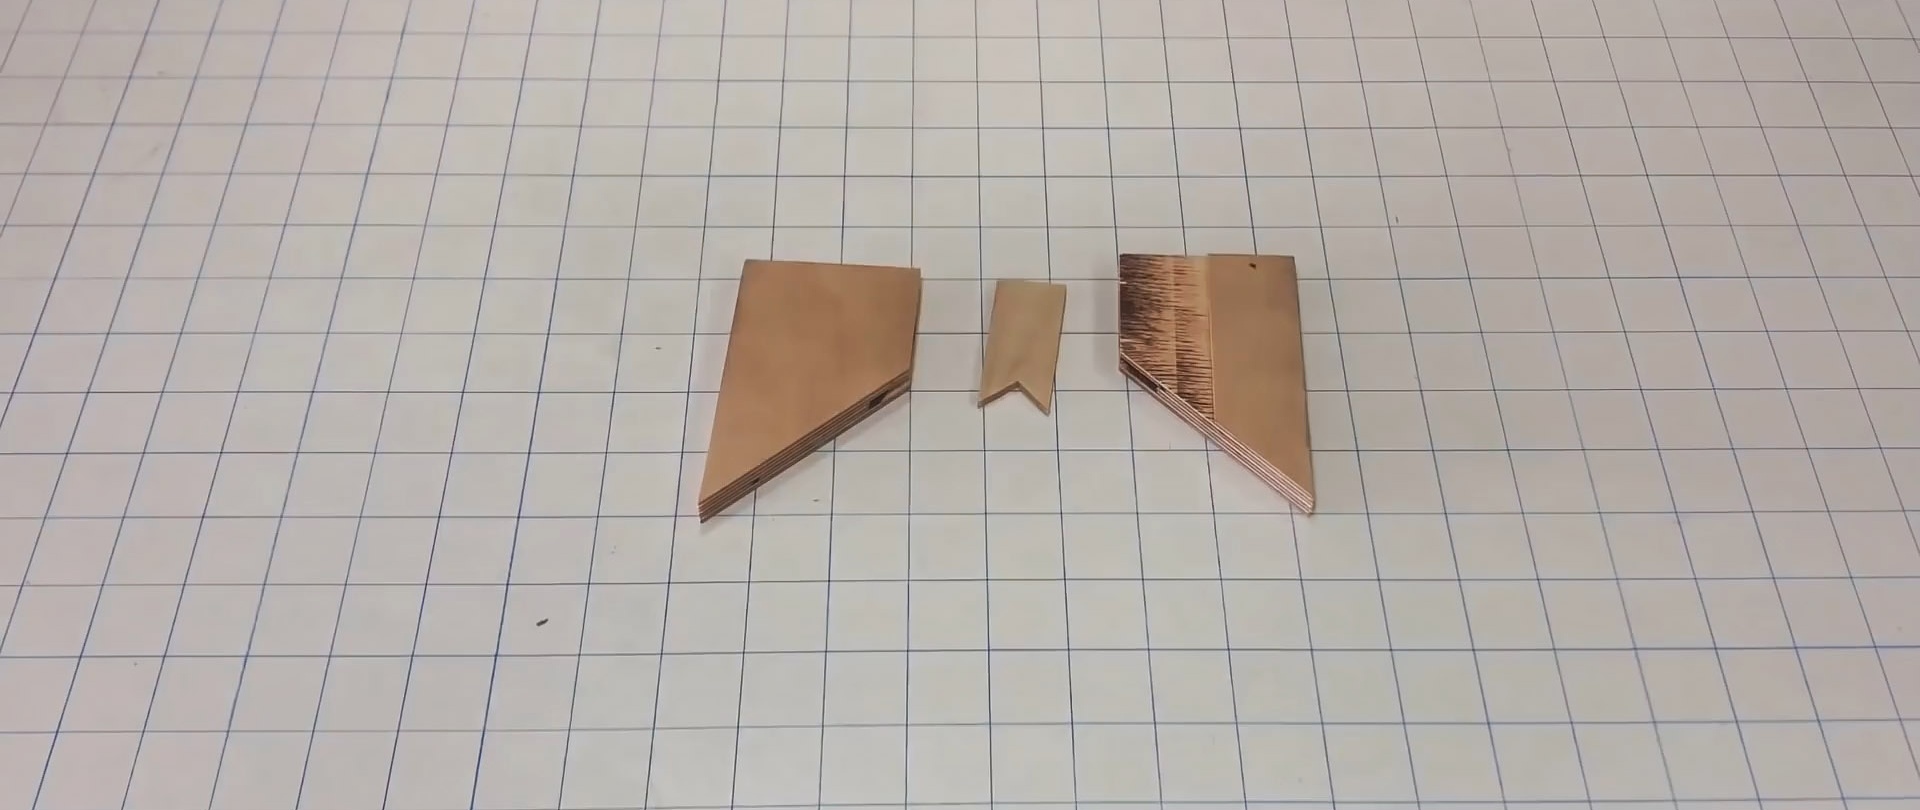
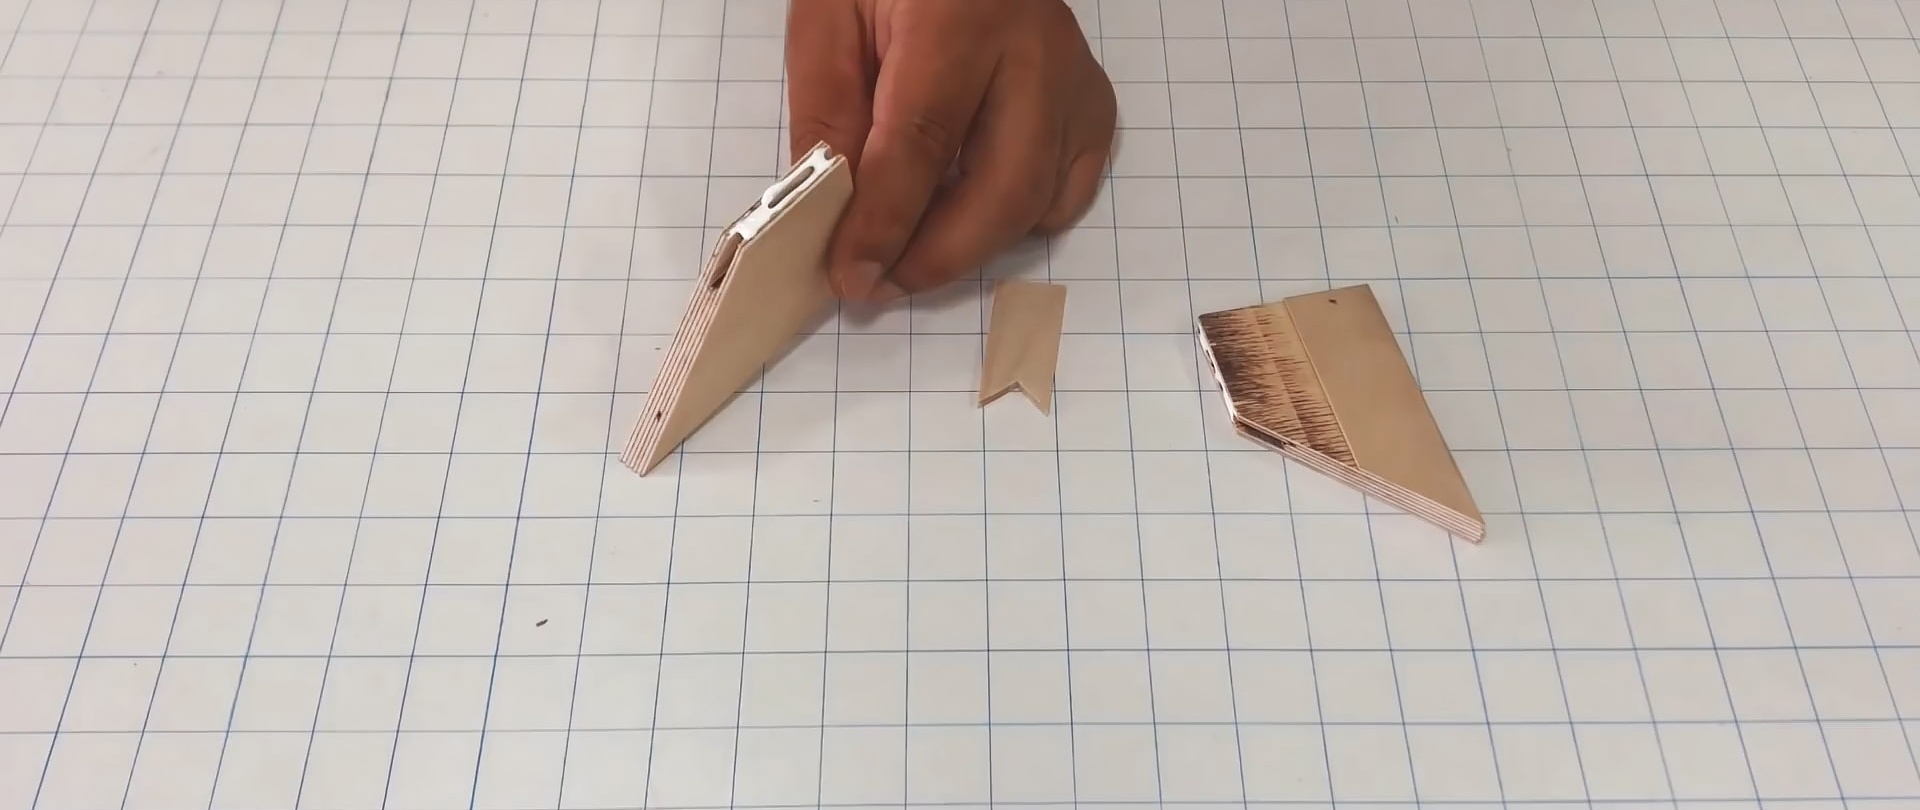
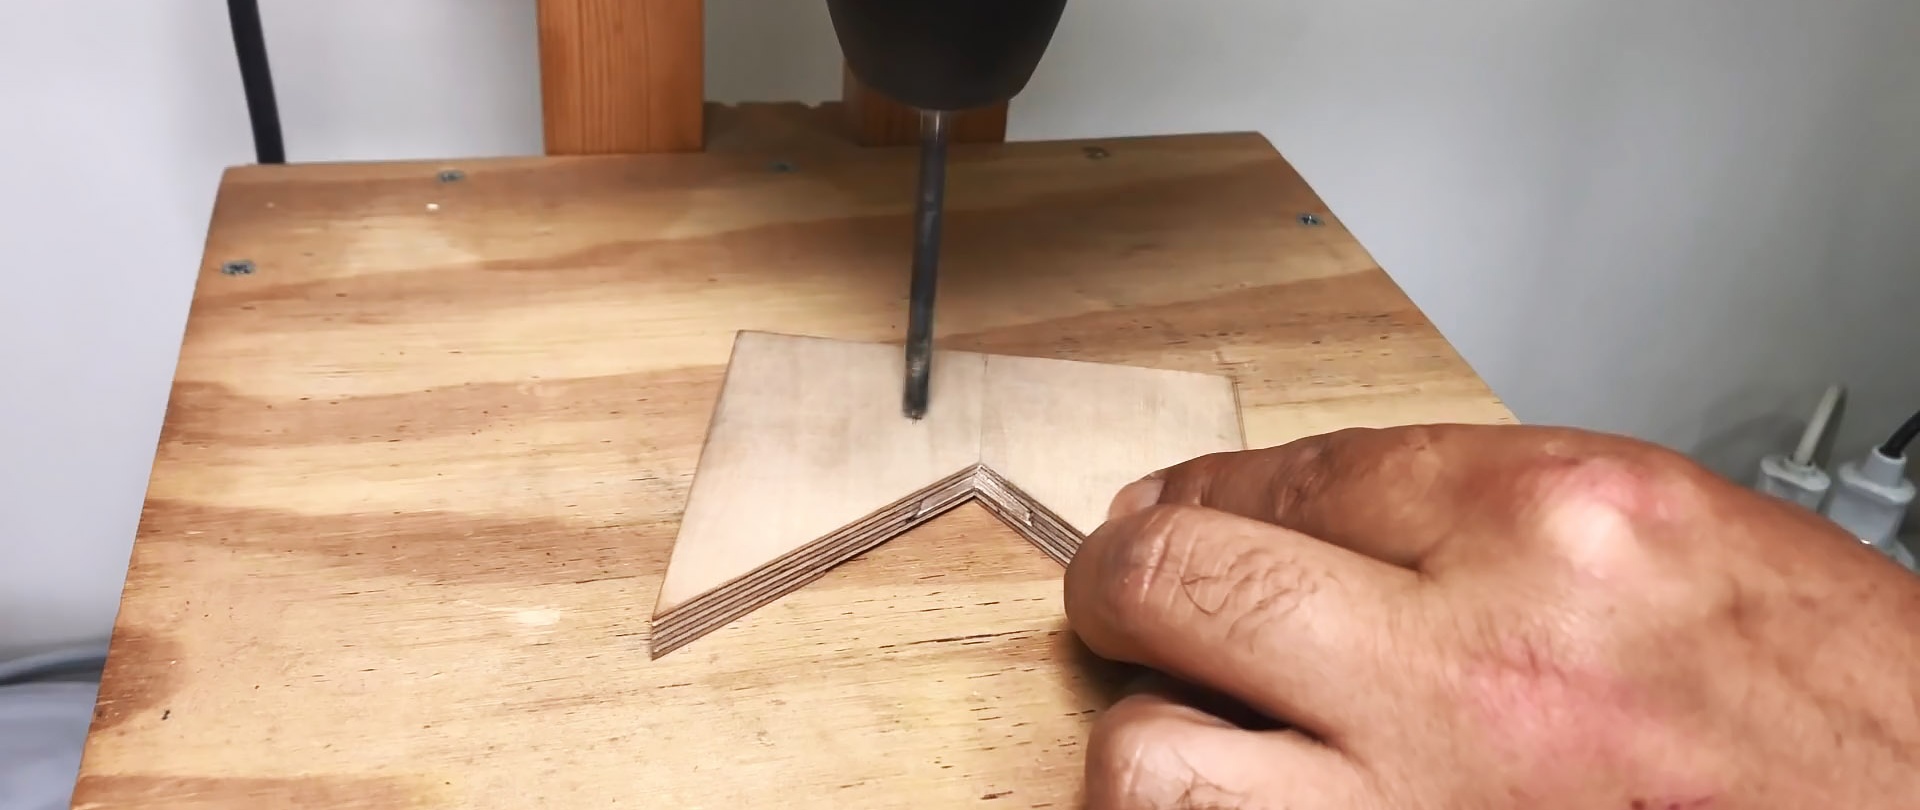
Using a pendulum saw, we make two parts from multilayer plywood with one straight end and the other cut at 45 degrees, as well as a part in the form of an equilateral triangle.

Using a cutter, we make a groove in one of the parts with the end cut at 45 degrees and exiting to the low side in two passes along the width.
On the circular saw we make a longitudinal slot parallel to the groove in the center of the remaining width of the part.We repeat the same operation on the second similar part without a groove.
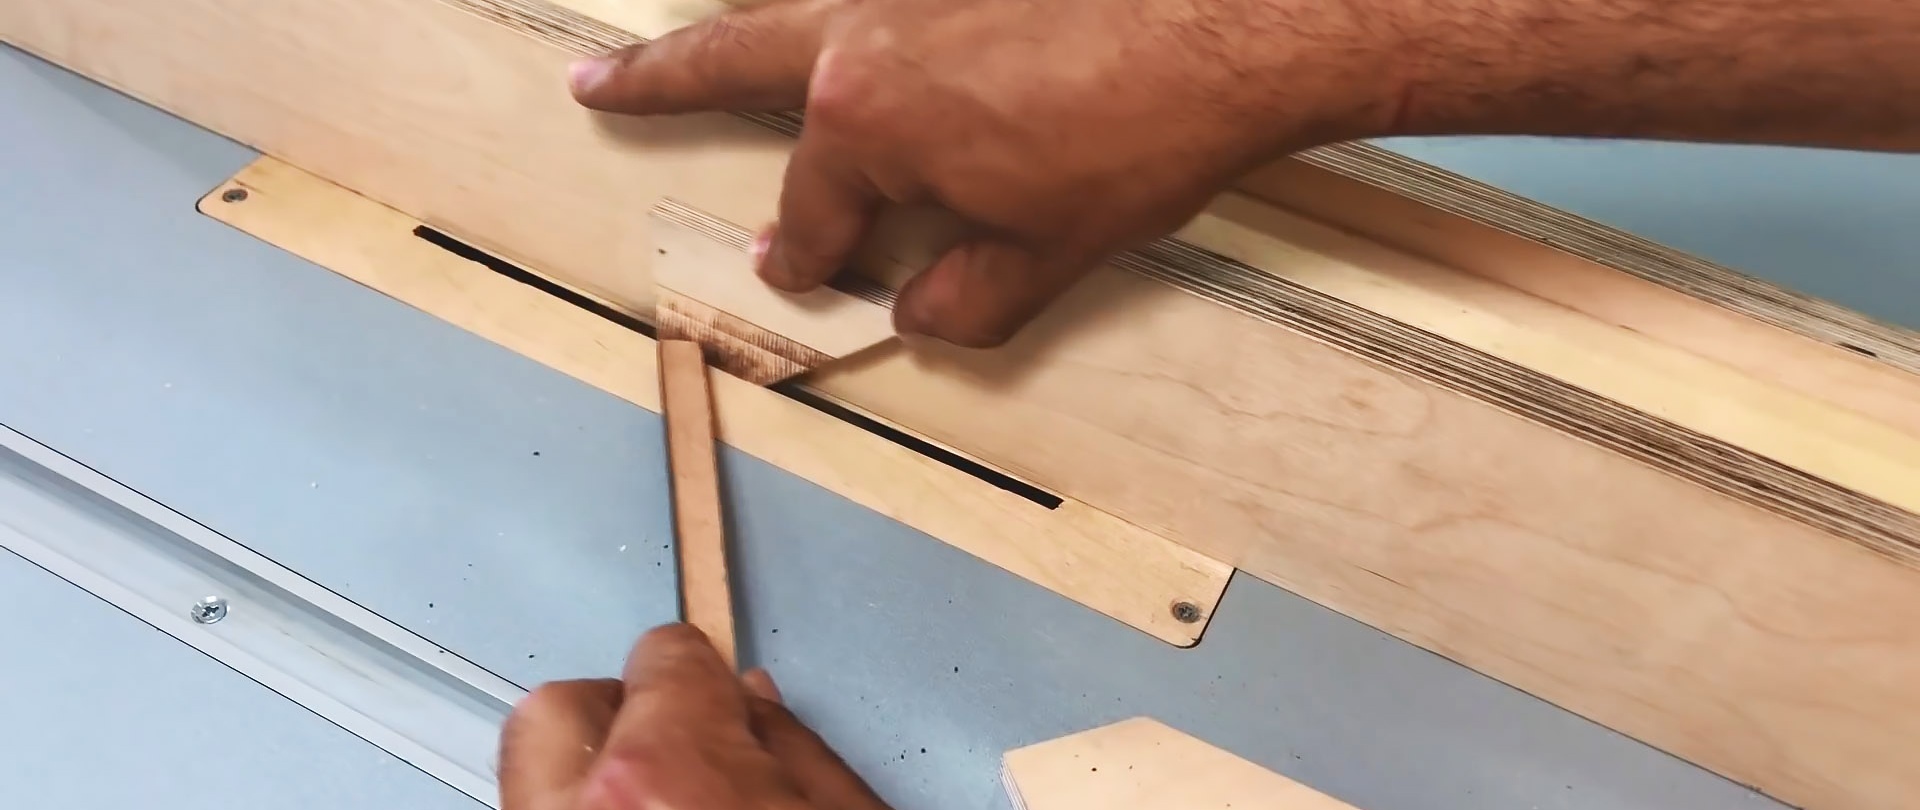
We insert a wooden plate of appropriate size into the slots so that its bottom coincides with the straight ends of the parts with slots that are connected by the short sides.
In the upper part of the wooden plate, we cut out a recess in the center that coincides with the profile of the connected parts with slots. Using glue, we assemble these three parts in the same sequence.
We compress the assembly using a clamp and leave it for a while for the glue to harden.
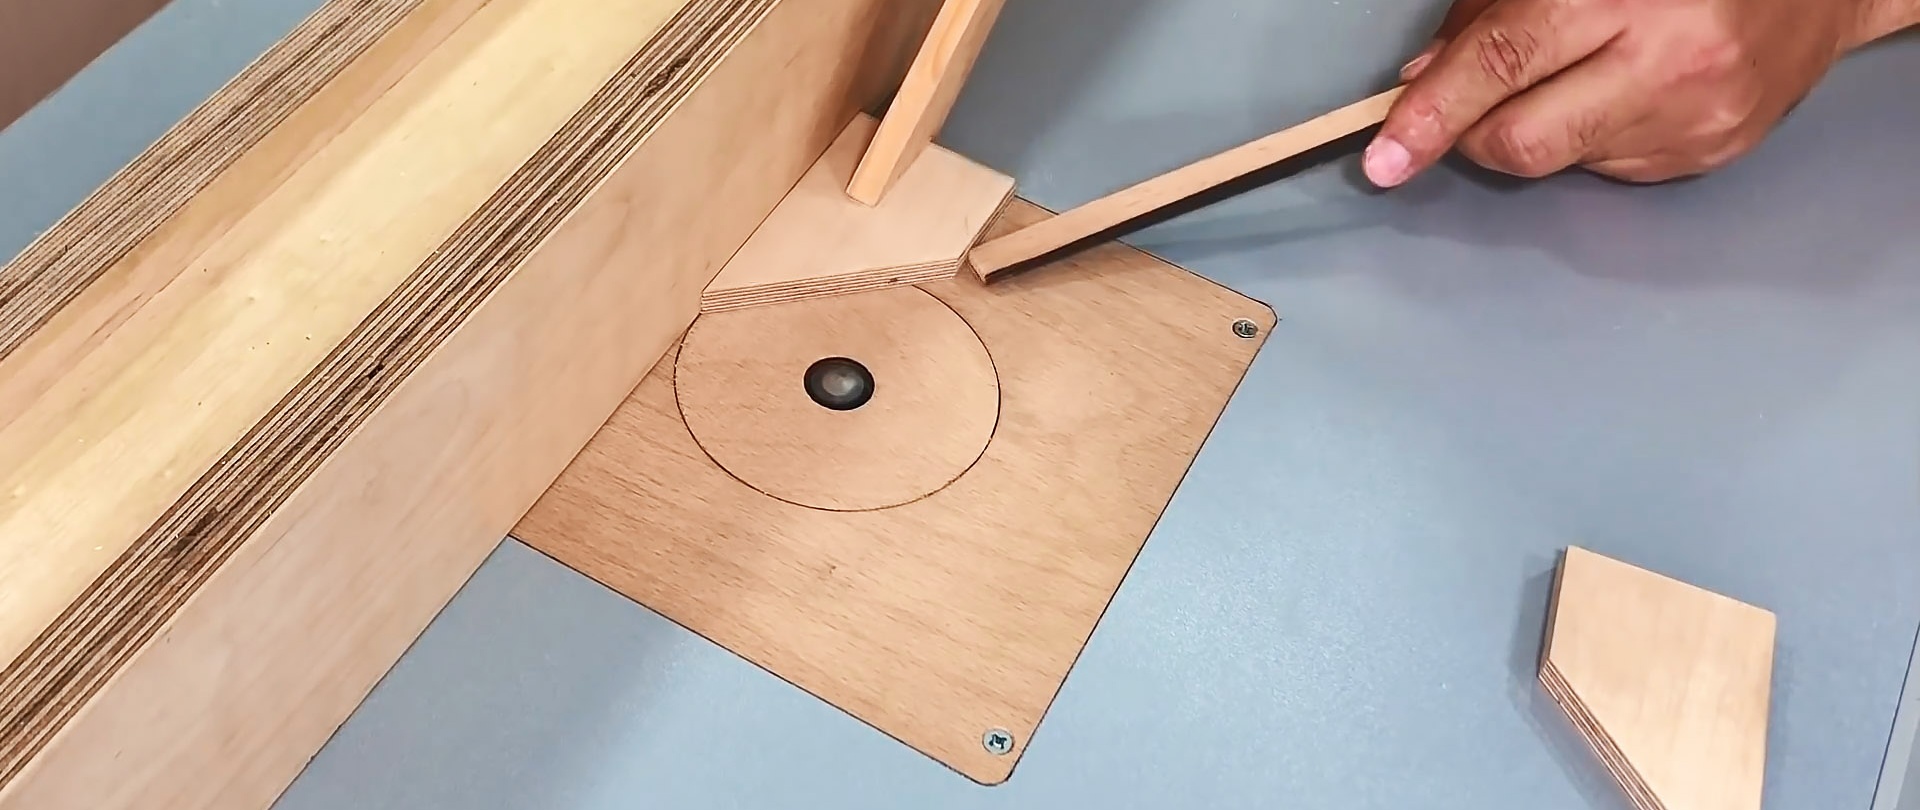
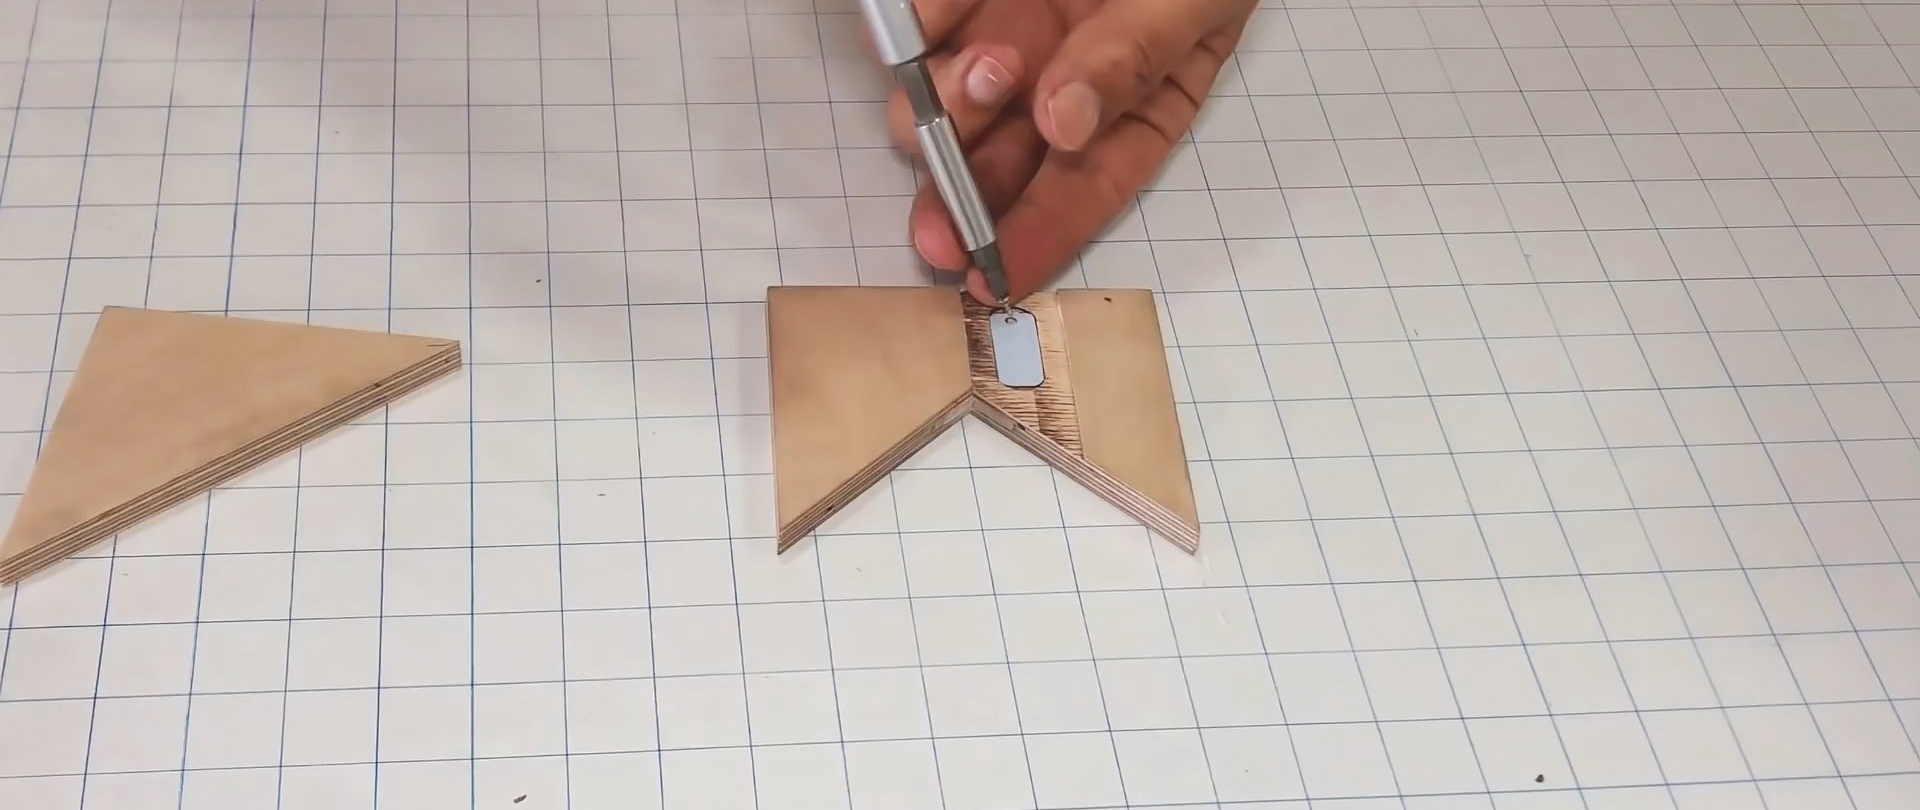
At the bottom of the groove in the center we make an oblong recess with rounded ends and drill a through hole closer to the upper end.
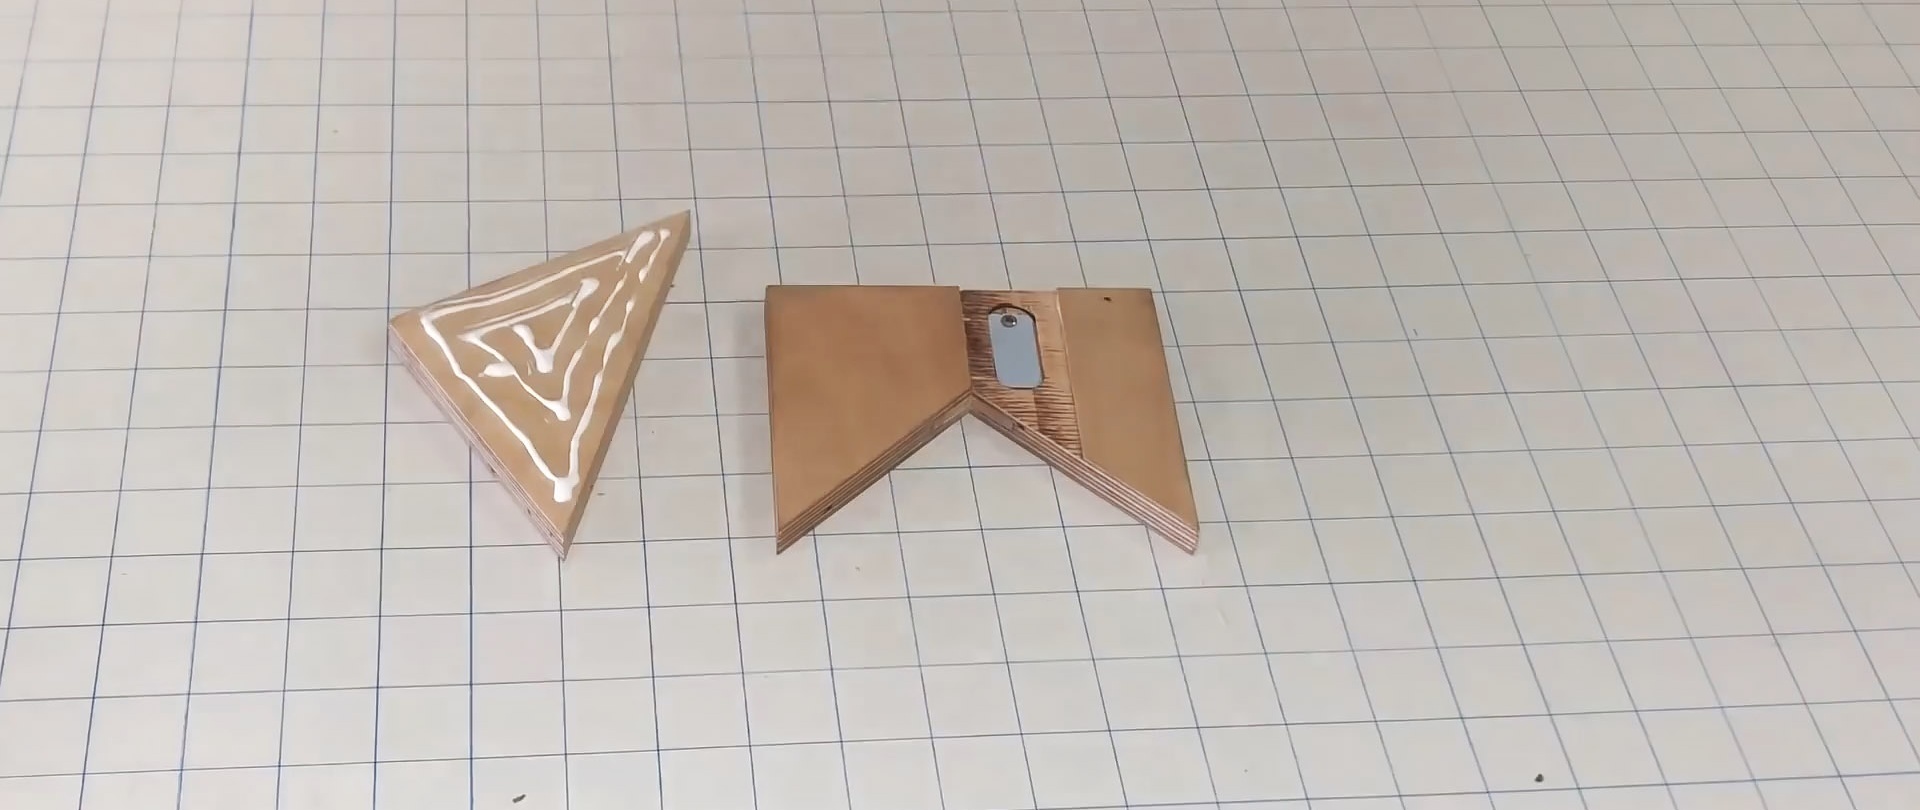
We place a flexible plate similar in shape with a hole at the lower end into the recess and secure it with a screw.
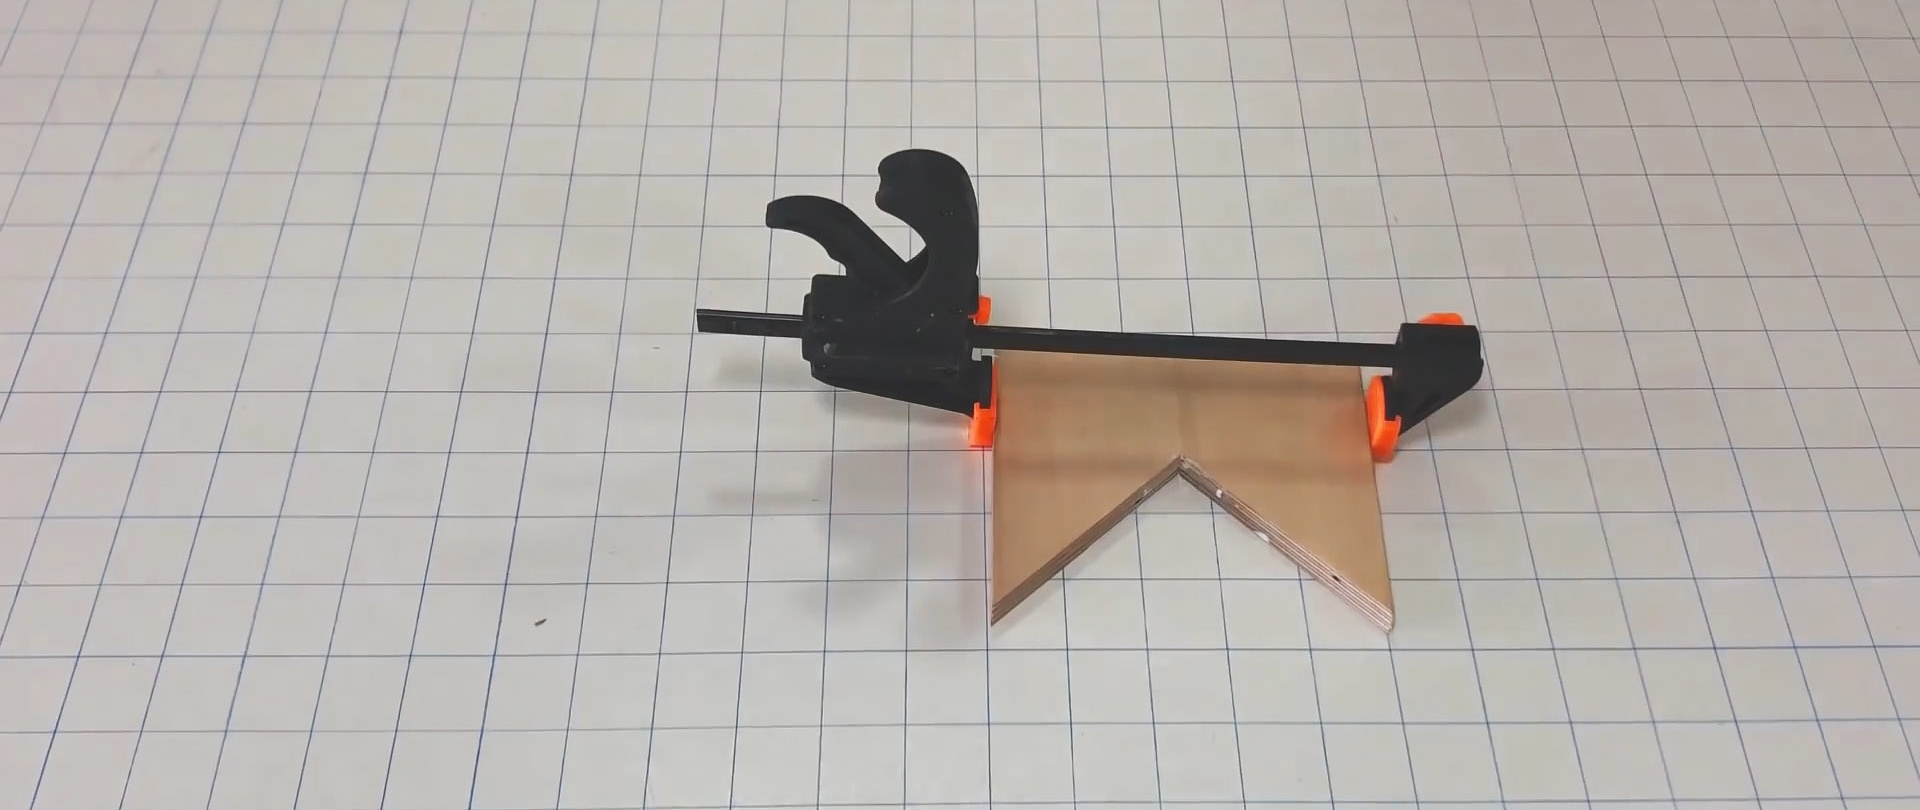
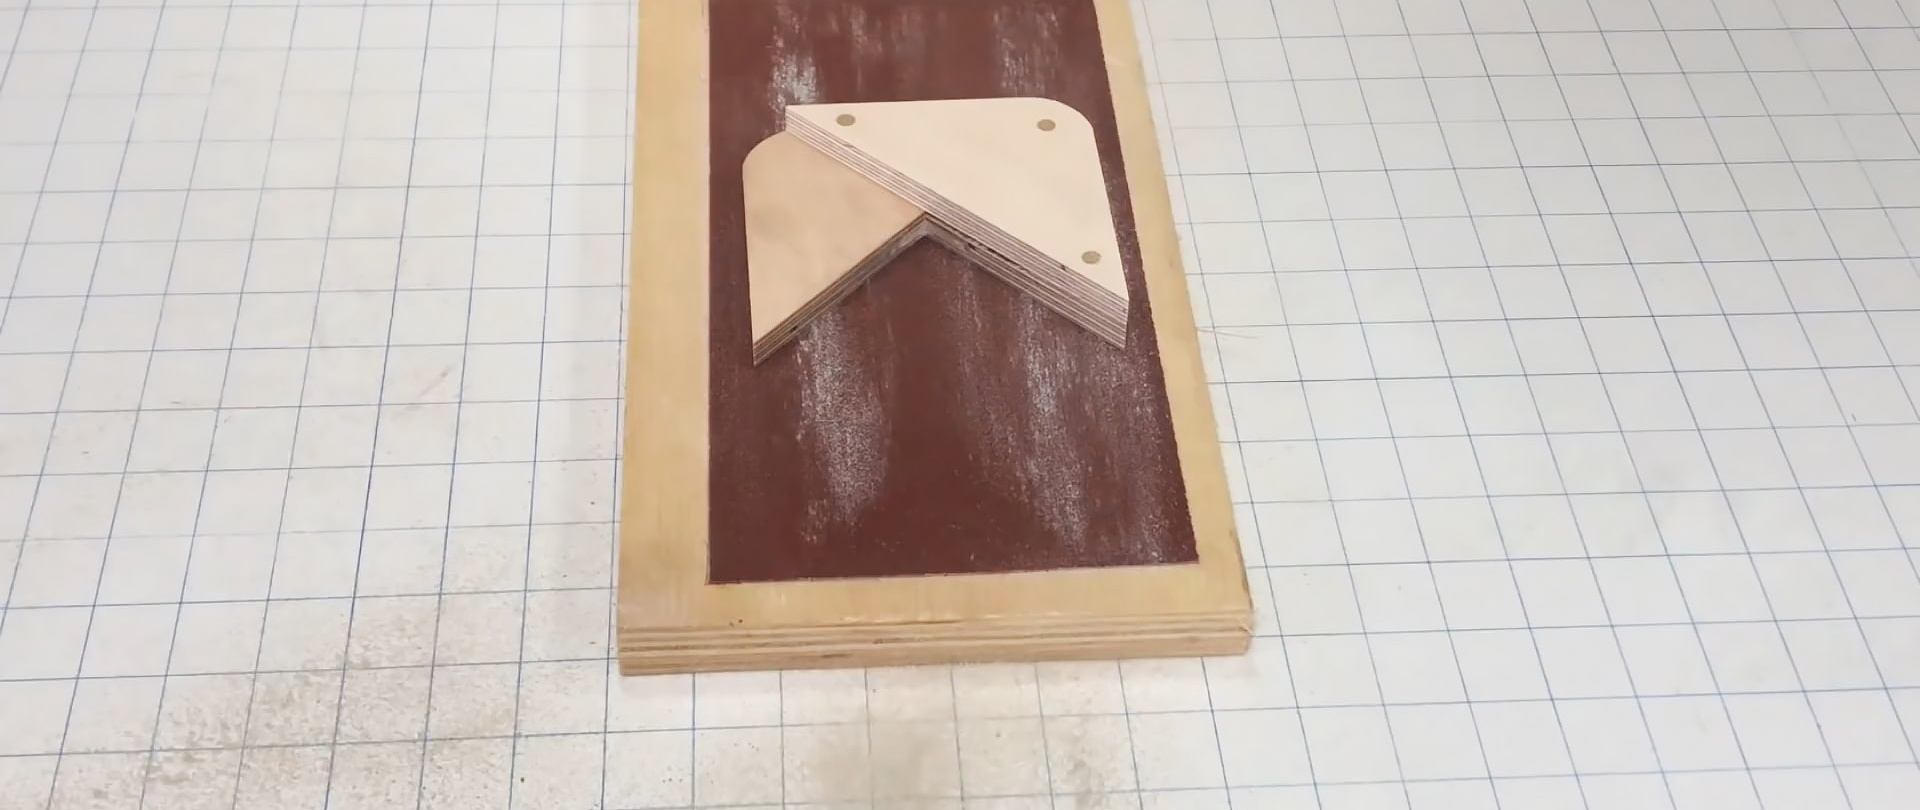
We glue the triangle piece made of plywood to the parts connected together so that it covers the groove, and its sides coincide with the sides of the part with the groove.
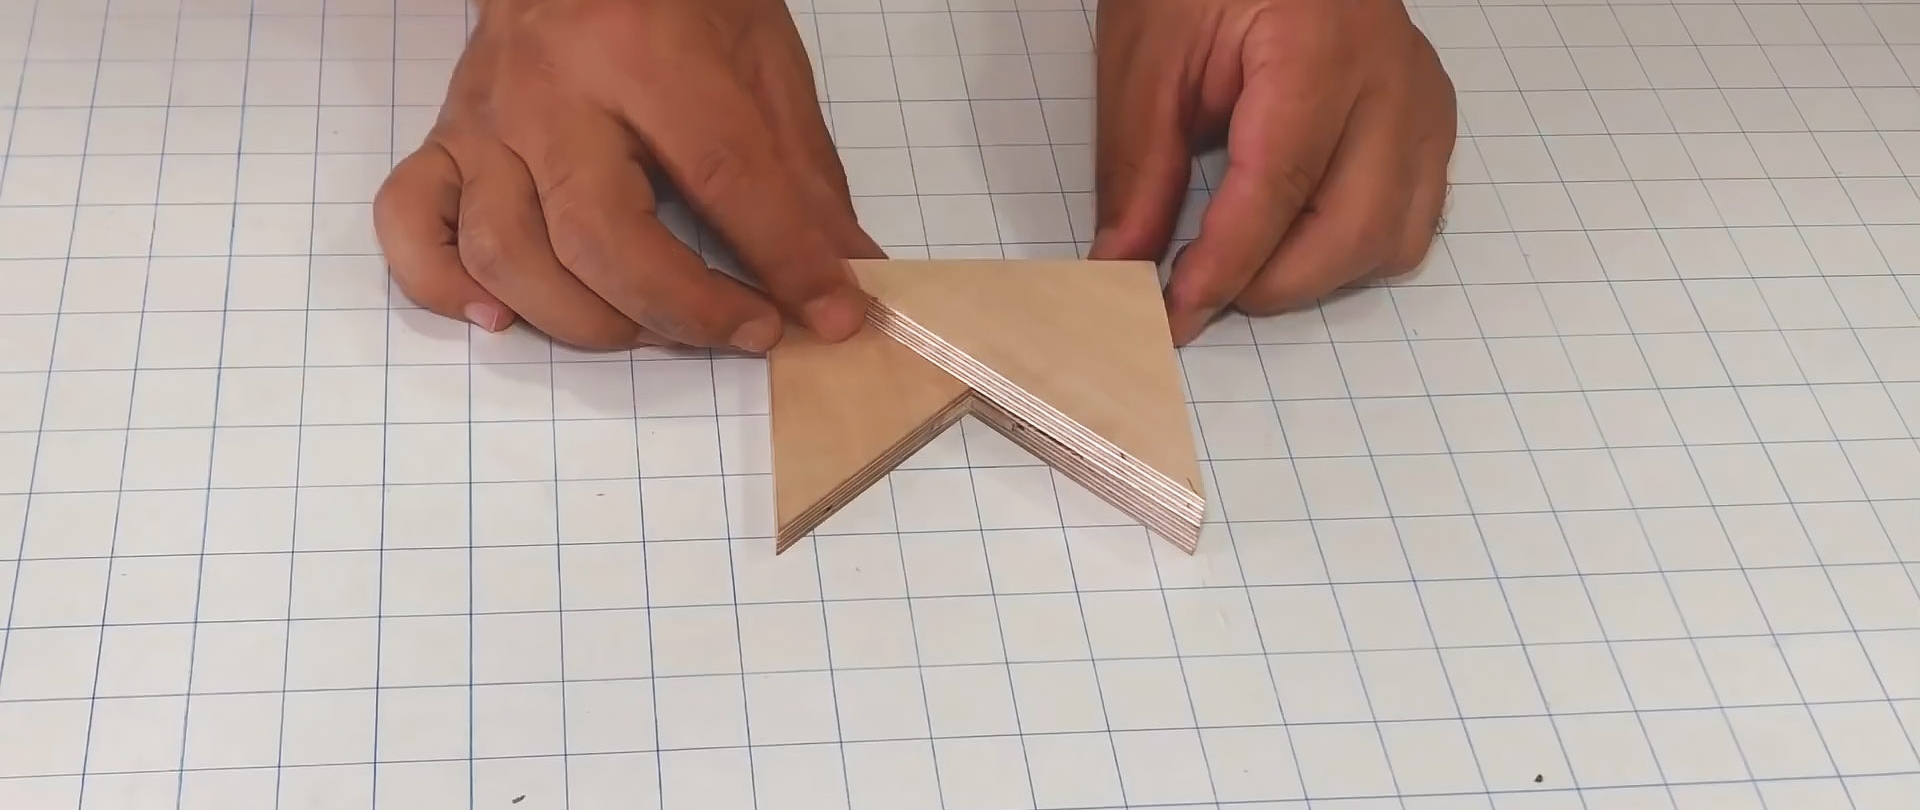
After adjustment, we compress the parts to be glued with clamps and leave them while the glue hardens.
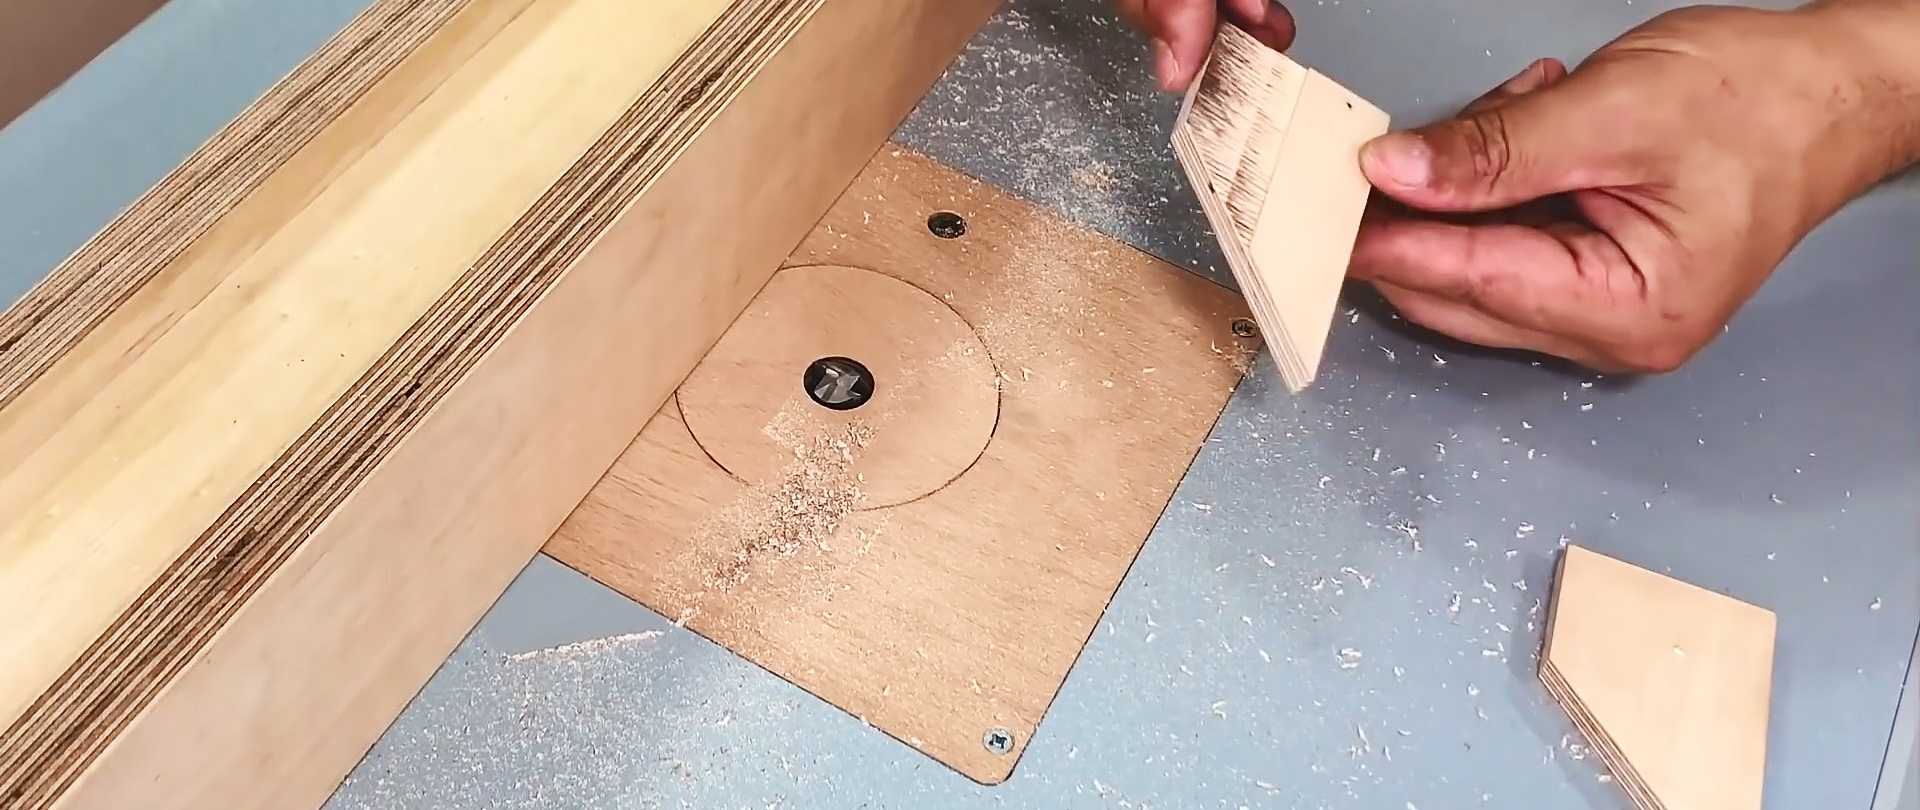
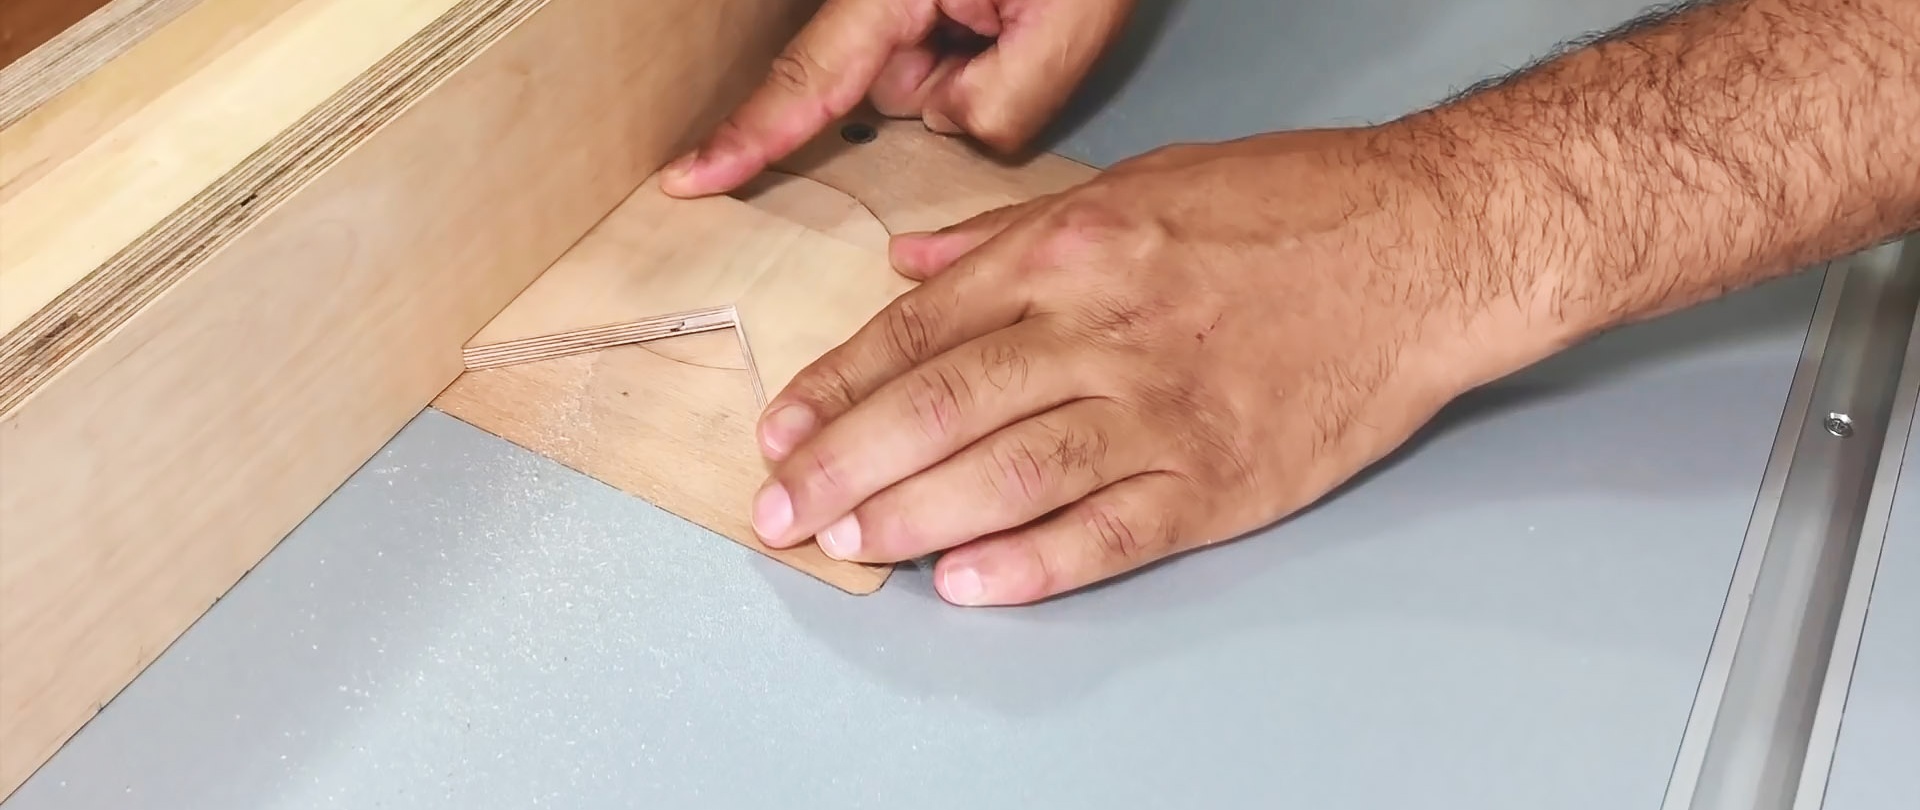
We round the right corners of the resulting structure using a grinder.
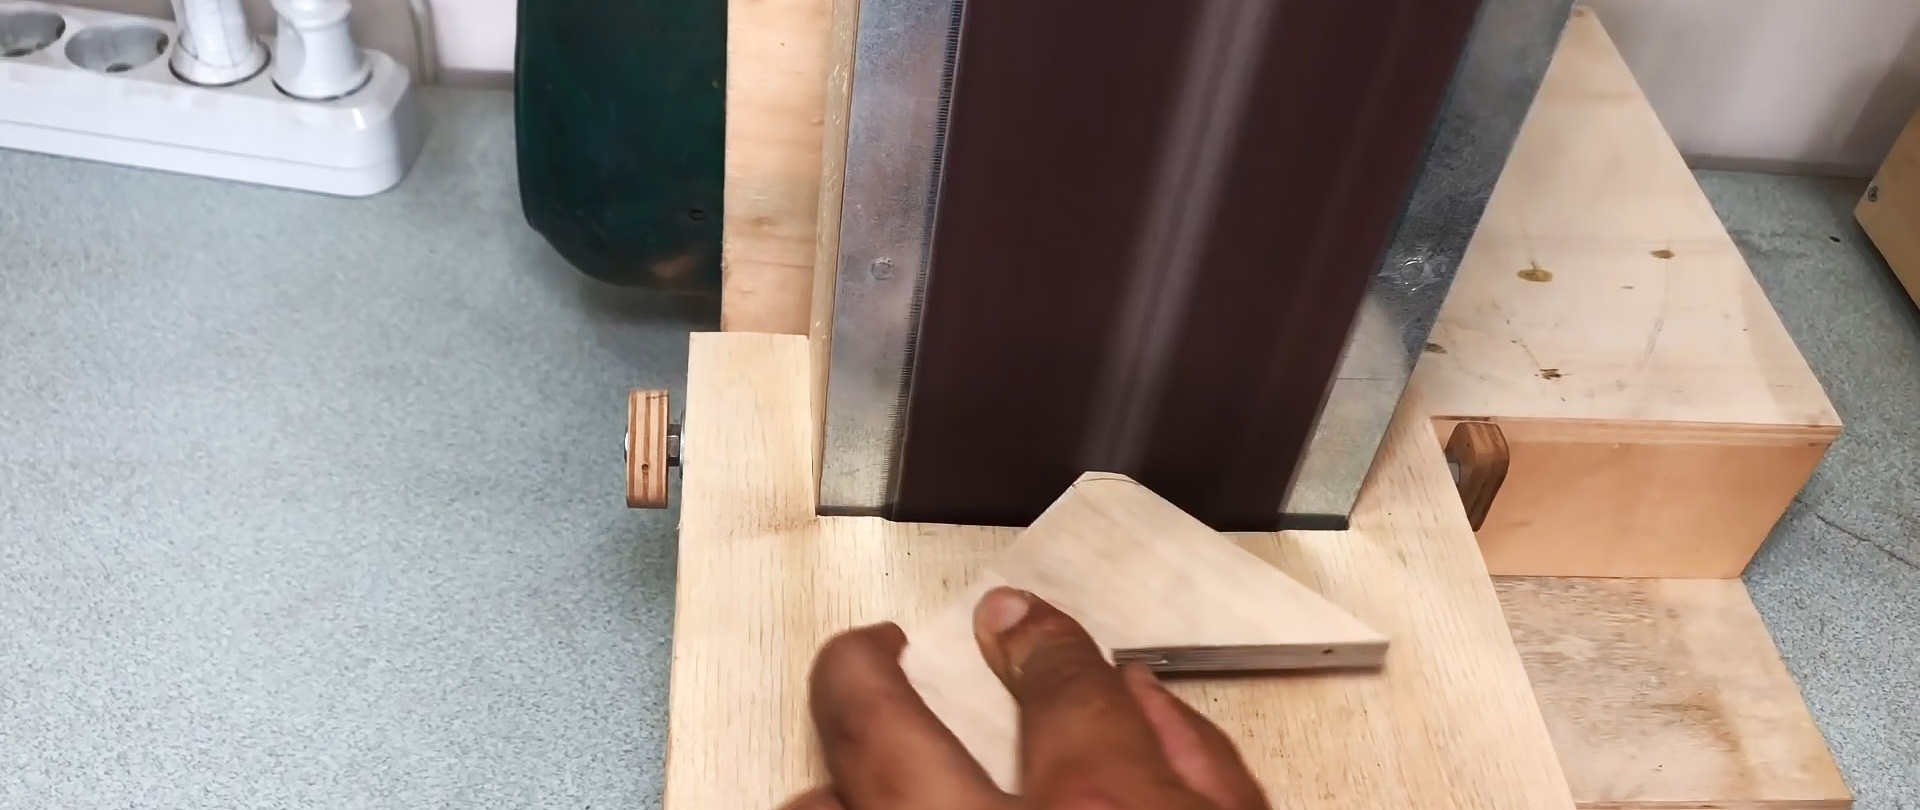
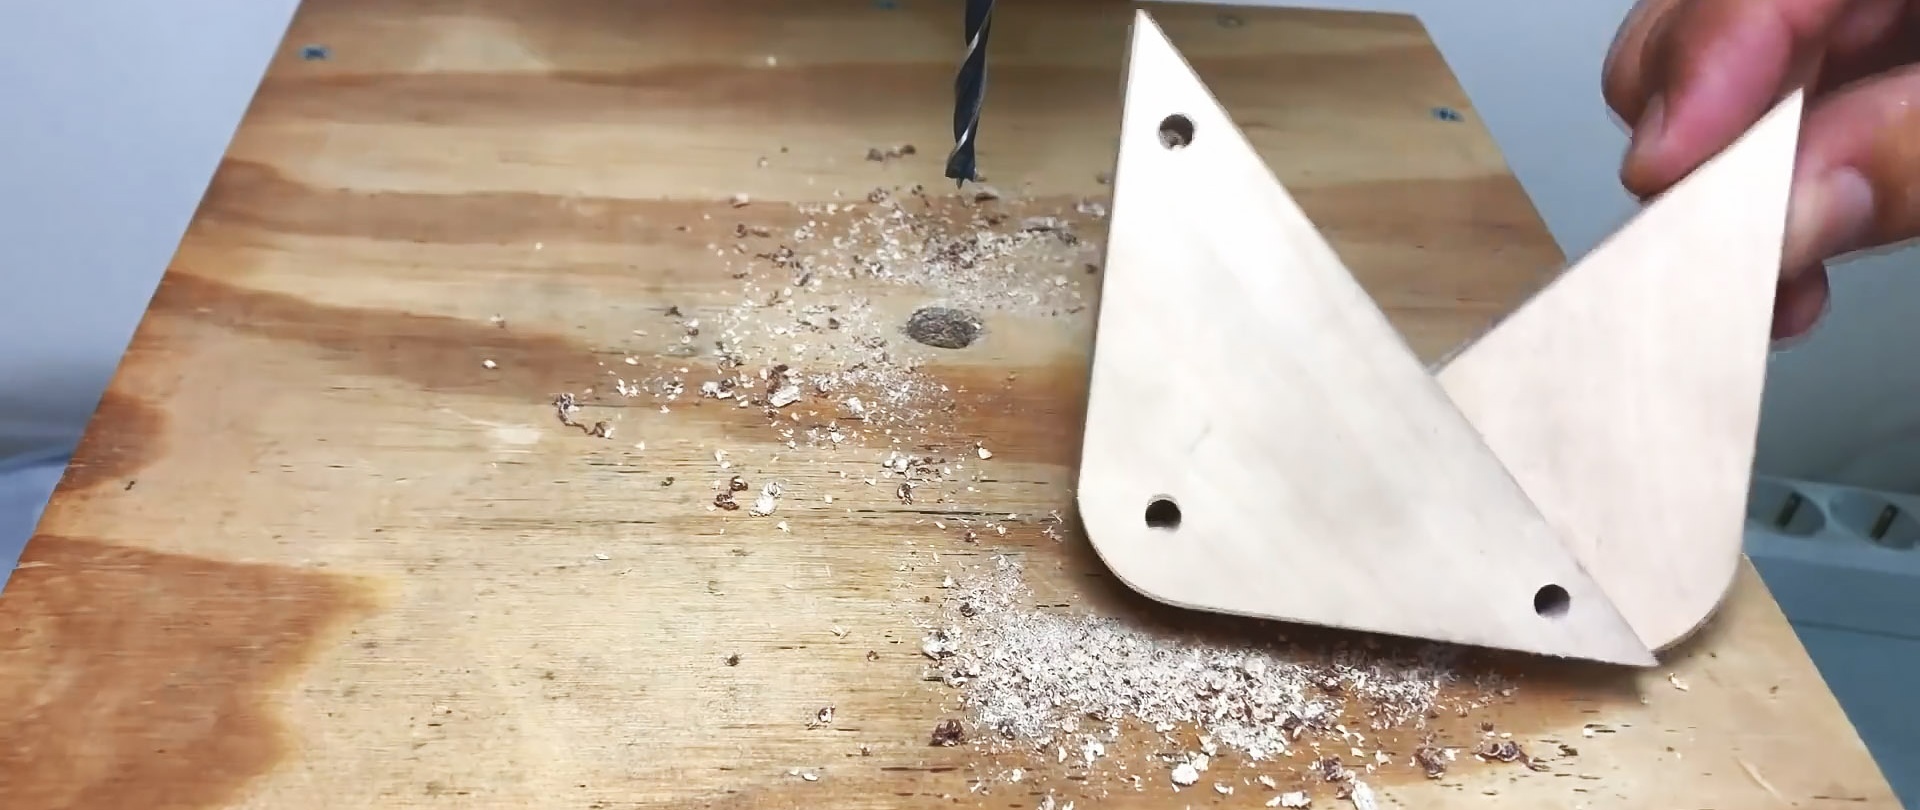
We drill holes in the corners of the triangle part and press brass rods into them.

We sand both sides of the resulting structure with sandpaper.
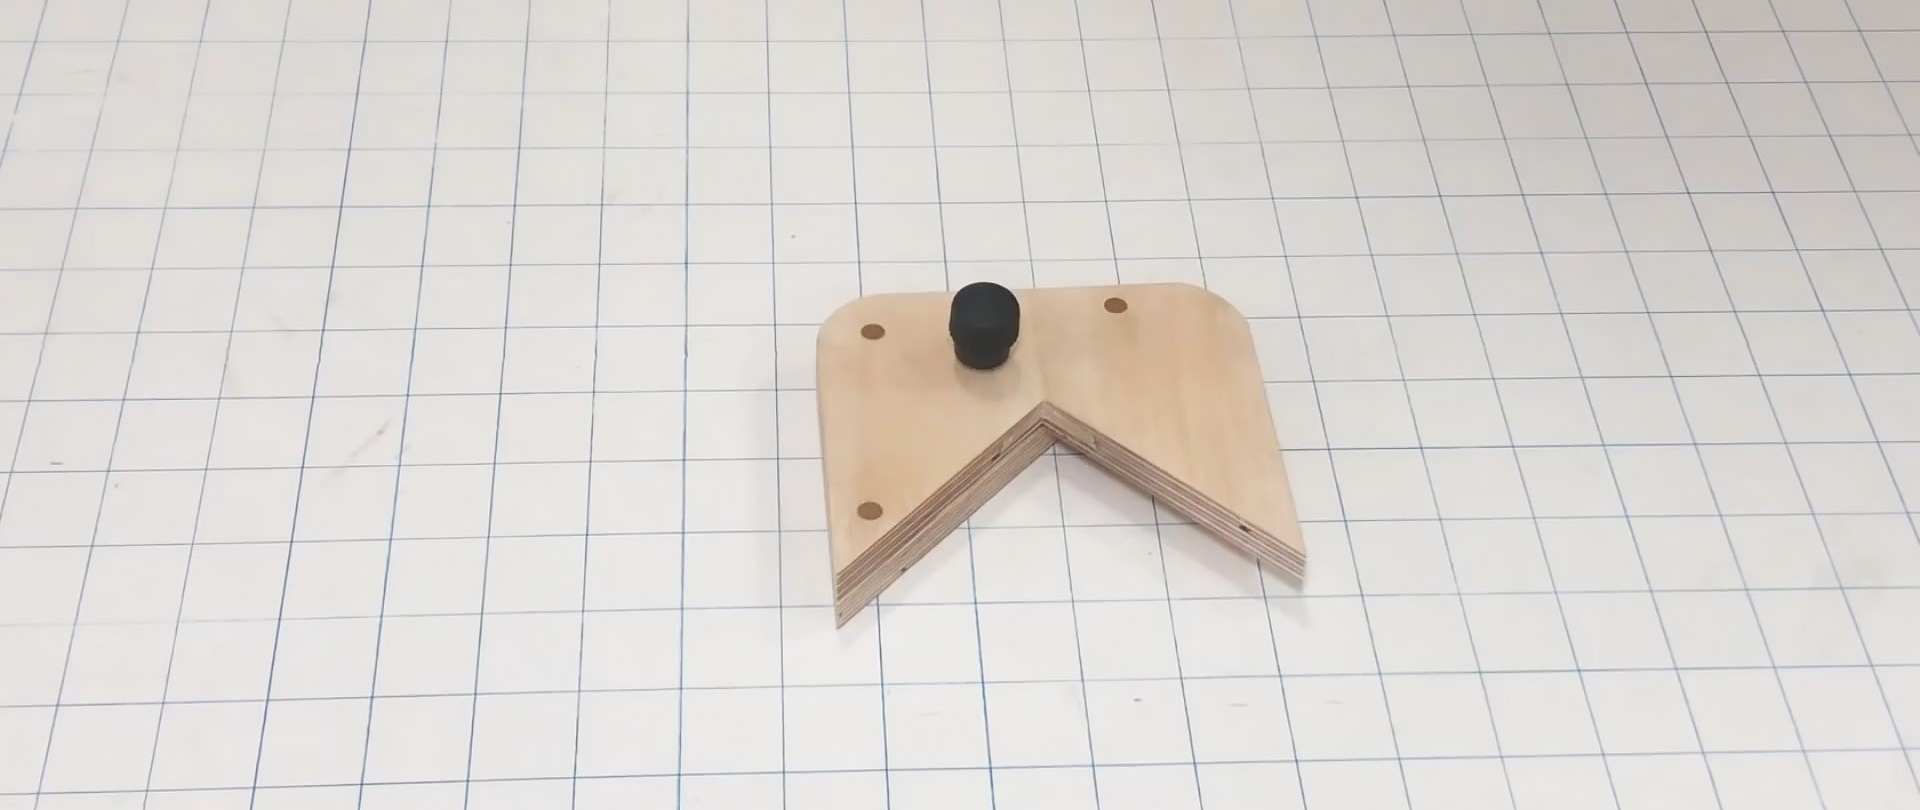
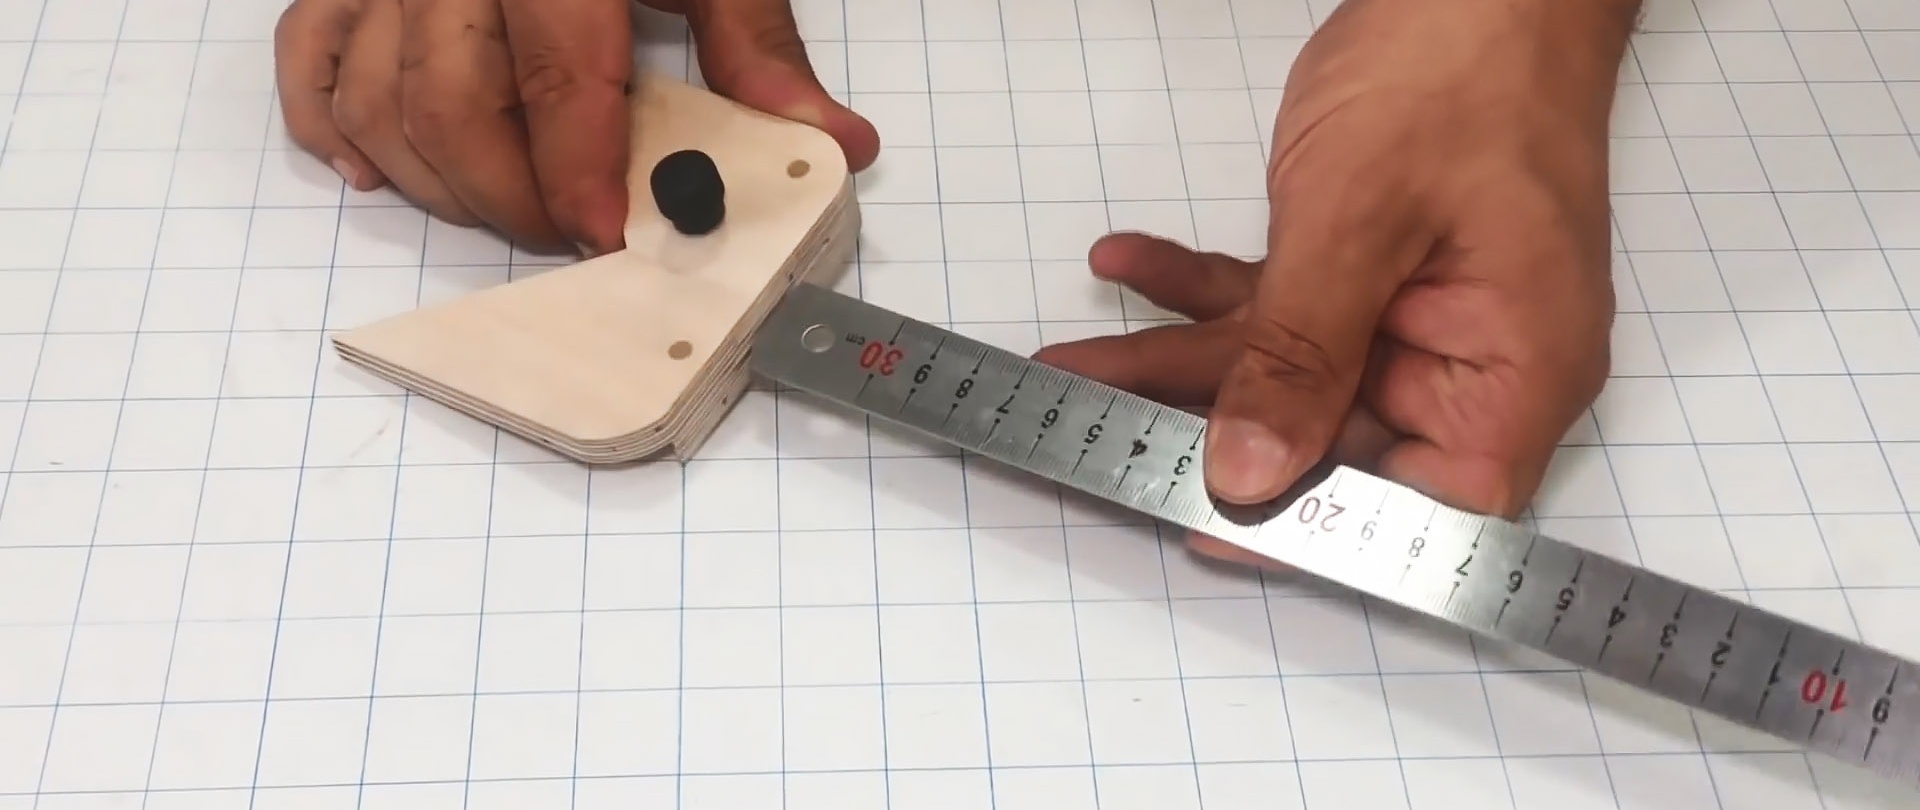
We screw a plastic locking handle into the remaining hole, and insert a metal ruler into the groove. Using the lock, the ruler is released or, conversely, locked in the desired position.
Markup in practice
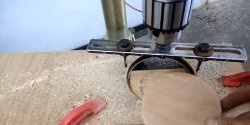
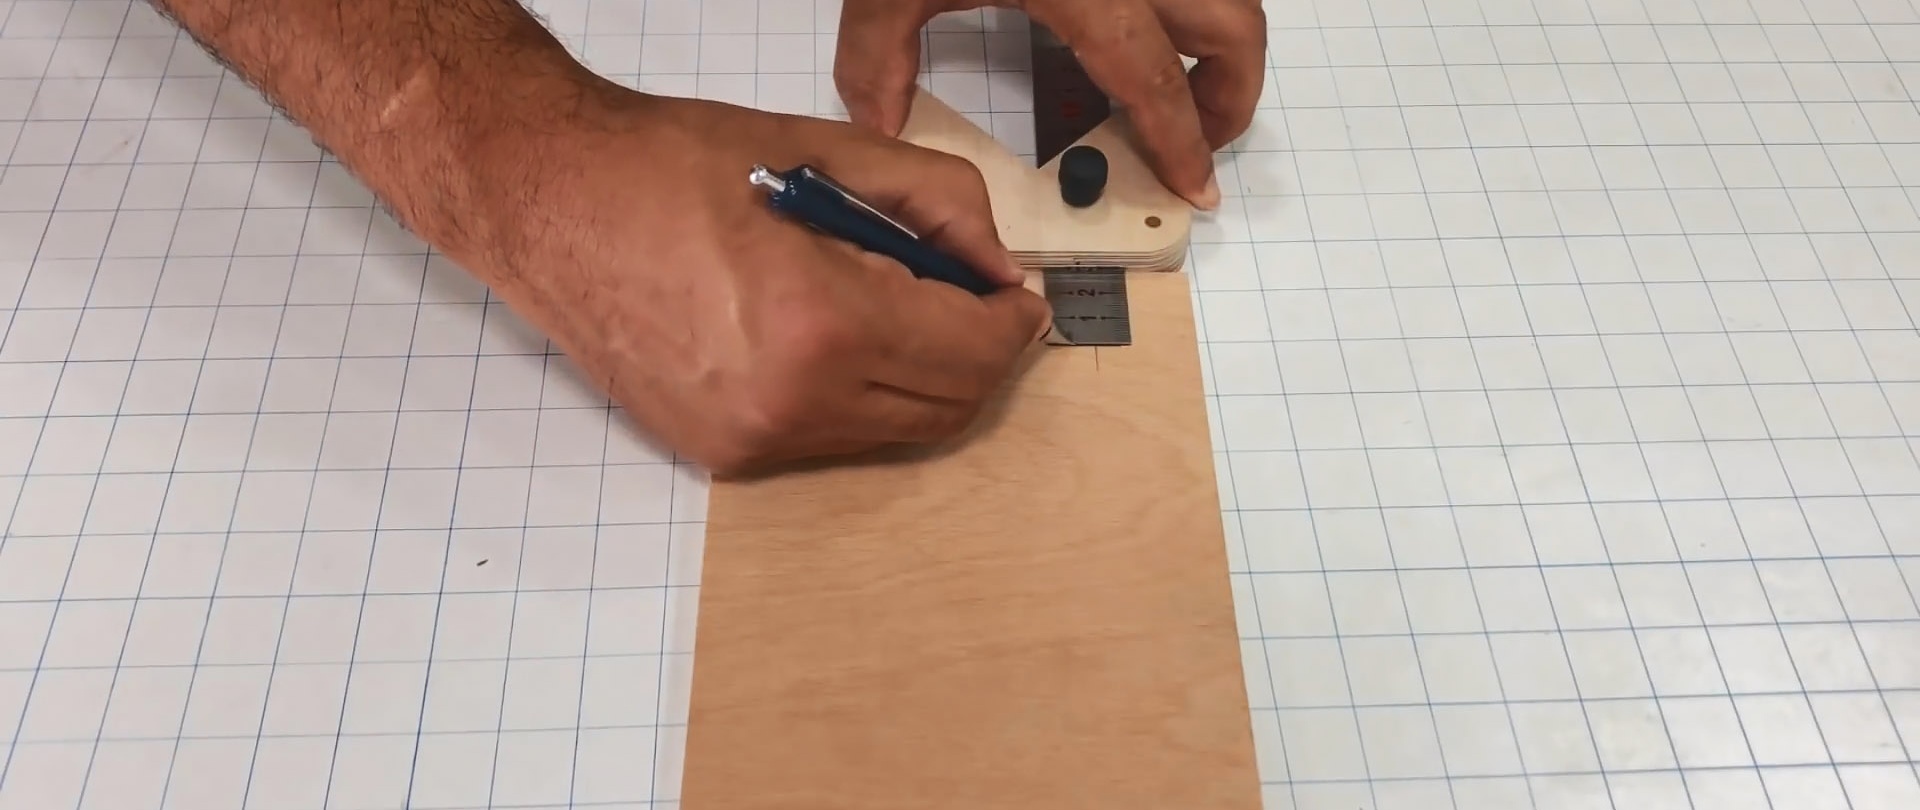
Now with this device you can easily:- mark the coordinates of holes for drilling;
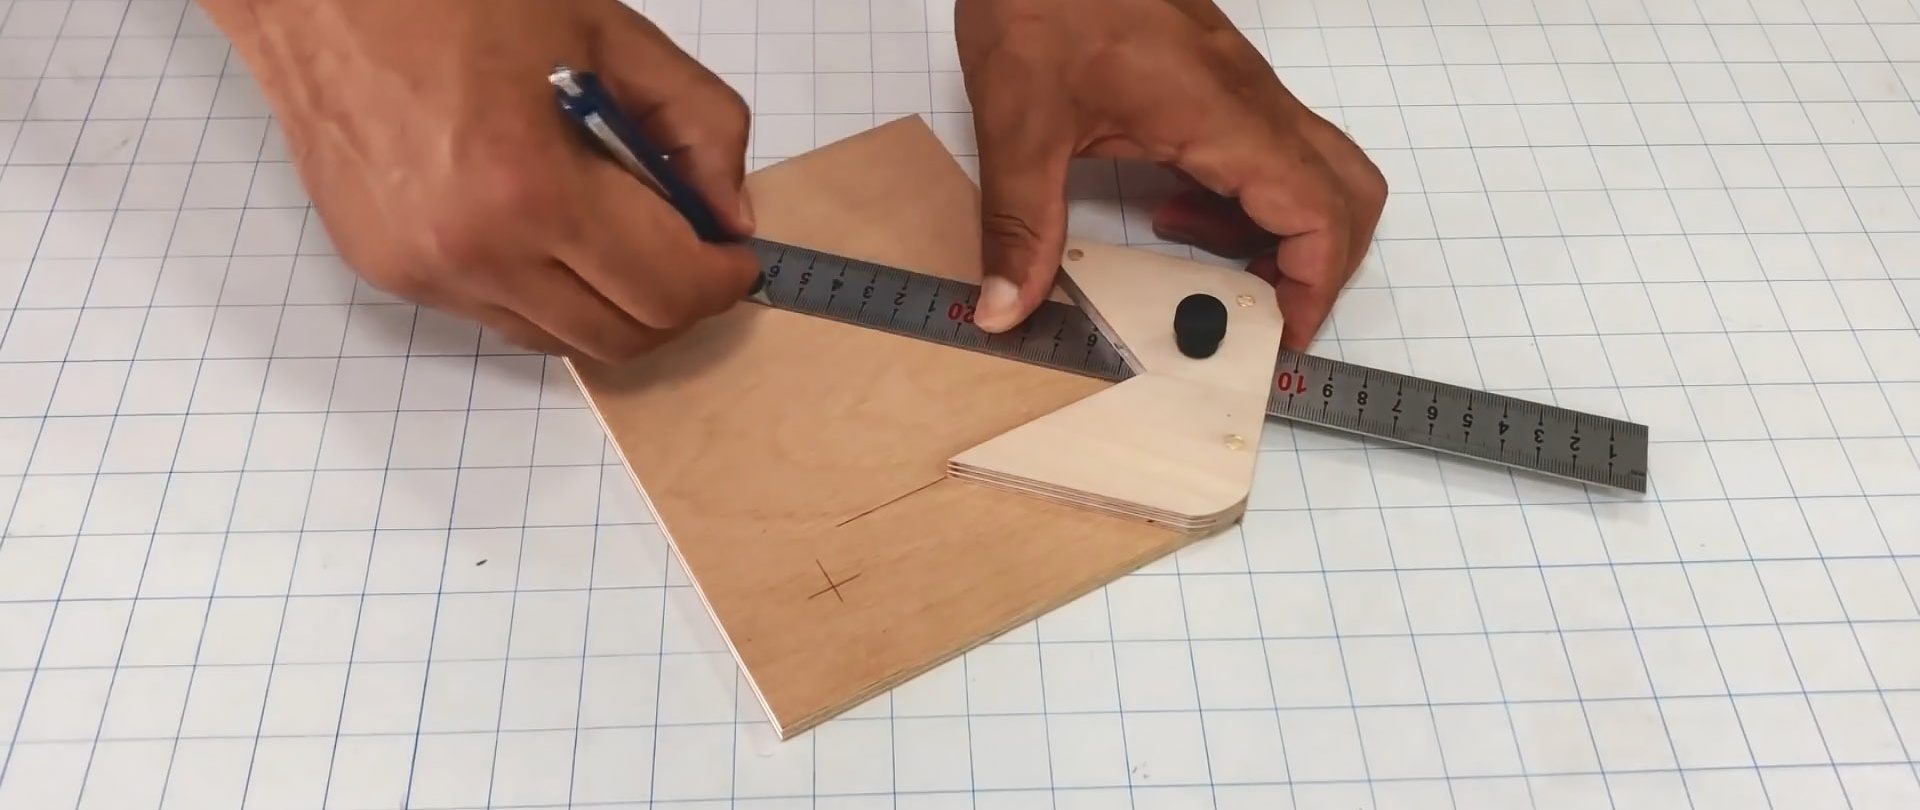
- draw a line at 45 degrees;
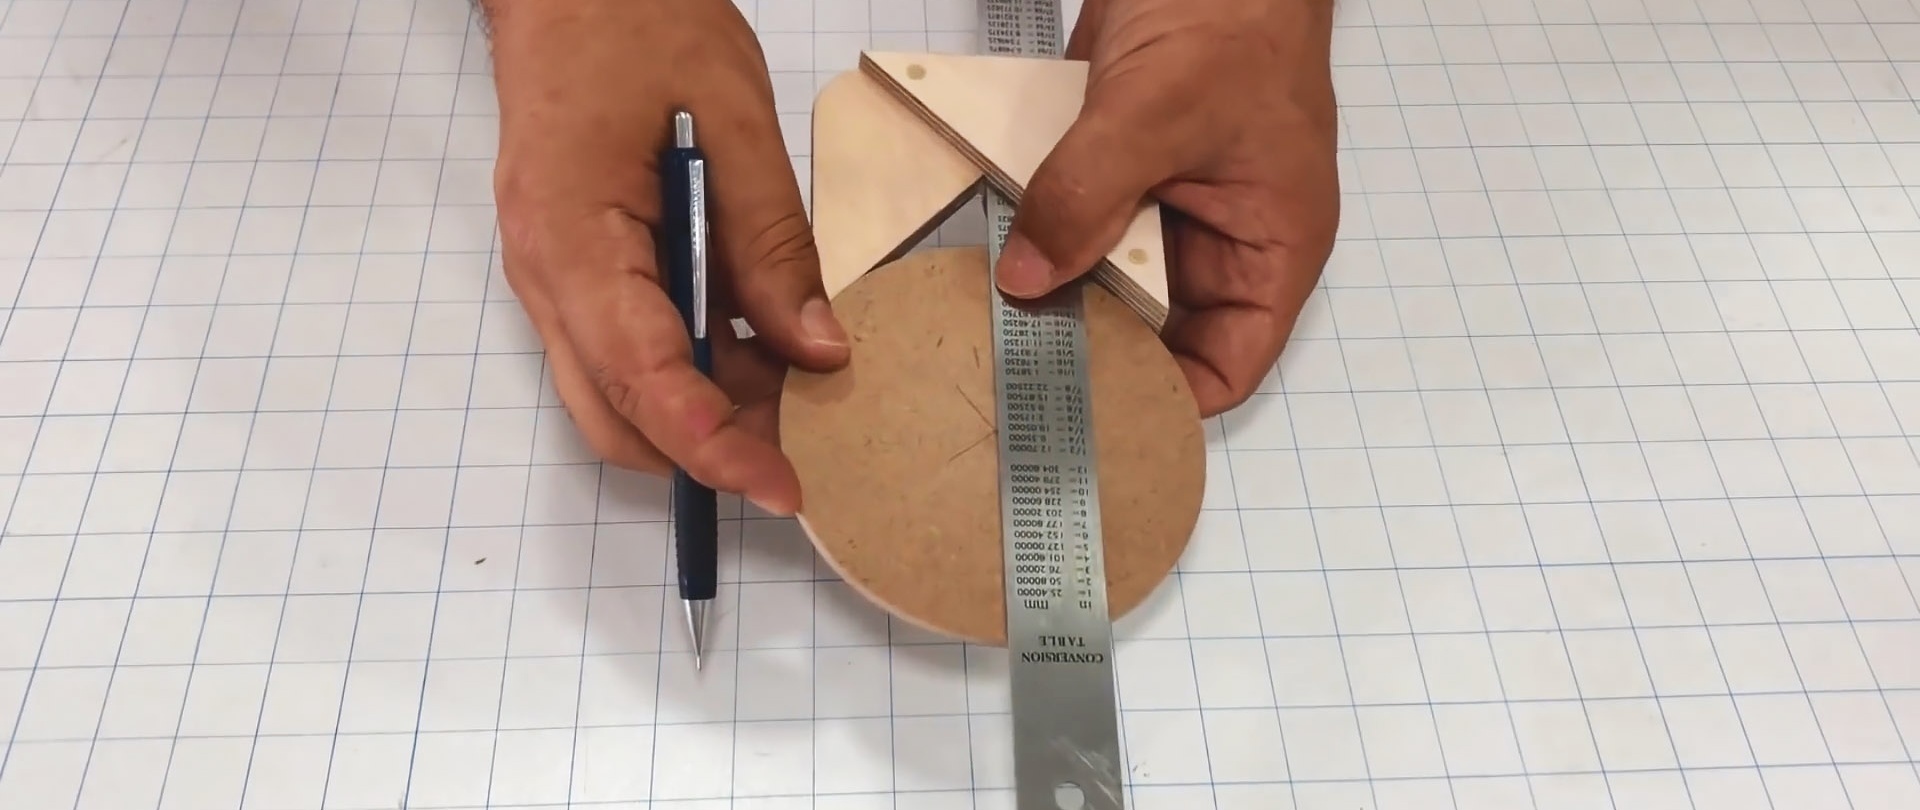
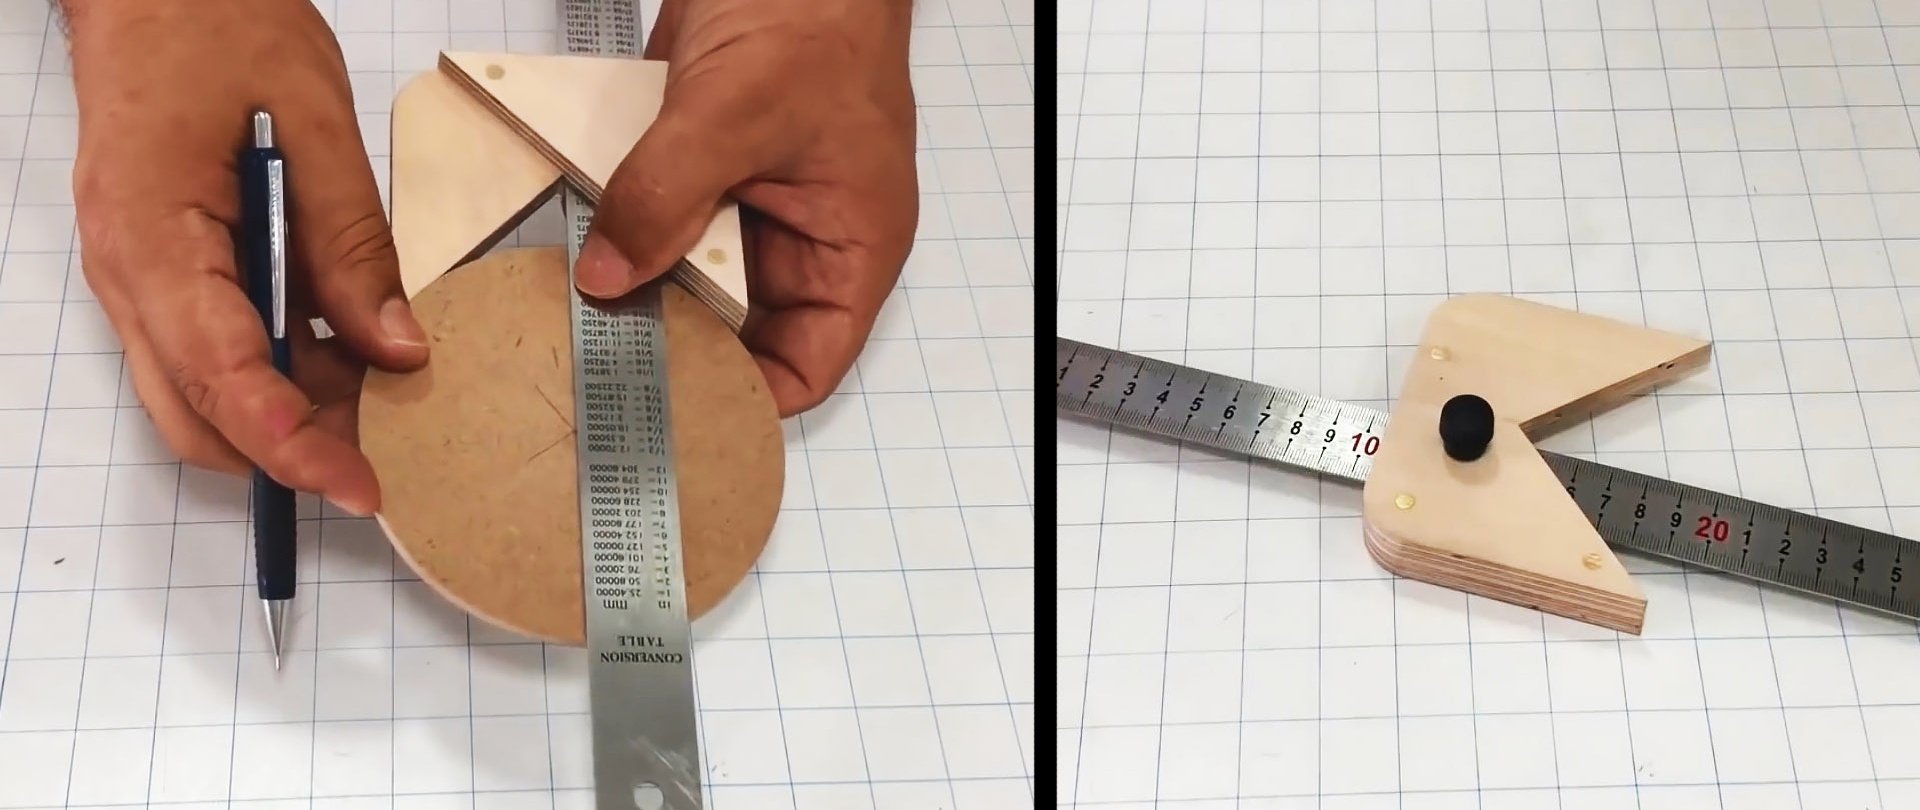
- find the center of the circle.
Marking for drilling.
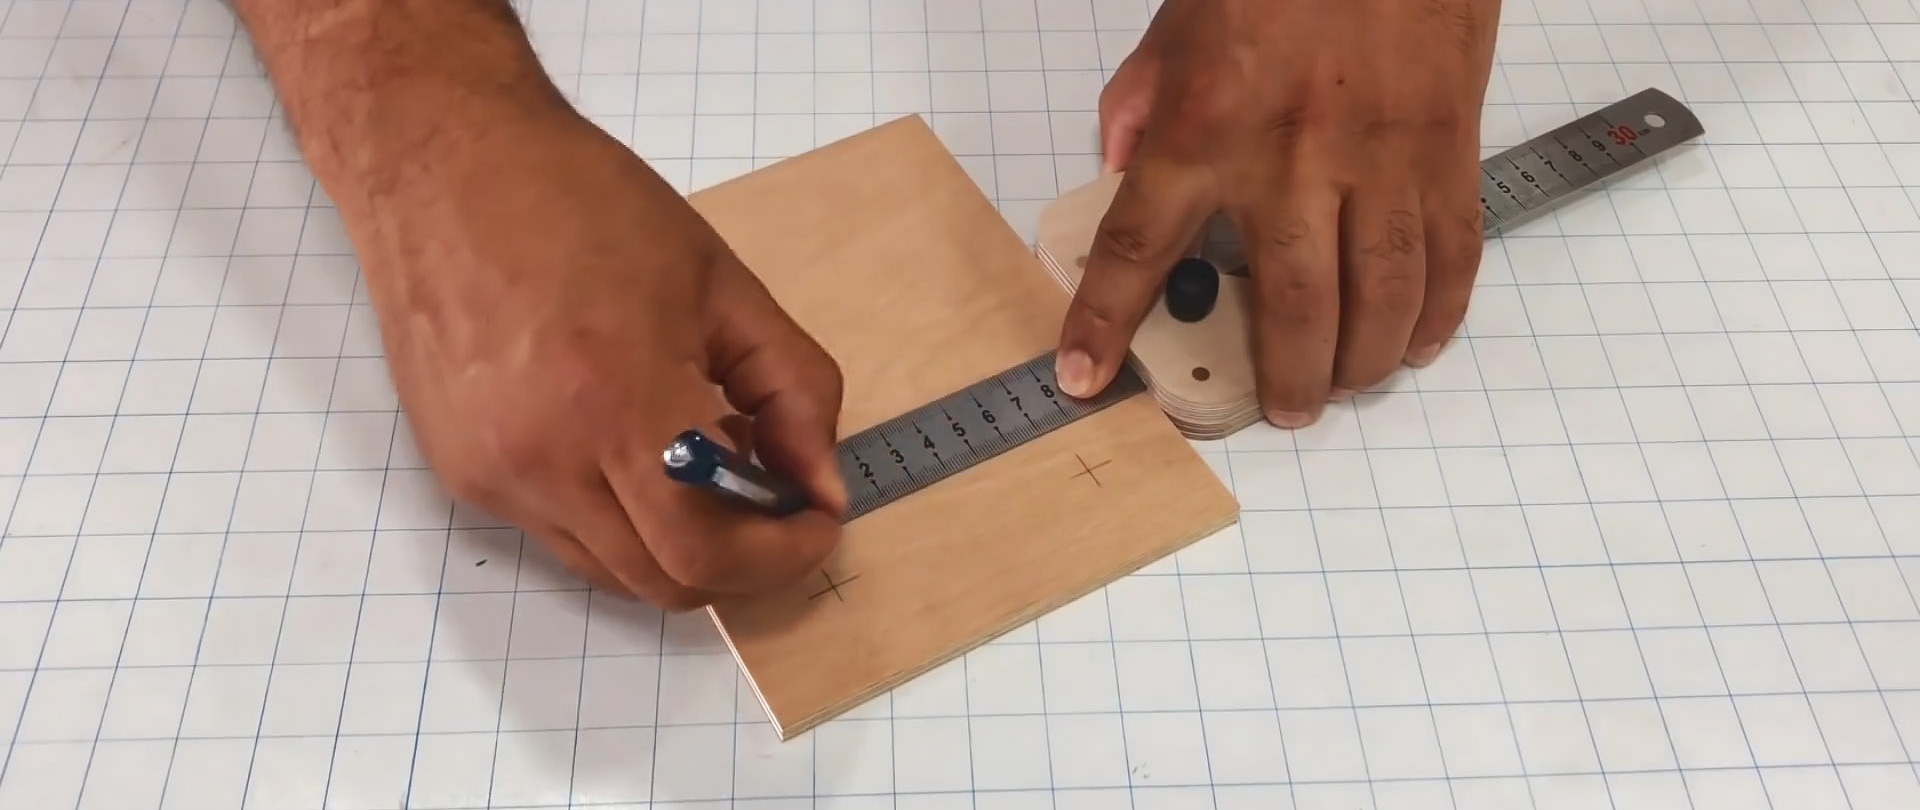
Draw a straight line in a second.
We simply draw a line at 45 degrees.
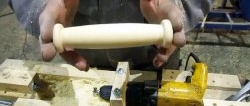
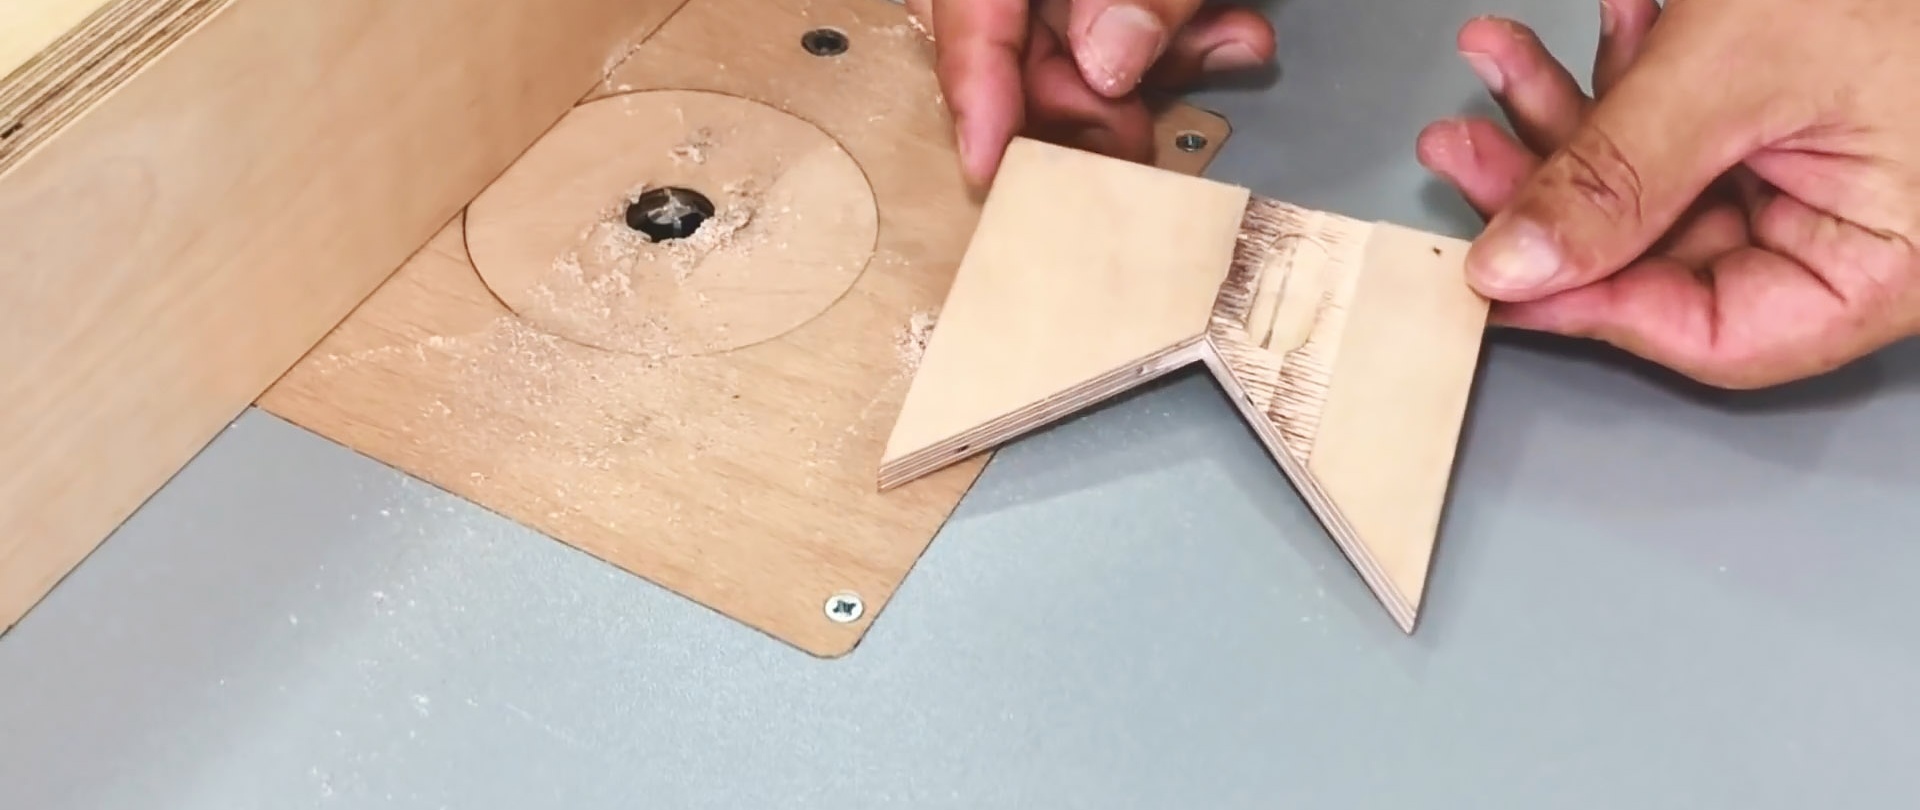
Finding the center of the circle is easy.