Before we finally say goodbye to the old household vacuum cleaner, we will remove from it the mechanism for automatically winding the electrical cord, which most often remains intact and functional. By slightly modernizing it, you can get a convenient electrical extension cord that will not be superfluous in the household. Moreover, any adult can cope with this work.

Will need
Materials:- power cord winding mechanism;
- piece of solid furniture;
- screws and screws;
- PVC pipe with a diameter of 160 mm;
- double socket, etc.
High-quality drills on AliExpress at a discount - http://alii.pub/5zwmxz
Tools: hand screwdriver, wire cutters, alcohol and rag, hand router, ruler and marker, drill, grinder, etc.The process of making an extension cord from the cord winding mechanism of an old vacuum cleaner
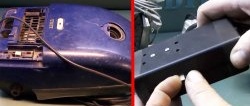
Let's remove all easily removable parts from the unusable vacuum cleaner: covers, filters, meshes, etc. Then, armed with a screwdriver, we separate the upper part from the base.

Next, having removed the cover, unscrew the screws securing the cord winding mechanism, disconnect the wires, leaving the ends of the cord wires. Pull out the cord plug from the socket.After which this mechanism separates from the rest of the vacuum cleaner.

Using a cloth soaked in pure alcohol, wipe and remove dust and dirt from all accessible areas of the removed mechanism, including the cord, drum and plug.
We unwind the cord and, pressing the auto-rewind button, check the functionality of the mechanism. Using wire cutters, we separate all the protruding parts on the mechanism body.

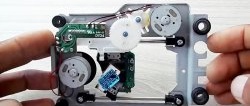
We set the offset of the cutter on a manual router and cut out two circles with a diameter of no more than 160 mm from the solid furniture.

On the covers of the mechanism body and the solid circles, we drill three matching holes and fasten them with screws.

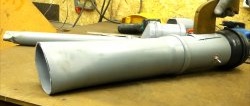
We cut a lengthwise fragment from a PVC pipe with a diameter of 160 mm, covering the assembly of the mechanism and two circles. We collect the wires of the mechanism cord into a bundle and fasten it with electrical tape.
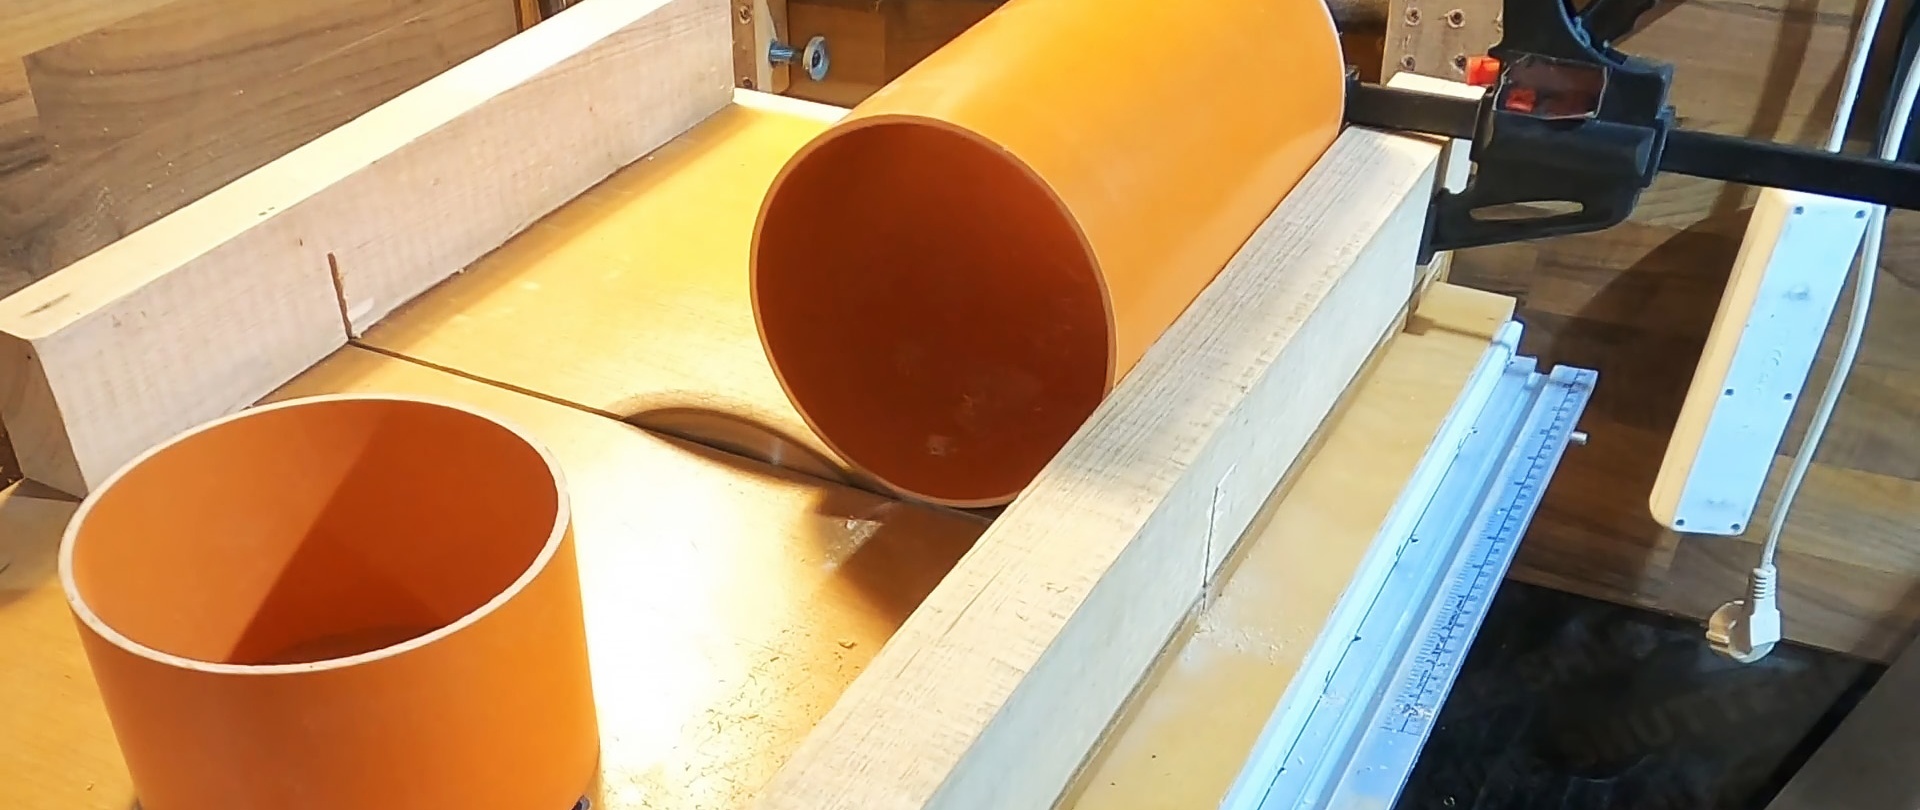
We measure the position of the mechanism's activation button and the place where the cord exits, and, according to the measurements, make slits in the pipe. To the slot for the cord we make a transverse cut from the end of the pipe.

Through the cut, we insert the cord into the slot intended for it, leaving only the plug outside, and place the entire mechanism with the cord wound on the drum into the pipe.
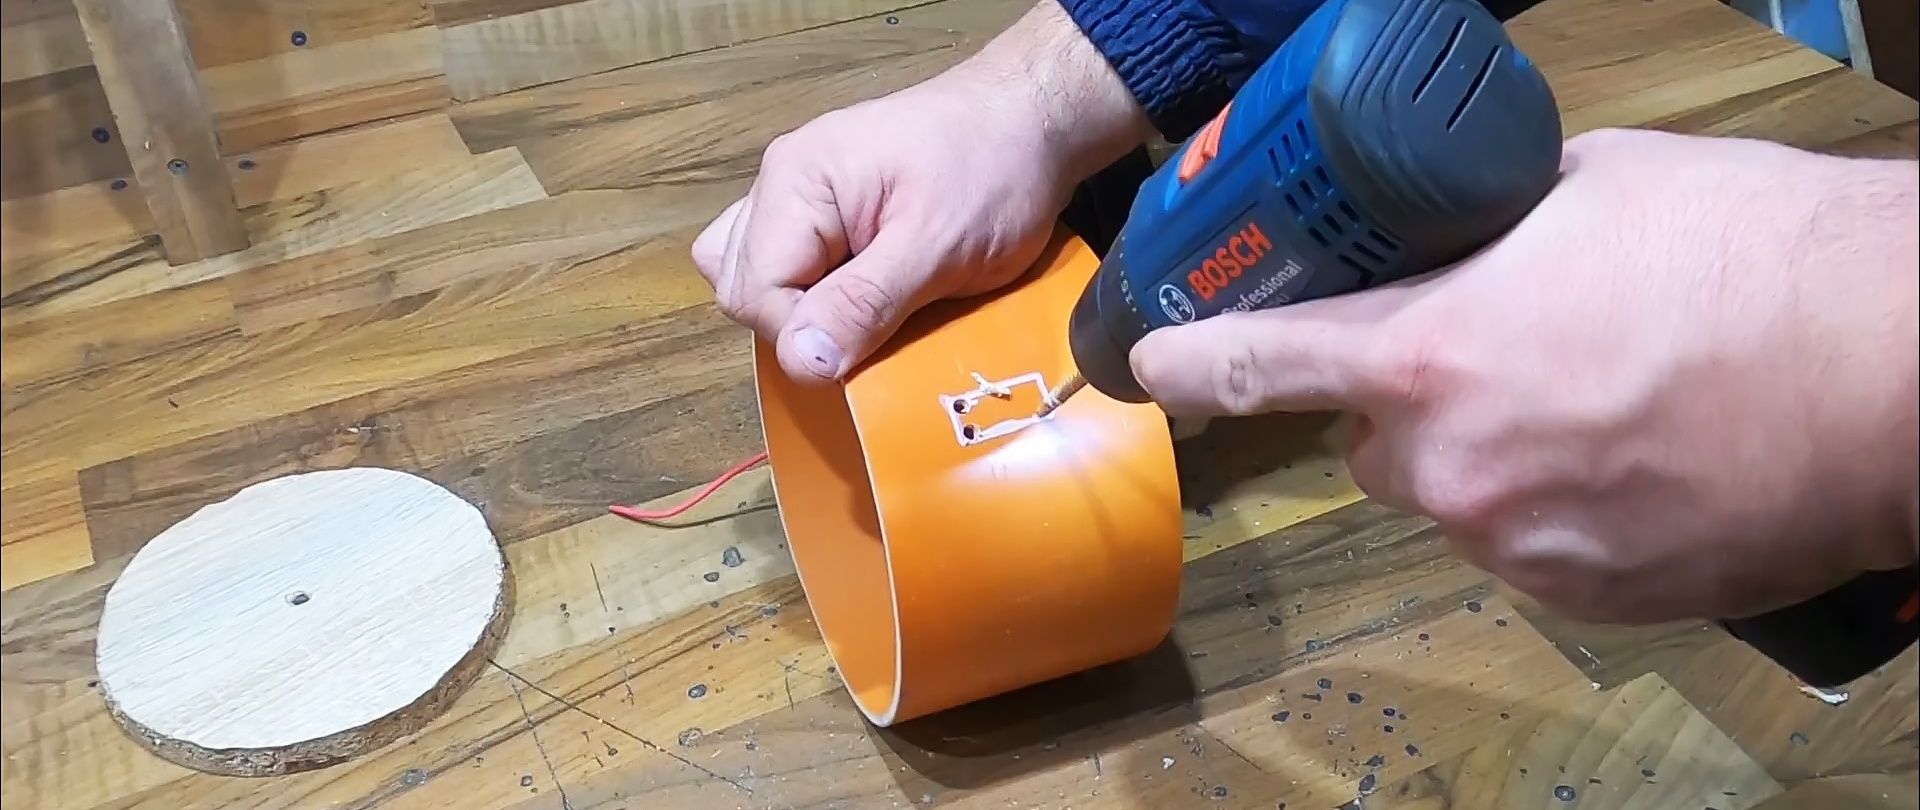
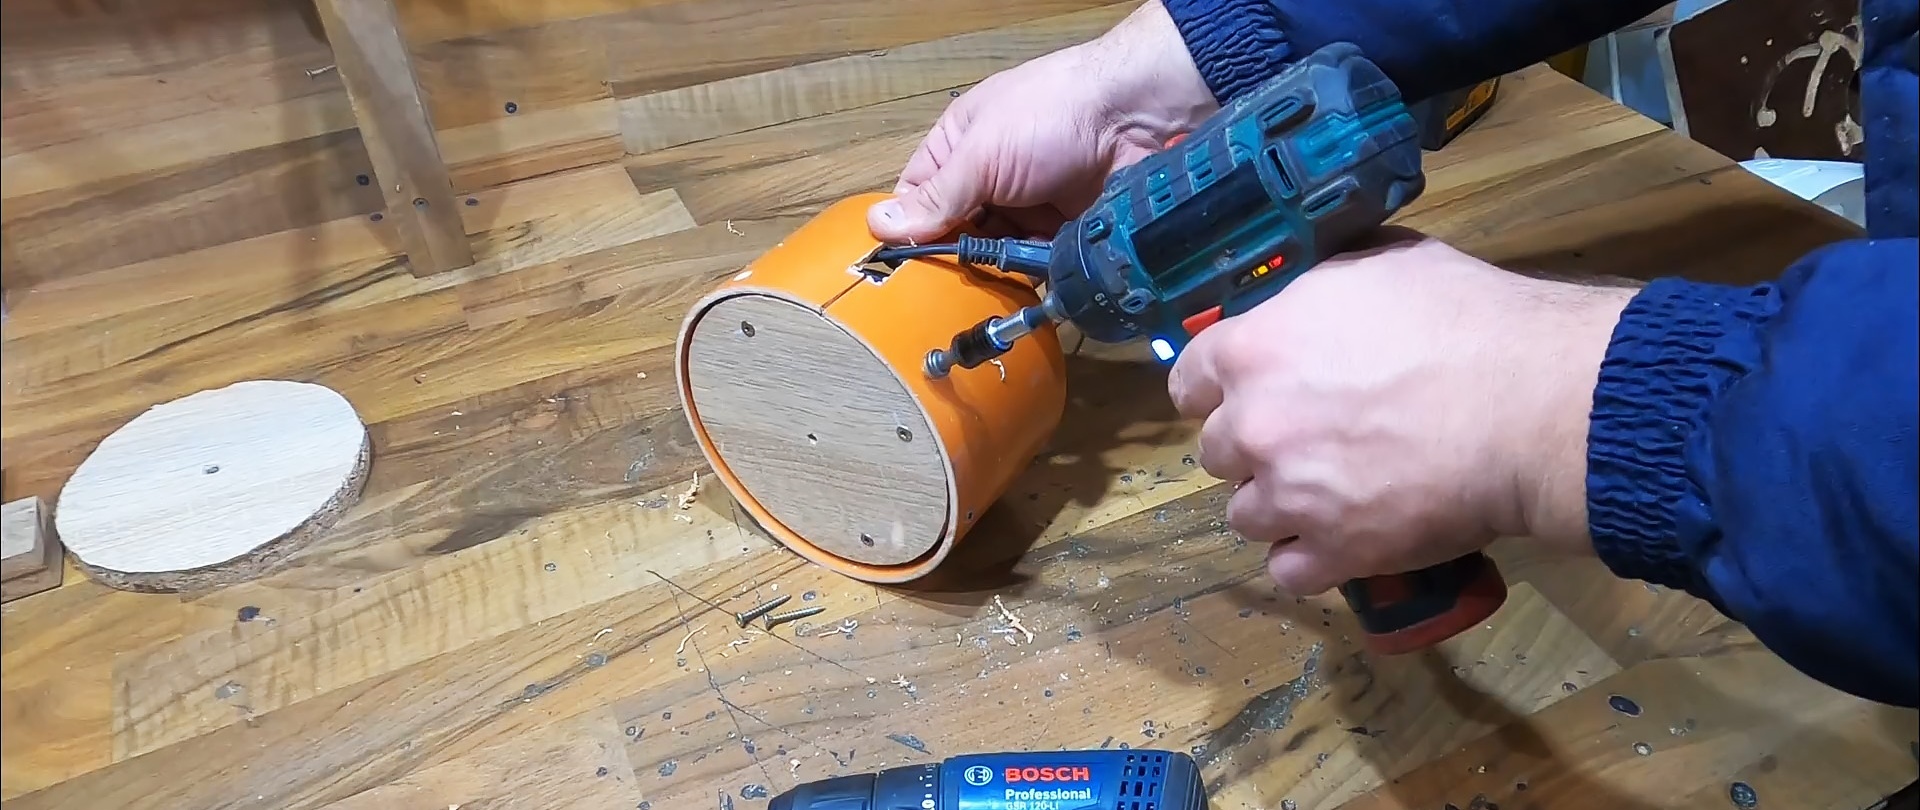
We screw the ends of the pipe flush around the circumference with screws to the solid circles fixed to the mechanism body.
We unscrew the body of the double socket, drill holes in its base for fastening and passing wires. We screw the base of the socket to the circle and connect the wires to the terminals of the socket.
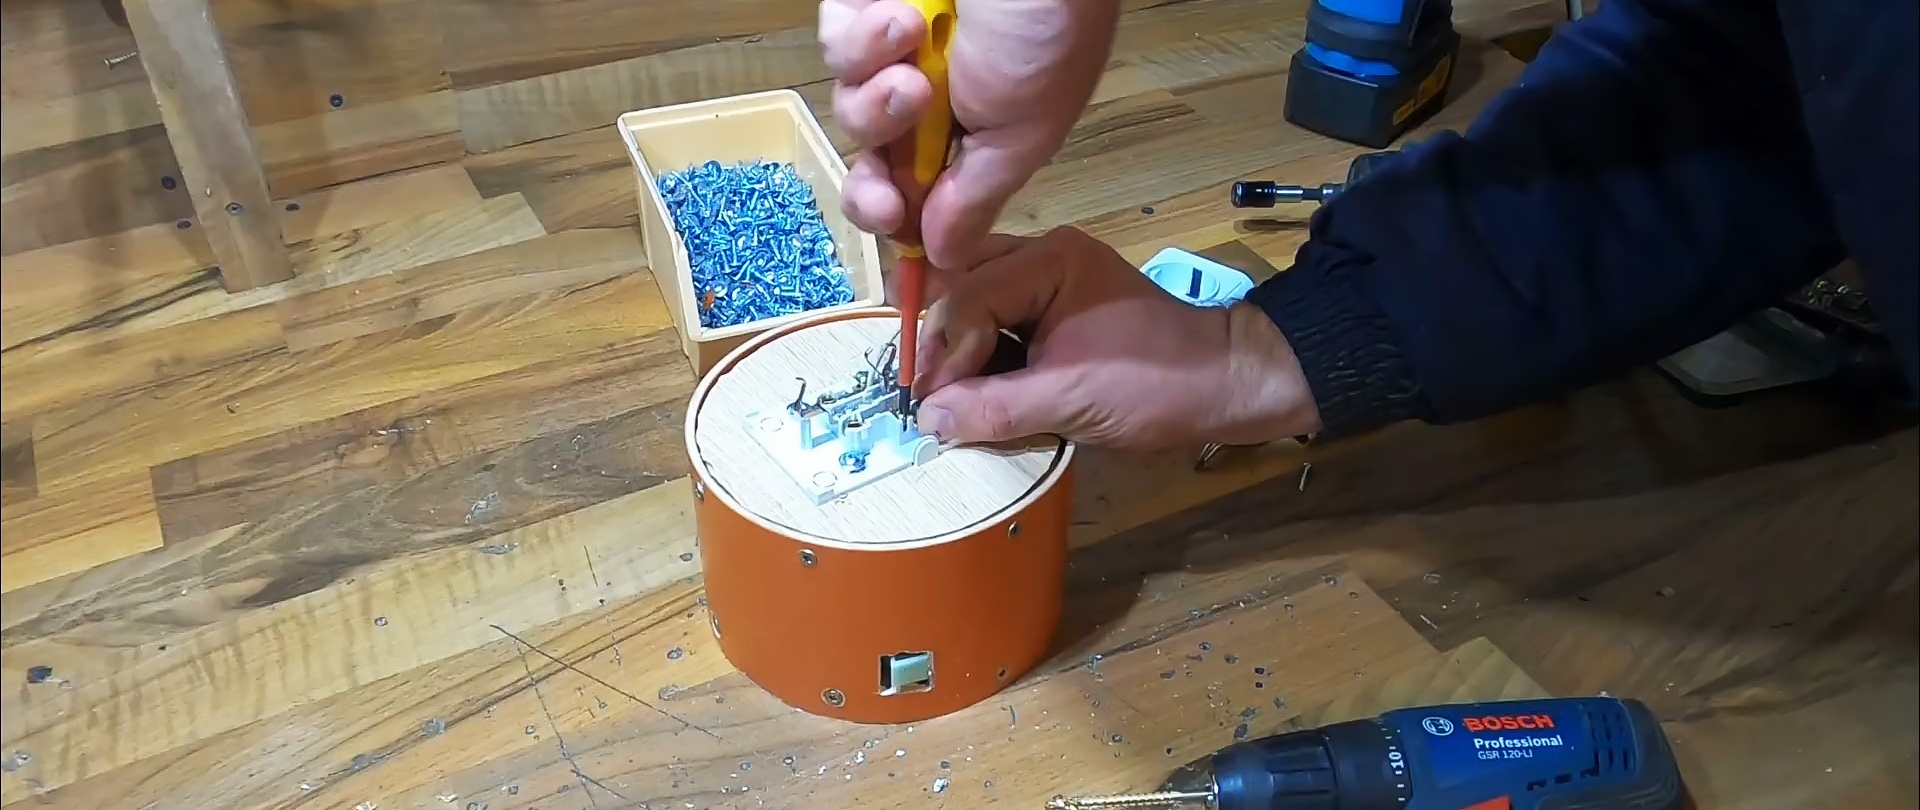
Reassemble the socket in reverse order.
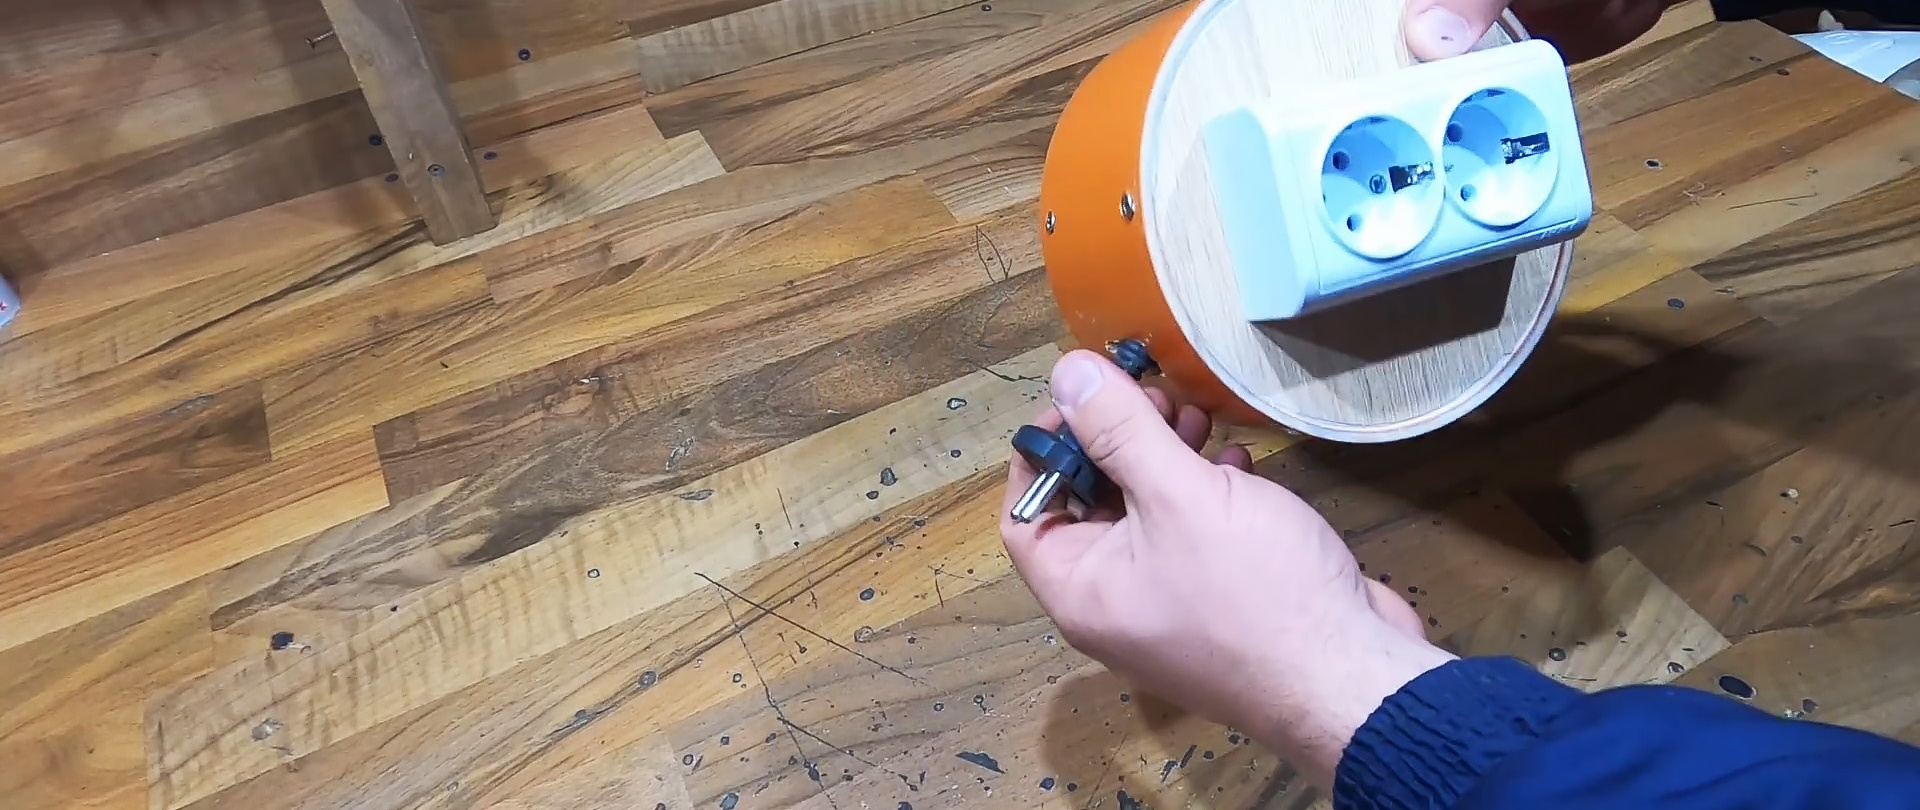
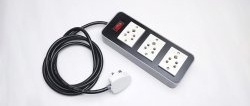
The 4 meter extension cord is completely ready for use.