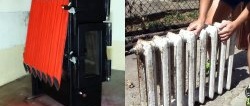
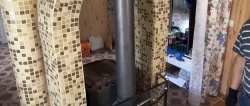
Old cast iron radiators are obsolete for use in heating systems of modern homes. But don’t rush to sell them for scrap, as you can make a lot of useful things out of them. A striking example of this is the fireplace stove, which will look great in any country house or country house.

Materials:
- Old cast iron batteries;
- profile pipe 200x200 mm;
- sheet steel 3-4 mm, 6-10 mm;
- corner 25x25 mm, 50x50 mm;
- welded hinges;
- handle hook for stove;
- glass for fireplaces;
- profile pipe 150x150 mm;
- oven stove with burner.
The process of making a fireplace stove
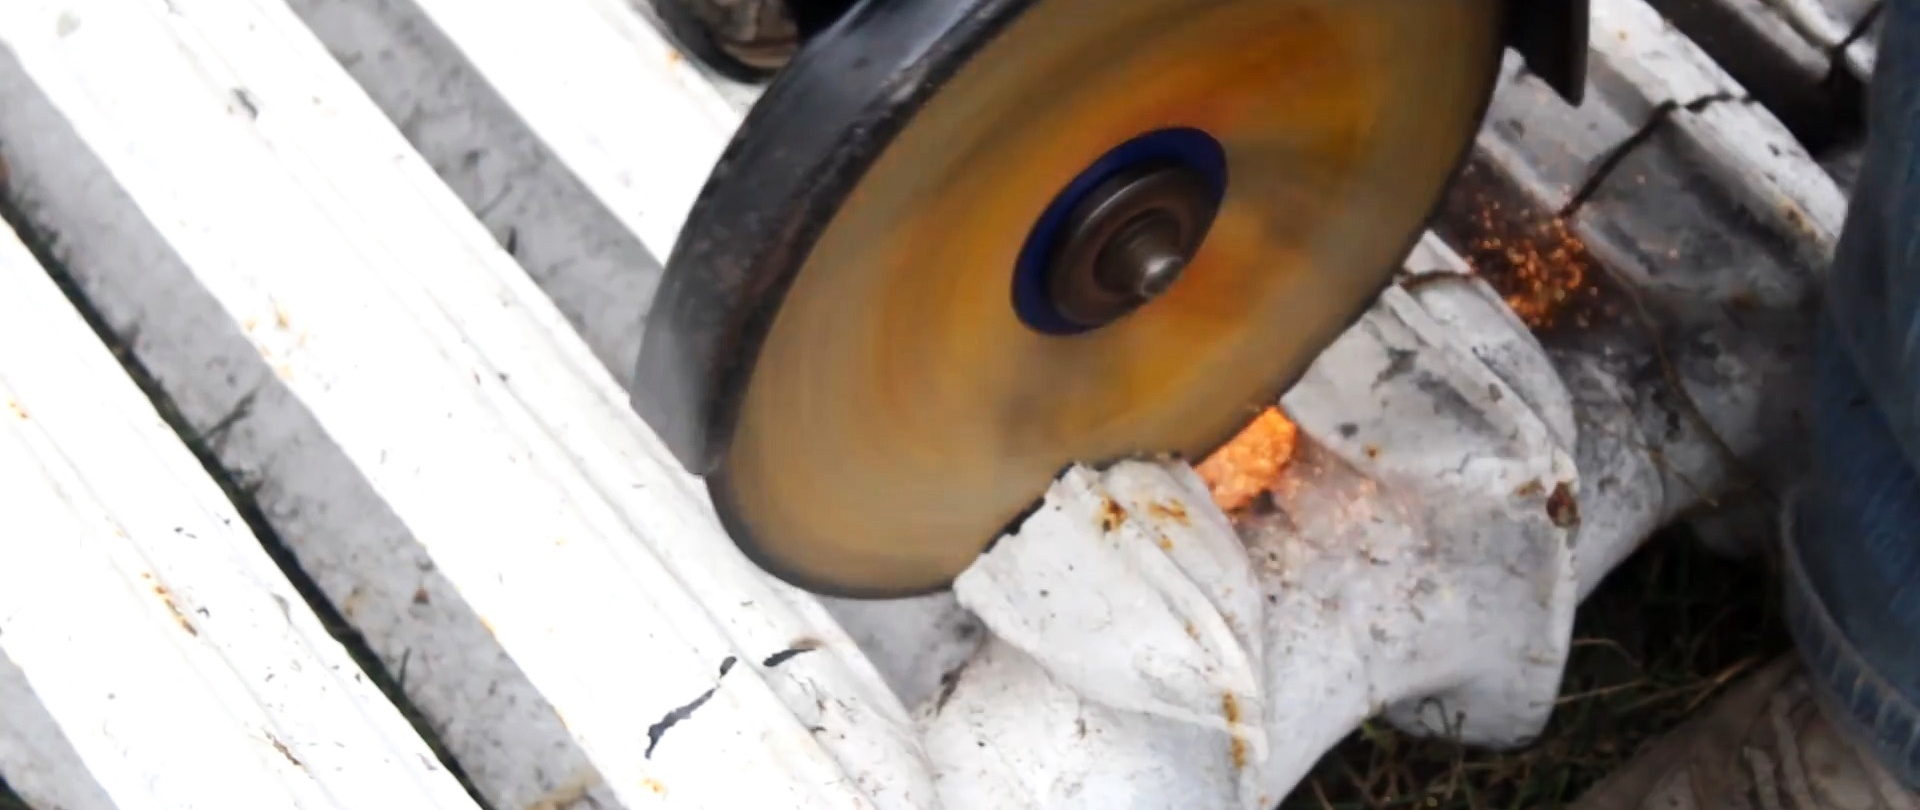
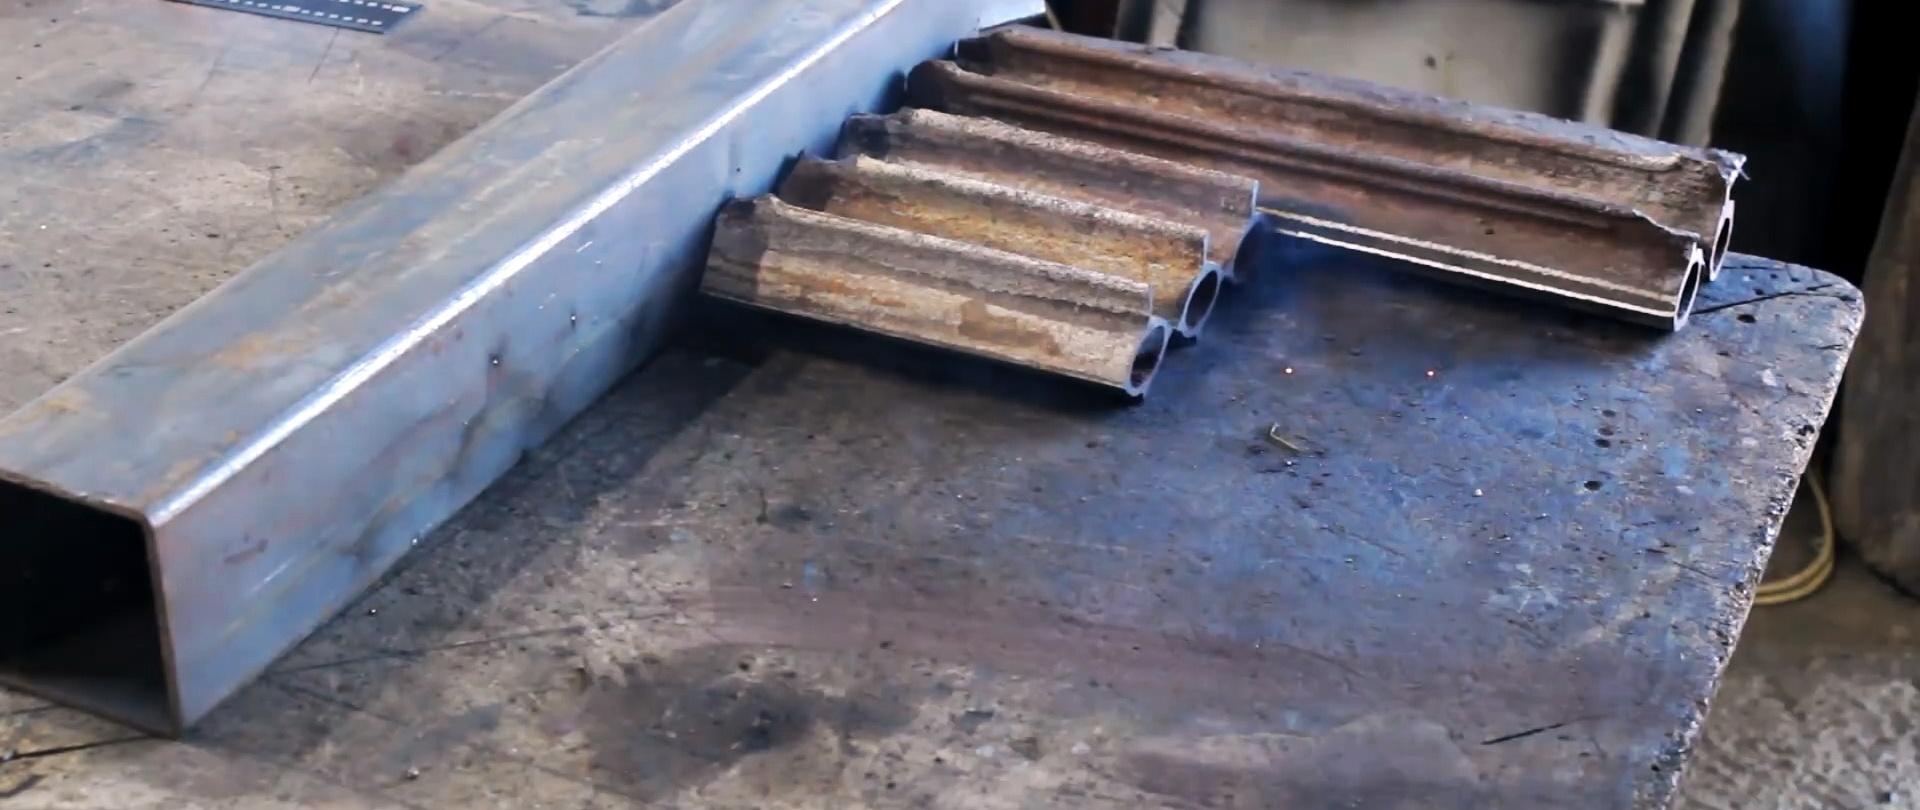
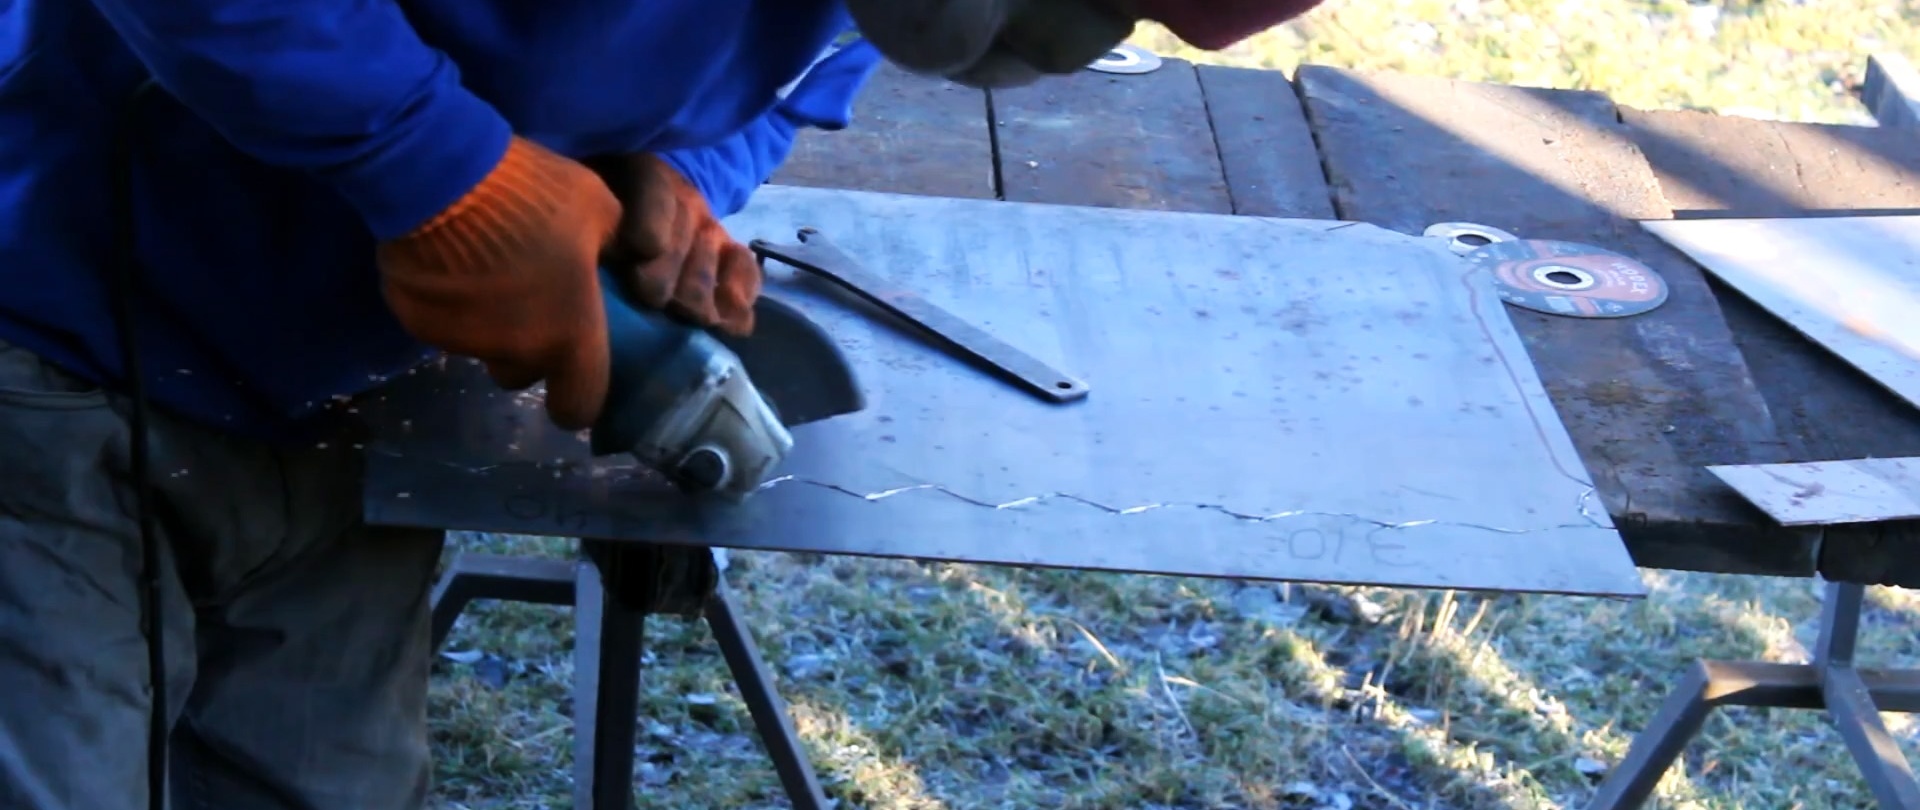
To make a stove, it is necessary to prepare the fins of cast iron radiators. They are cut with a grinder. It is important that the cuts are even and the ribs are of the same length. They are then burned in a fire to remove years of paint. Burnt ribs are cleaned.
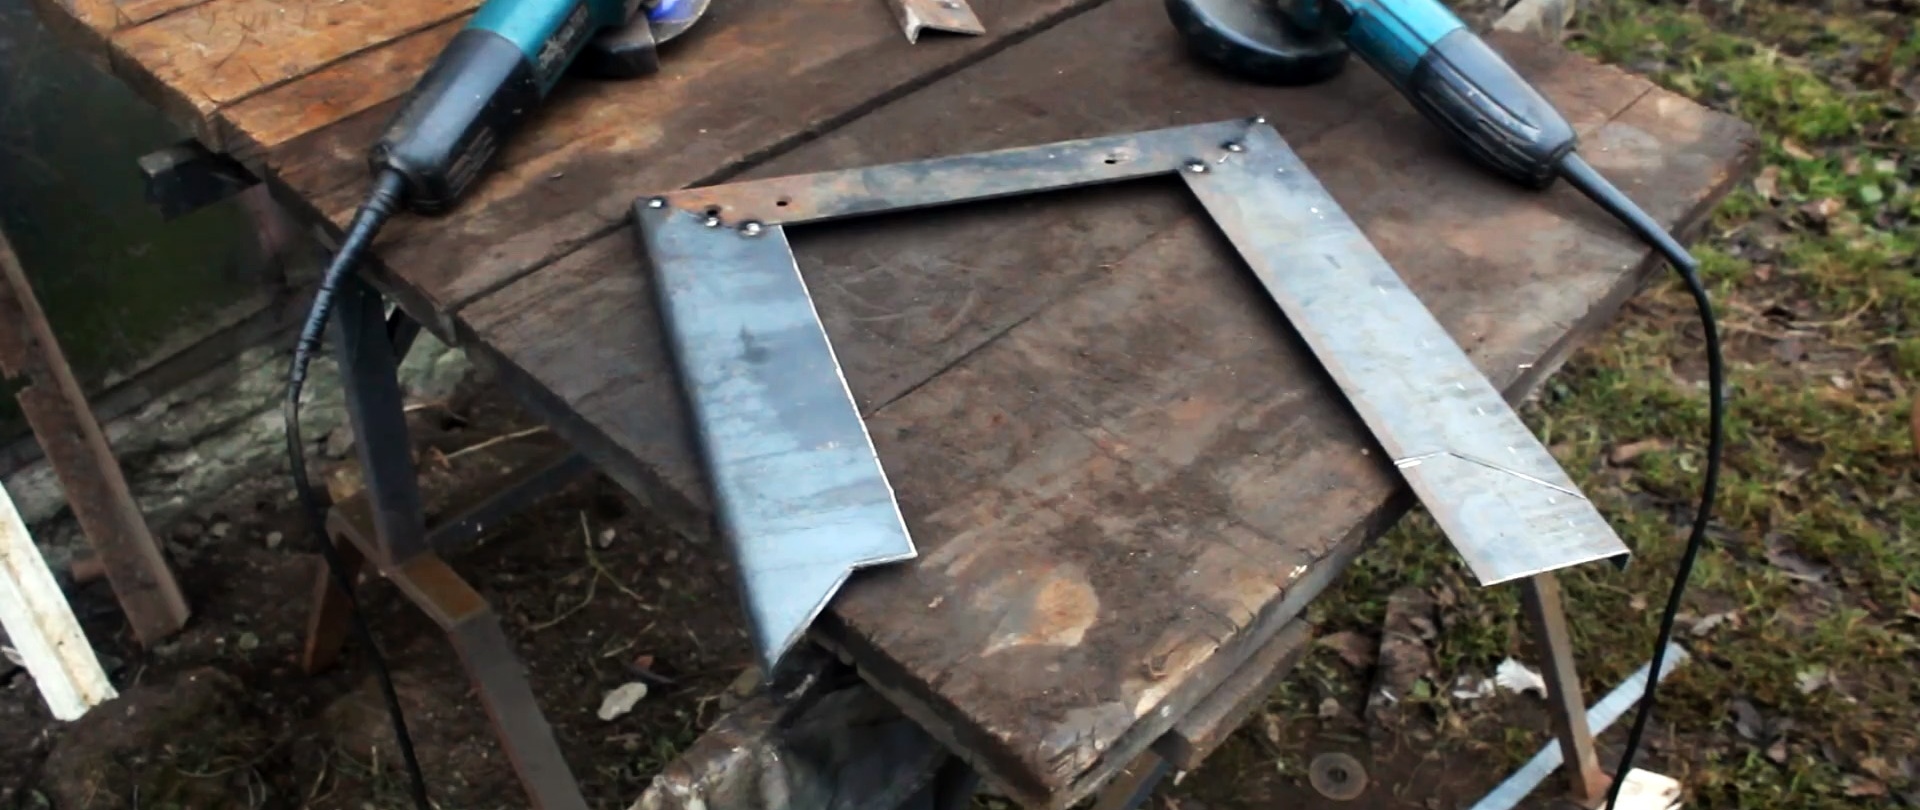
The prepared ribs are laid out on a flat base, leveled and welded on both sides. You need to get 4 oven walls.Their size is selected individually depending on how large it should be. The ribs are welded together with a continuous seam to prevent the passage of smoke.

The first step is to weld the side and back walls. In the second side it is necessary to provide a window for air supply. To do this, the central ribs are taken shorter than the outer ones. A frame made of thick sheet steel is welded into the resulting opening. The frame must have bolts in the corners.

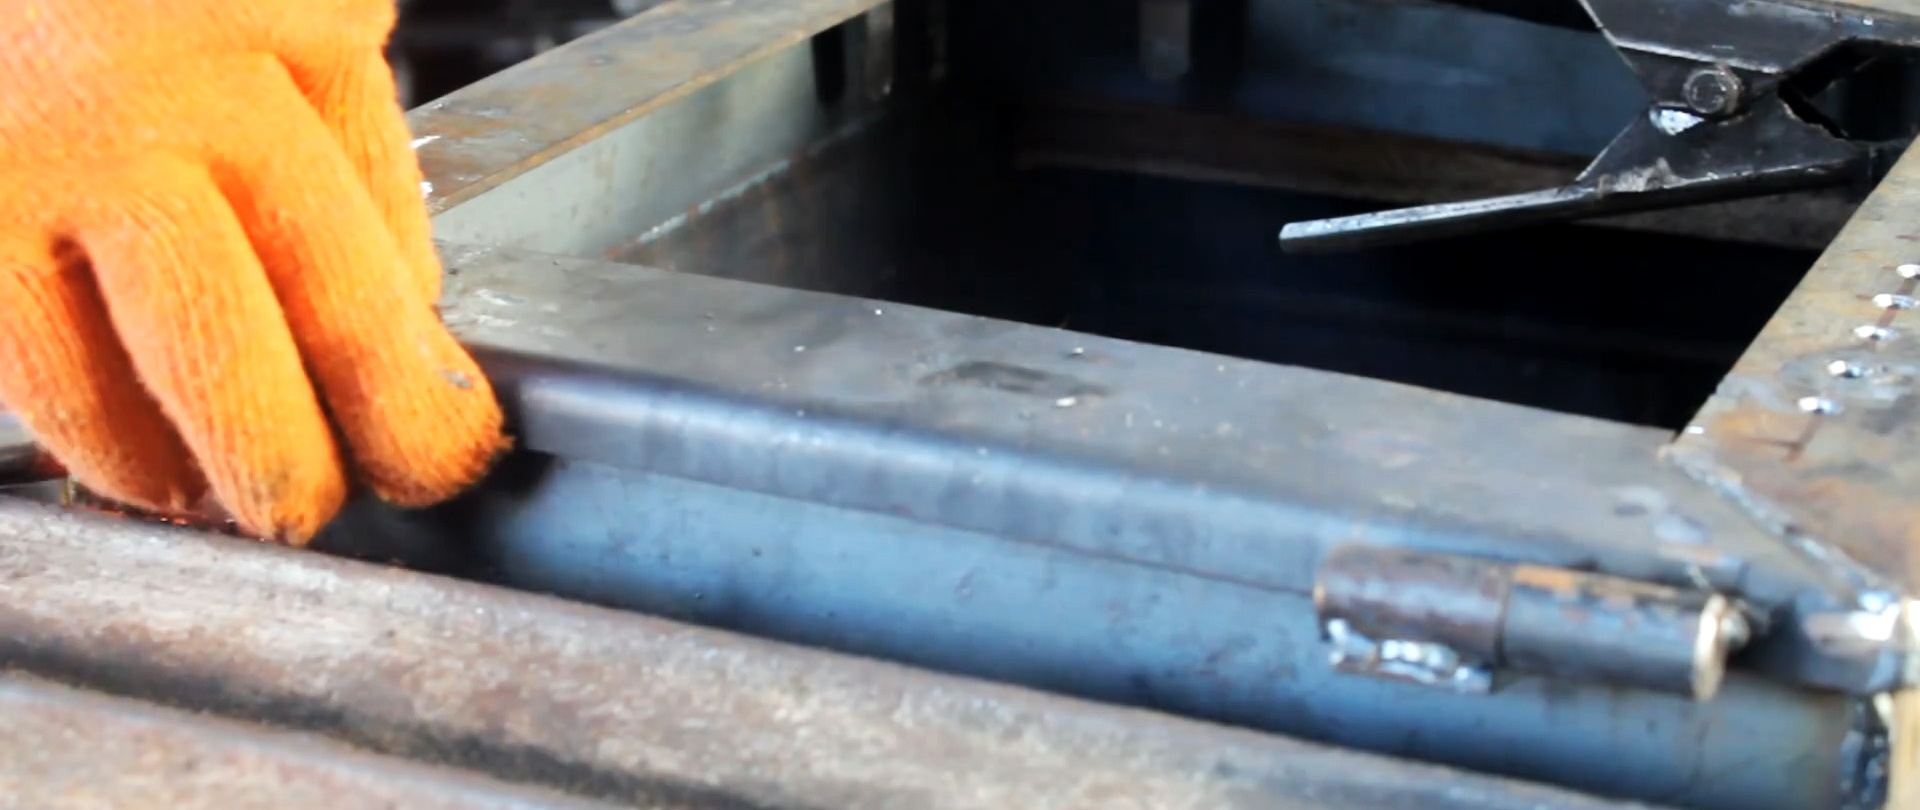
The back wall and side panel are welded together on a flat base. The front uses two inserts along the edges. You need to leave a large open opening to create an inspection door.

The bottom is cut out of sheet metal. Since the walls are ribbed, you first need to make a template from cardboard and cut out the part according to it. The bottom is welded.
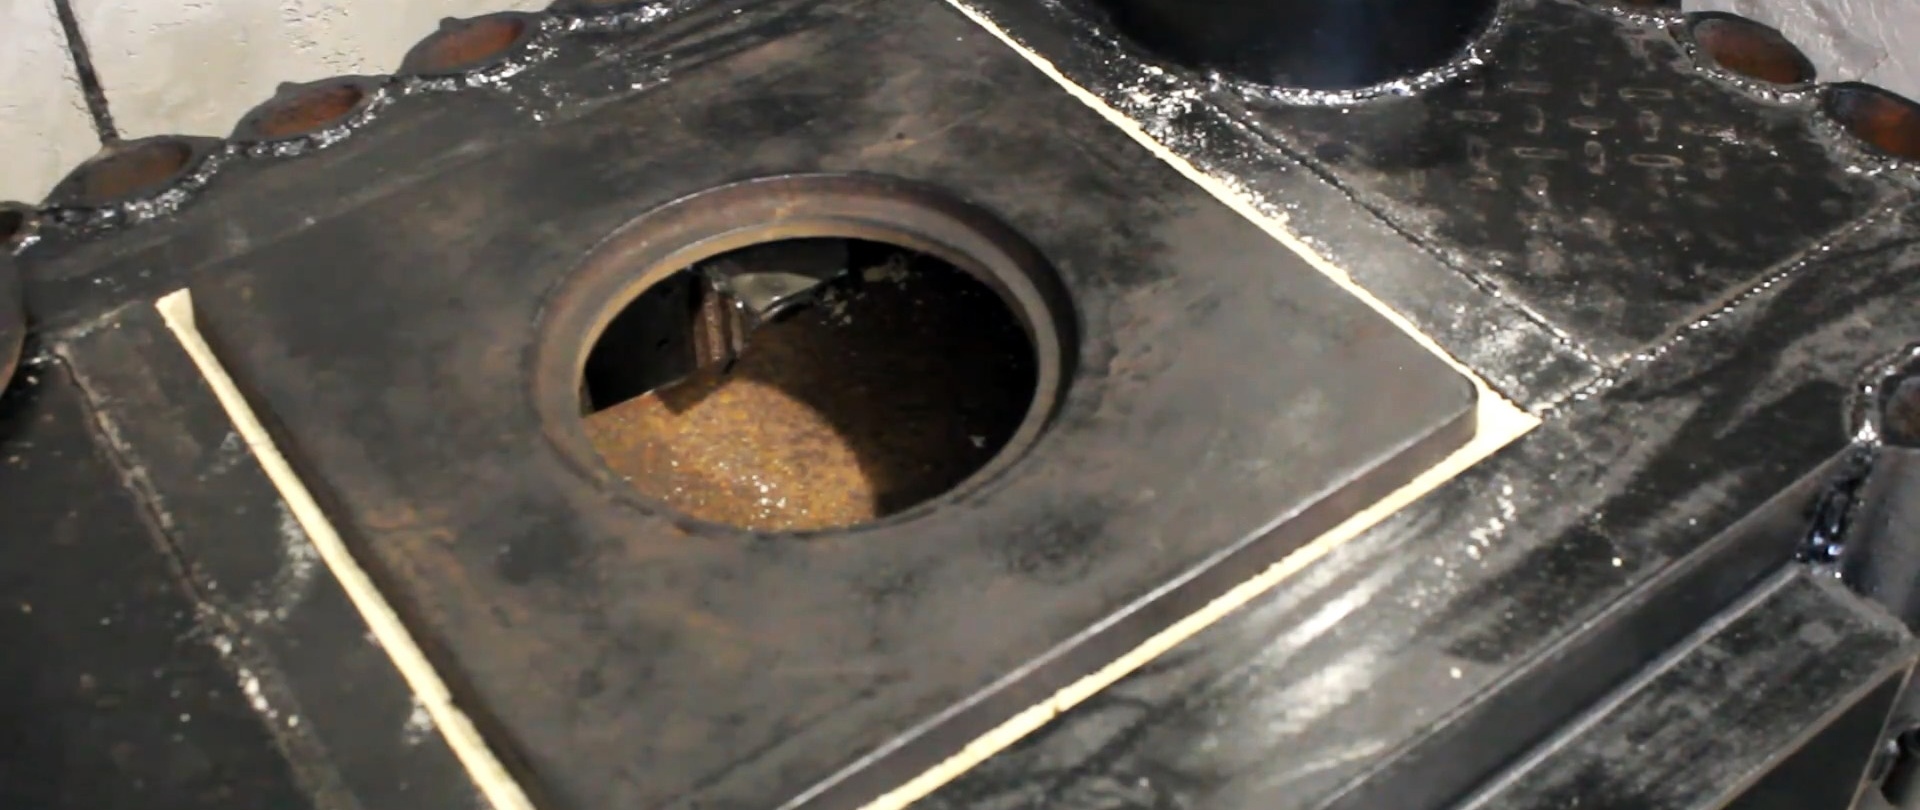
Then you need to make the top of the fireplace. To do this, corners are welded along the front and rear walls. Between them, jumpers are made from a thin corner. The resulting central opening will be needed to install the cooking stove. The side openings should be welded.

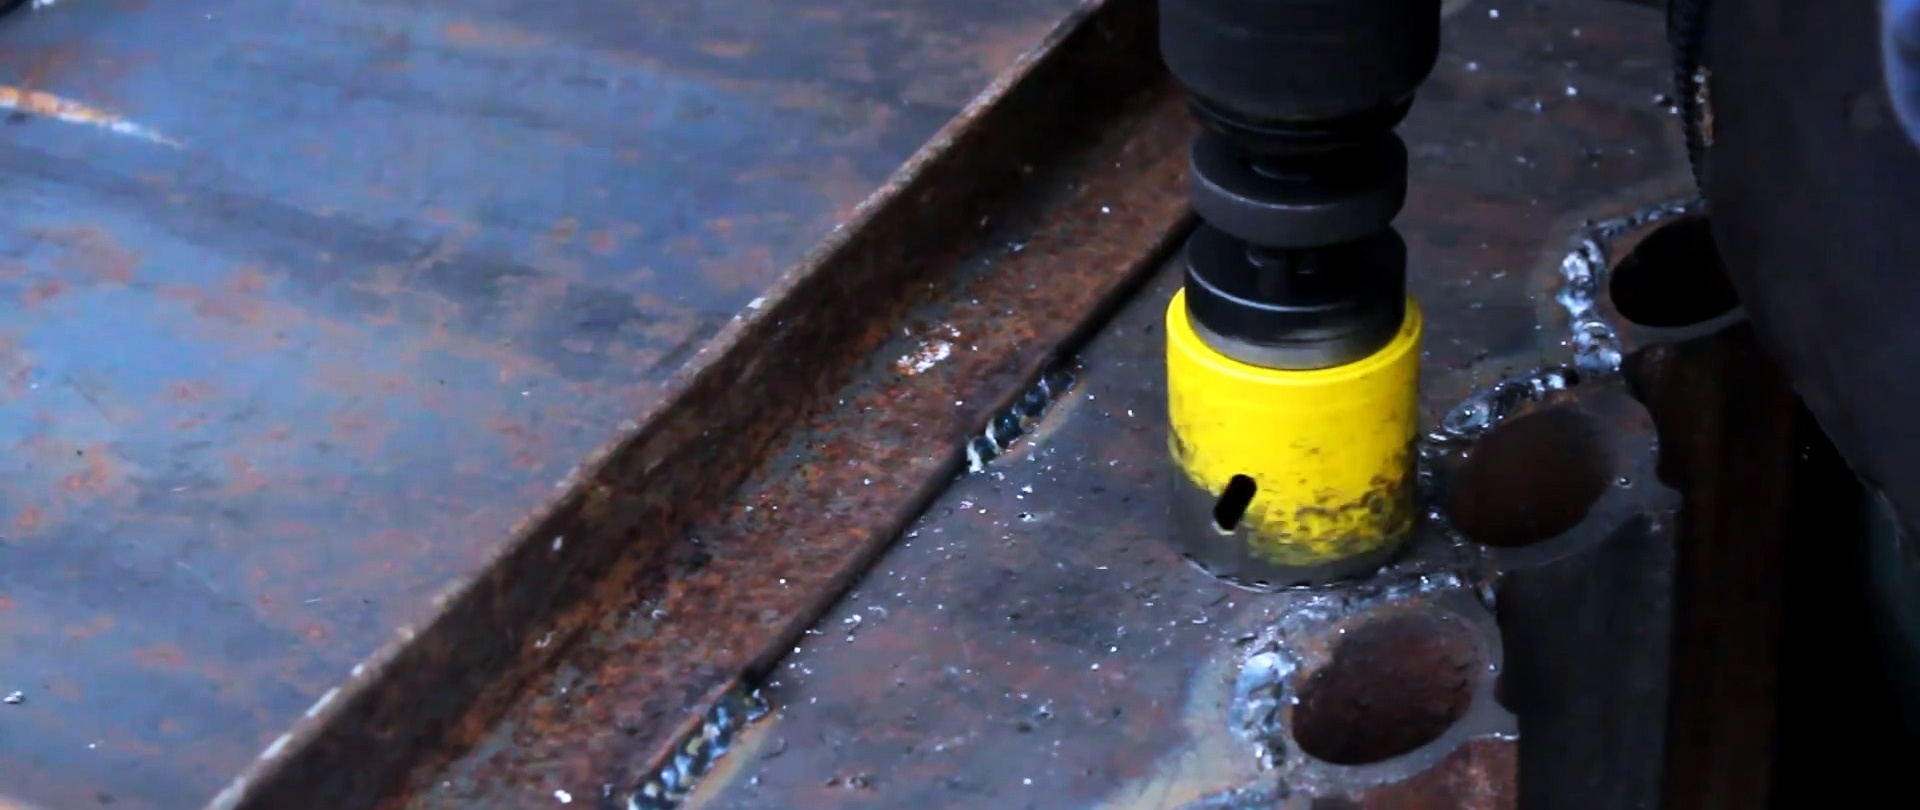
Corners are welded to the bottom. You need to drill 2 holes under the back wall and place bent perforated tubes placed inside the fireplace into them. They will allow you to regulate the pressure in the double bottom cavity.

Weld a second bottom onto the corners. You should also weld the legs at the corners.

After this, the door is welded. There is a perforation along the upper edge.

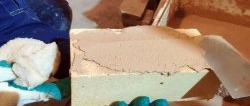
There is a groove on the inside of the door for pressing in the asbestos sealing cord. The door is welded onto the hinges. After this, a hook handle is welded onto it. Glass for fireplaces is installed in the door using heat-resistant sealant.

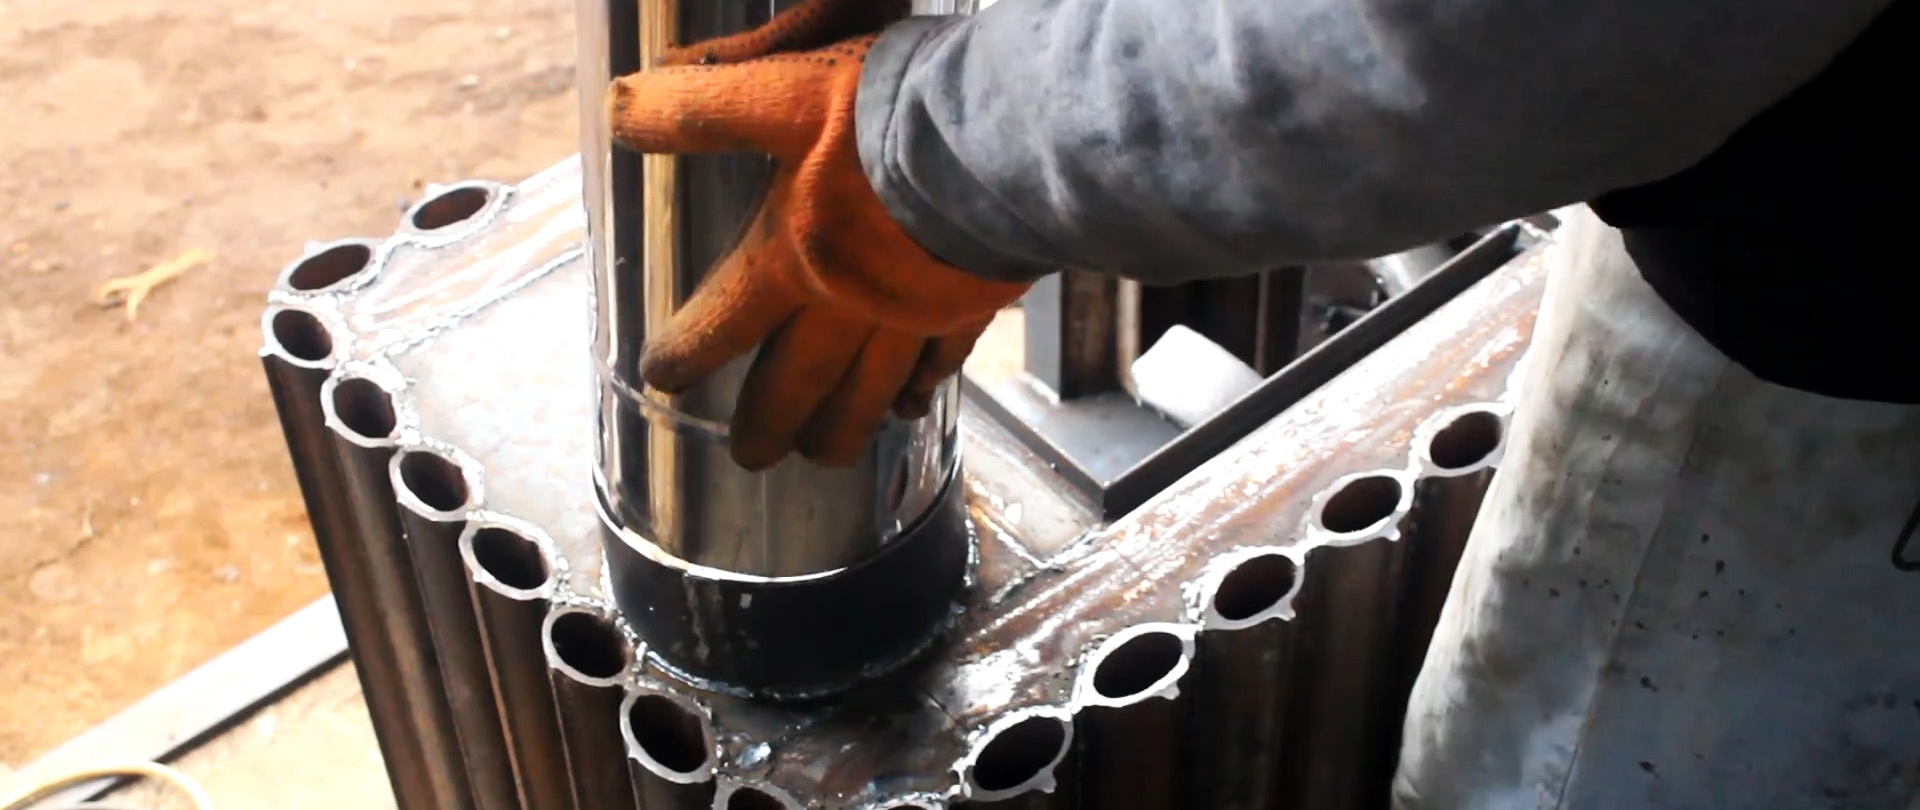
Linings are welded into the opening at the top of the stove from the inside in order to install the cooking stove. A little to the side near the back wall, a flange for connecting the chimney is welded onto a pre-cut round hole.
A stand for the grate is welded from a sheet of steel and a profile pipe. She should lift them above the bottom. A drawer is made under the opening from below to collect ash. Its handle should not protrude beyond the door.

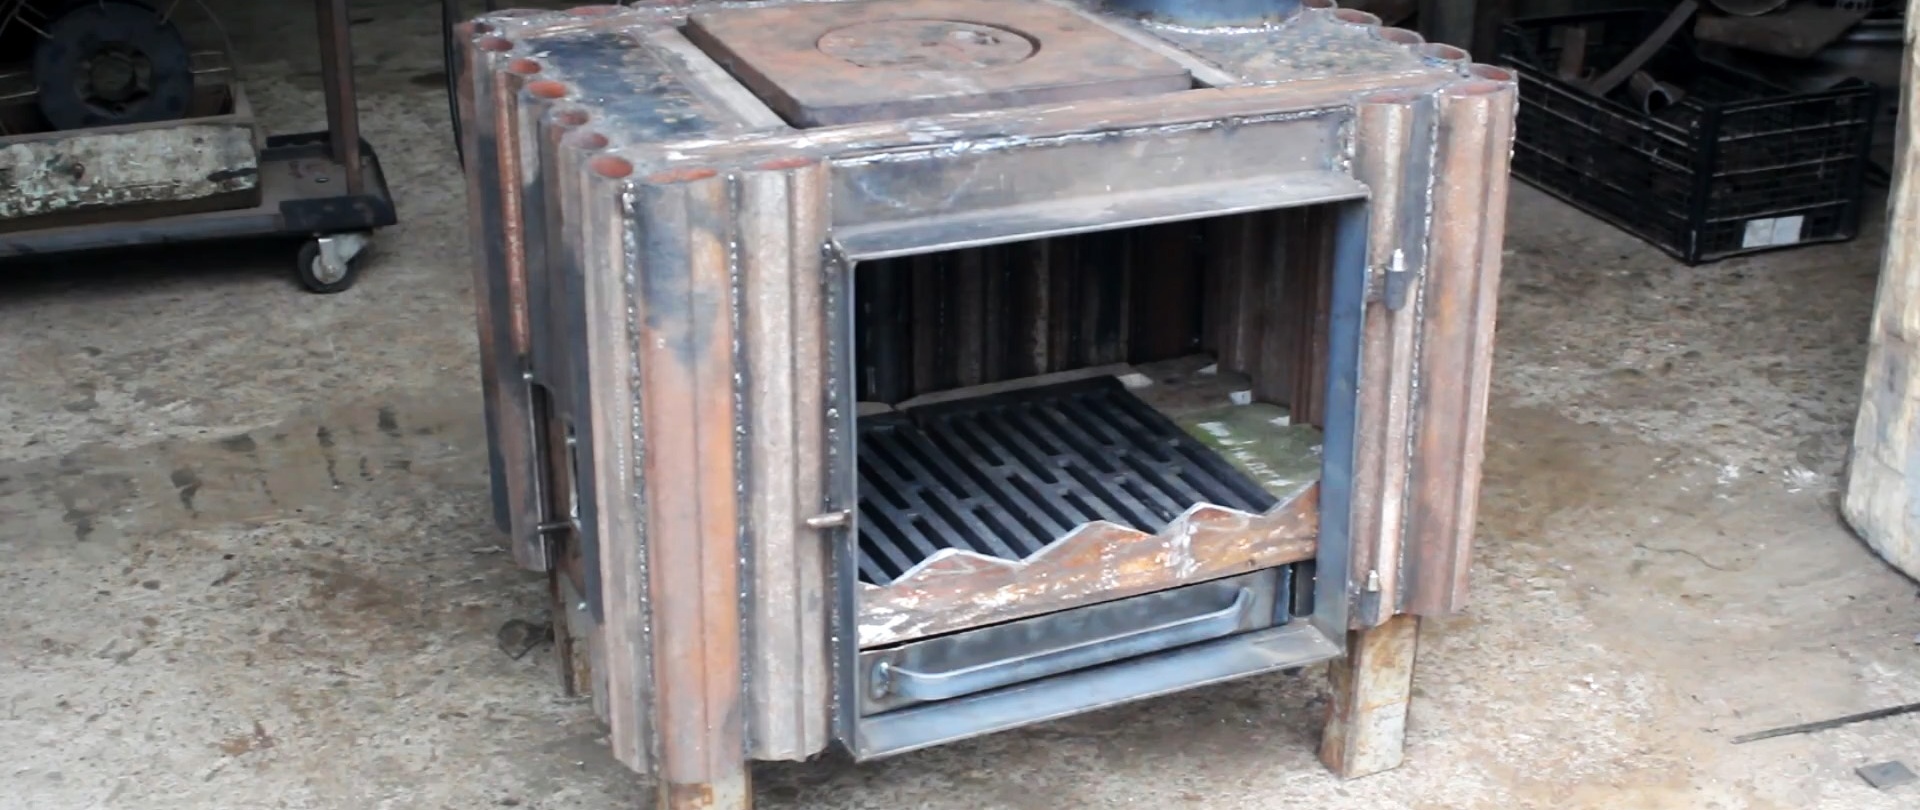
A removable screen is installed inside the combustion chamber. It is needed to prevent an open flame from escaping directly into the chimney. With it, heat will be retained in the room better.
Then you need to make a door for air access. It is welded from a large profile pipe and sheet steel. Its damper is equipped with an adjusting bolt to adjust the air access gap.

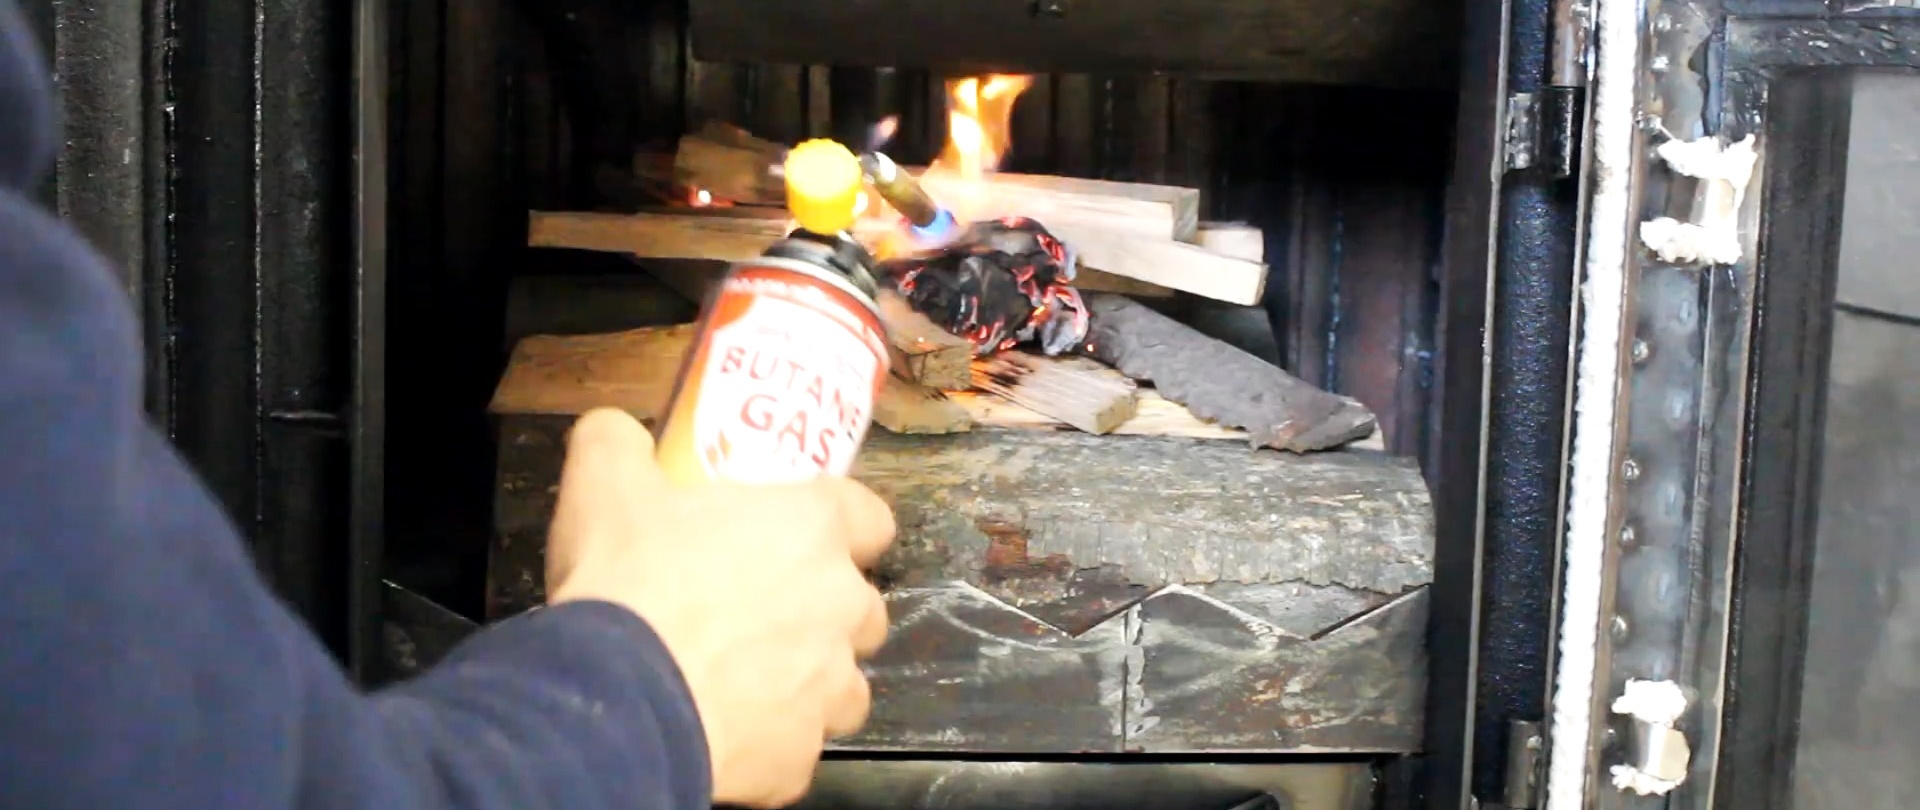
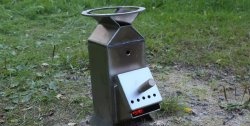
The oven is painted with heat-resistant paint, and the doors are installed in place. All that remains is to connect the chimney, and you can light the firewood. Due to the hollow walls, the area of its contact with the air in the room is increased, so there will be more heat from it than from a potbelly stove.