A significant expansion of the functionality and accuracy of woodworking equipment can be achieved by using special devices. Such factory-made accessories are sold in stores, but they are more often used for narrow purposes (only for a router, only for a circular saw, etc.), and they are not cheap. Let's make a simple but accurate universal guide bar that will fit most woodworking tools.
Will need
Materials:
- multilayer plywood;
- aluminum strip;
- wing bolt and washer;
- wood glue;
- two-component epoxy adhesive;
- screws.
Tools: marking devices, circular saw with guide bar, hand router, grinding head, scoring saw, tap, drill, etc.
Manufacturing process of a universal guide bar for power tools for woodworking

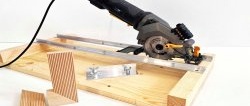
Our device will consist of only five parts, and the main one among them is a guide rail made of multi-layer plywood of arbitrary sizes. For definiteness, we will choose a blank for a 250×450 mm tire.
We set aside 150 mm from the corners located diagonally along the long side and 65 mm along the short side. We connect these points with a straight line and cut them with a circular saw.


From the end of the tire at 250 mm, set aside 30 mm and draw a straight line parallel to the end. We install a cutter with a diameter of 8 mm in the router and make a slot along the marked line in the tire. We sand it on both sides with a grinding head.
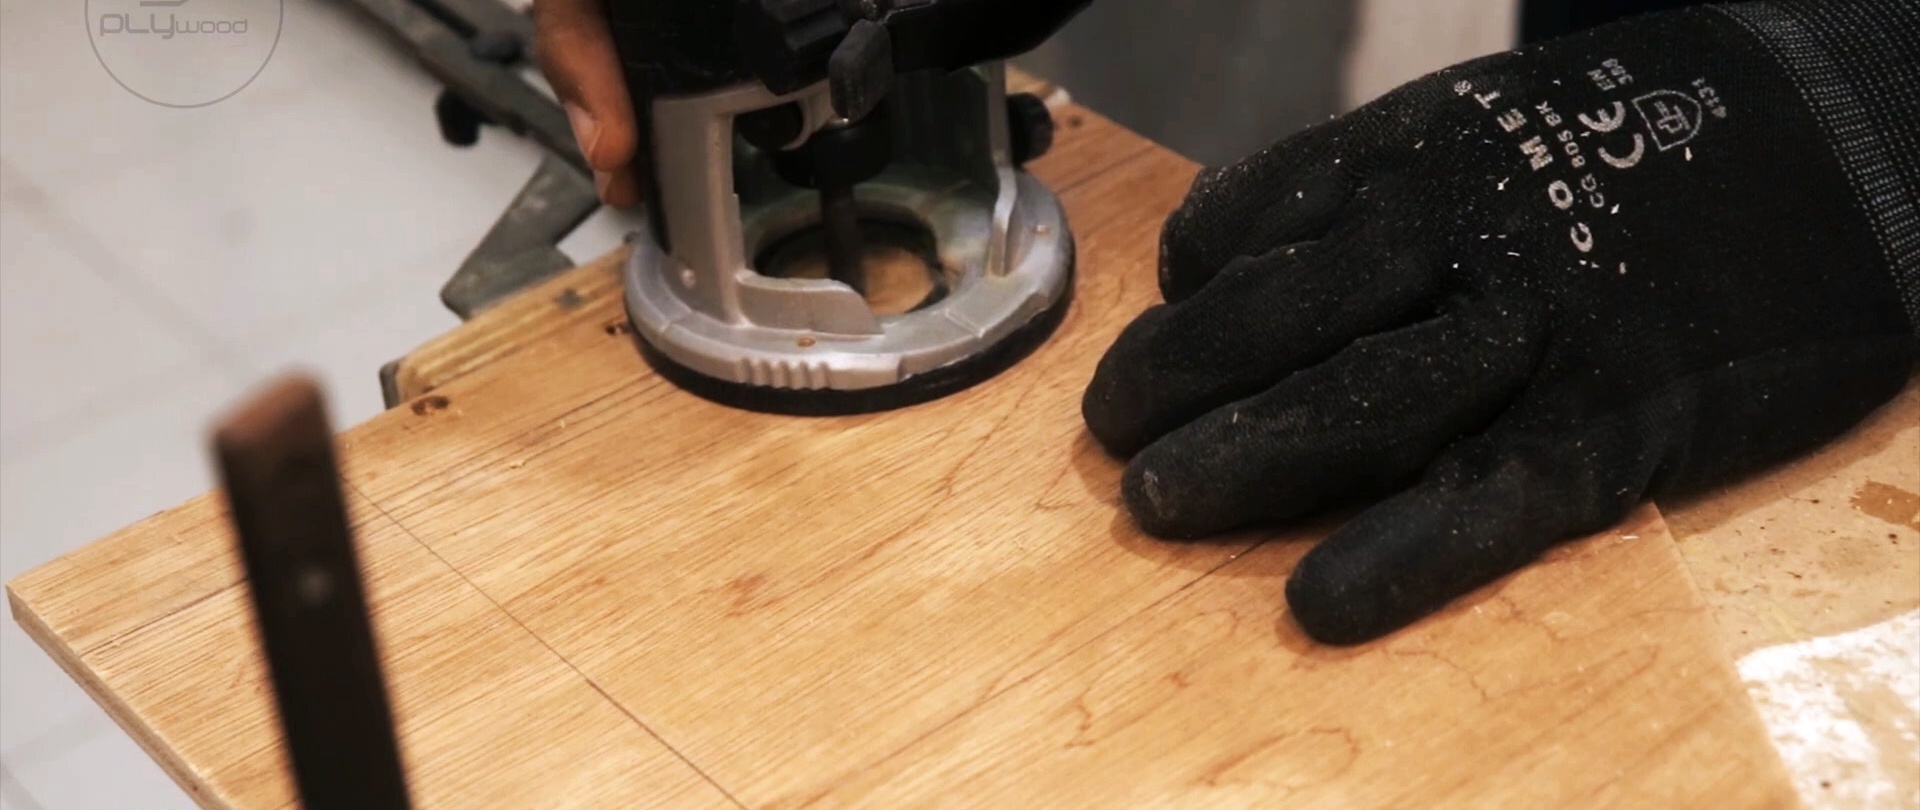

We cut out a strip of plywood 20x250 mm and glue it to the end of the guide rail. After the glue has dried, we mill the outer sides of these parts together using a hand router.


We glue two 385 mm aluminum strips along their length using two-component epoxy resin.
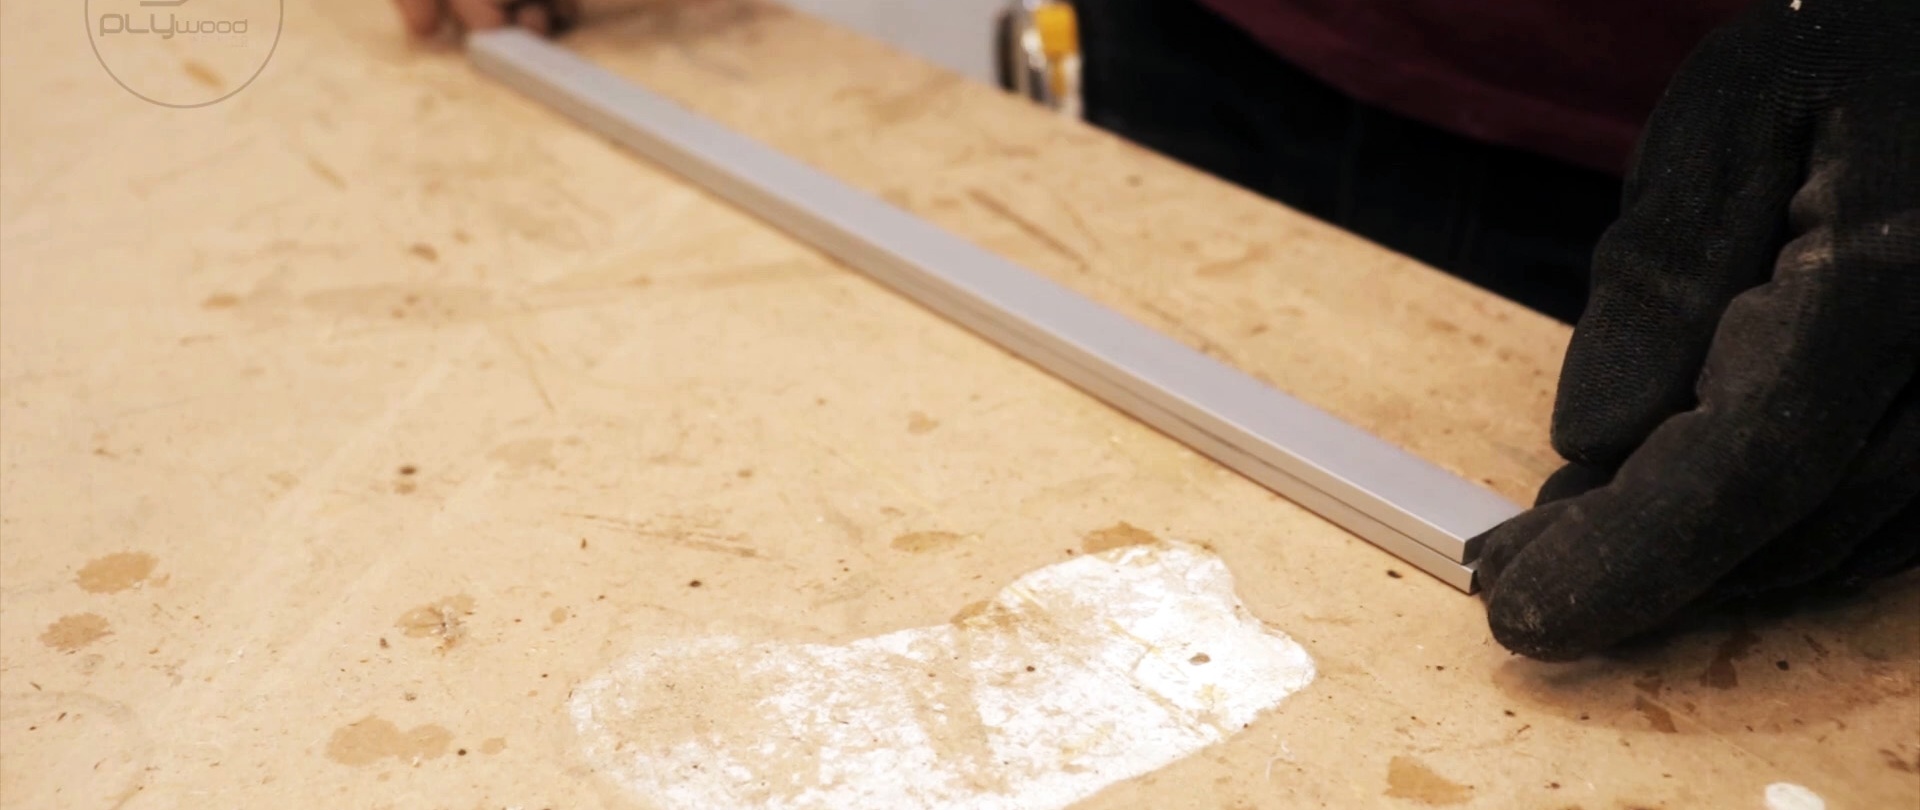
We place the guide rail on them so that the ends coincide, as well as the longitudinal axes of the slot and the aluminum pieces.
We transfer the outline of the slot to the surface of the aluminum piece and mark the center of its rounding. At this point, we drill a hole in the aluminum pieces and cut the thread.
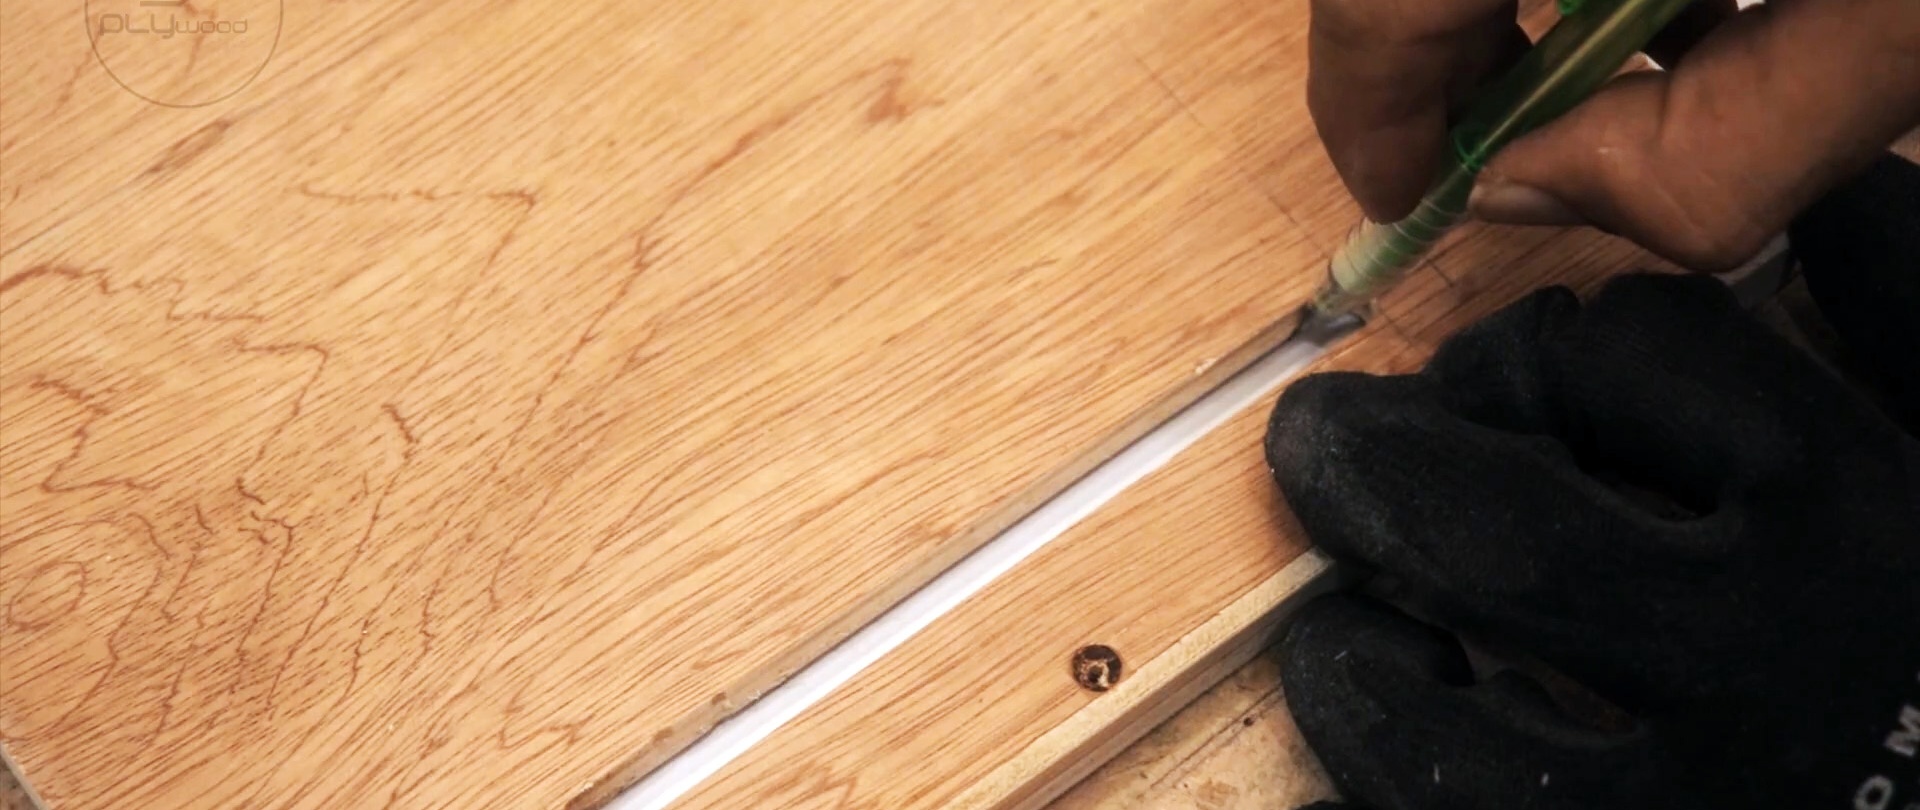

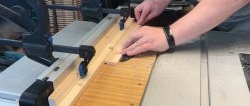
Through the slot in the guide bar, placing a washer, we screw a wing bolt into the threaded hole of the aluminum strips.

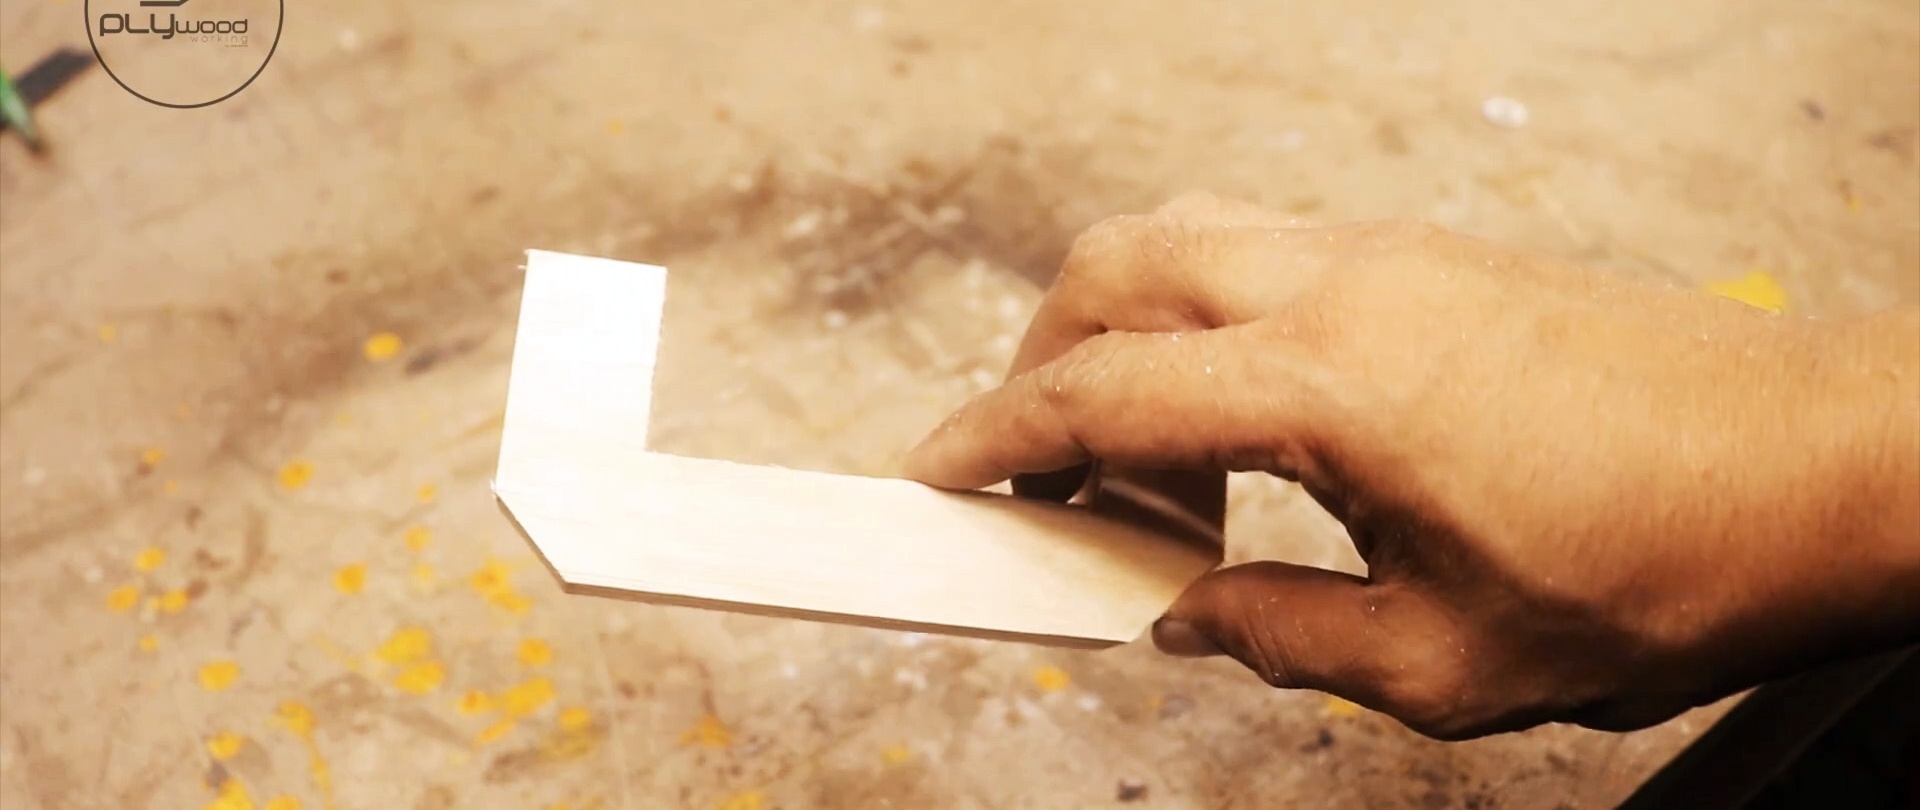
Mark and cut the handle from a piece of multi-layer plywood using a jigsaw. After removing the edges with a router, we attach it to the guide rail using glue and screws.

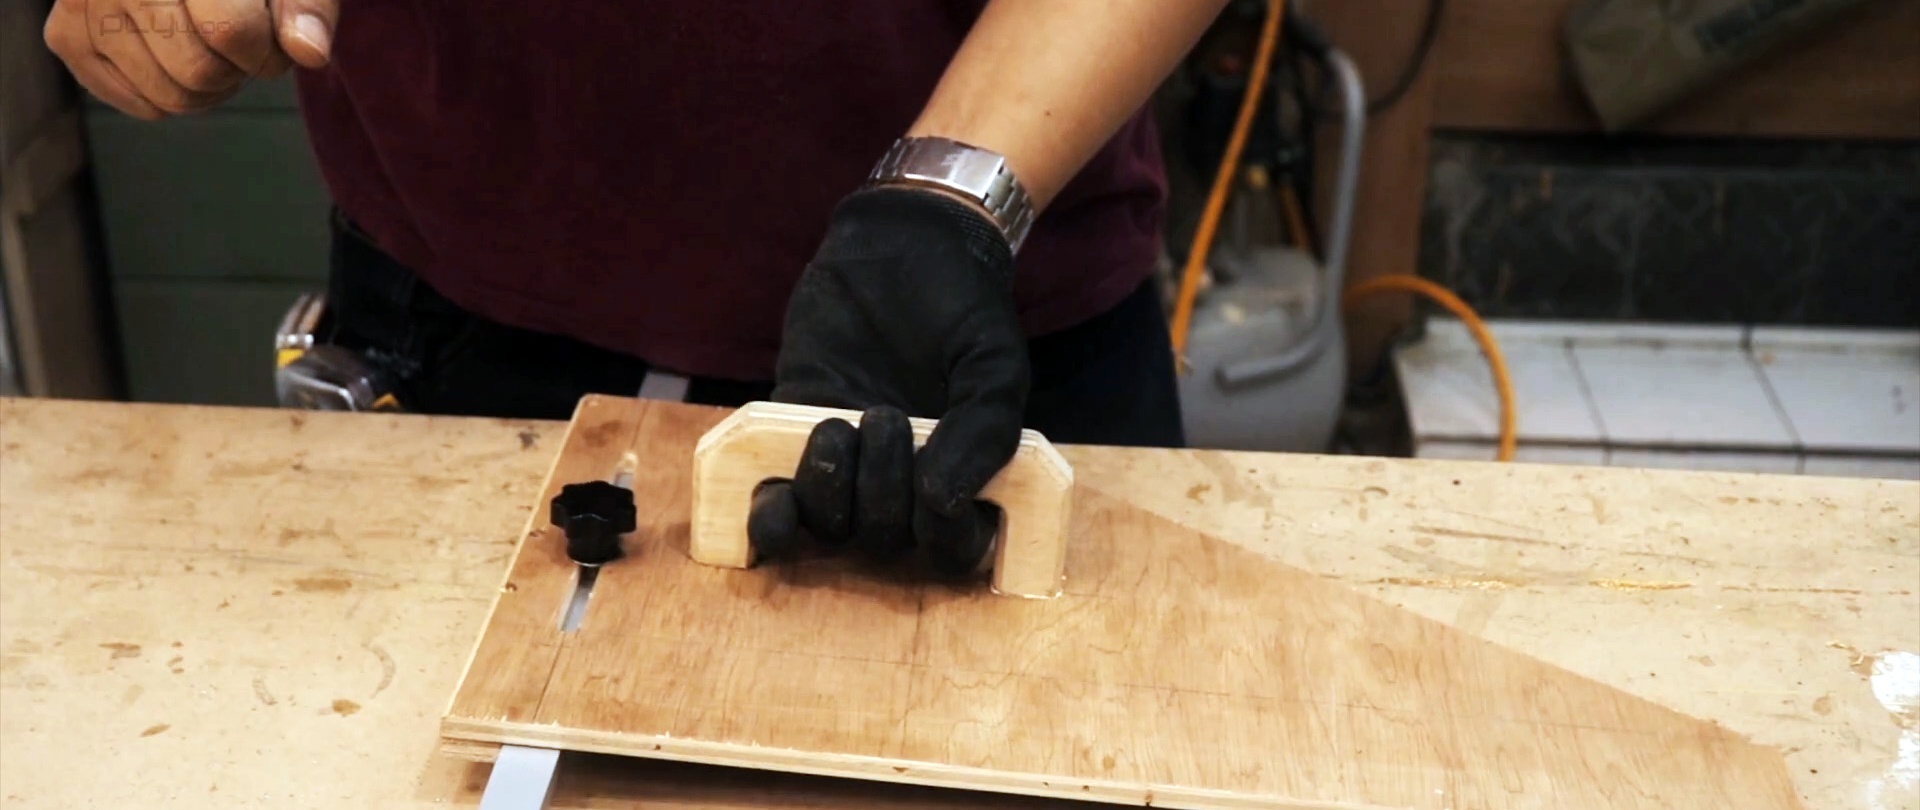
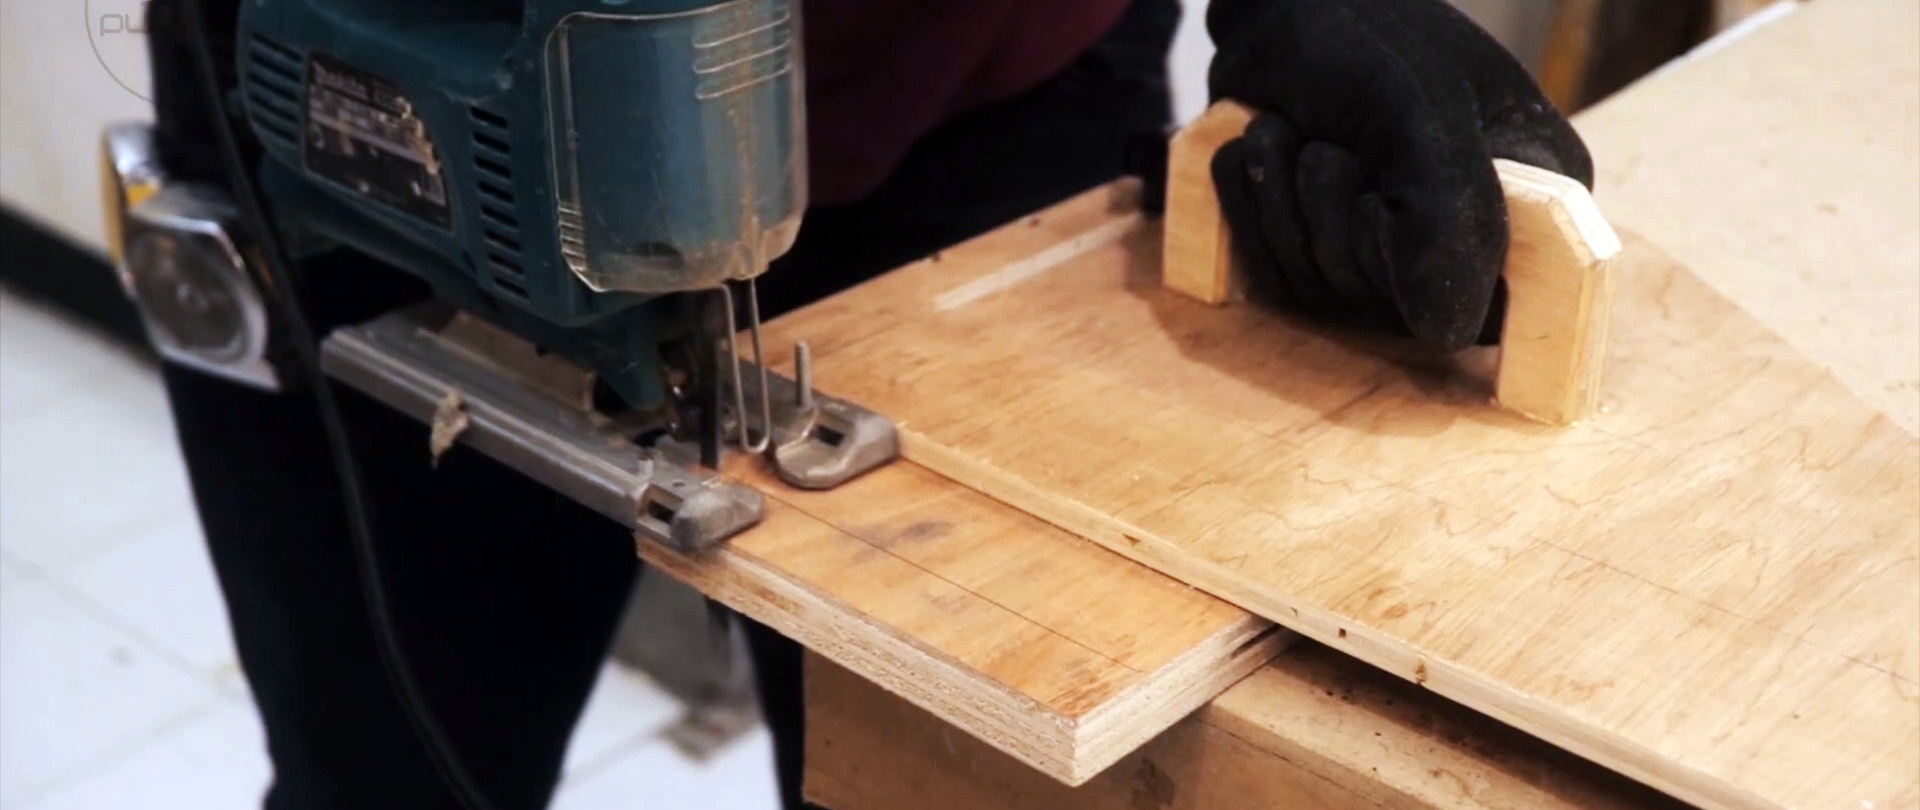
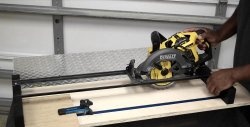
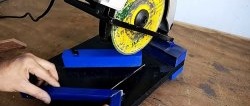
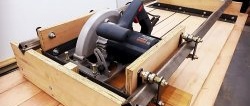
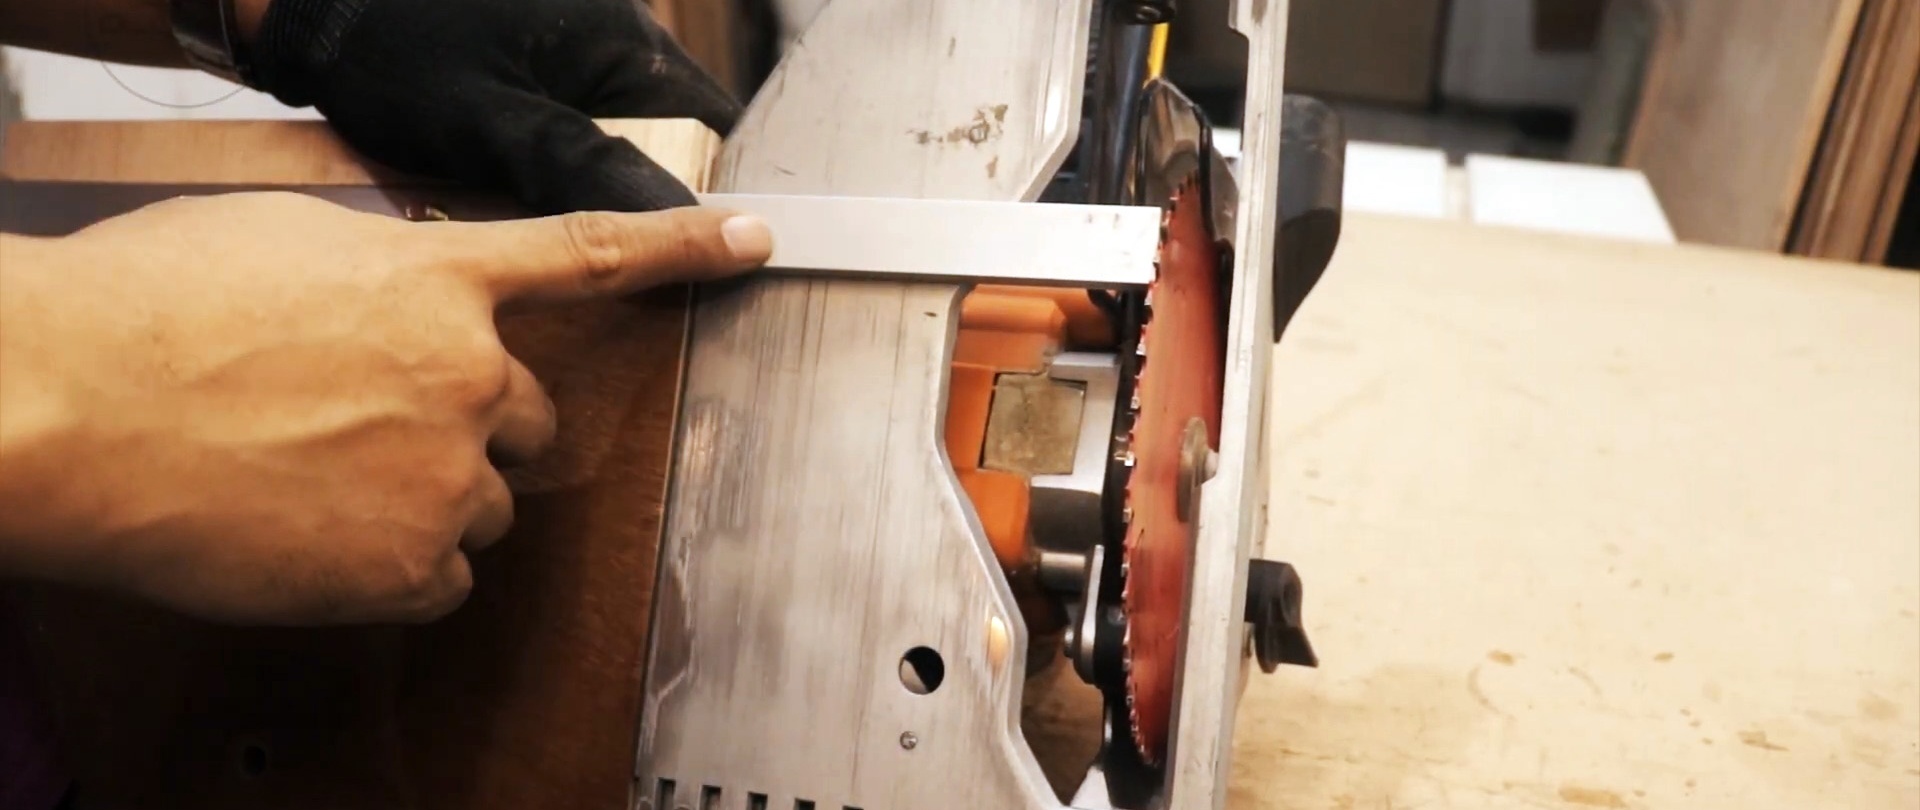
Now our homemade product is completely ready for use with many power tools. This could be a hand-held circular saw, jigsaw, hand router, etc.
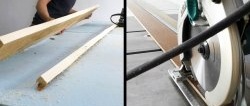
We note the distance to the disk and fix it with a bolt. We make the cut with a circular saw.
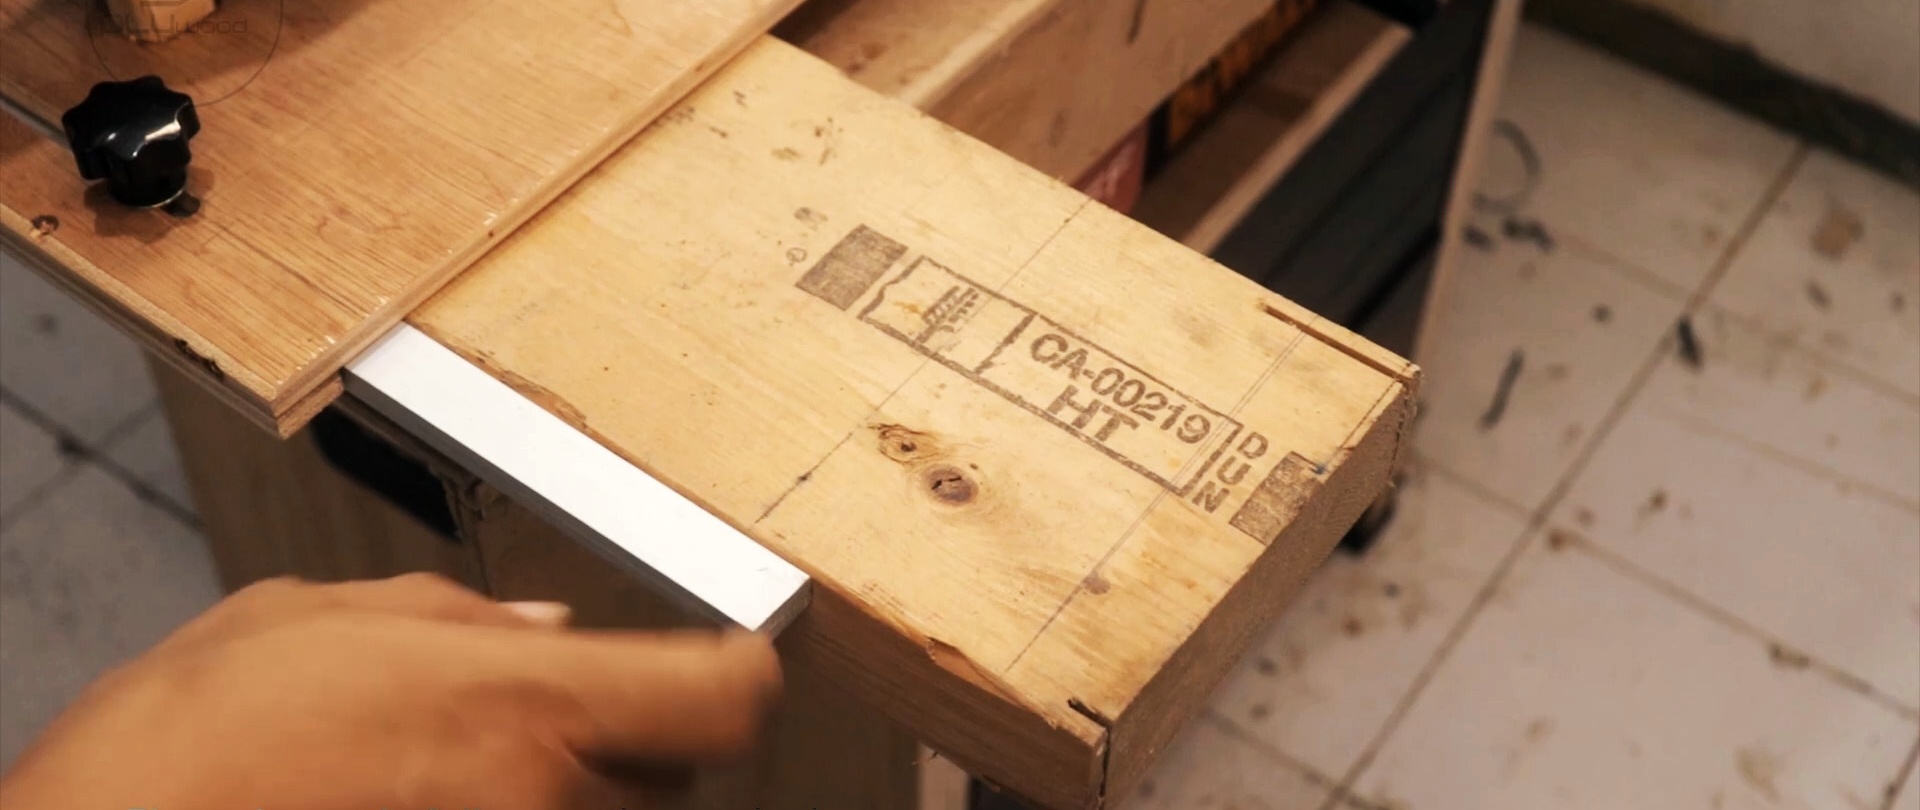

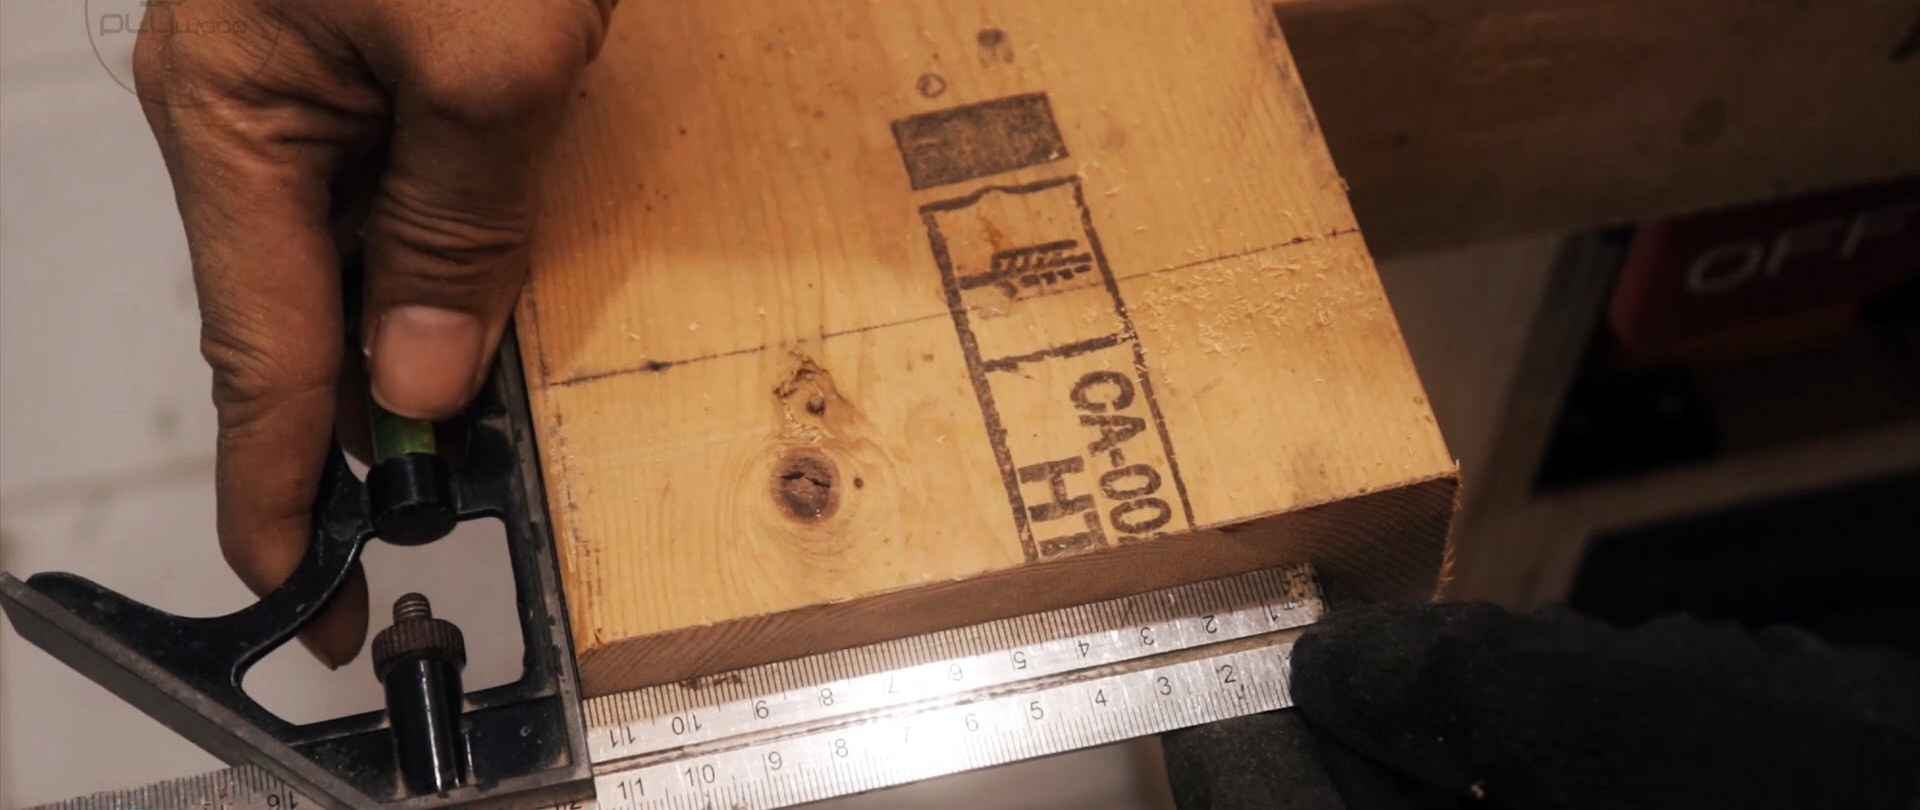
The result was an even cut.
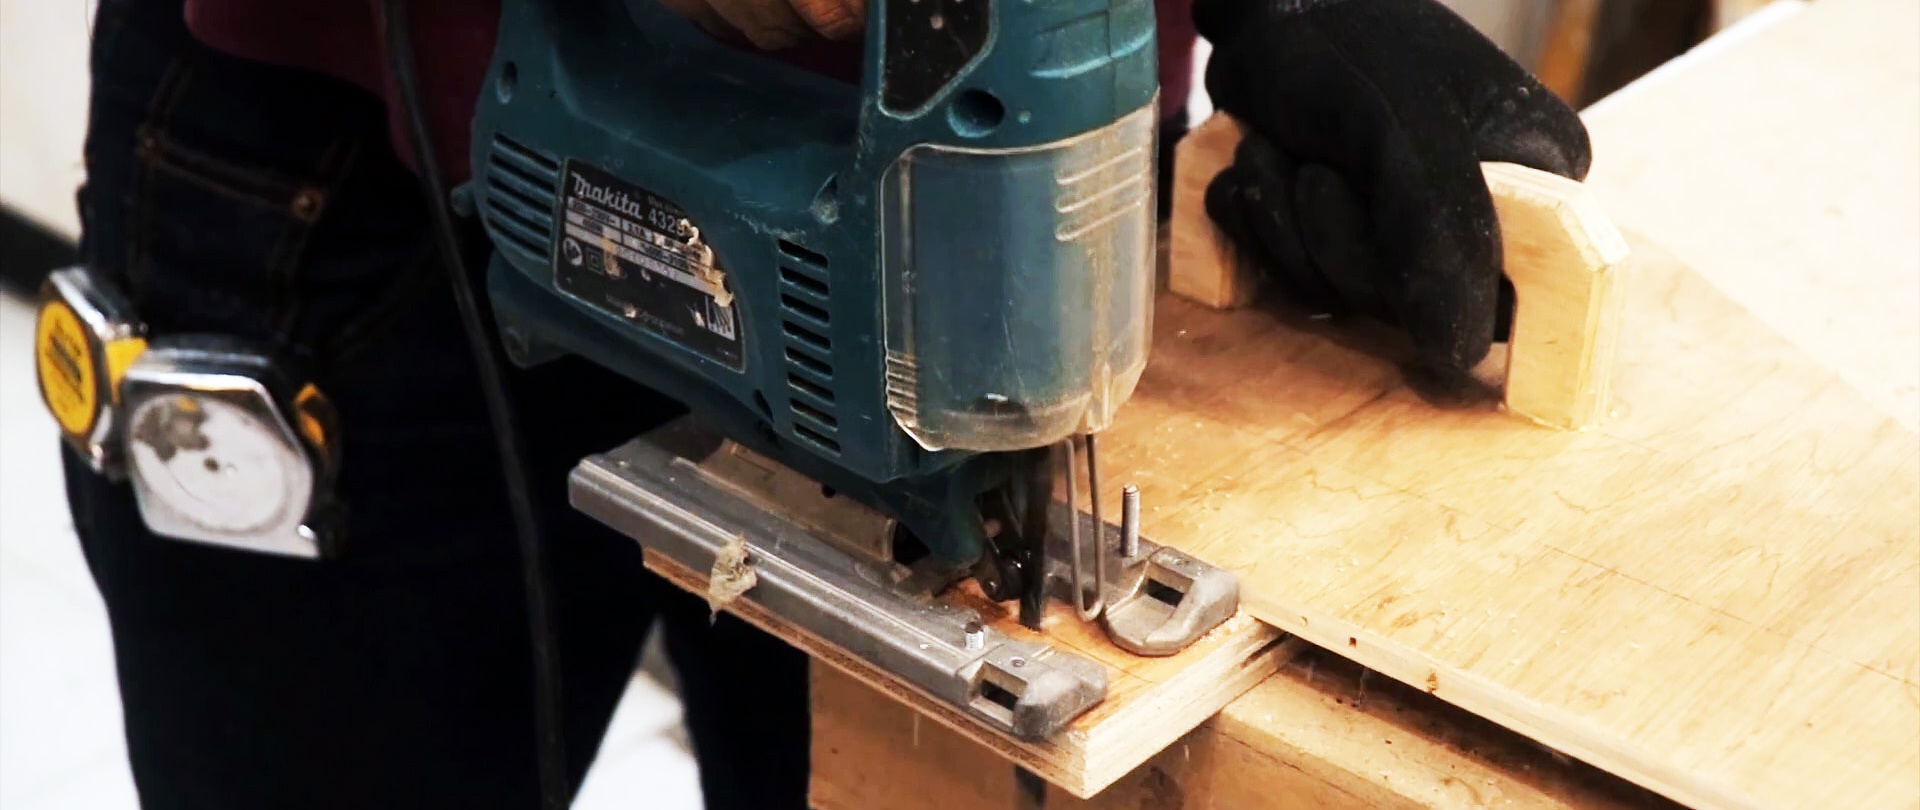
The same can be done for a jigsaw or router.