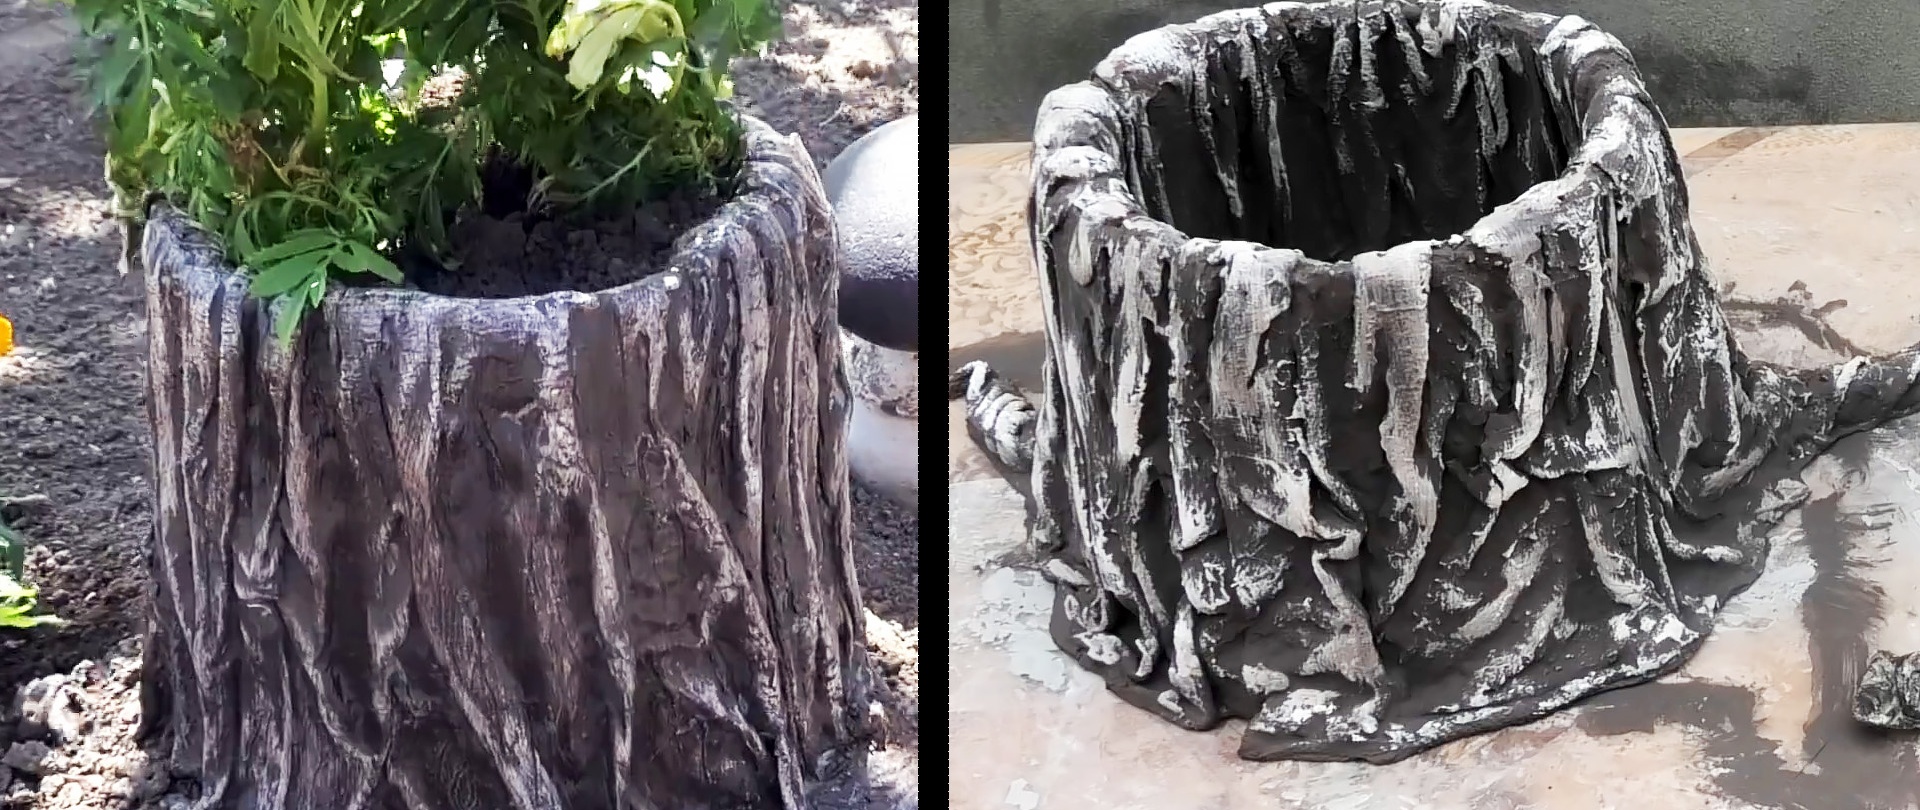
To decorate your site, you can make a beautiful flowerpot in the form of a stump, the production cost of which is a pittance. Any flowers will look much better in it. Stump pots are made very simply from unnecessary things that are found in every home.
Materials:
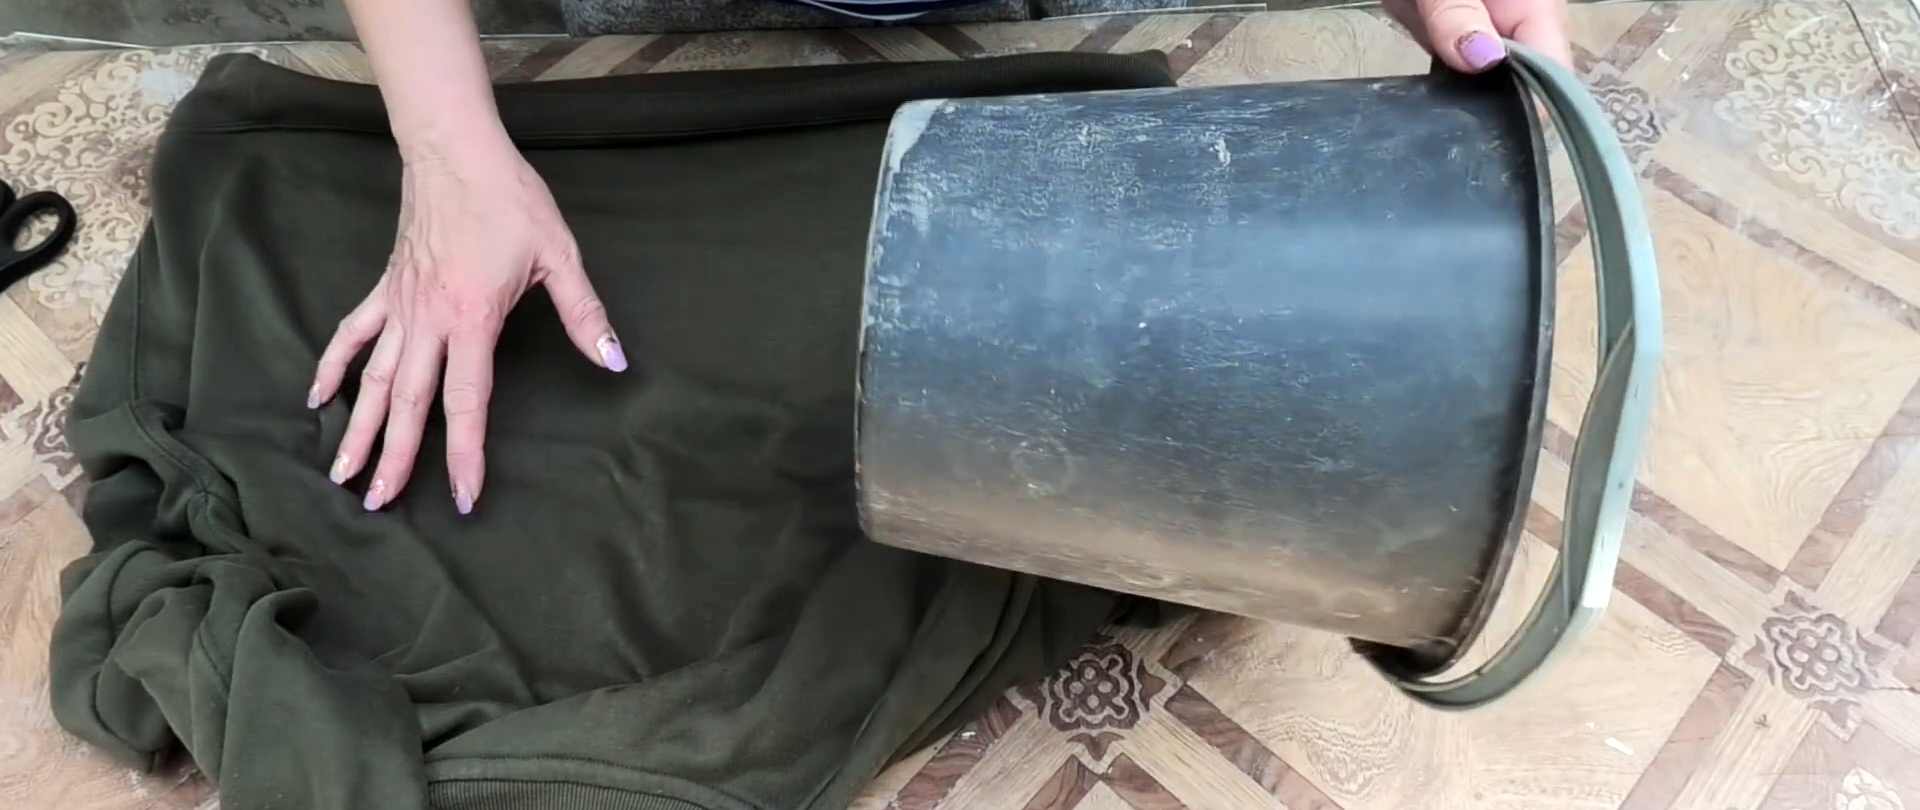
- Old bucket;
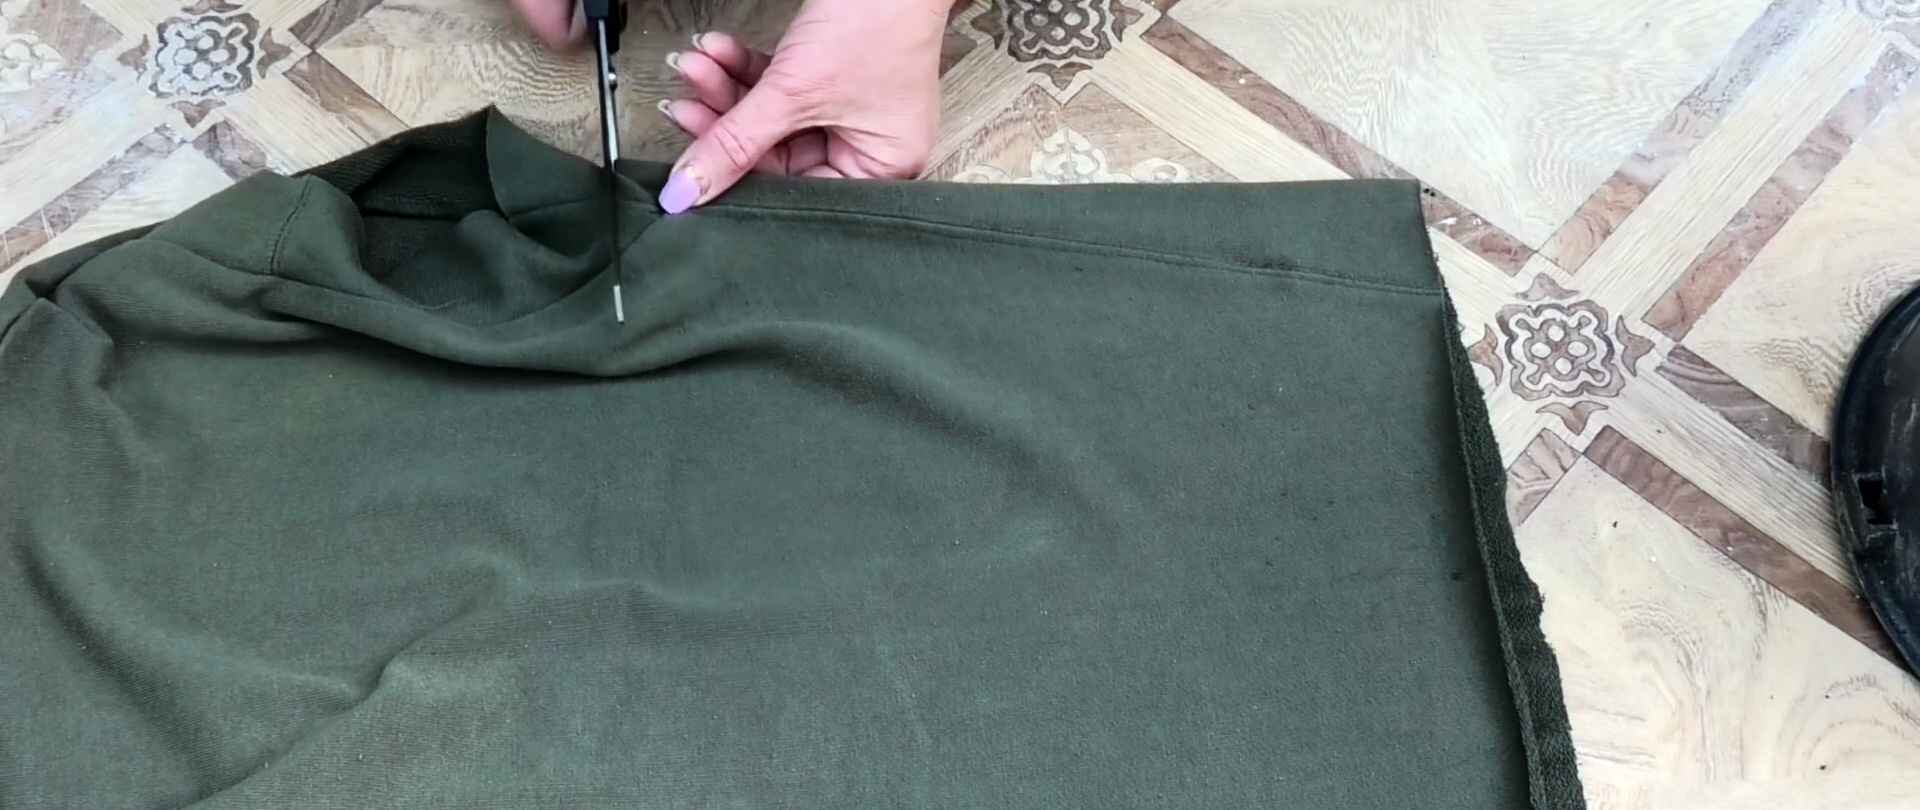
- rags;
- cement;
- water;
- deep penetration primer;
- water-based paint;
- brown, beige colors;
- acrylic lacquer.
The process of making pots
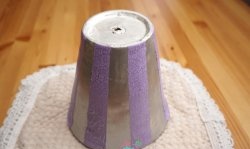
An old bucket in absolutely any condition is taken as the base of the flowerpot; you just need to ensure that its walls keep their shape. The bottom is cut off. Pieces of fabric are also prepared. It can be any old clothes.
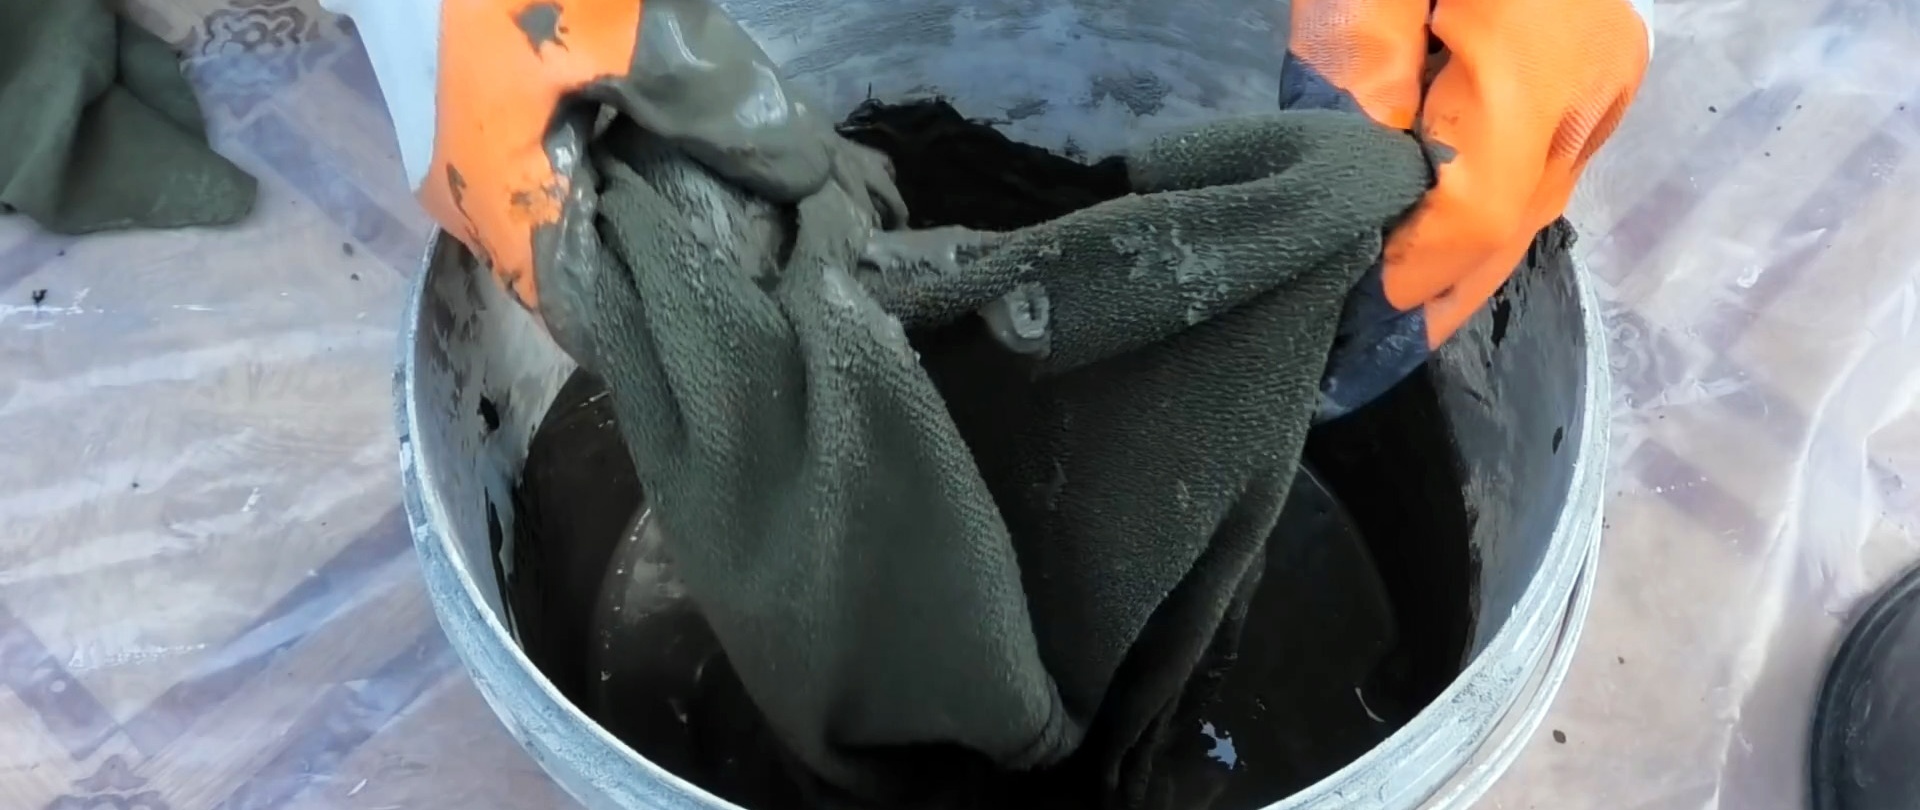
Cement mortar is mixed in a separate container. Water is added to the cement in such an amount to obtain the consistency of thick sour cream.
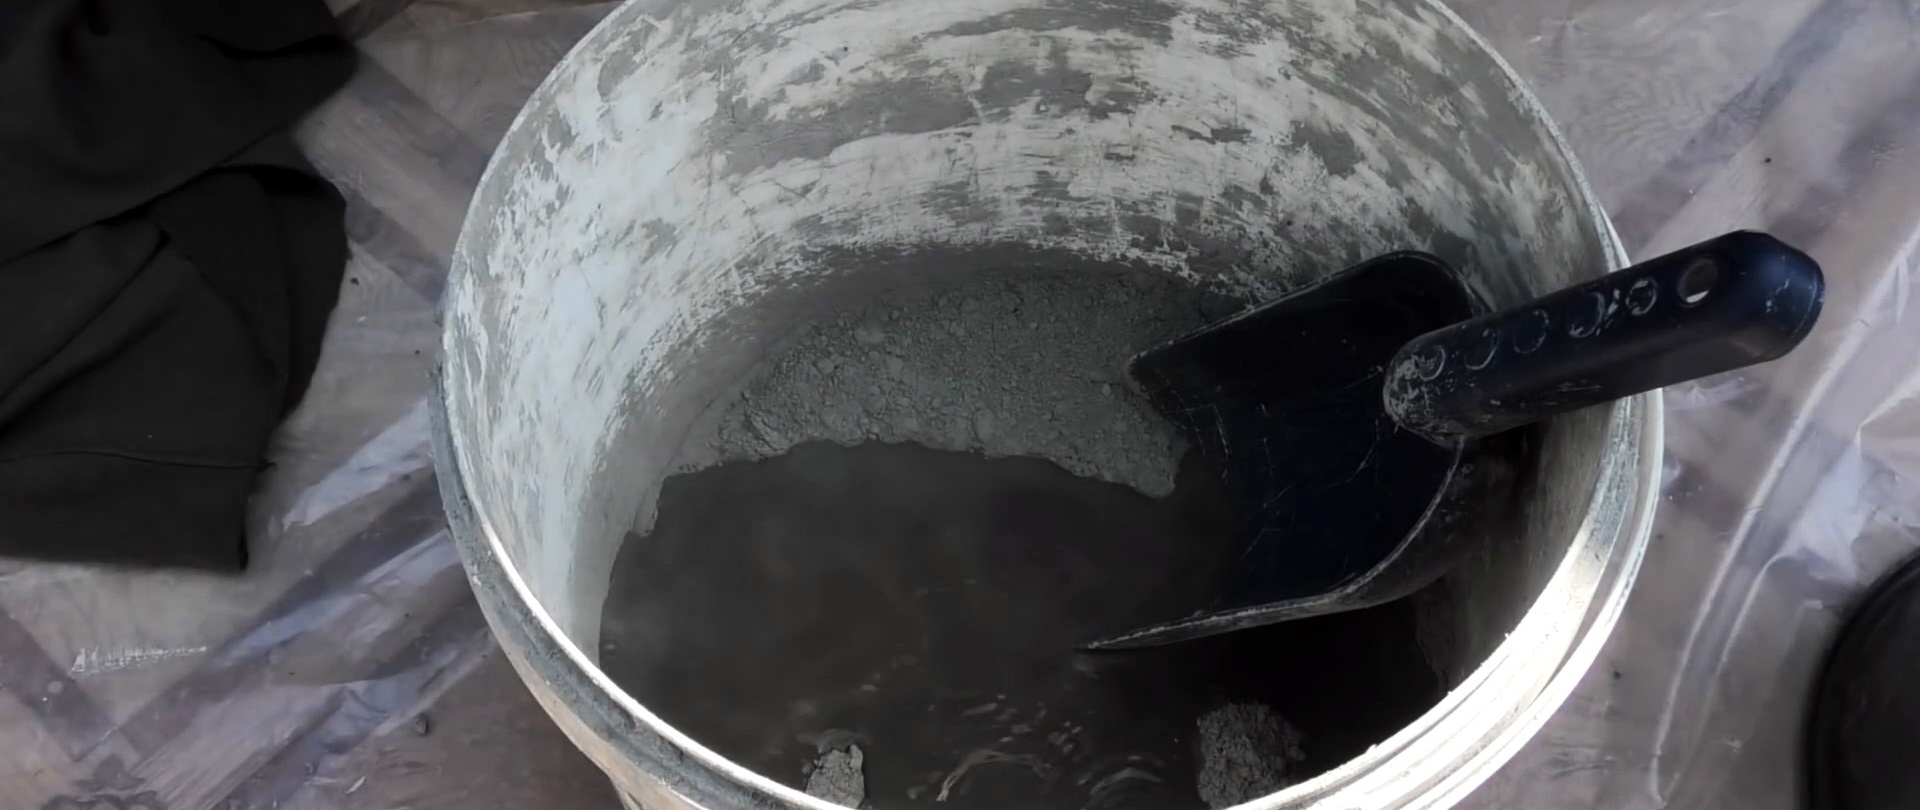
It is necessary to soak rags in the solution.
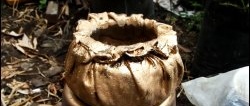
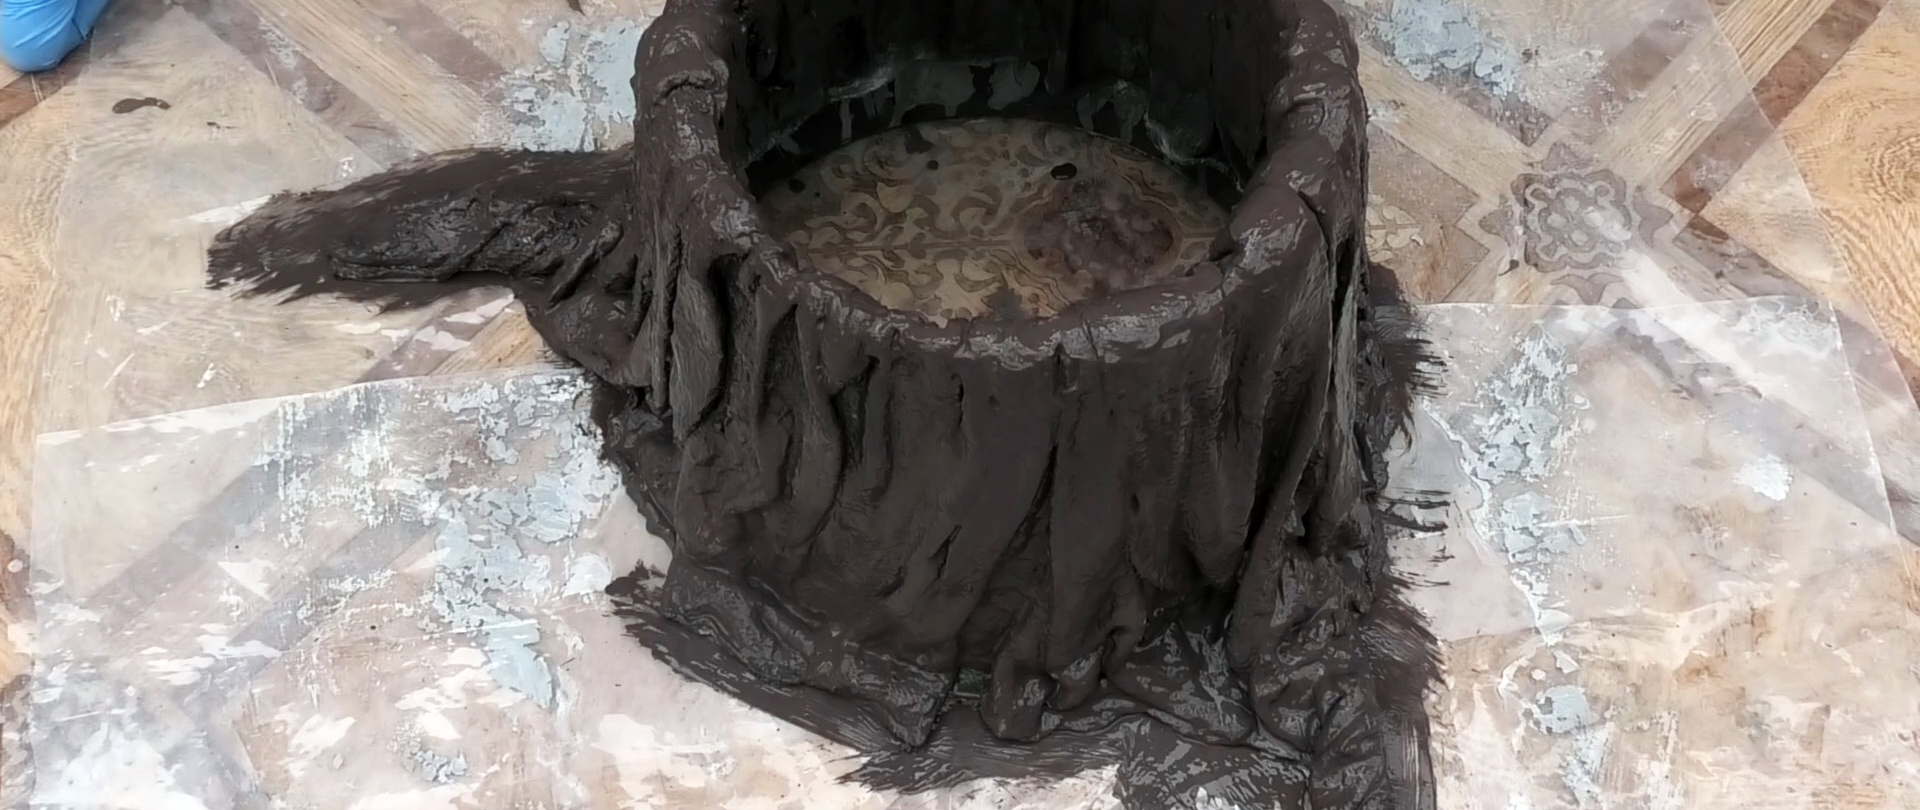
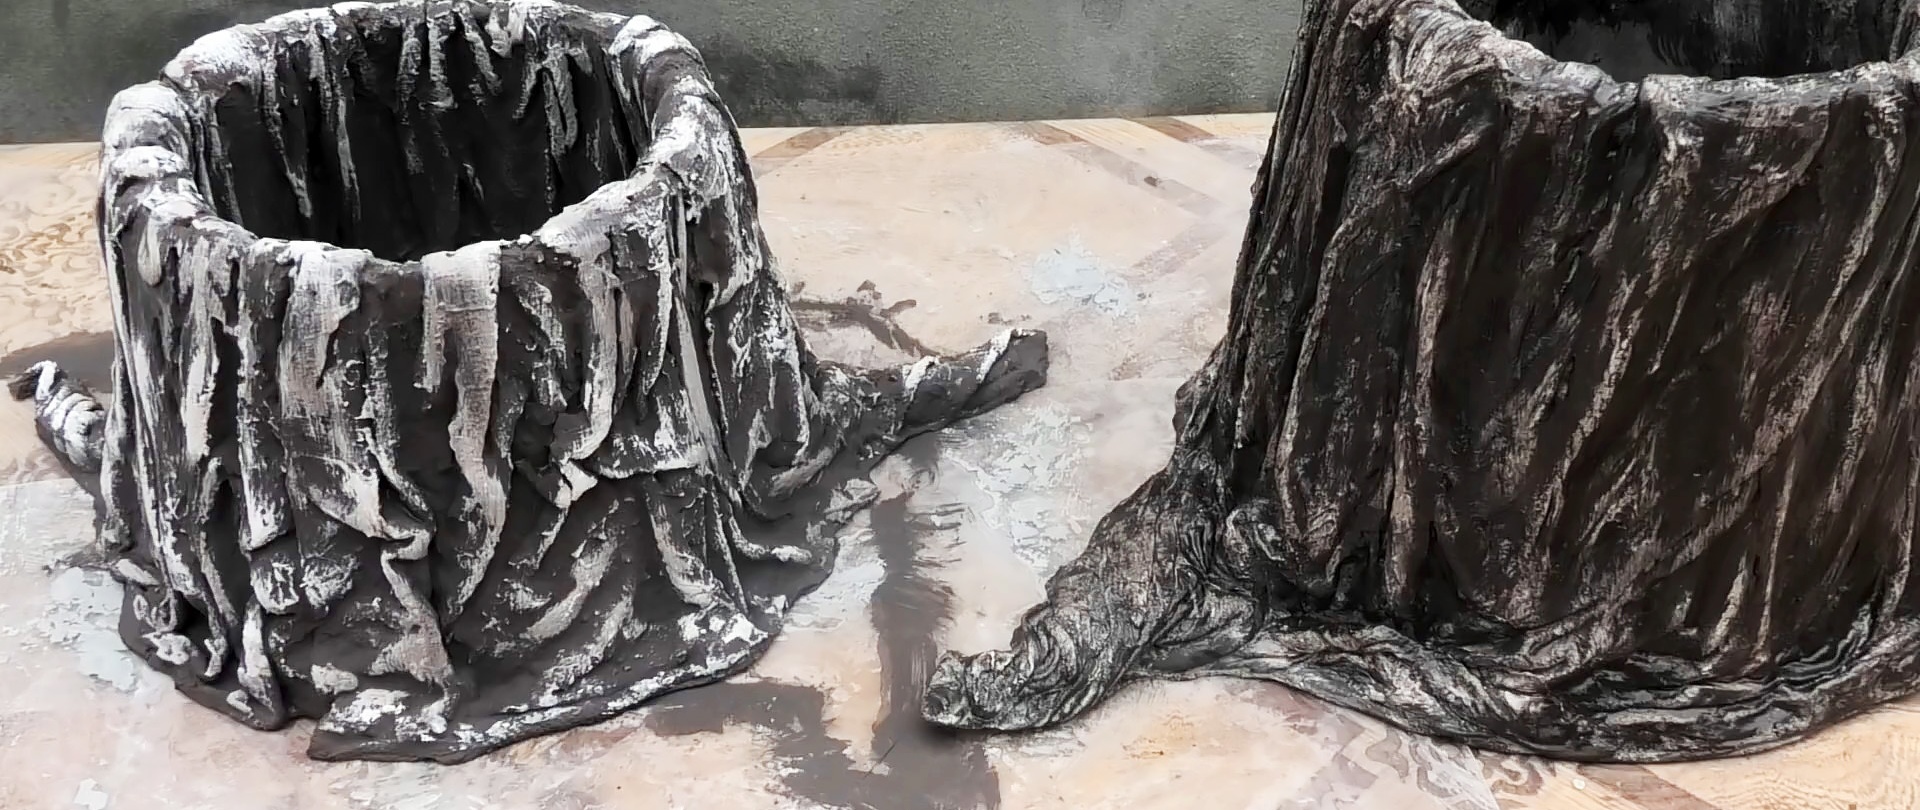
The fabric in cement should be placed on the sides of a bucket turned upside down. The canvas must be distributed in such a way as to form folds that repeat the texture of the hemp. It is better to make not only vertical, but also horizontal folds. To do this, the fabric is slightly raised in places.

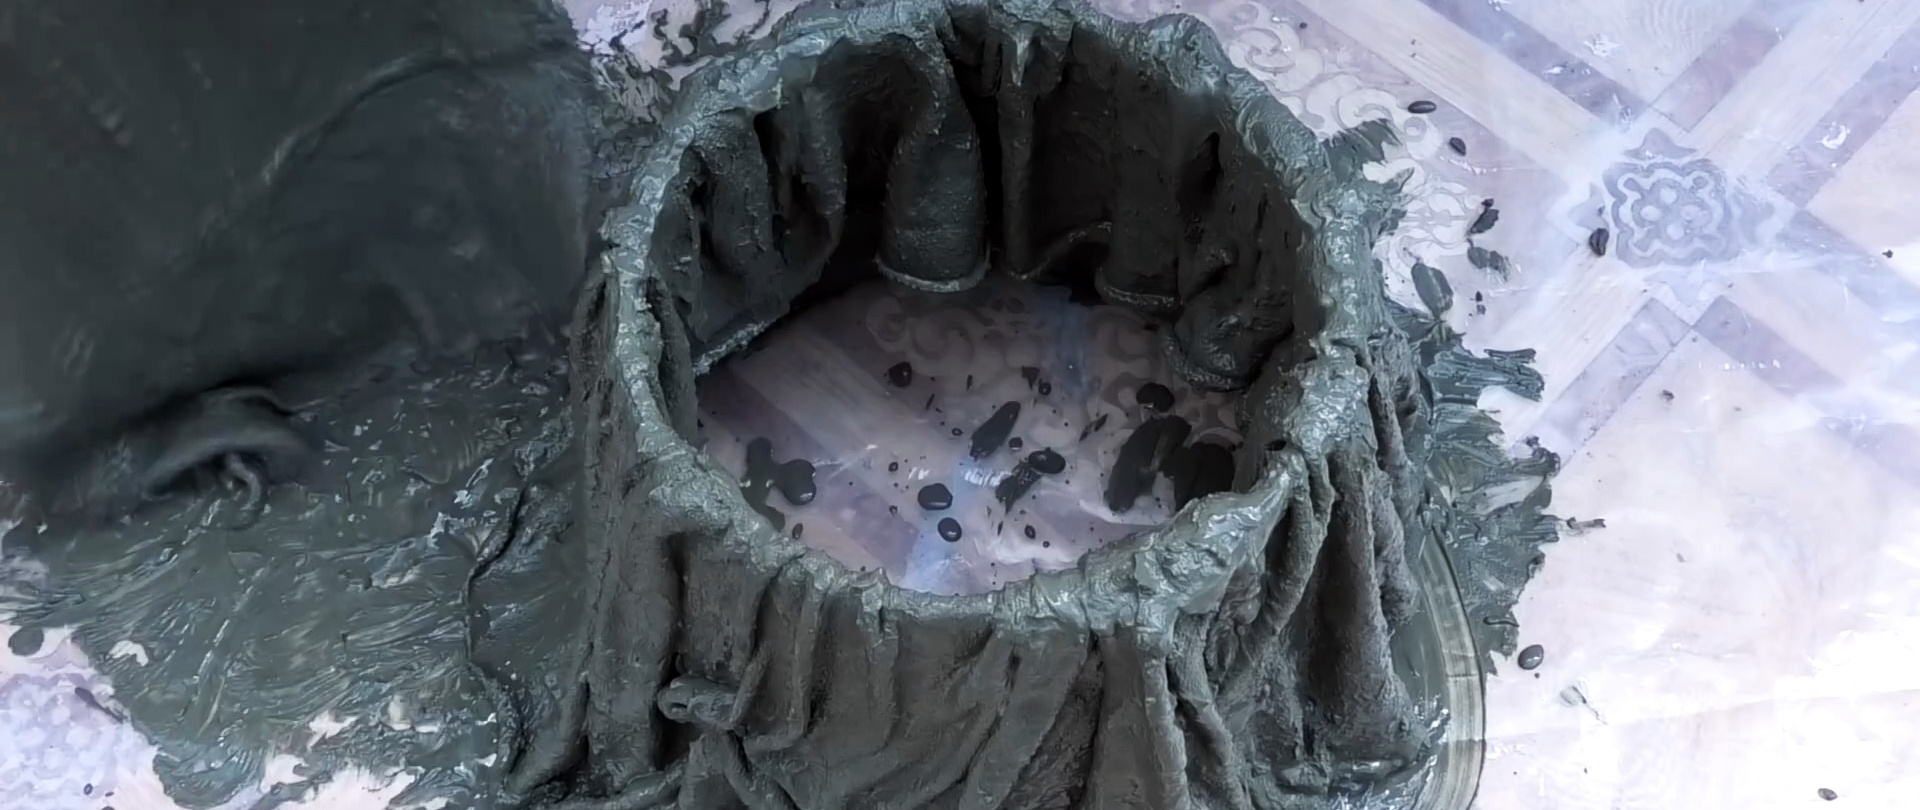
You don't need to do anything inside the bucket.The texture is formed only on the sides, where there will be a visible part not covered by soil. Narrow strips of fabric can be used to imitate hemp roots. To do this, the flaps are laid directly on top of the main rag and smoothed. At the top they should lie more tightly, and towards the bottom the fabric twists to look like a protruding knotty root.

After 1-2 days, the dried workpiece needs to be sanded a little to remove errors. At this time they are still washed quite well. Next, the workpiece is coated with a deep penetration primer. Then water-based paint with a brown tint is applied with a brush to create a base.
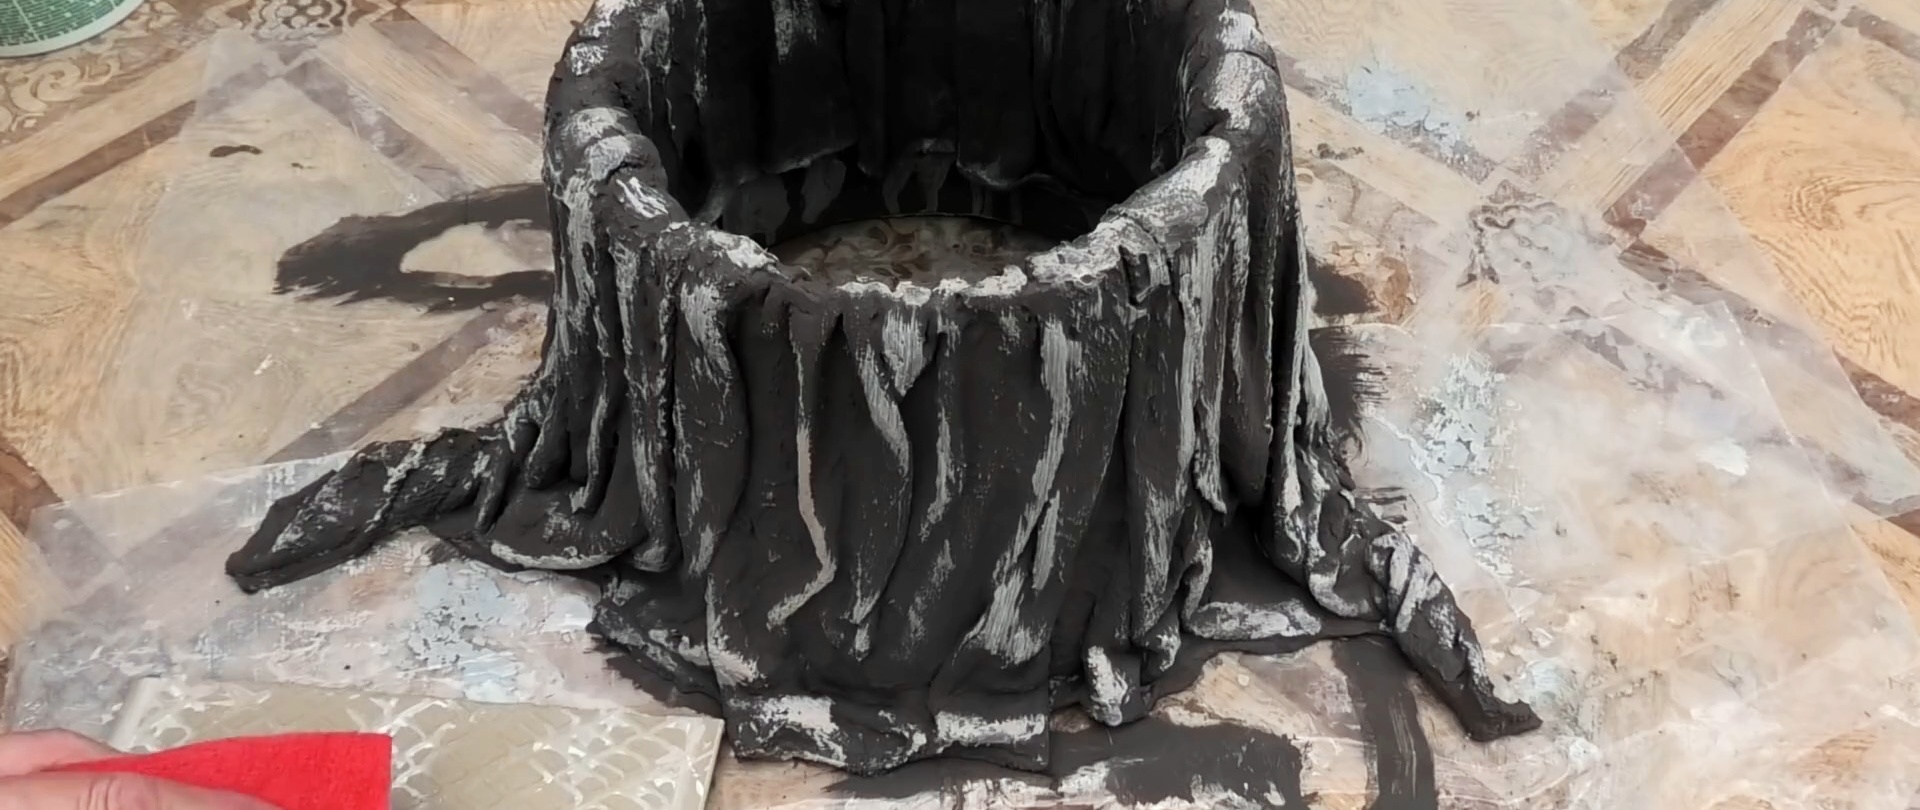
After the first layer has dried, you need to apply more paint, but with a beige color. This is no longer done with a brush, but with a kitchen sponge. You should only lightly touch the convex parts of the hemp.

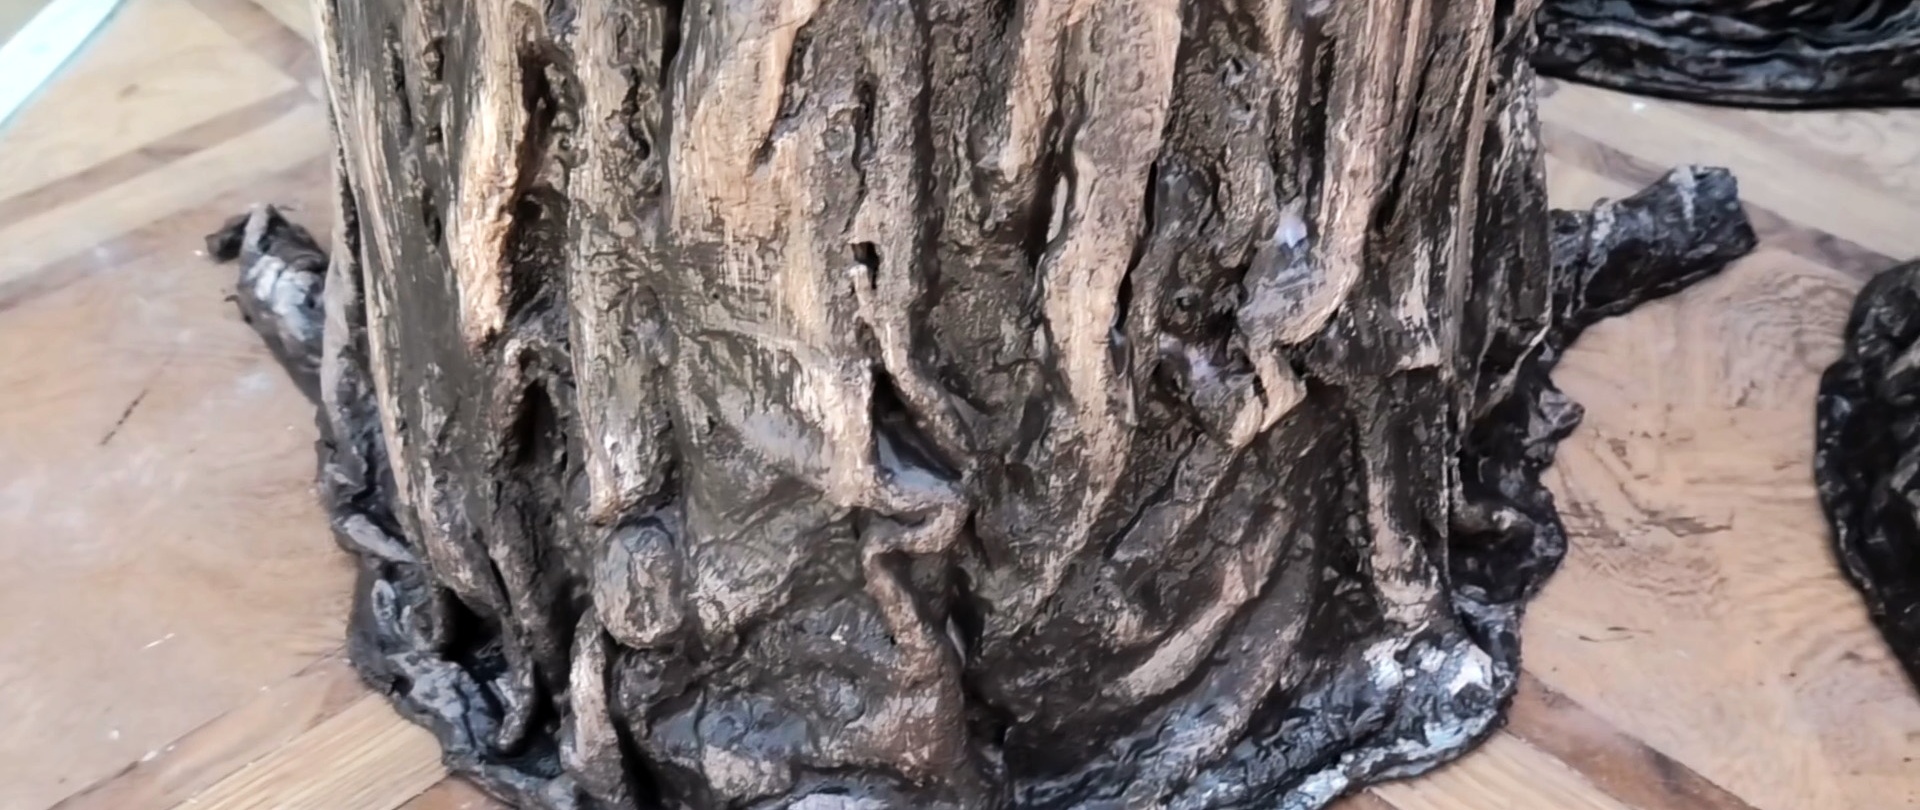
After waiting a little for the paint to dry, you need to add contrast to the workpiece by applying an even lighter tone with a sponge. In this case, you need to touch the convex parts even softer. If it turns out unnatural, then excessively light areas can be shaded with brown paint on a sponge.
When the pot is completely dry, you need to coat it with acrylic varnish. This will provide the necessary moisture resistance. After this, you can plant flowers in it.