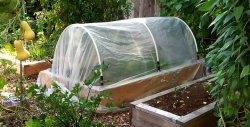
Now we are accustomed to seeing greenhouses with a frame made of bent profile pipe and covered with polycarbonate. But they can be built from much more affordable materials. So if your budget is limited, then the next idea is for you.
Materials:
- Rail 50x20 mm;
- timber 50x50 mm or 50x70 mm;
- masonry mesh;
- nails;
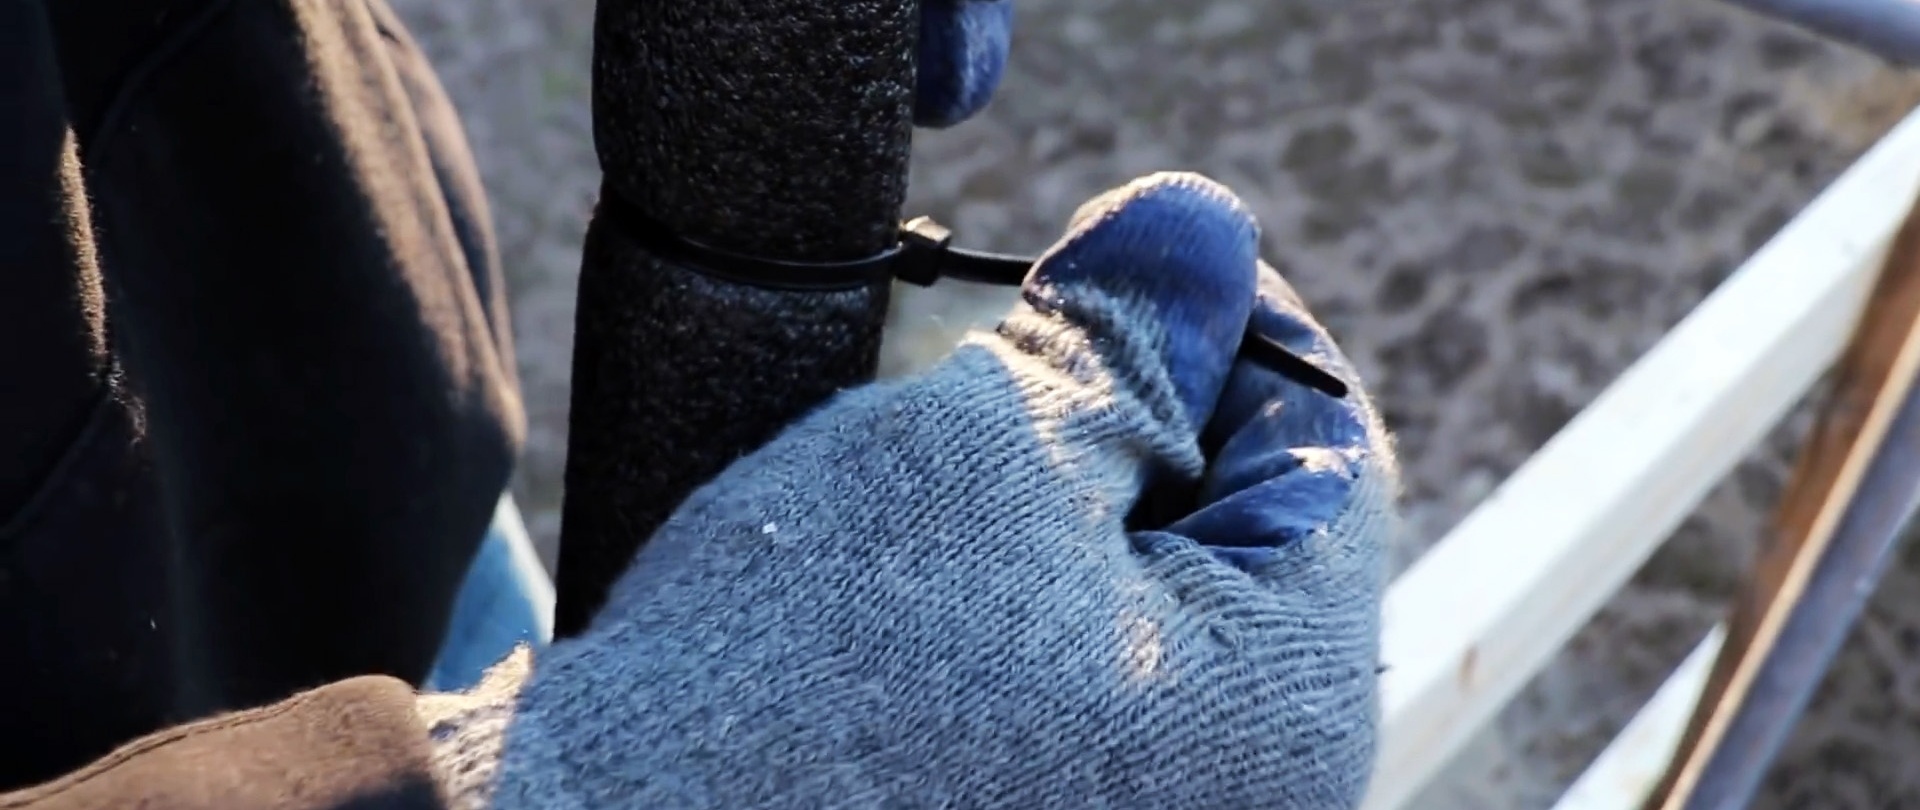
- cable ties;
- foam insulation for pipes;
- polyethylene film;
- mosquito net;
- door hinges.
The process of making an inexpensive greenhouse
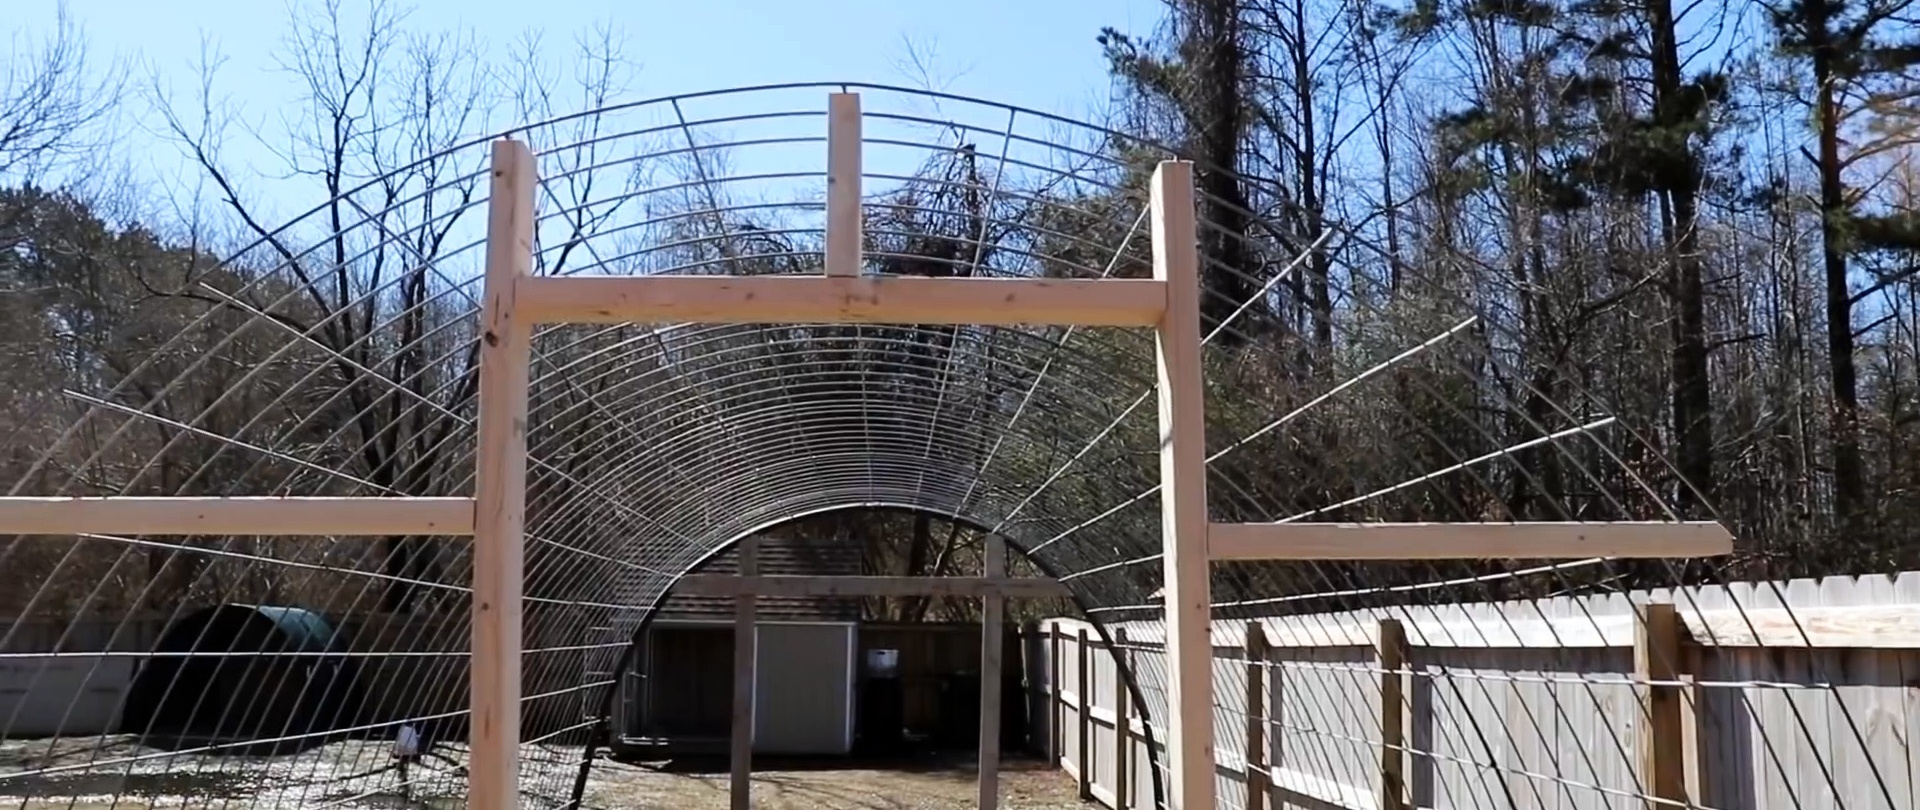
Manufacturing should begin from the base of the sides of the greenhouse. To do this, two ladders 40-50 cm wide are knocked together from the slats.

We install the resulting sides on the site using posts and pegs. They must stand strictly vertically and be parallel to each other.

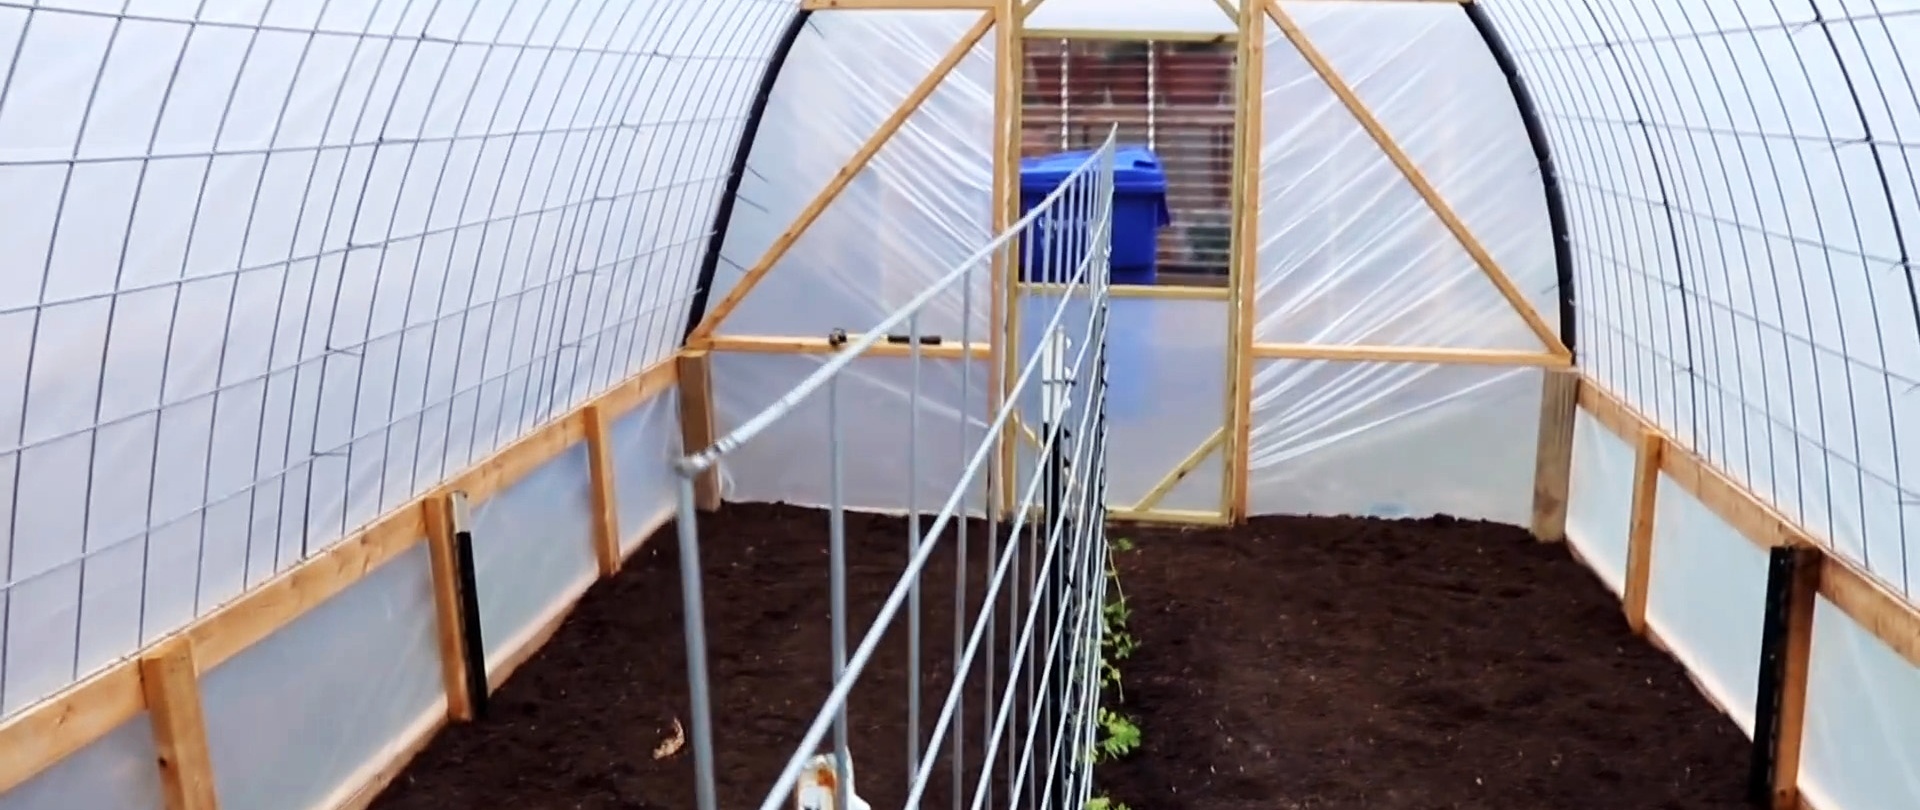
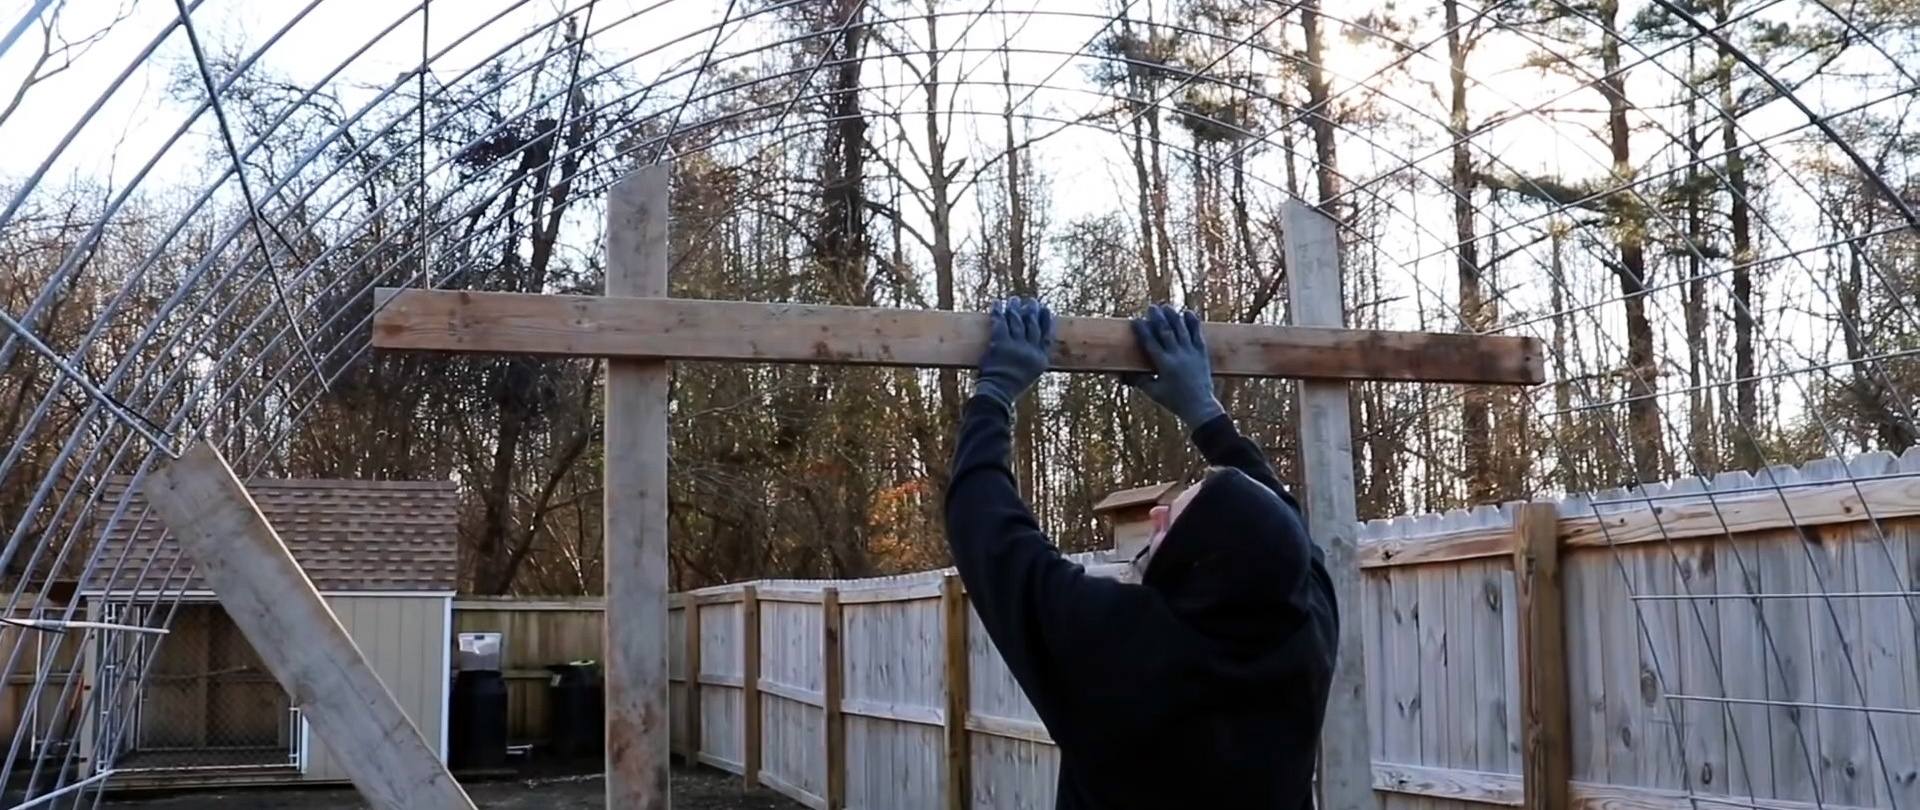
Next, we take strips of masonry mesh and form a greenhouse arch from them. They bend and are nailed to the sides with nails.


The strips are connected to each other with cable ties.

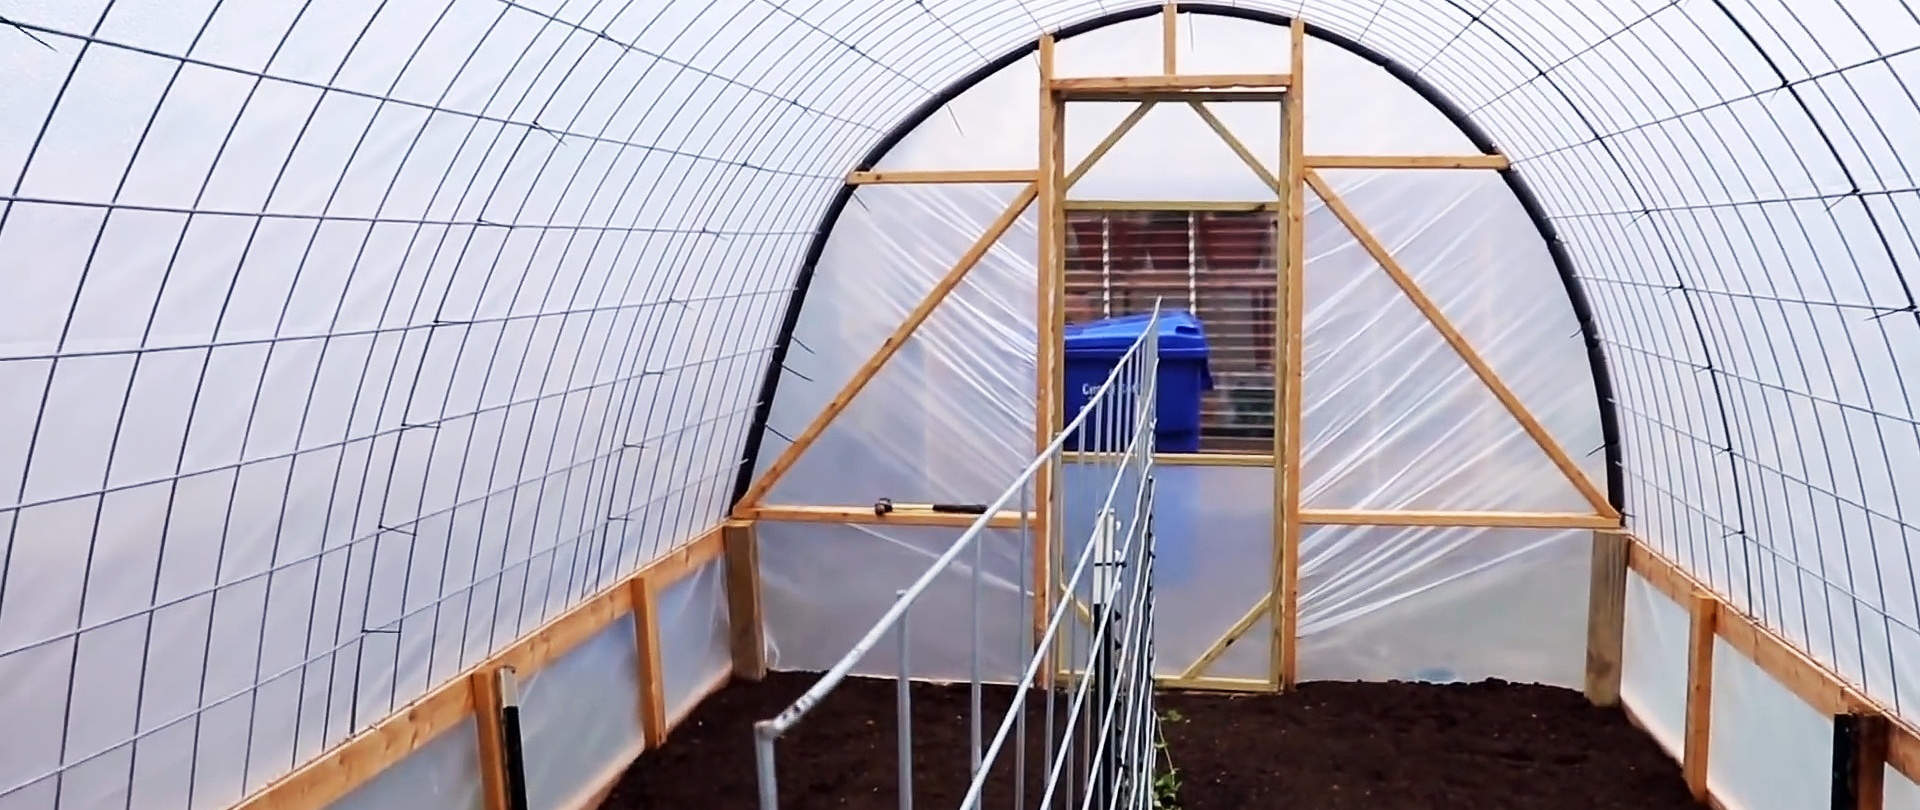
We assemble a wooden frame from the blind end of the greenhouse. First we nail the rail between the sides. Then we install racks from the block. We nail a mesh arch to them on top.After this, the structure will become much more rigid.

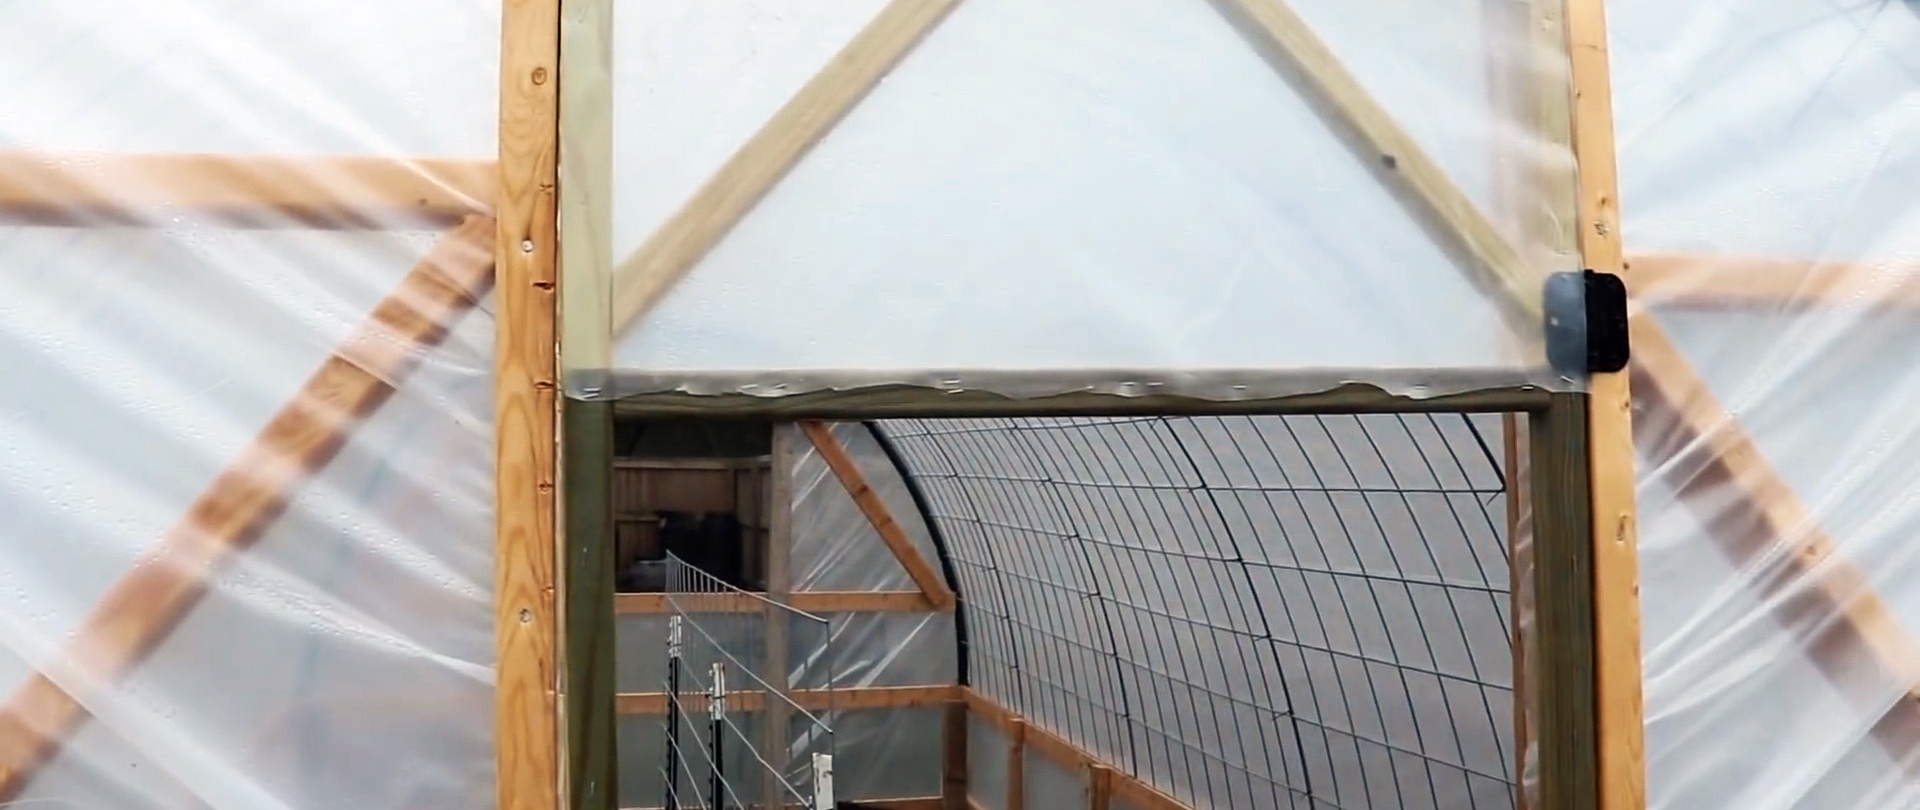
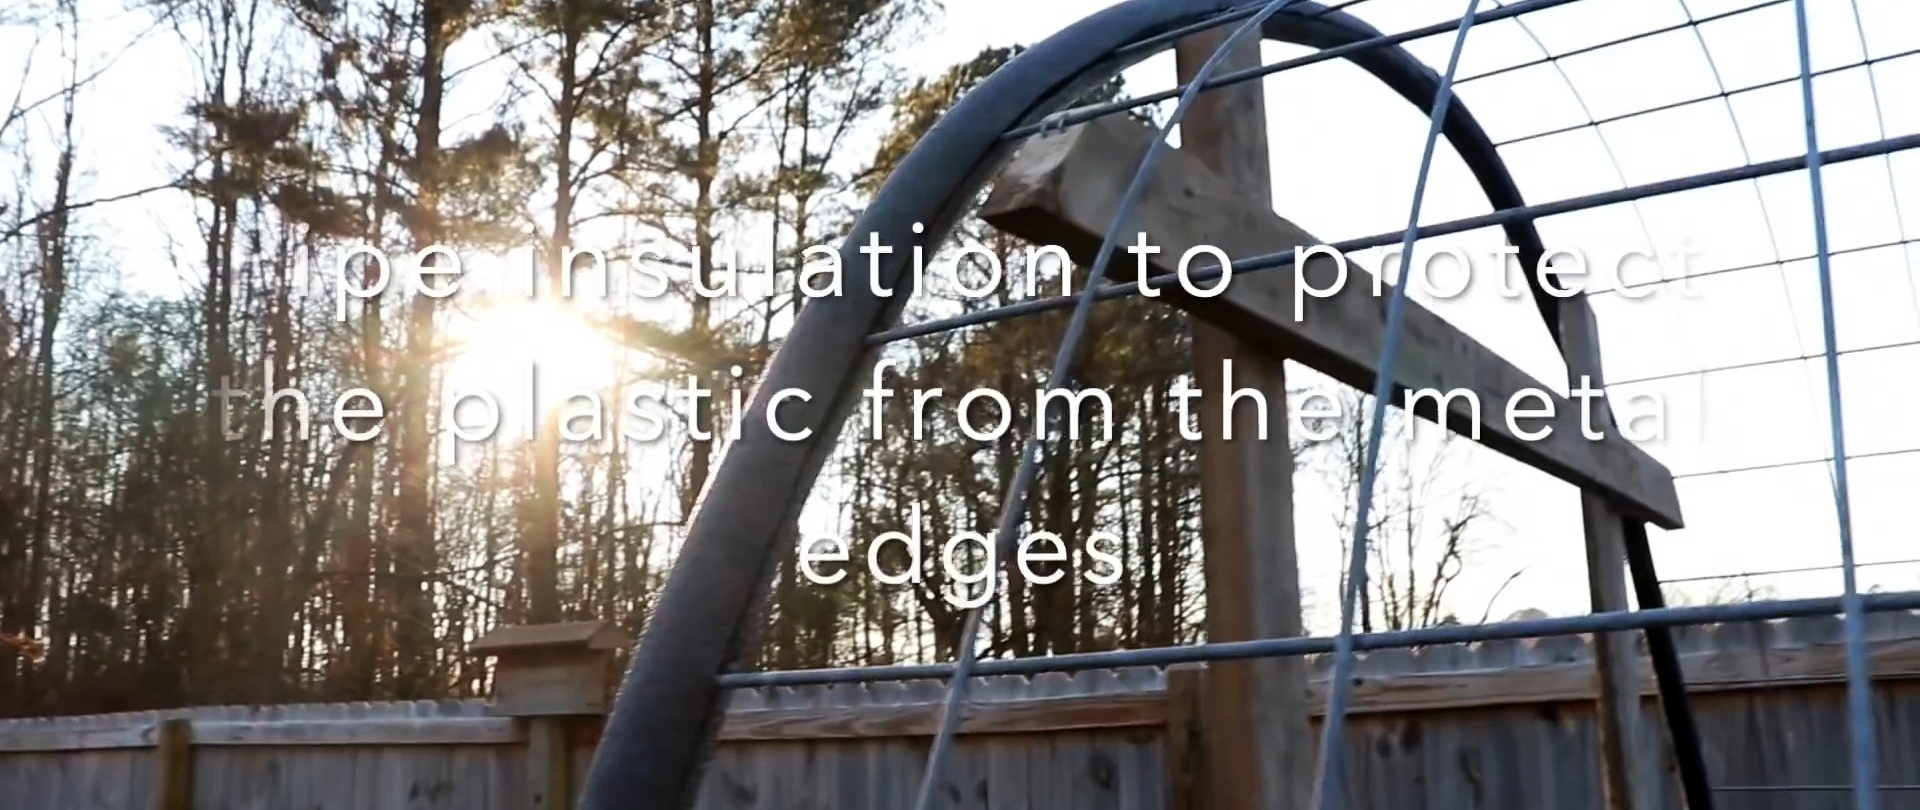
The frame is assembled in the same way from the entrance side, but you need to form a doorway from the racks. For rigidity, jibs are nailed at the ends. Foam pipe insulation is then applied to the edges of the arch. This will prevent the film from being punctured.
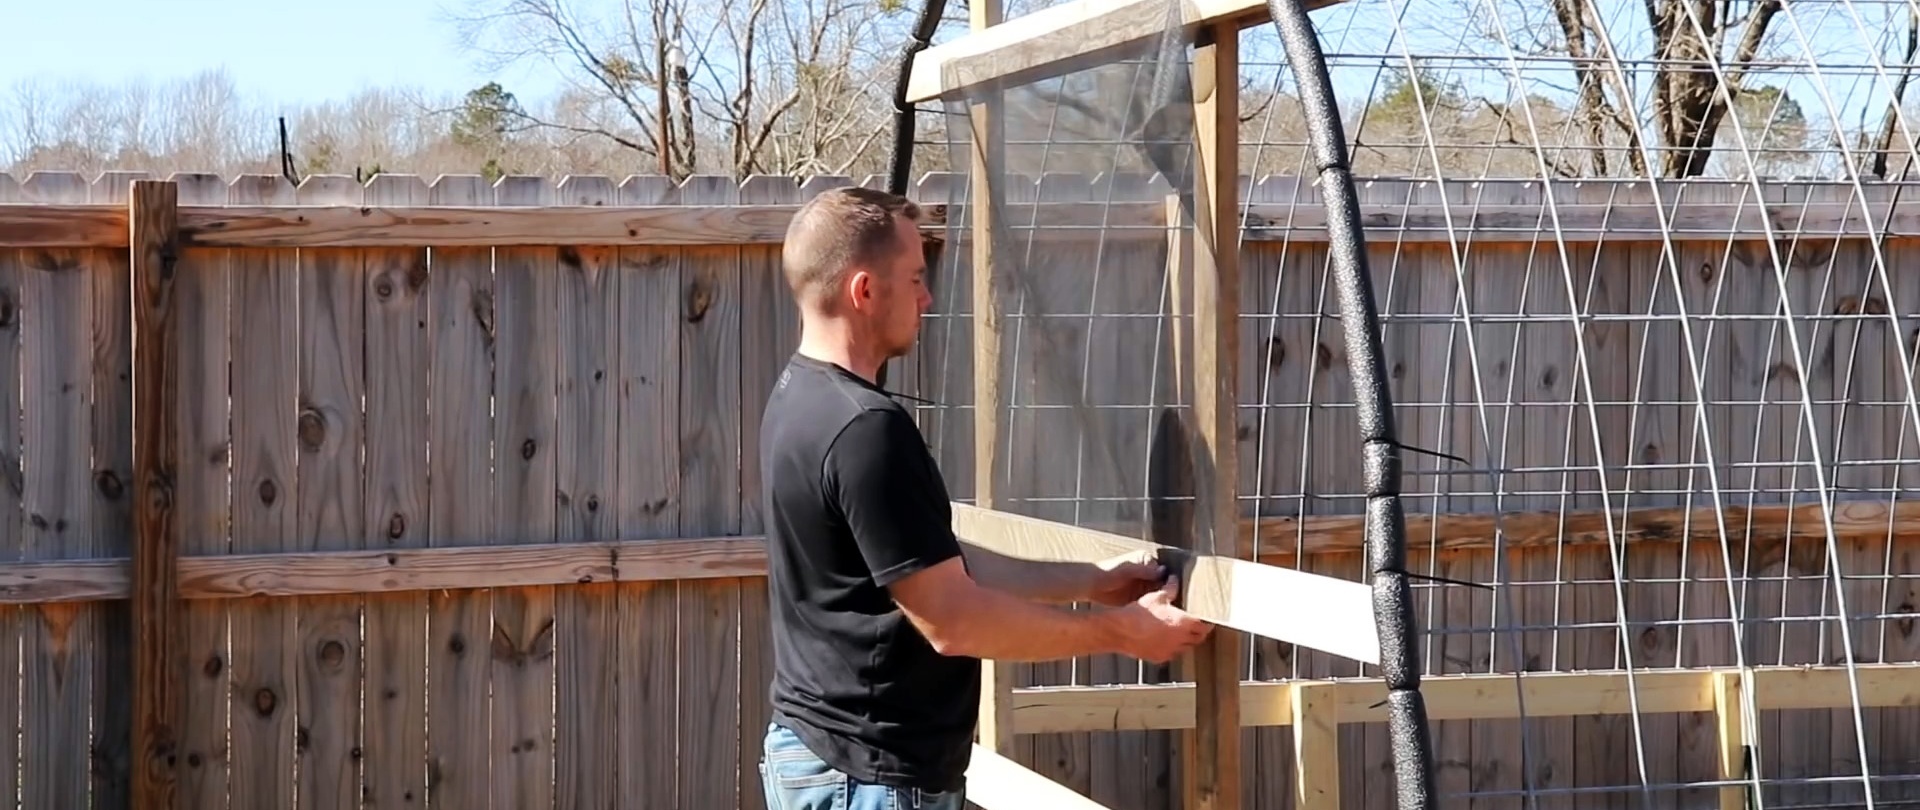
On the frame you need to form not only a doorway, but also a window opposite it for ventilation. We immediately nail a mosquito net onto it, as this will be inconvenient to do later.


After the frame is ready, you need to throw a film over the greenhouse. If there is no such piece as you need, then it can be soldered from several. The film is taken with a reserve length in order to immediately cover the ends of the greenhouse.

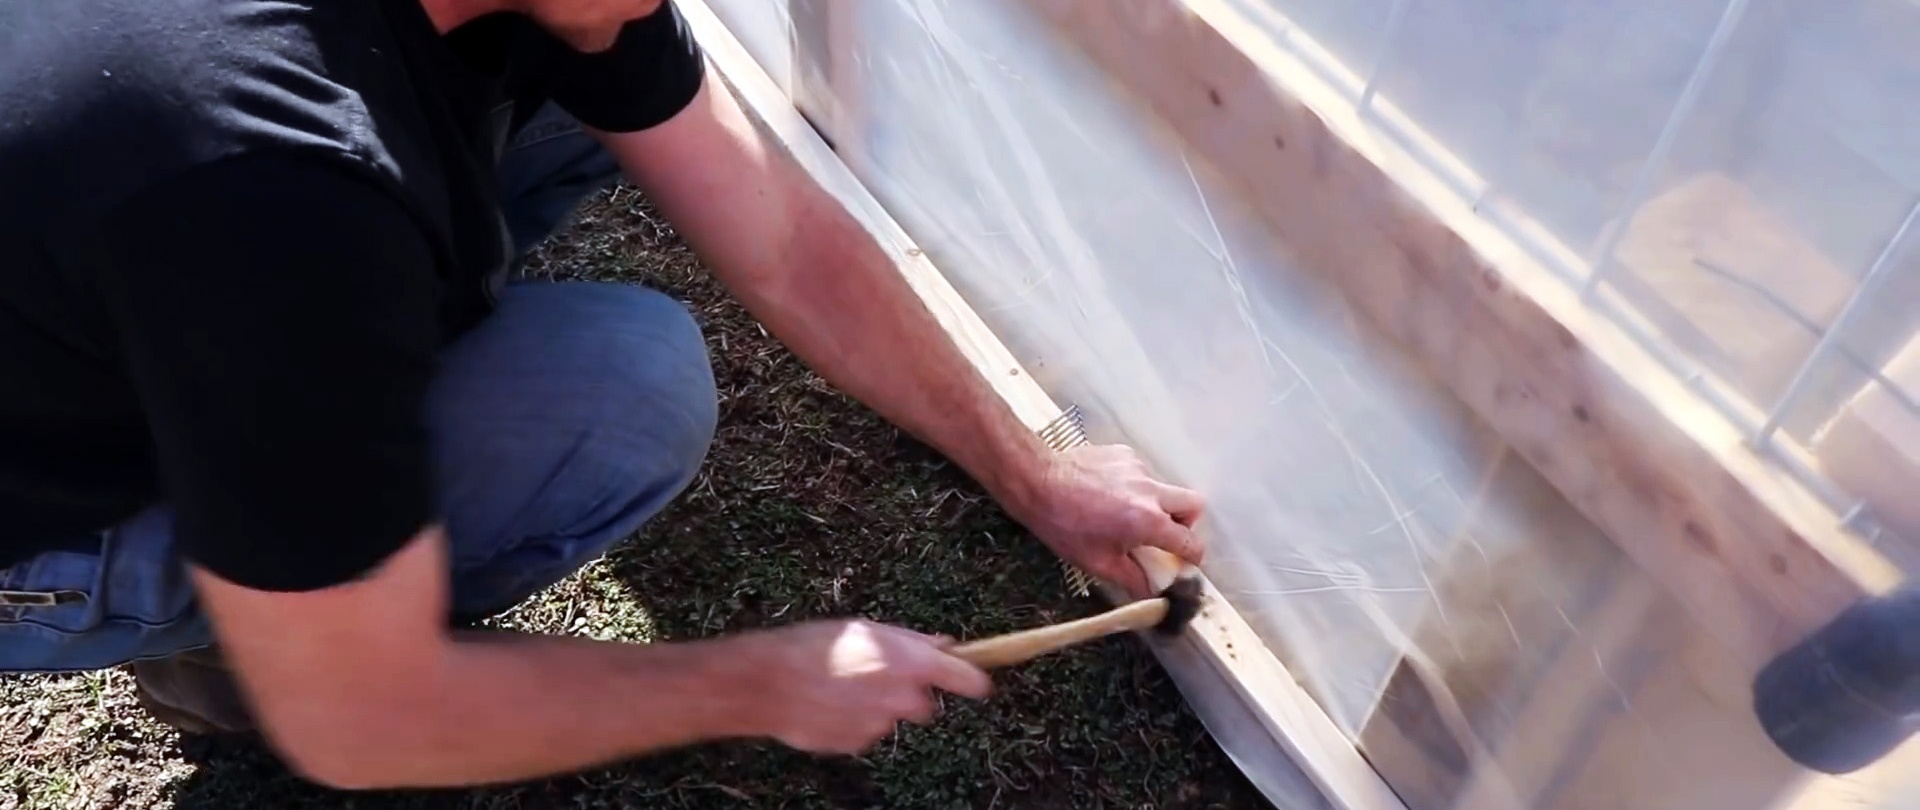

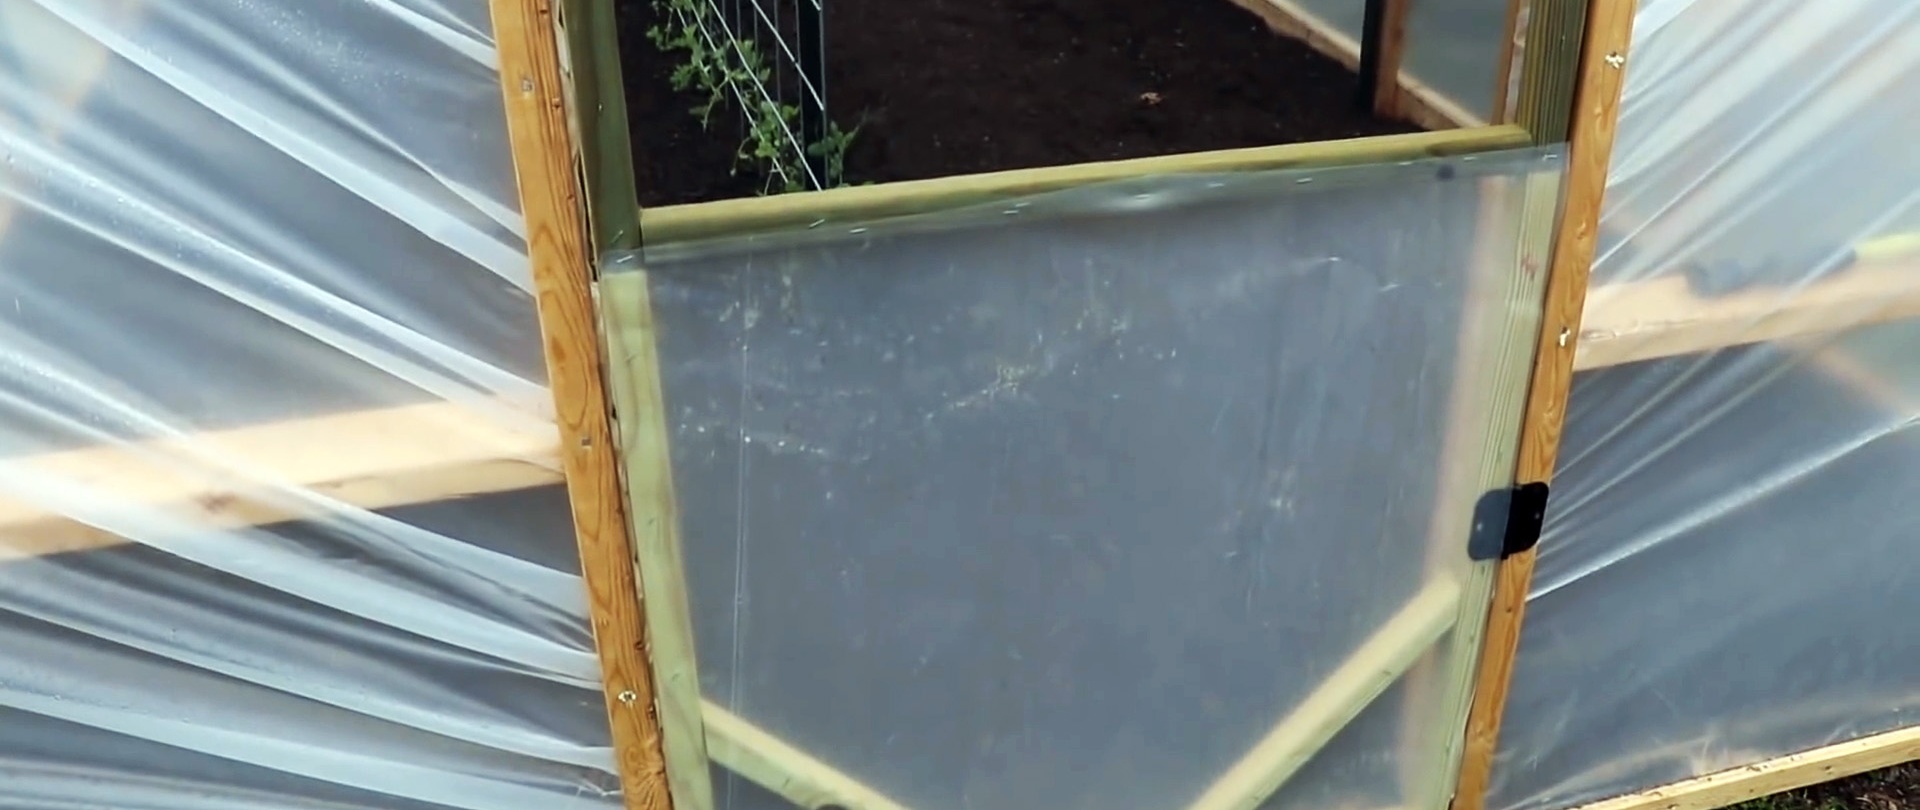
For fastening, the film is nailed to the wooden frame through thin slats. After this, we cut out the openings for the door and window within the framework. Next, a door frame is knocked together from the slats, onto which a film or mosquito net is stretched, depending on the weather.


Such a greenhouse is rigid enough to withstand snow and wind loads. Thanks to the pillars, it will not tip over during strong gusts, that is, it has no disadvantages. Moreover, such a greenhouse is much cheaper than a polycarbonate one. The film lies on a good foundation without breaks for at least a couple of seasons.