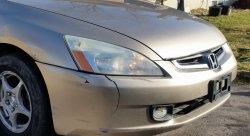
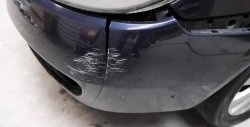
The bumper, being the first element of a car's passive protection, often gets damaged. Since modern bumpers are mostly plastic, they usually crack and get holes through them. Restoring it from a professional technician will cost a pretty penny. However, with some persistence and attention, any adult can repair a plastic bumper without much expense.
Will need
Materials:
- damaged plastic bumper;
- a piece of single-sided tape;
- a piece of reinforced mesh;
- spray paint, etc.
Tools: hand screwdriver, waterproof sandpaper 188, marker, scissors, gas torch, soldering iron for soldering plastic with fungus, paper tape, sanding head, etc.
The process of restoring a damaged plastic bumper by welding
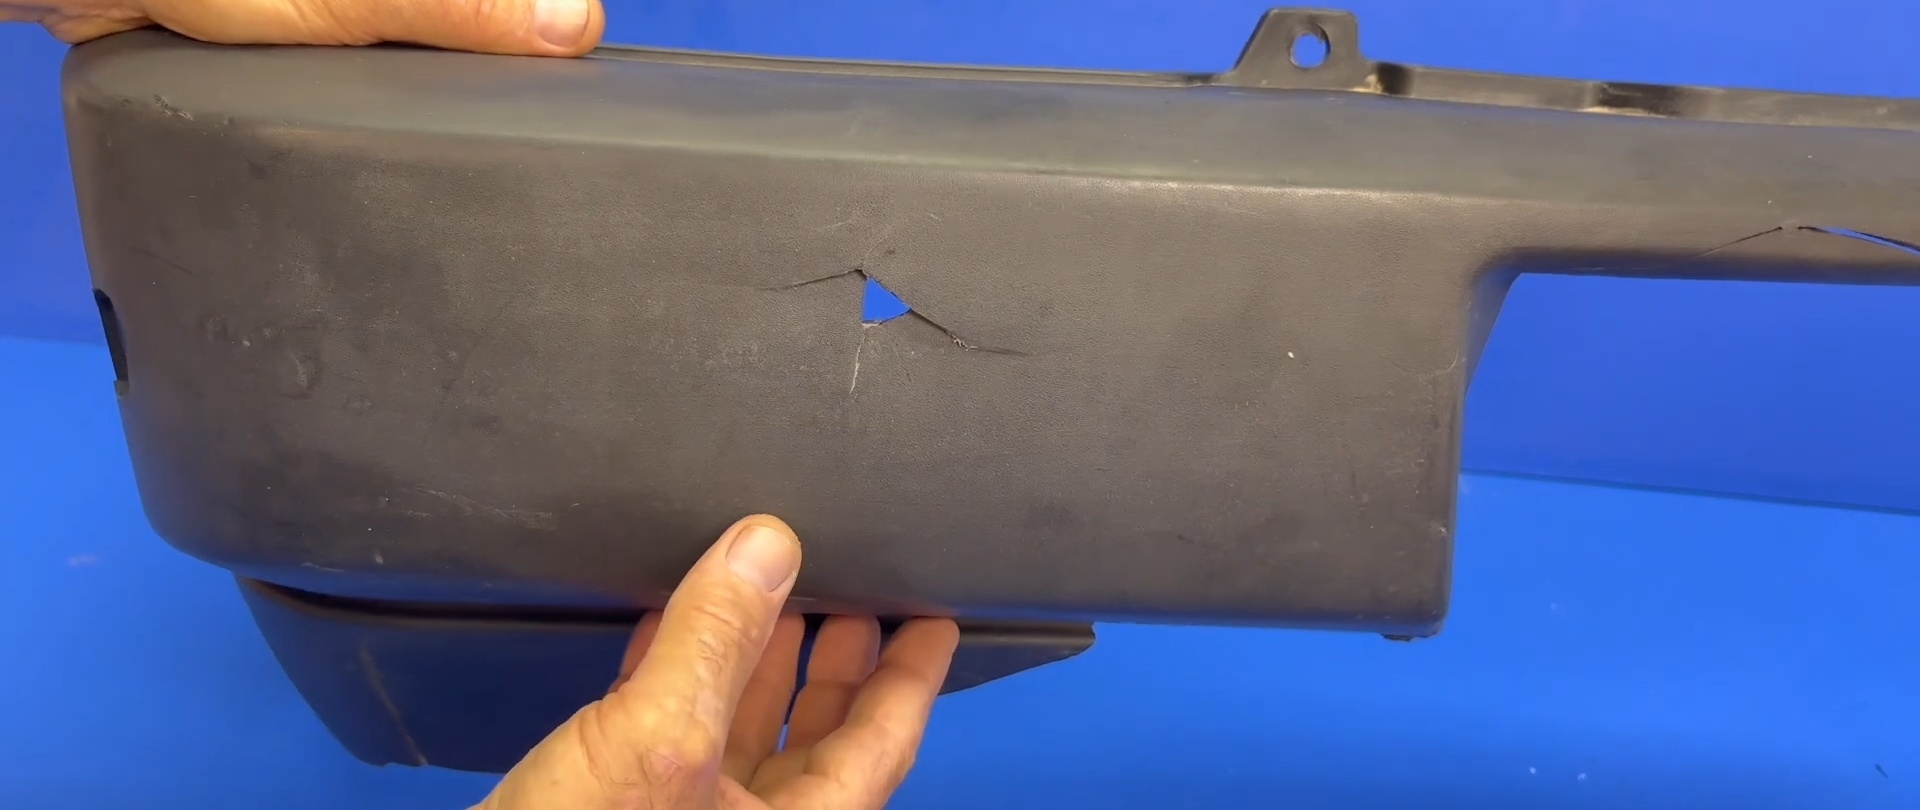
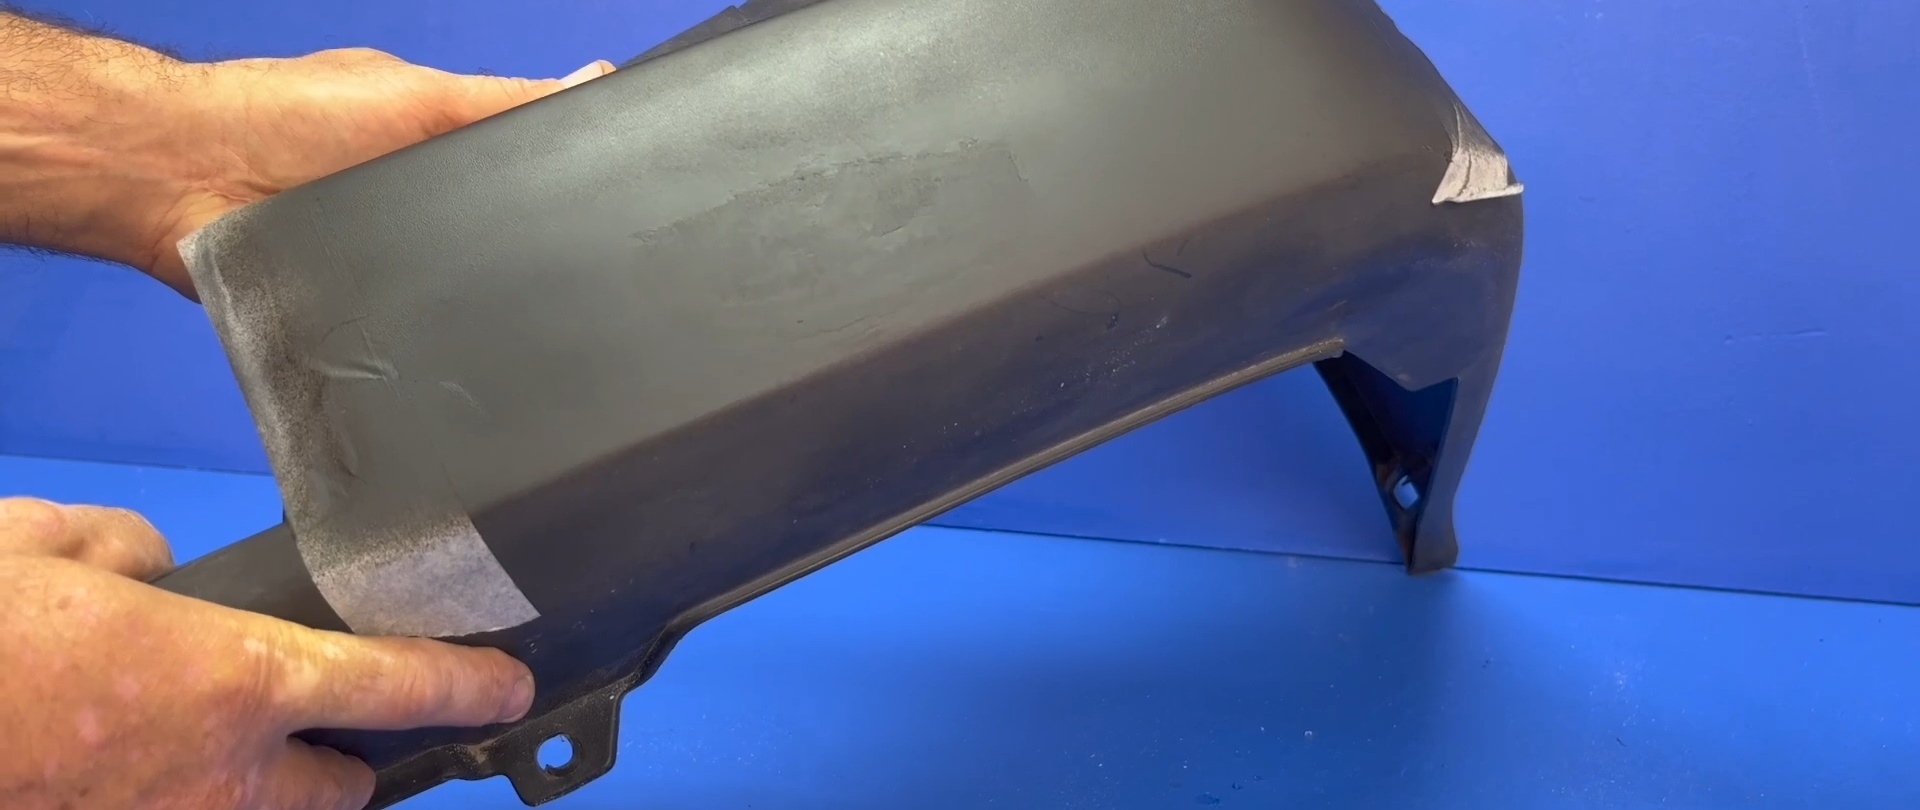
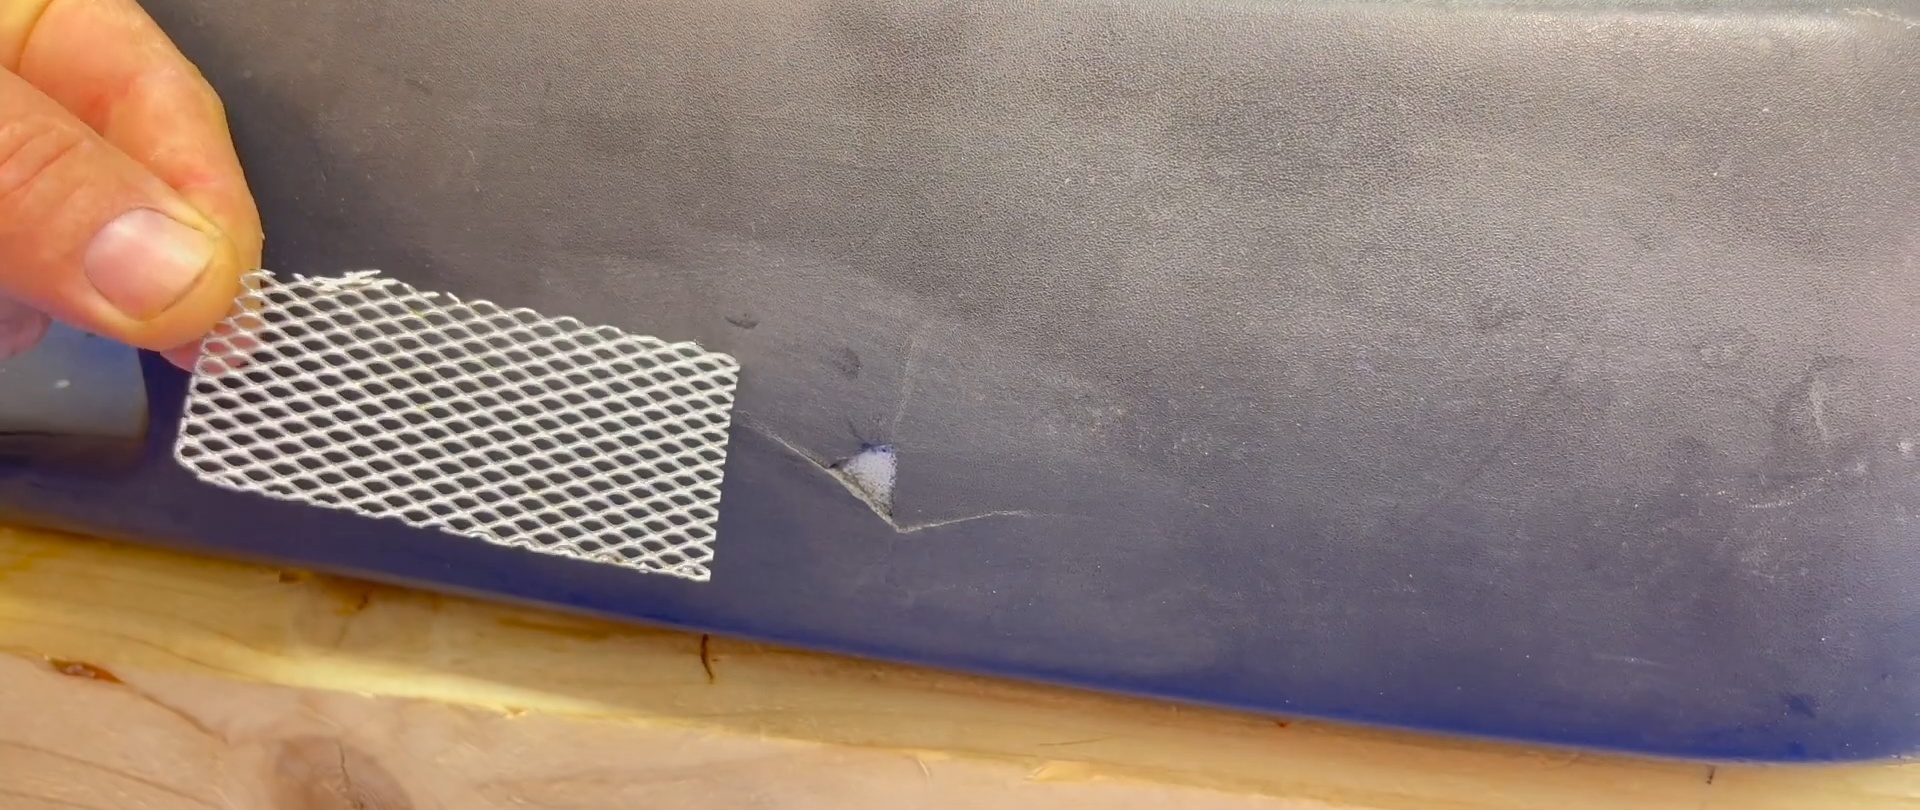
Usually, around the through hole in the bumper, the plastic cracks and presses inward.Therefore, on the reverse side, using the end of the handle of a regular screwdriver, using gentle blows, we return the depressed areas of the plastic to their original place.
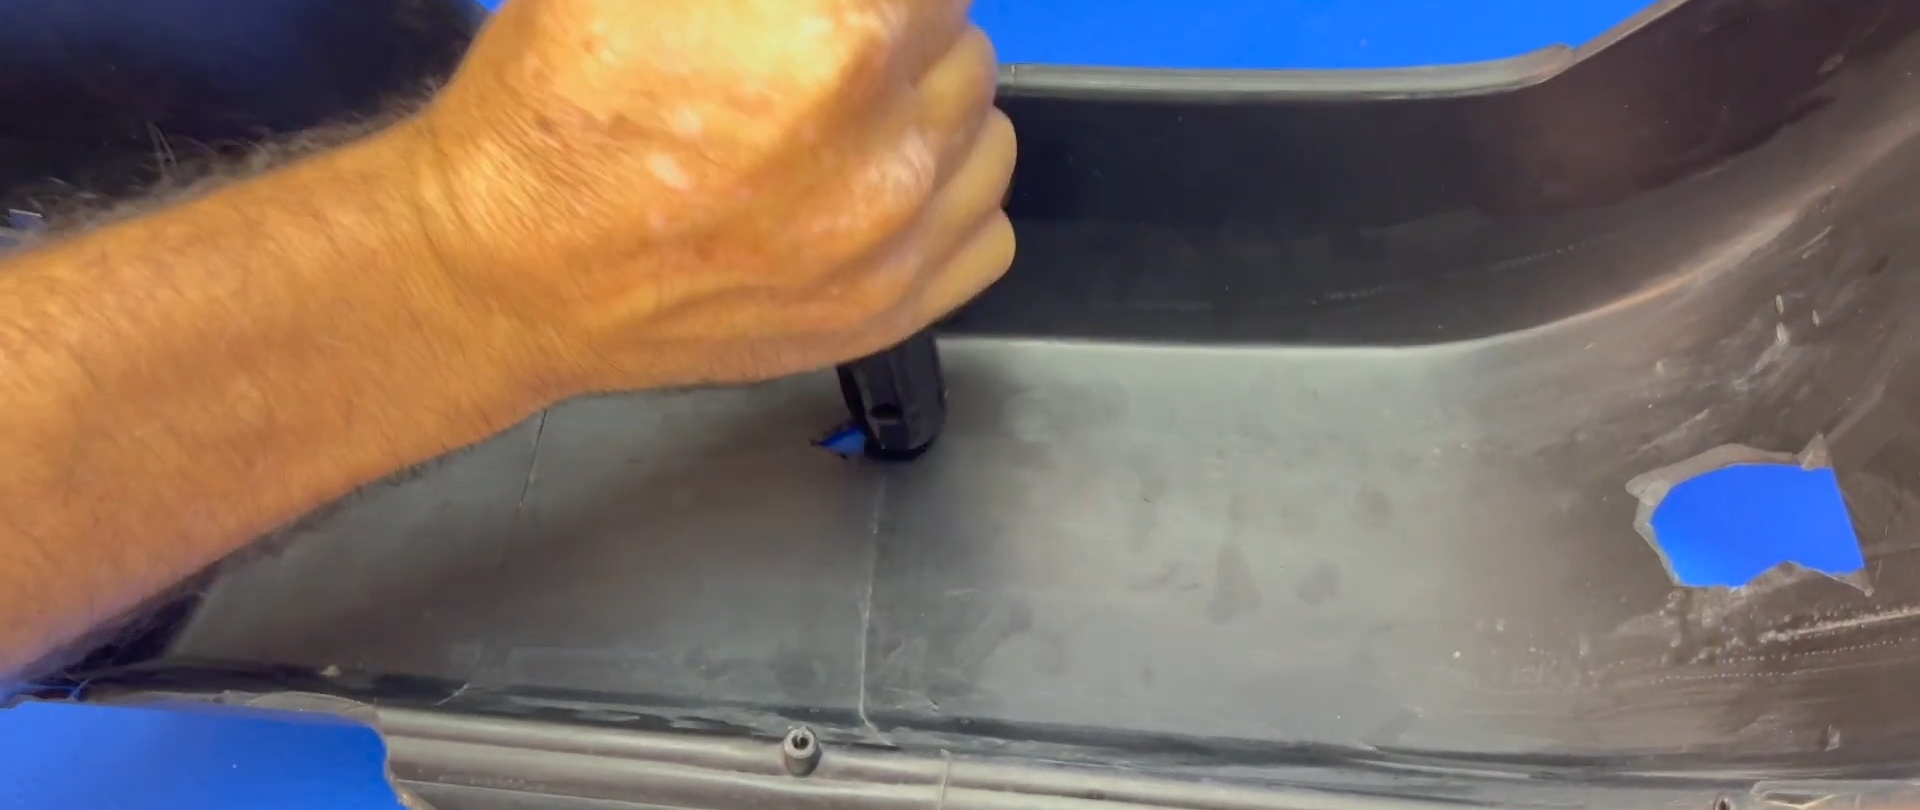
We seal the hole and cracks in the plastic from the inside with a piece of single-sided tape. Using 188-grade waterproof sandpaper, we sand the material around the damage to remove gloss and create artificial roughness.
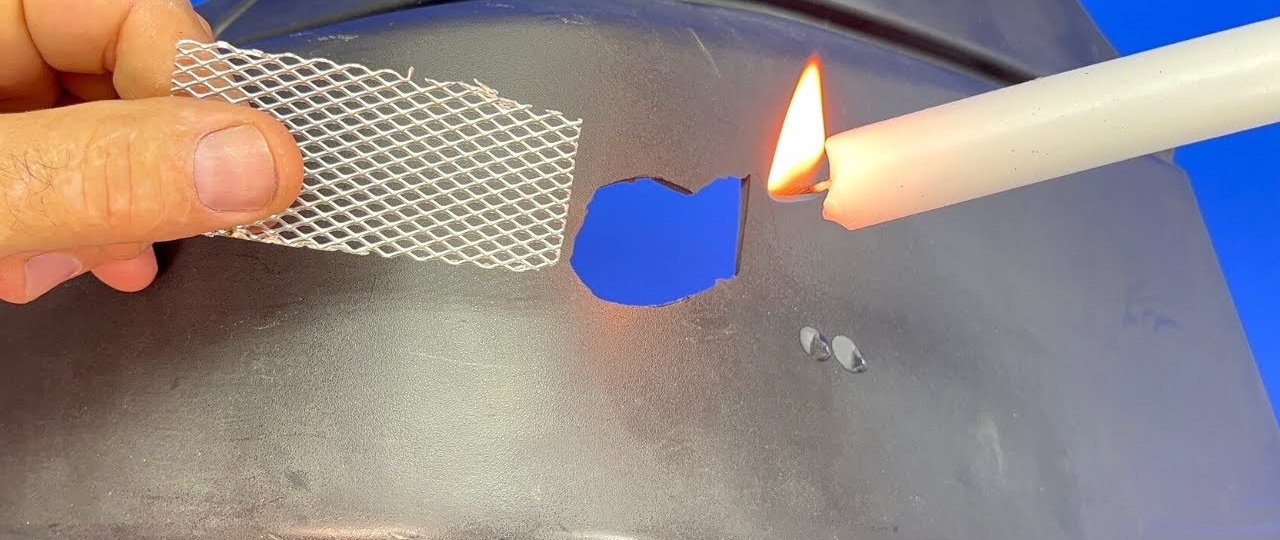
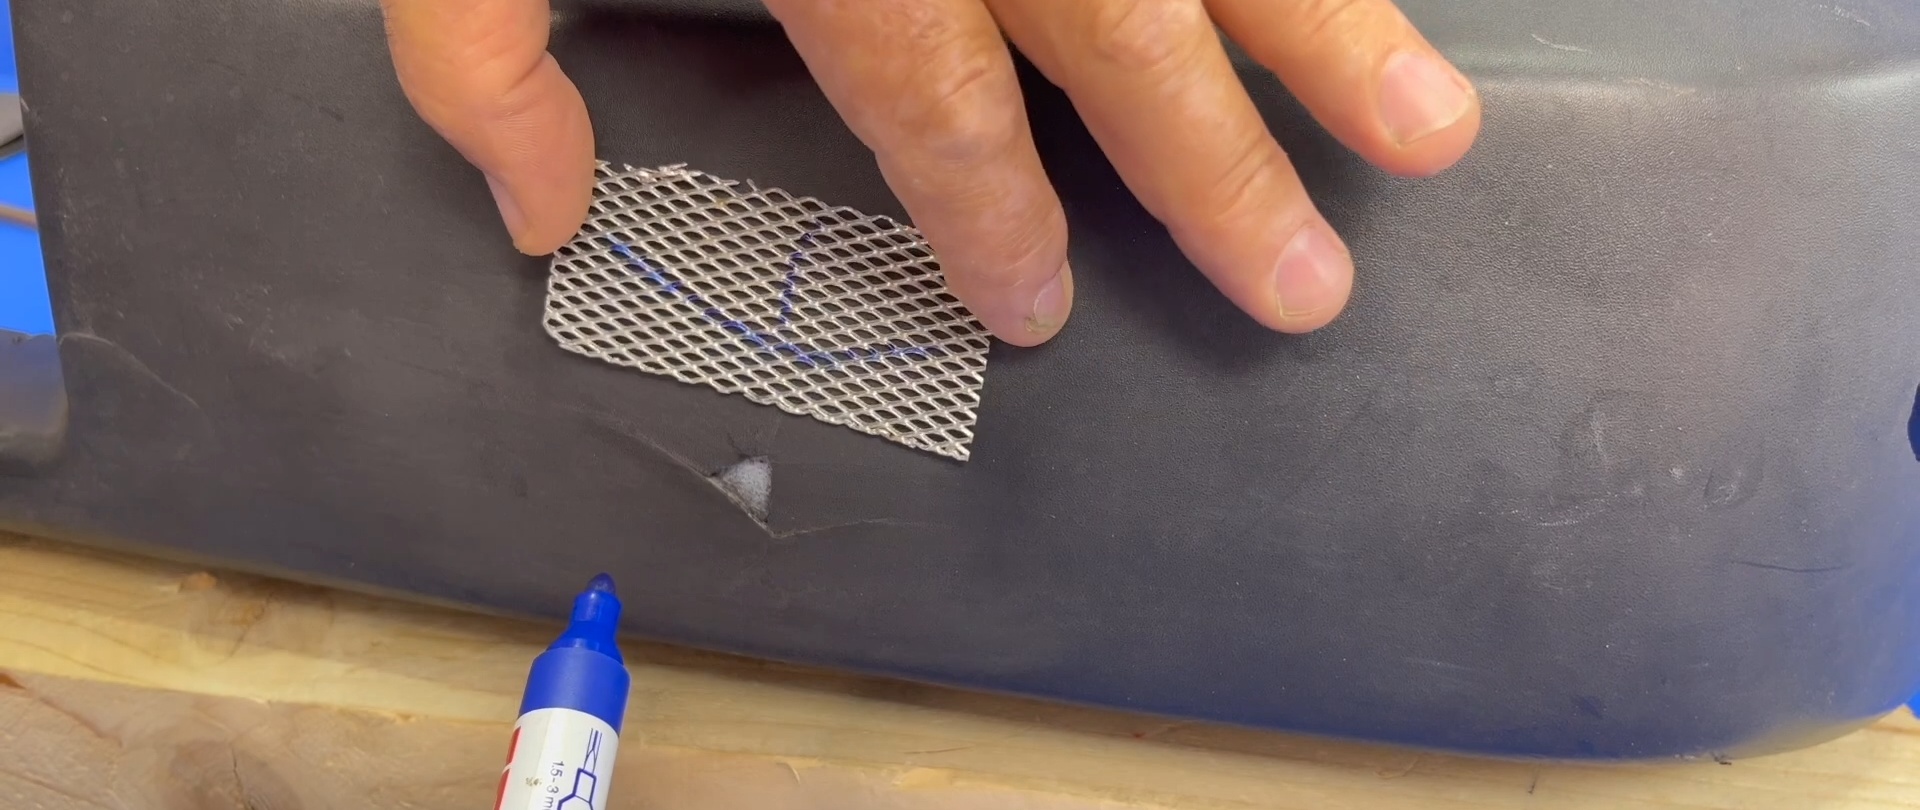
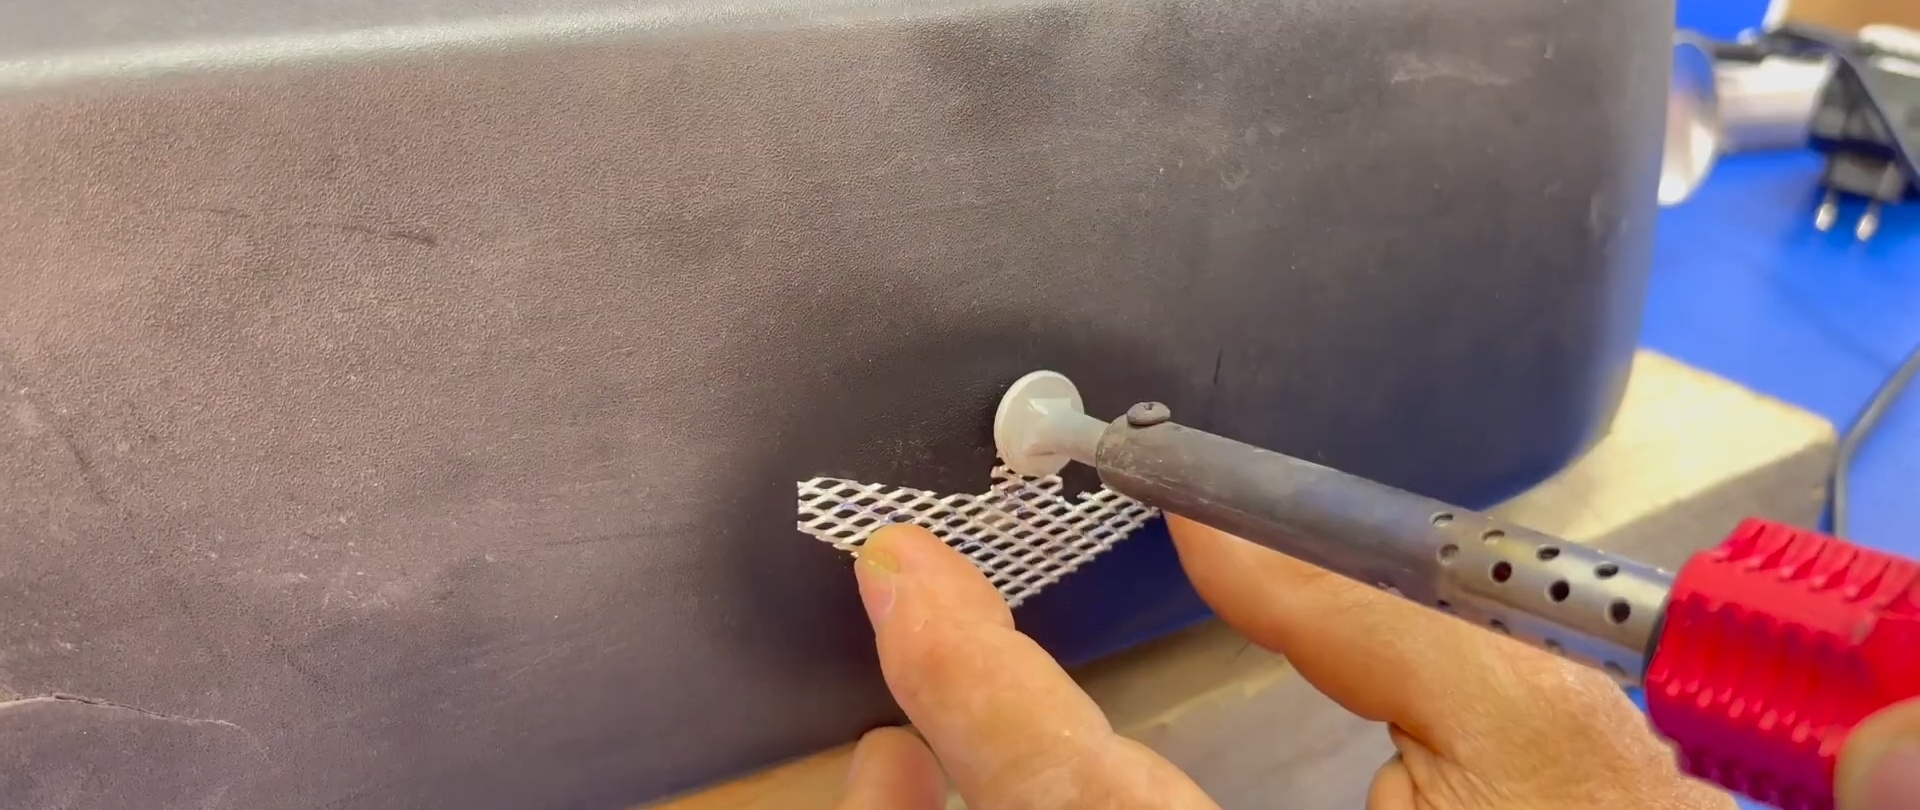
We apply a piece of mesh to the damaged area, mark on it with a marker the direction of the cracks and the outline of the through hole. Using some allowance along the drawn lines, we cut out a figure that repeats the location of the damage with a margin.
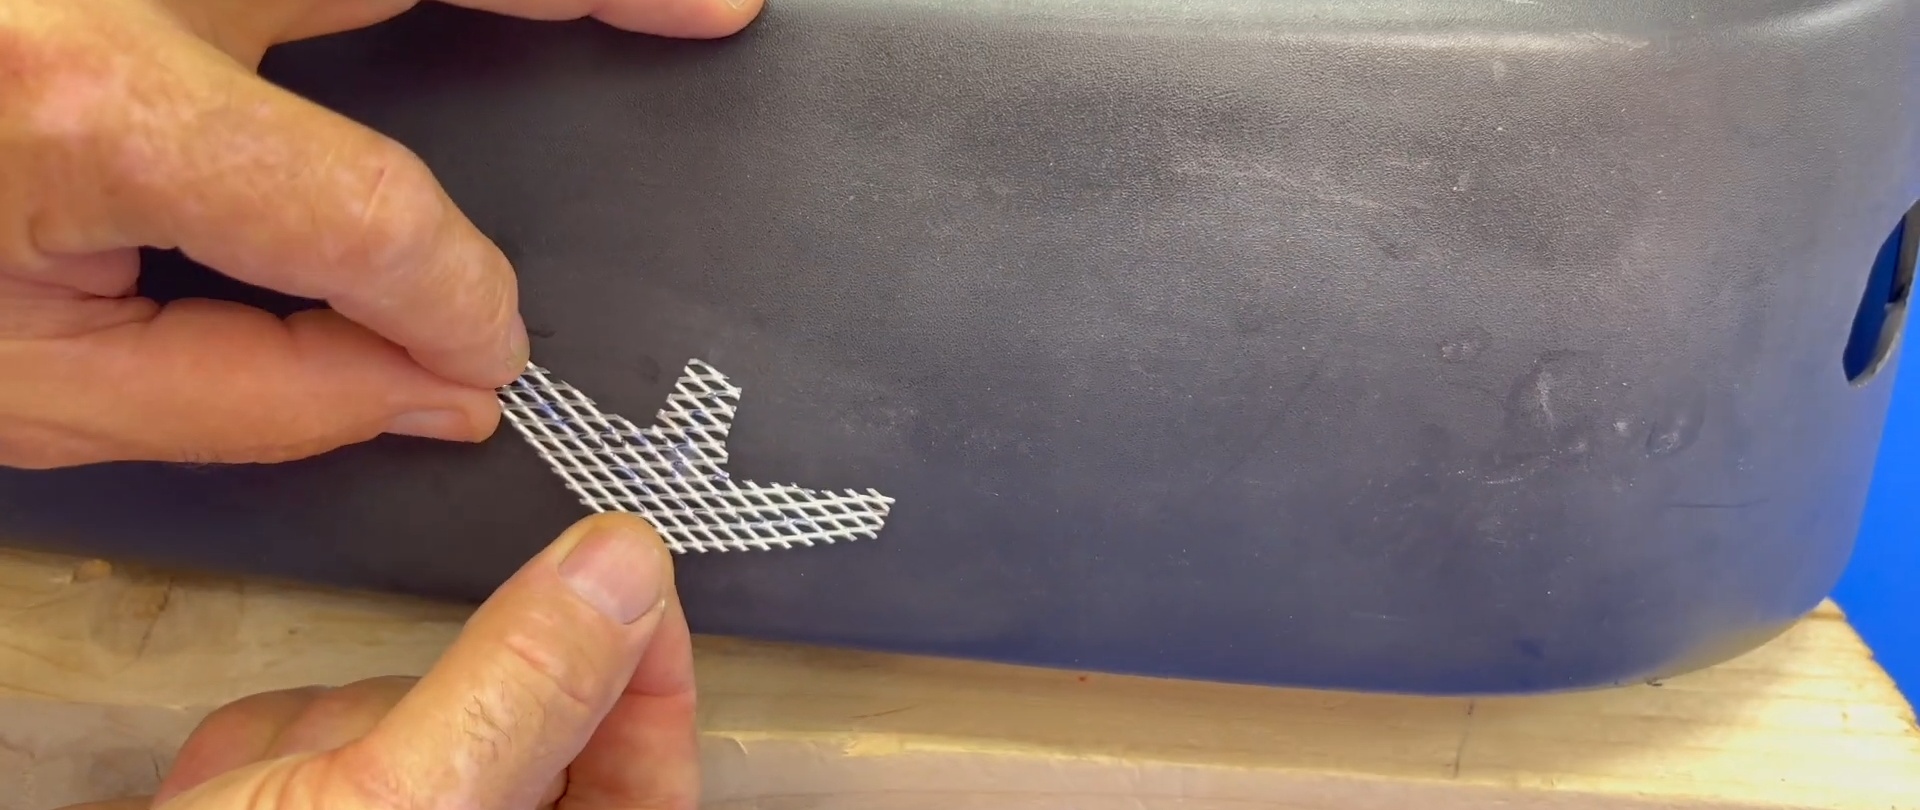
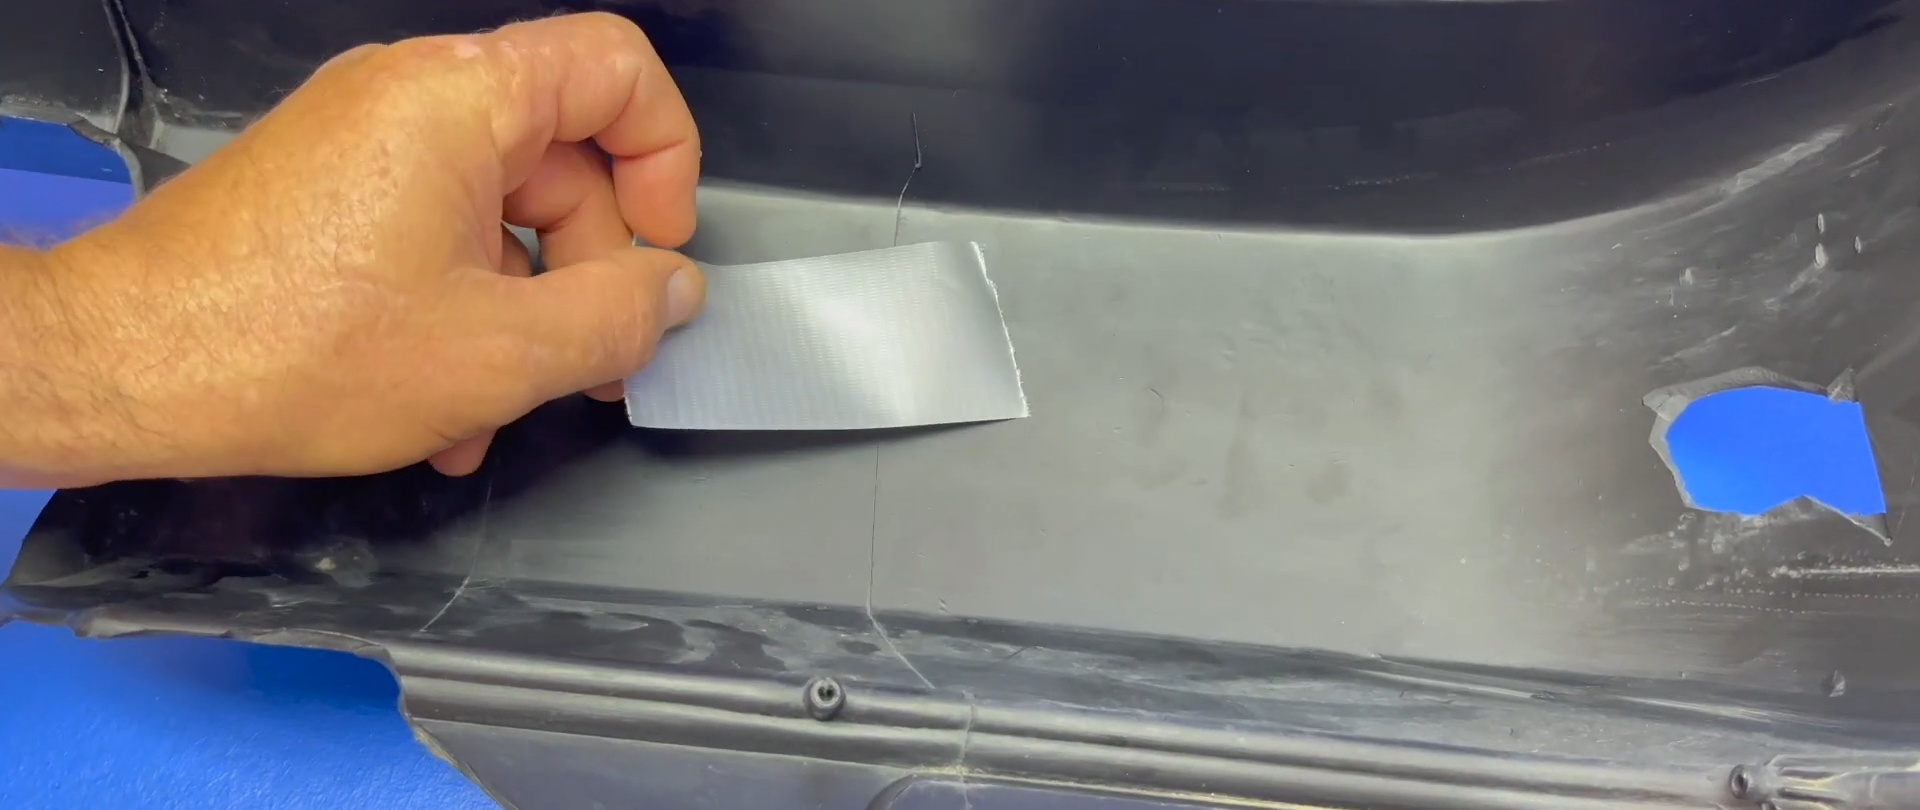
We heat the damaged area with the flame of a gas burner and, after some melting of the surface layer, apply a cut out figure from the mesh. Then we fuse it into the bumper using a soldering iron with a fungus on the end (a bolt is inserted instead of a tip).
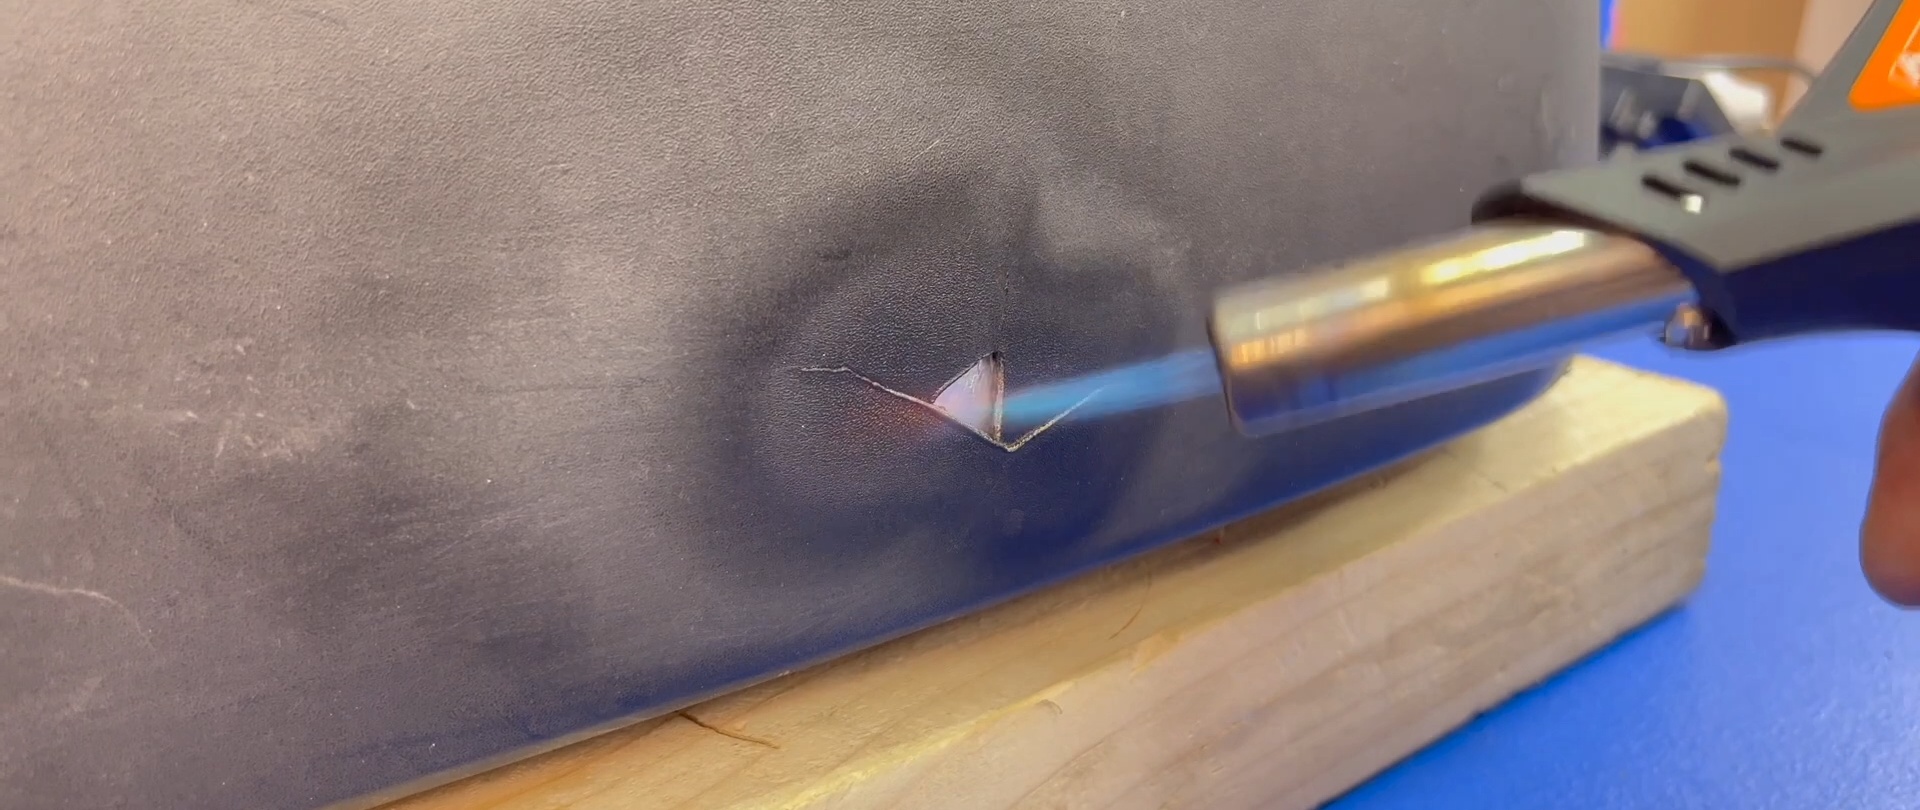
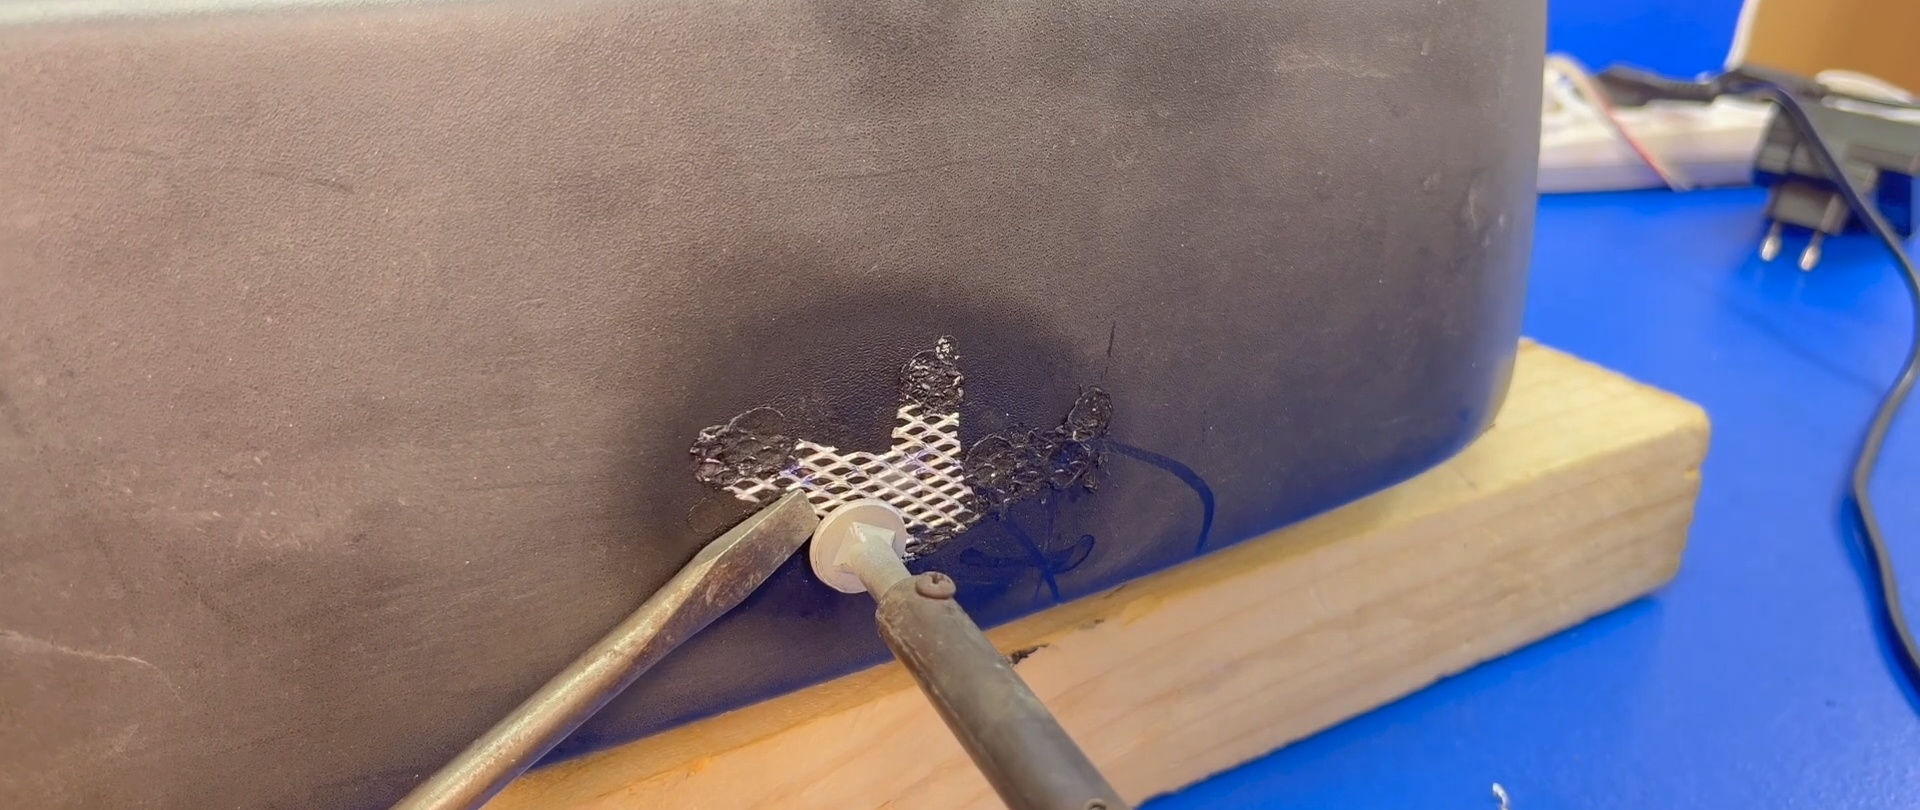
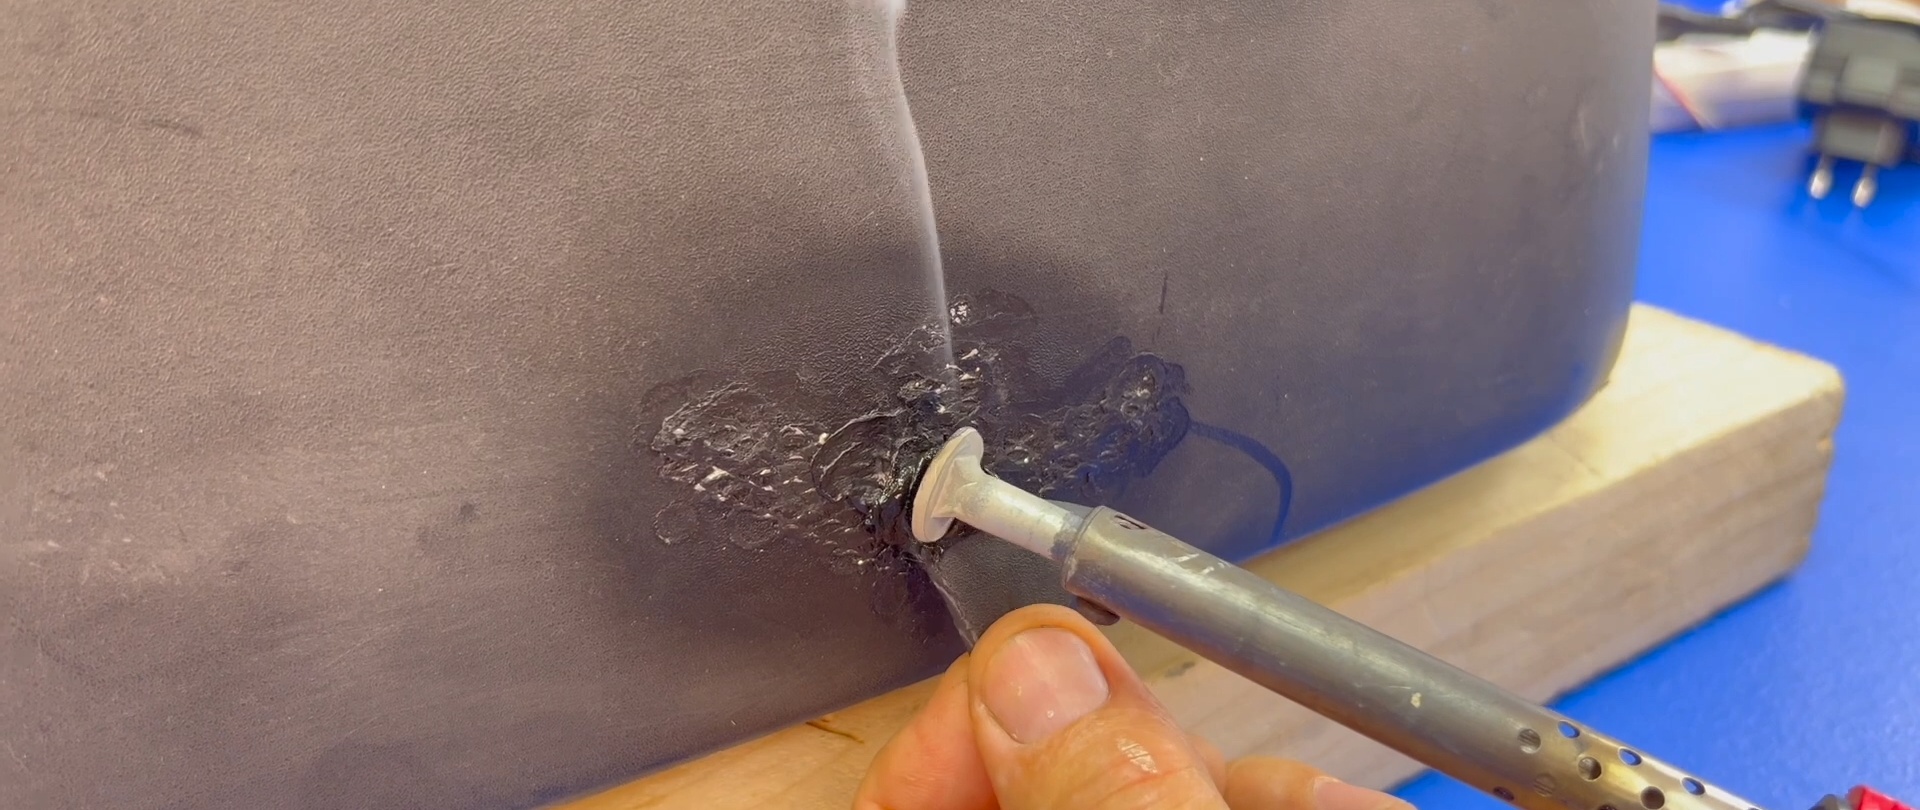
We weld plastic onto the through hole, covered only by a section of the mesh, by melting the piece that flew off the bumper using a soldering iron. Smooth the soldered plastic with a heated fungus.
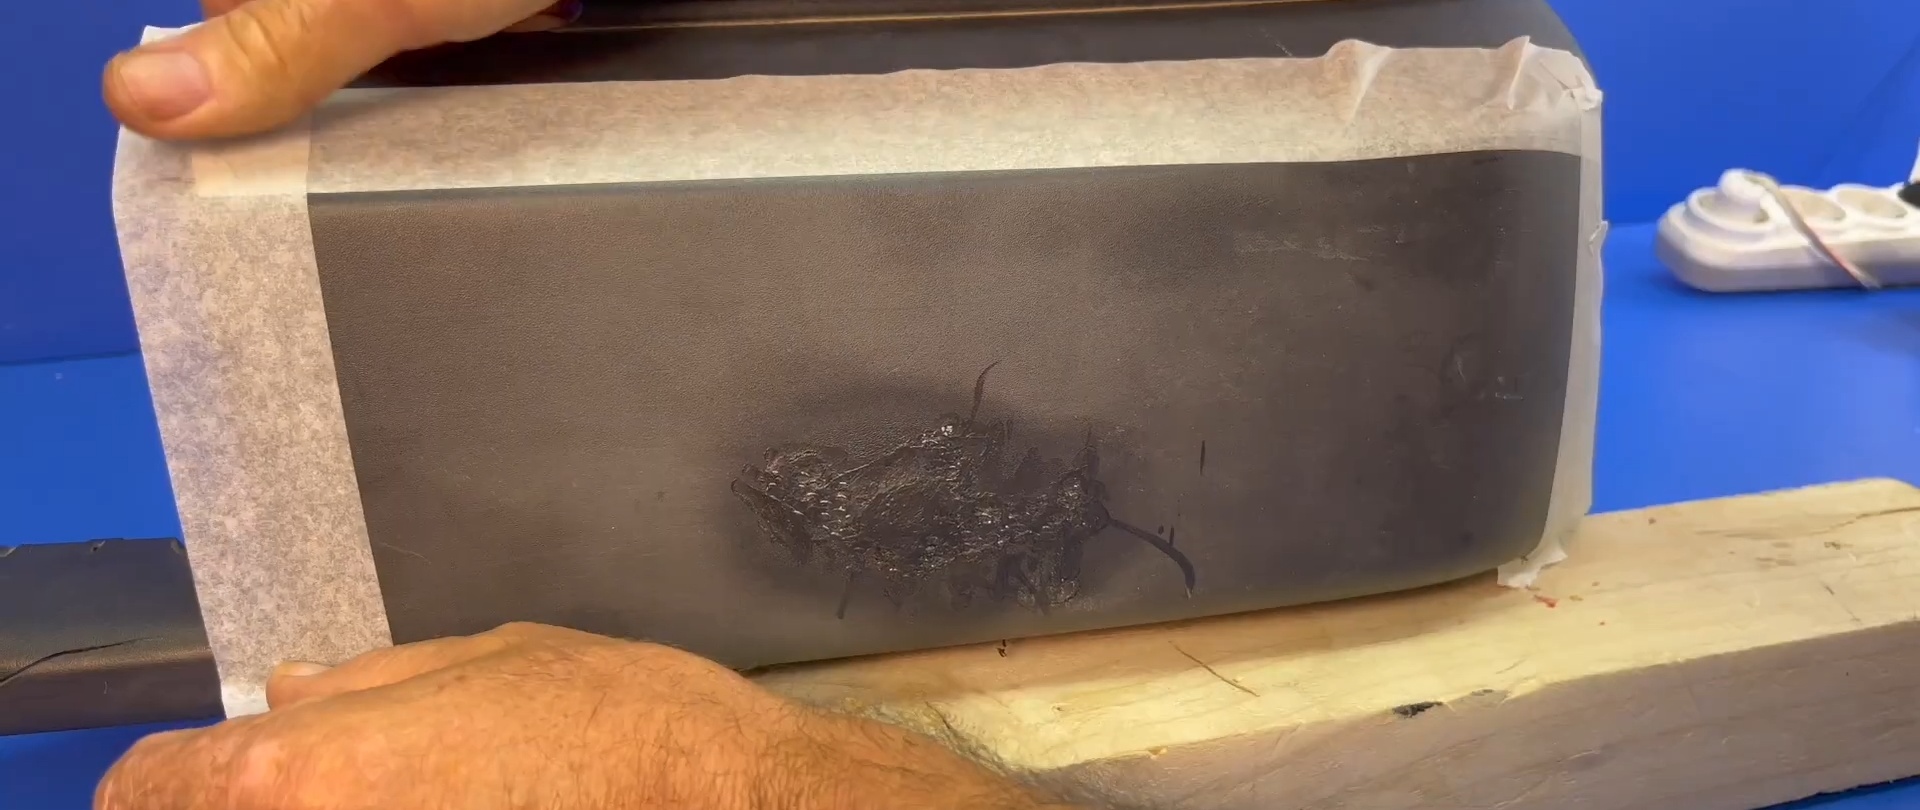
We seal with paper tape around the damaged area the areas of the bumper that cannot be painted. Using a grinding head, we clean the restoration area, comparing its surface with the undamaged areas of the bumper.
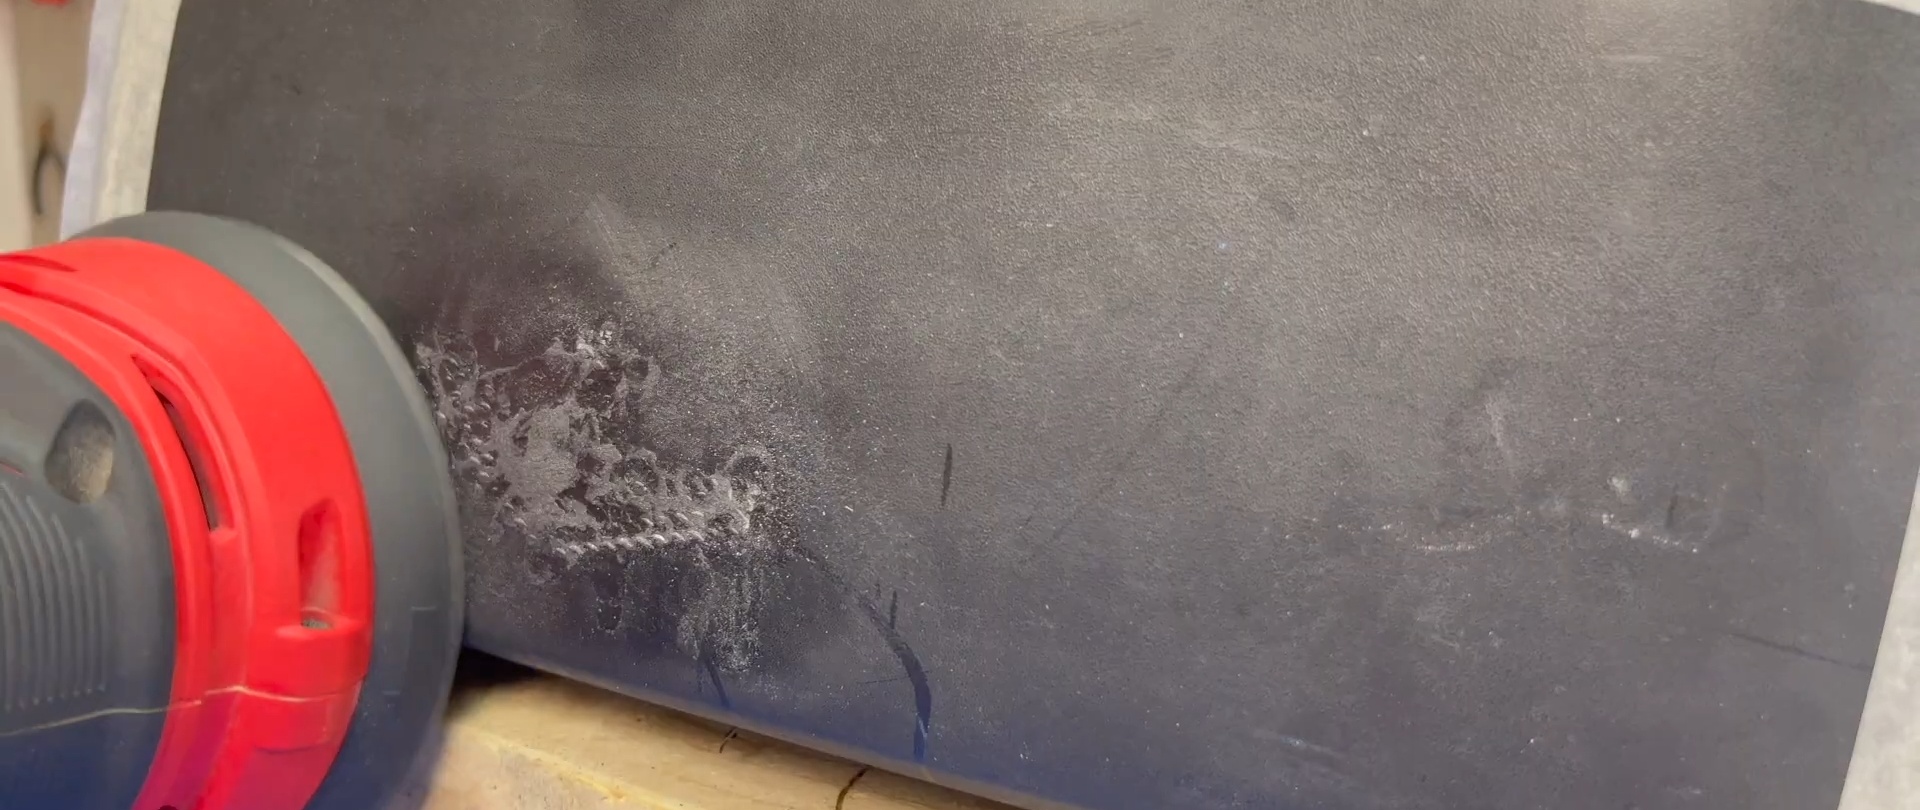
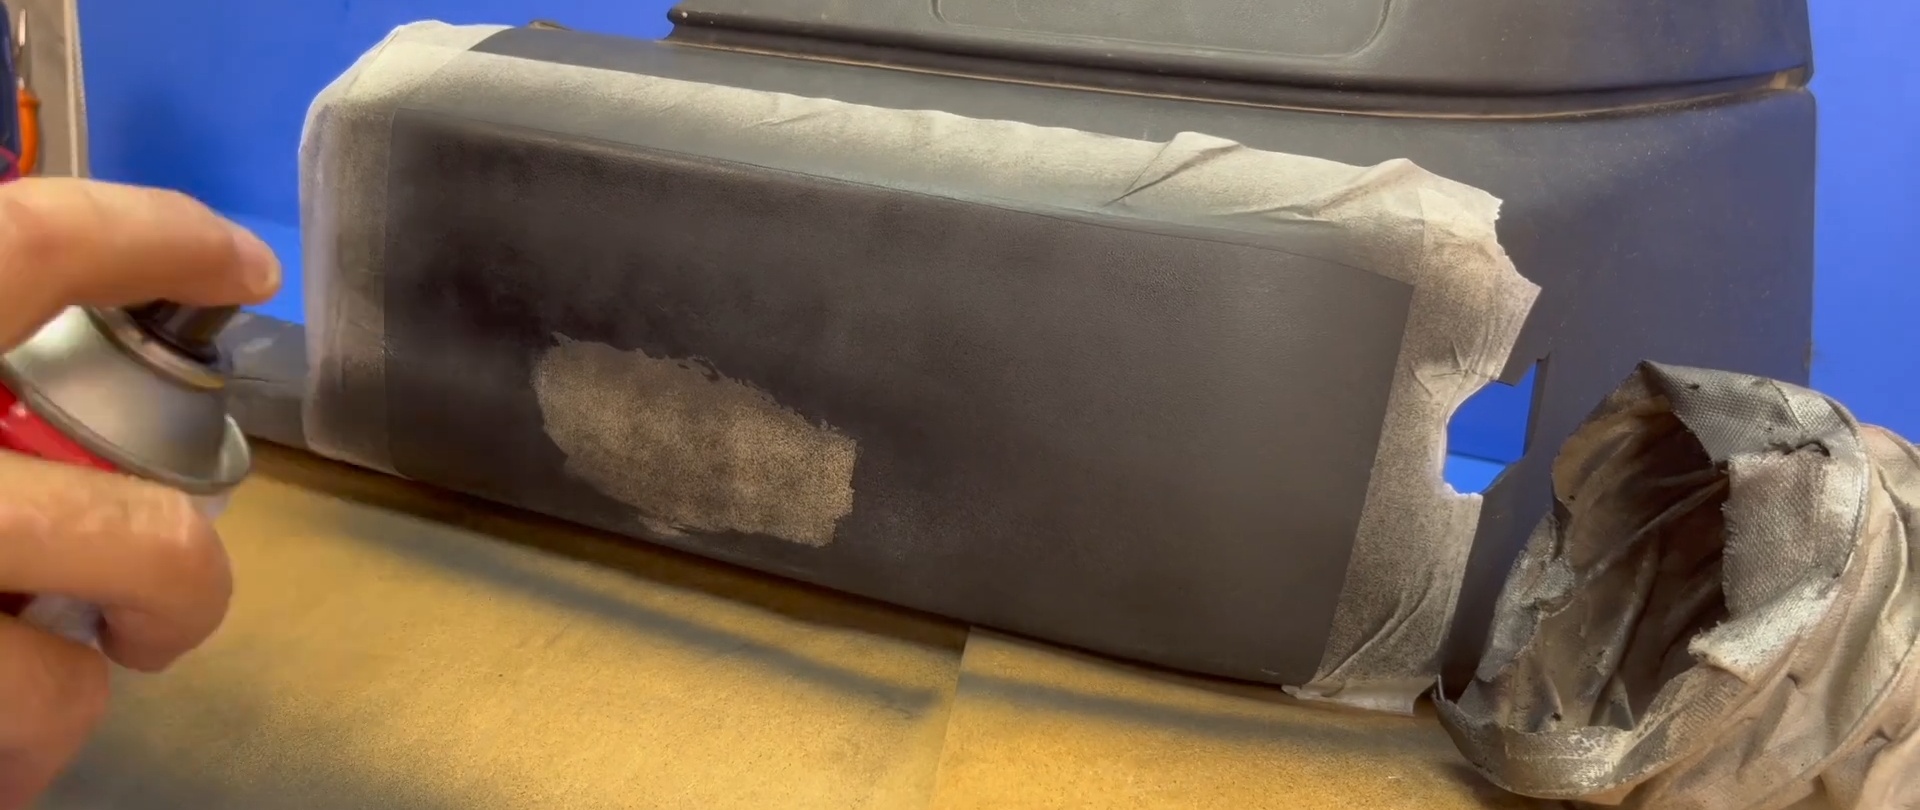
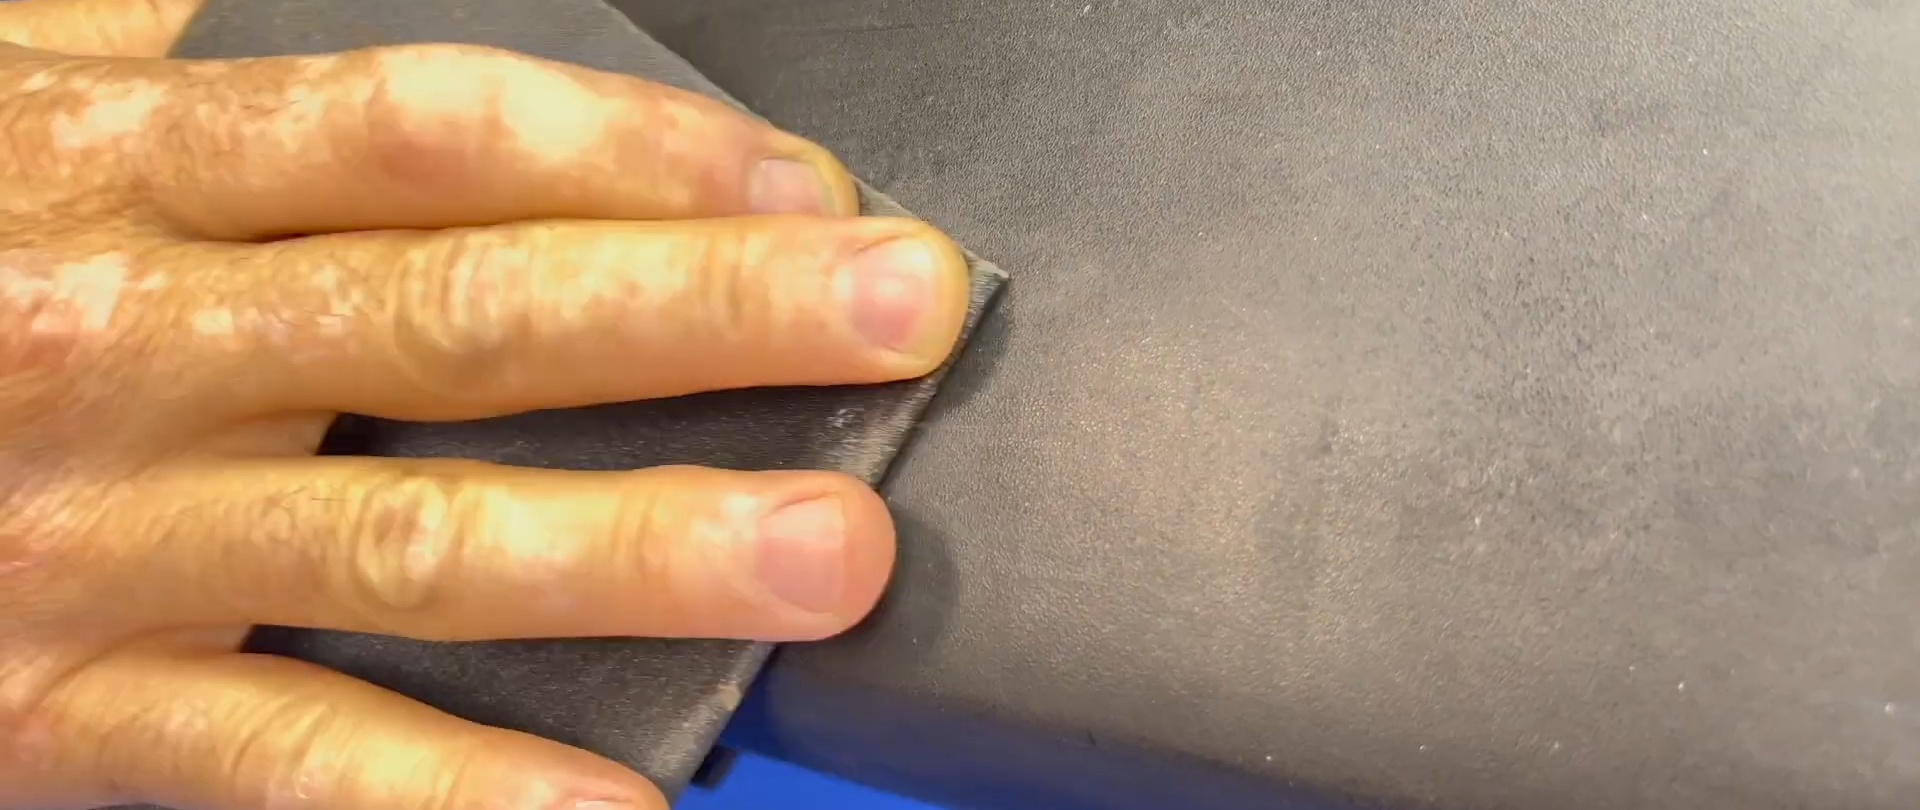
We finally level the damaged surface with sandpaper and cover the restored area with aerosol paint in a color that matches the overall color of the bumper.