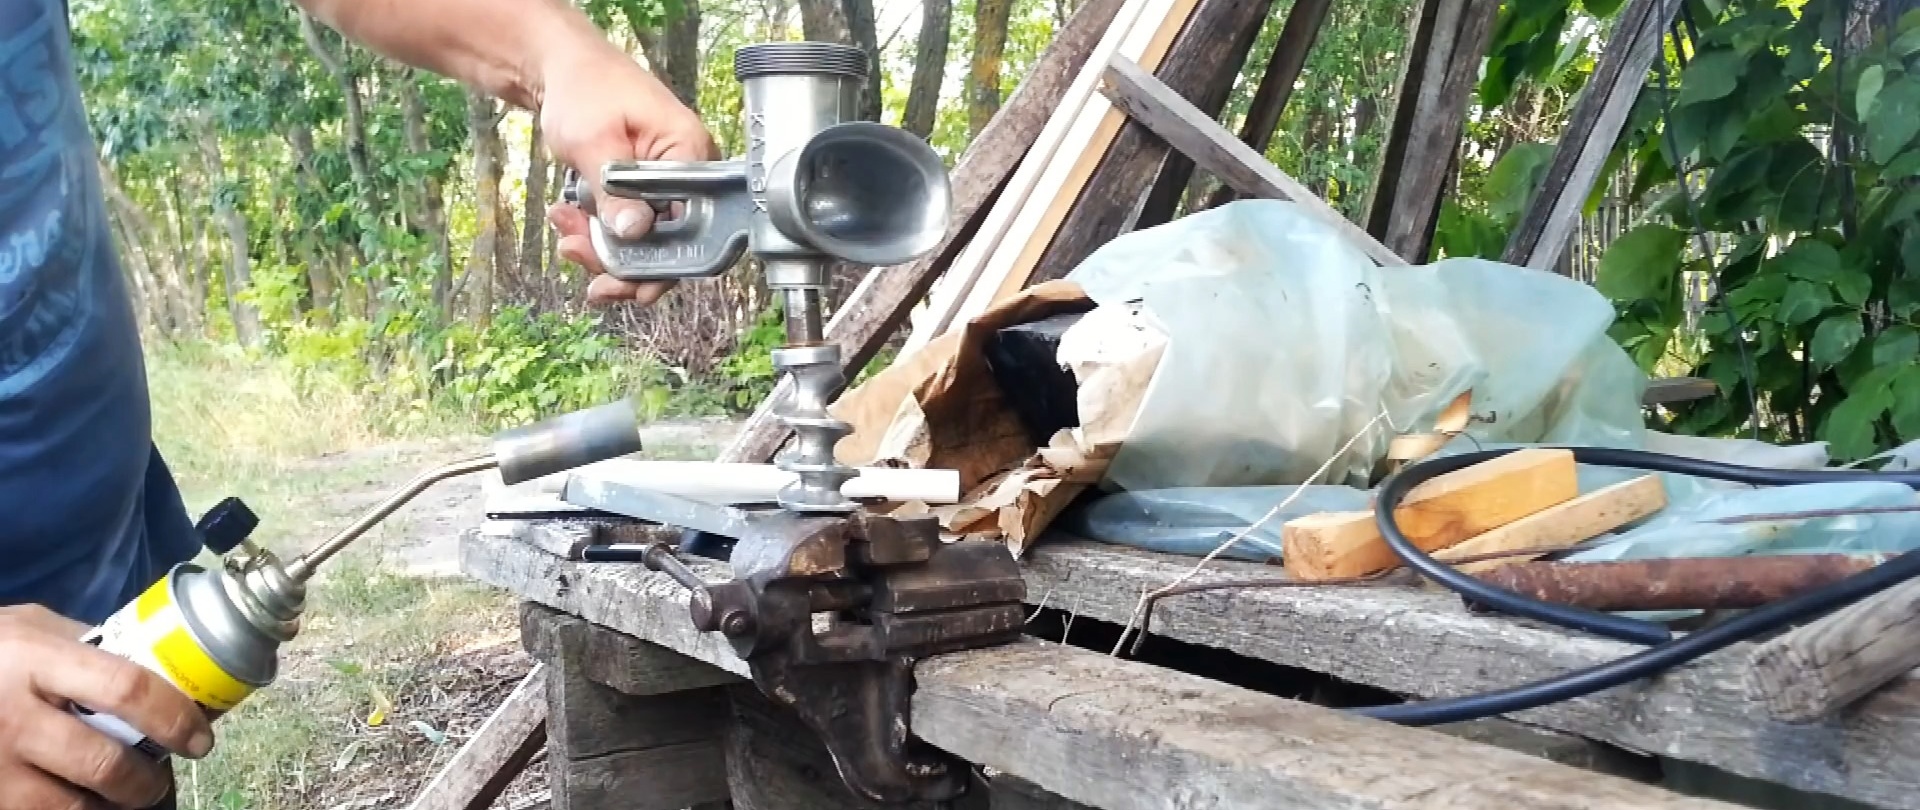
An ancient Soviet meat grinder was found at the dacha. Let's look at its condition and, if necessary, restore it to working, or even ideal.
There is an inscription on the case indicating that the product was produced by the KATEK plant. Here you can read GOST, which this meat grinder undoubtedly complies with. Small numbers 74 indicate the year of manufacture. And finally, the price is 4 rubles 76 kopecks. Not cheap for those times!
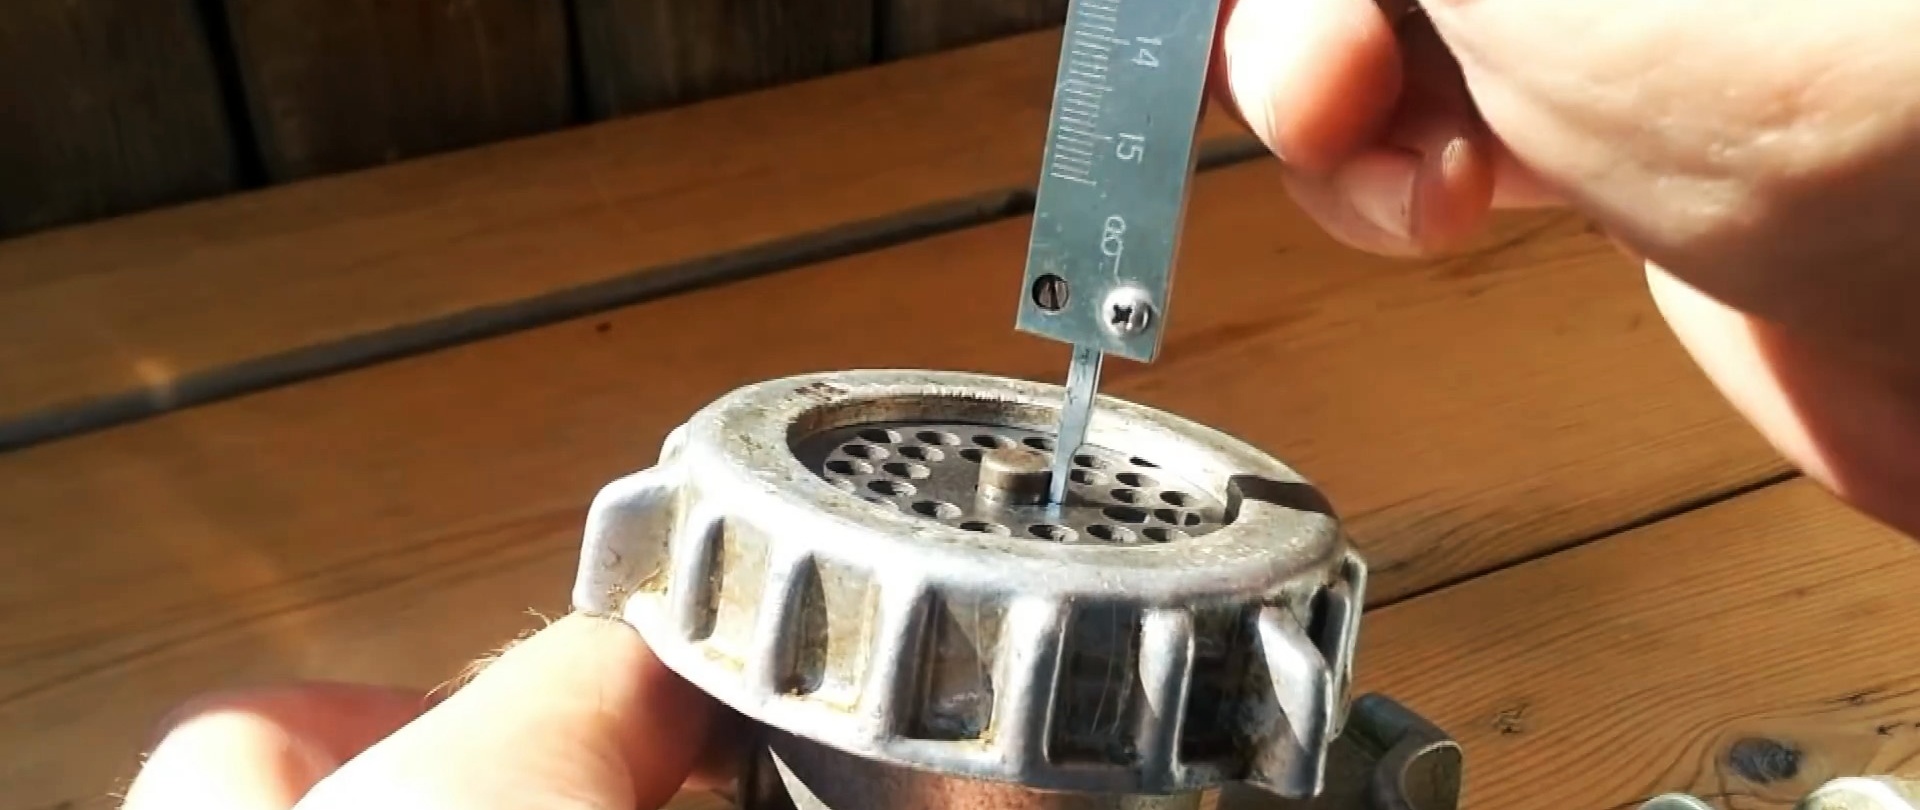
Let's evaluate the condition of the unit. A decent amount of play in the auger is immediately noticeable. The nut is tightened to the limit. Measurements with calipers show a backlash of 1 mm. Well, to find out the reason, let’s disassemble the mechanism.

How to sharpen meat grinder knives at home
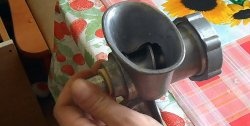
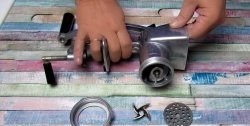
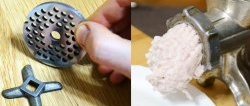
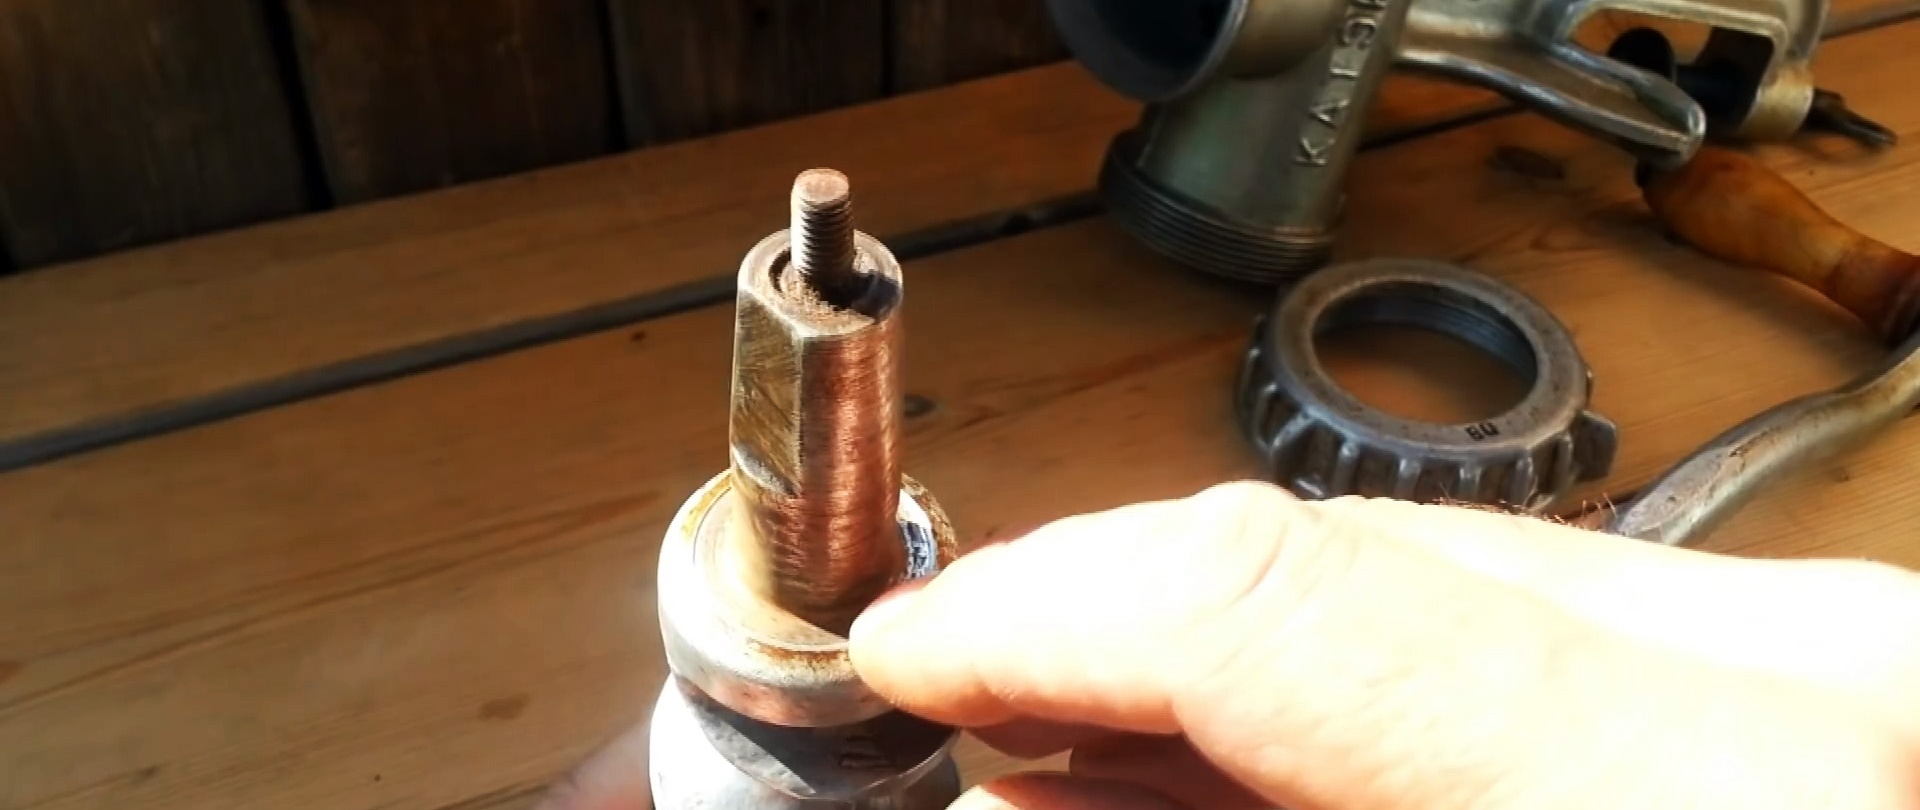
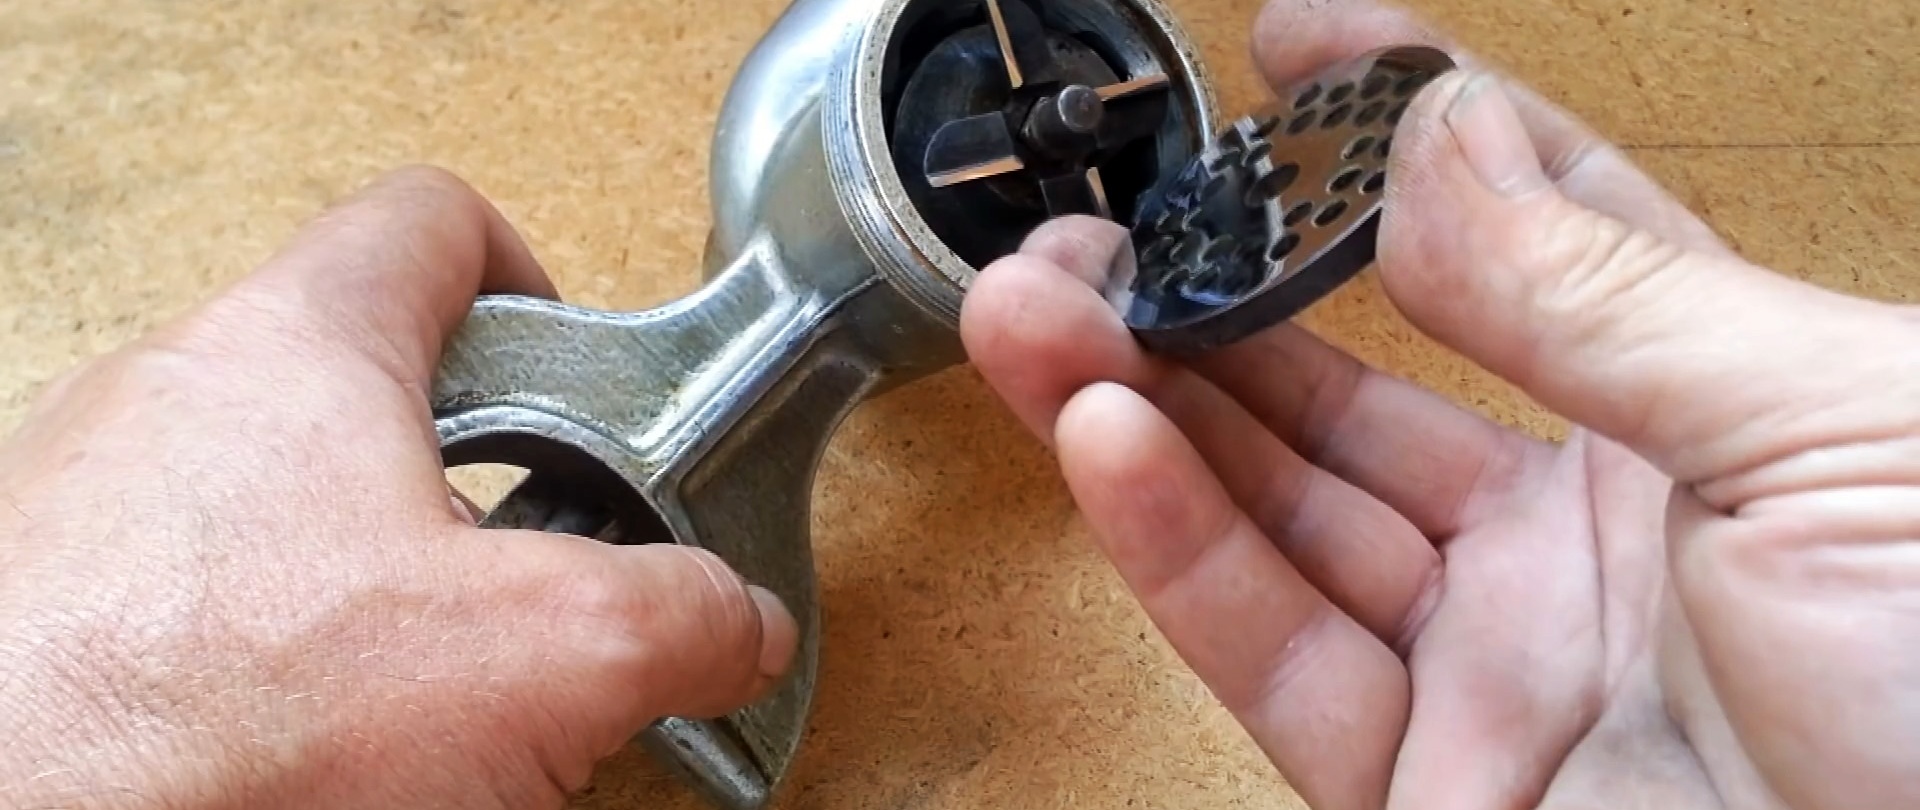
Nut, knife, grid, auger. To remove the auger, unscrew the thumb on the handle and look inside the housing. The seat is fine. The meat grinder body is not damaged. But on the auger itself, the wear on the rear end is visible to the naked eye. Deep risks can be felt when touched with a finger. For now, we put it aside, let’s start evaluating the cutting mechanism.
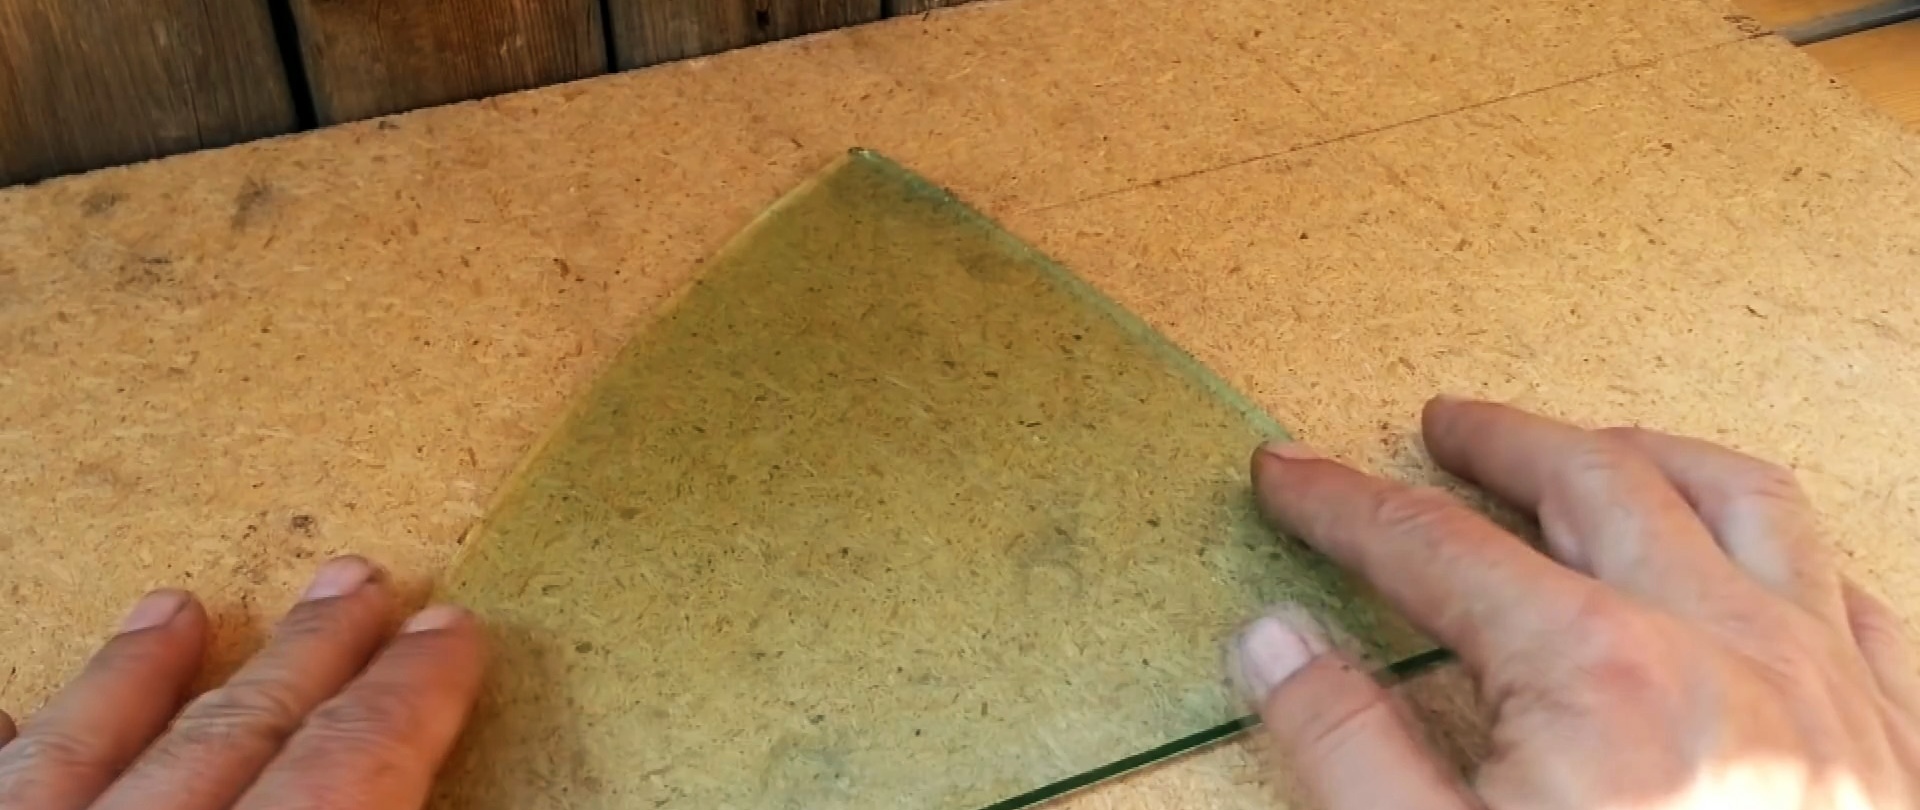
To evaluate the performance of the grate and knife, a flat surface is necessary.A piece of glass is ideal for this purpose. And you will also need “five hundred”, “thousand” and “two and a half thousand” sandpaper. When sharpening, we will apply them in increasing order.
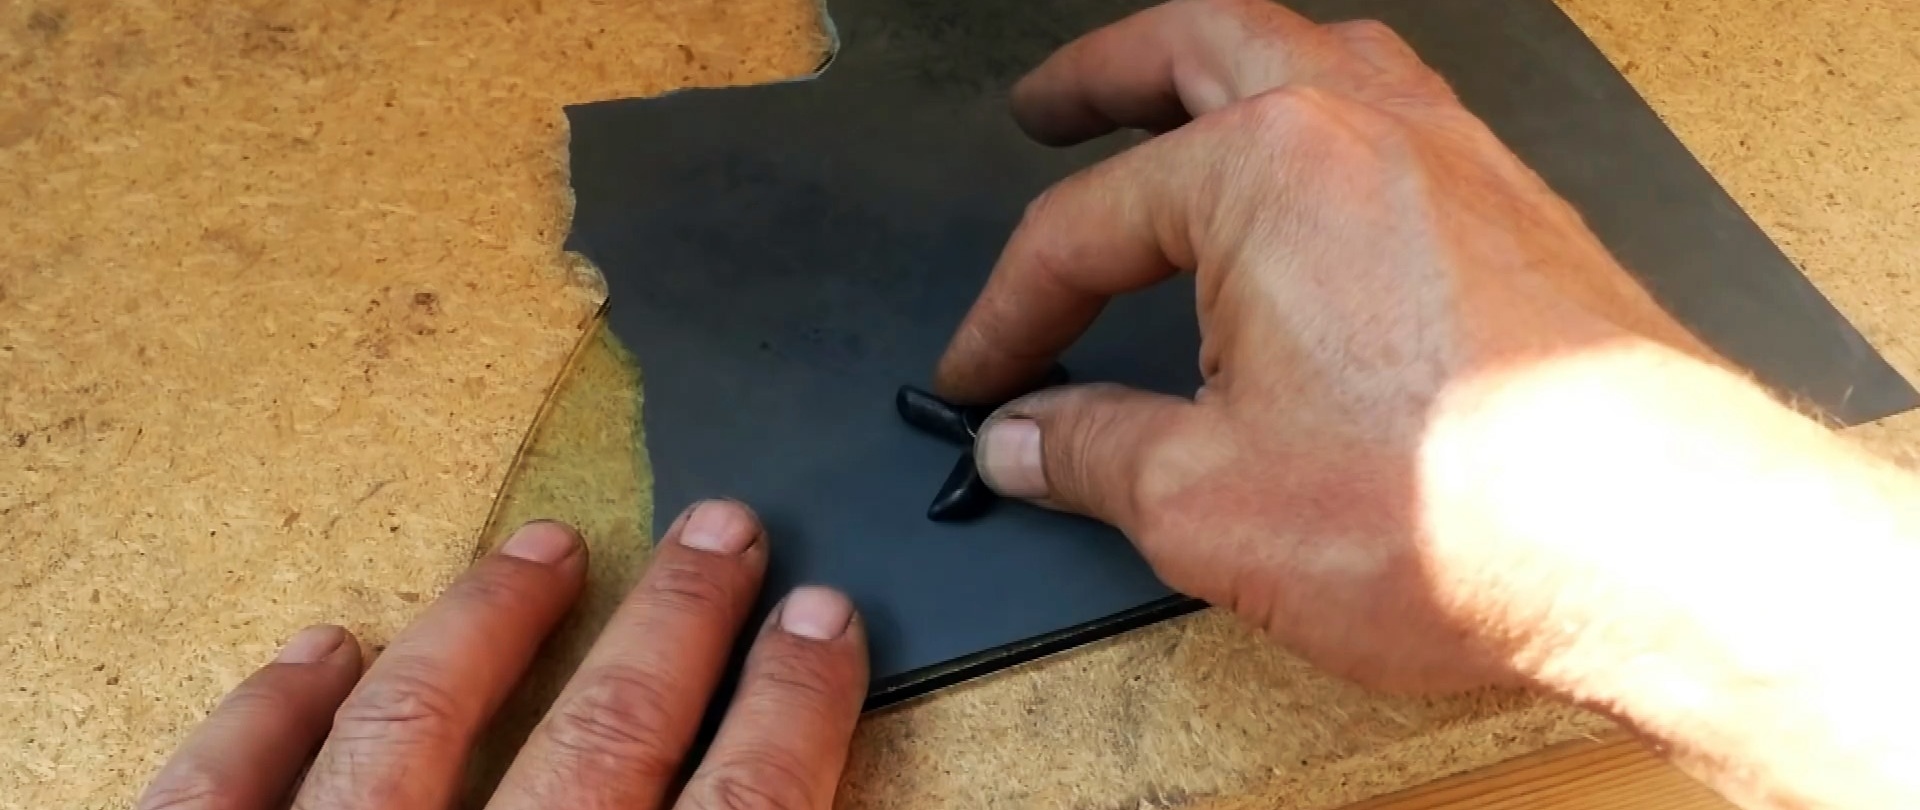
Place the sandpaper on the glass and take the meat grinder knife. We place it with the cutting edges on the sandpaper and begin to sharpen it with leisurely circular movements. Periodically turn the knife at an angle of 90 degrees to minimize sharpening distortions due to uneven finger pressure. This operation will require diligence and accuracy. We evaluate the result. You can see from the highlights on the sharpened edge that it turned out perfectly smooth. Sharpening without distortion. The knife has been restored and is ready for further use.

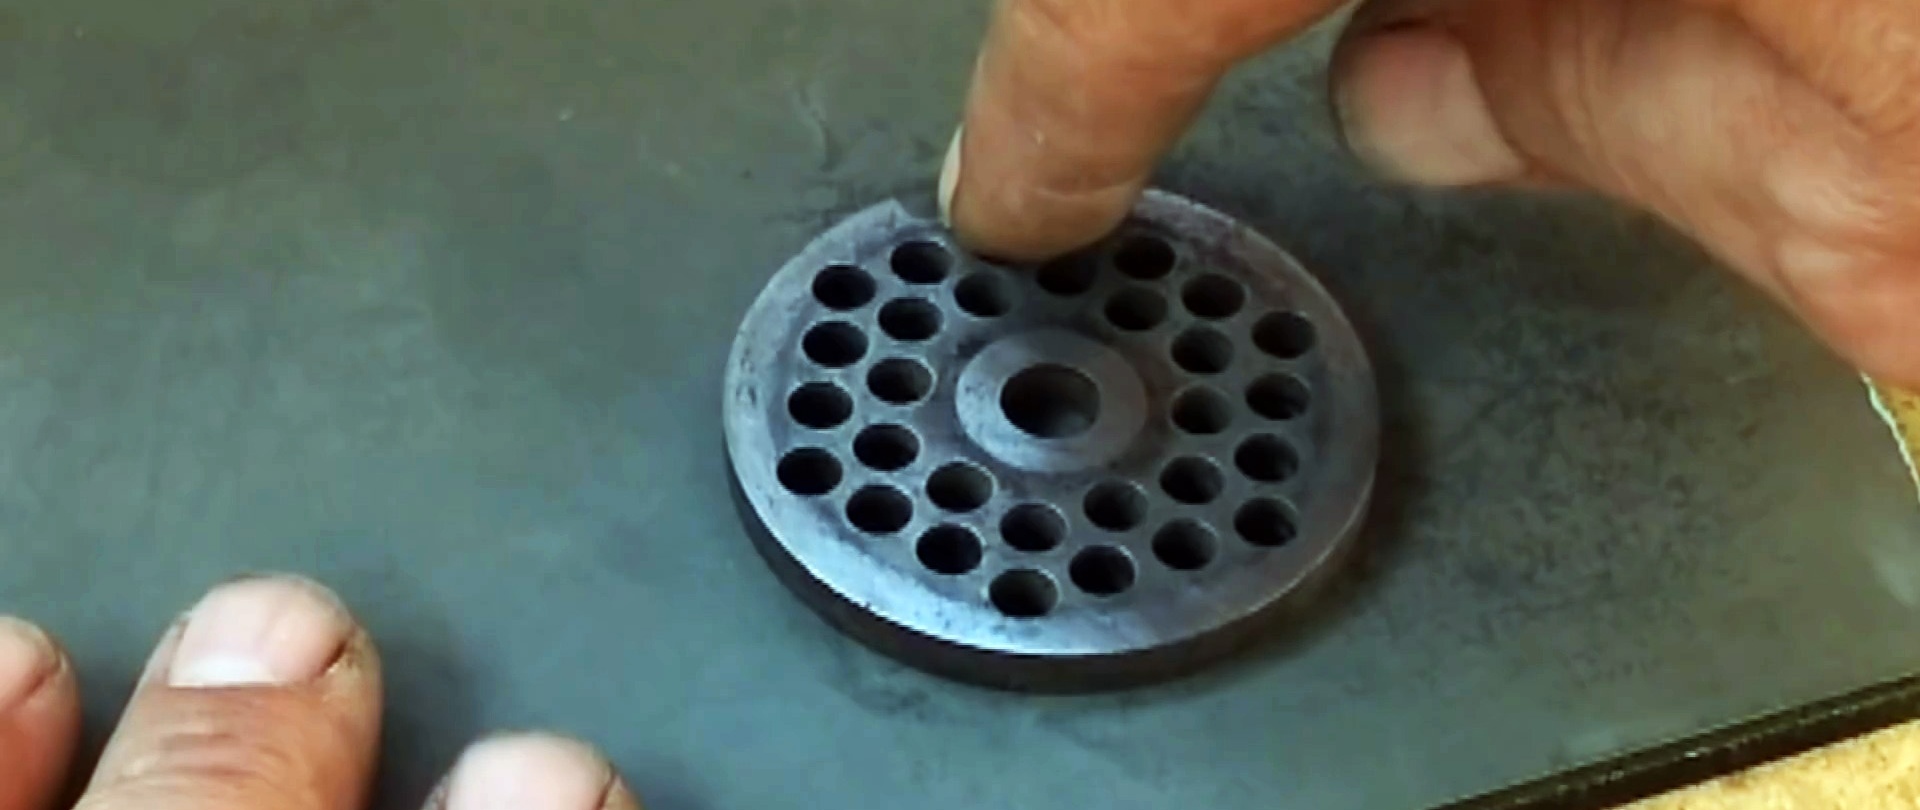
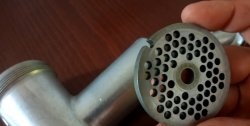
It's time for the bars. At first glance everything is fine. To assess actual wear, you will need sandpaper again. Bigger. "Five hundred" will do. Again we make several circular movements with moderate pressure. Now the places of development in the middle of the grate are clearly visible. And ideally, its entire surface should be equally flat. To do this, using leisurely circular movements, we continue to carefully create an ideal plane. Don't forget to rotate the grate 90 degrees from time to time. As a result, we get a flat, smooth shiny surface.
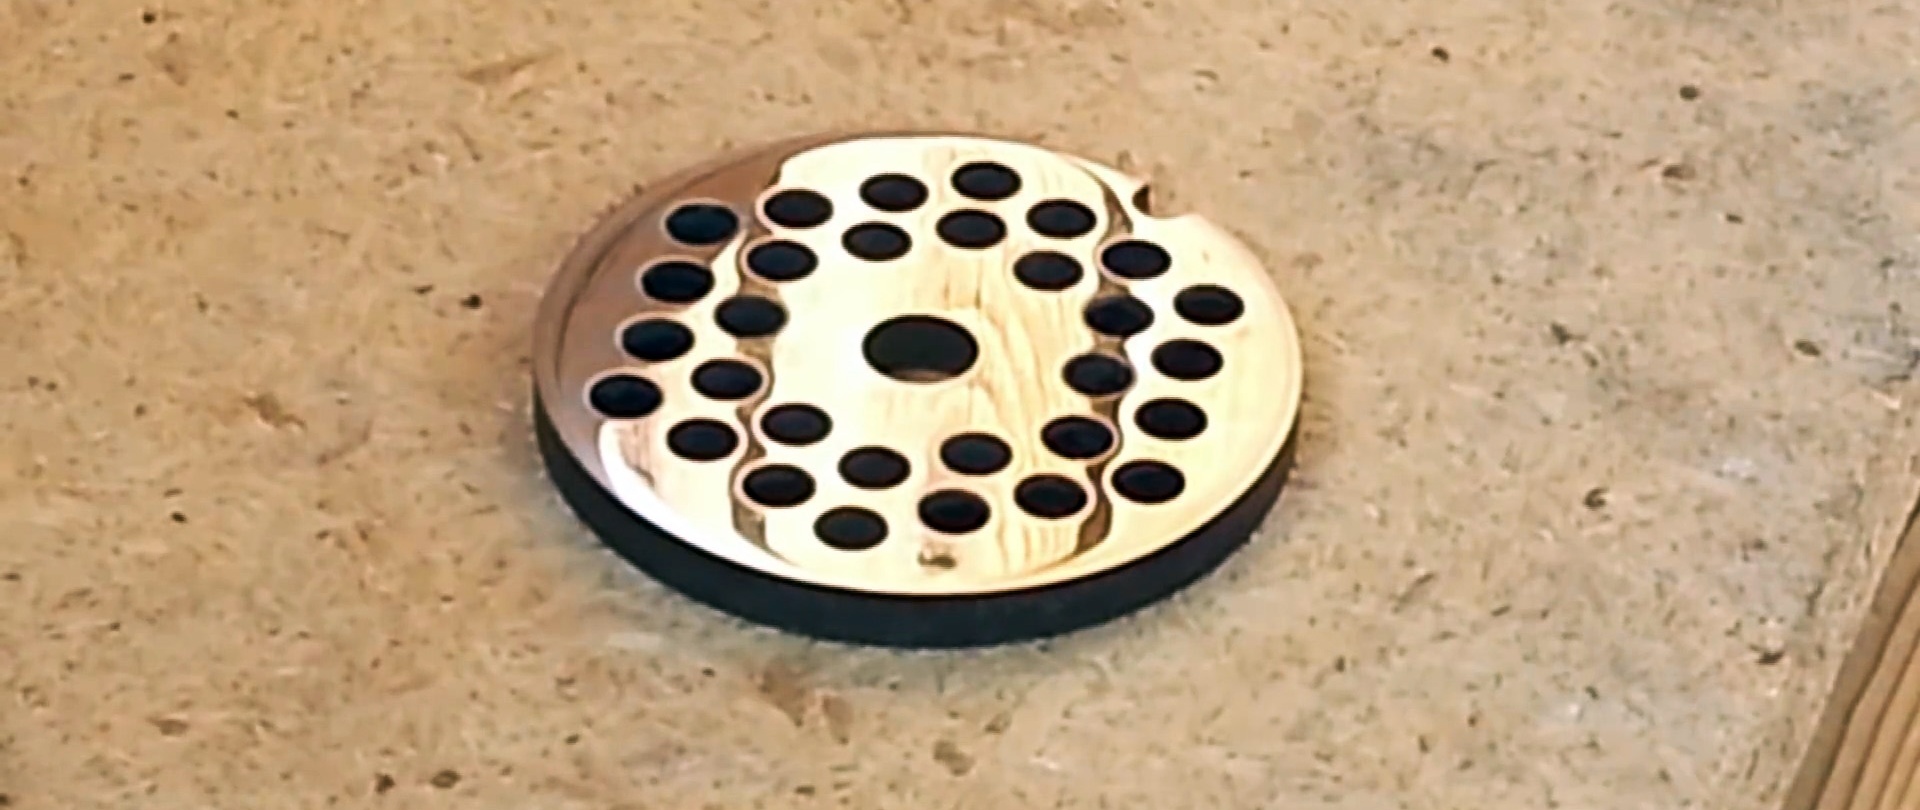
Let's check the quality of the processing using the same glass - we apply the processed grating to its bottom. And it does not fall down, it stays on the glass due to the atomic bond. This confirms the perfect processing quality.
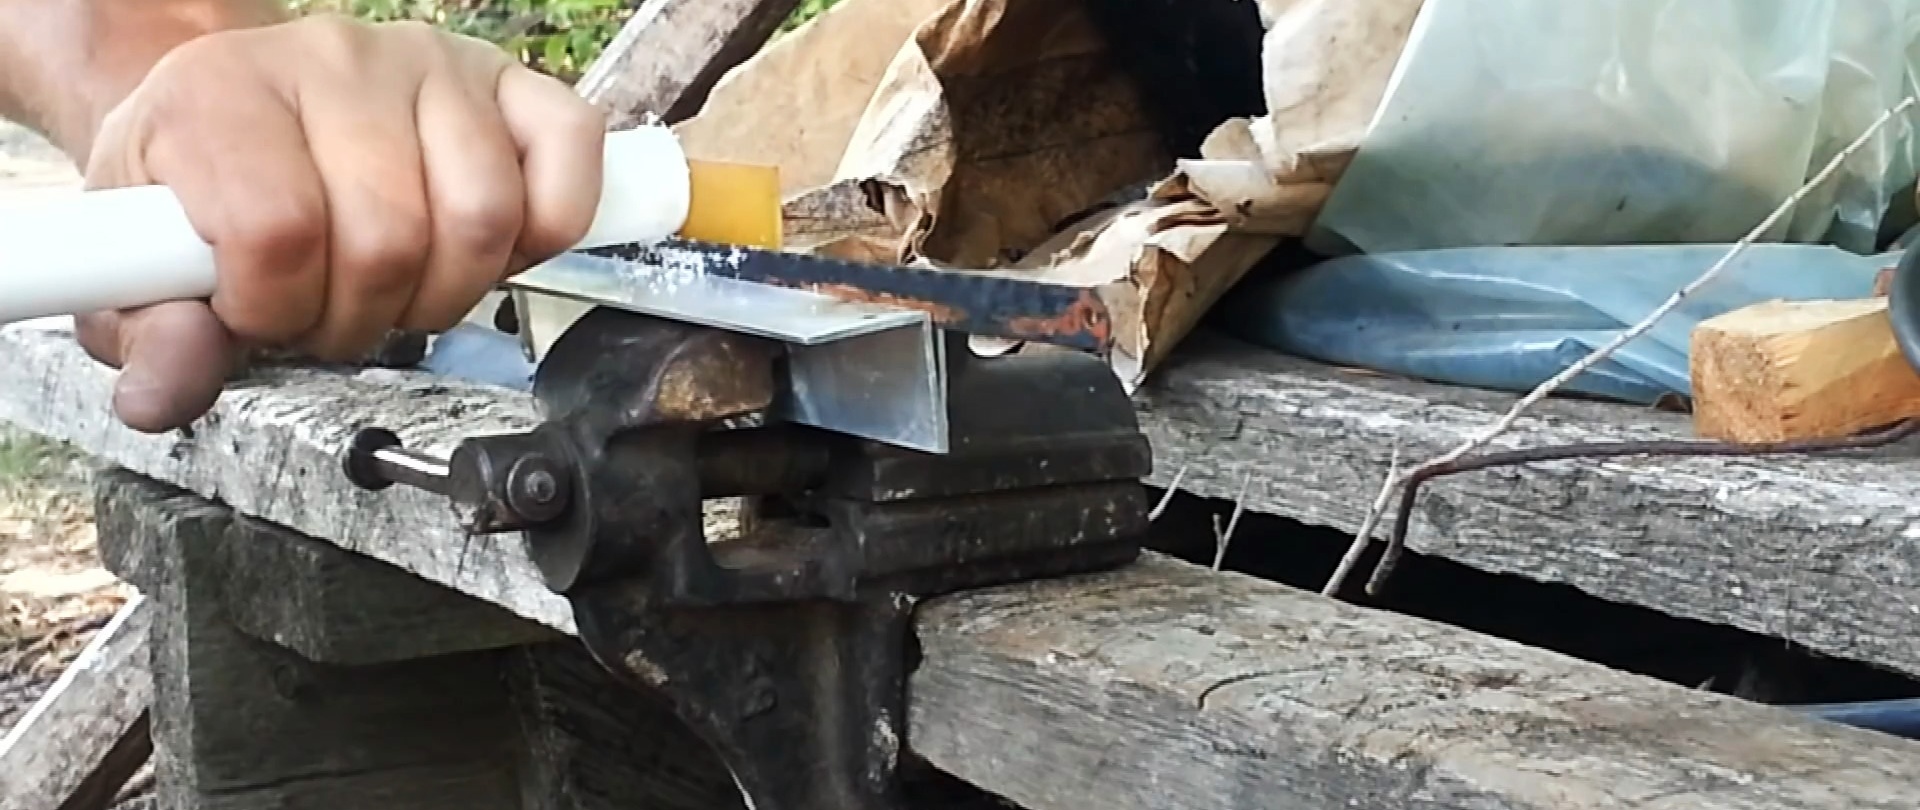
It's time to get to work on the auger. We remember that a hole has formed on it, as a result of which there is a play of 1 mm. Let's cut off a washer from a polypropylene pipe of suitable diameter.Using a simple device, a washer 1.5 mm thick was made from a hacksaw blade and two pieces of textolite. To put it on the auger, you have to heat it up. The inner diameter of the washer is slightly smaller than the diameter of the auger. We use the body of the meat grinder as a guide for uniform sedimentation.
Great! The washer is smooth and sits exactly in its place. It can also be made from soft metal, such as brass. Thanks to the installation of the washer, the end of the auger is now flush with the longitudinal guides of the housing. This is exactly how a proper meat grinder should be.
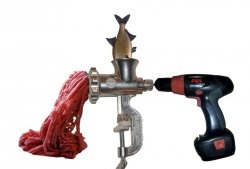
And now the assembly: auger, knife, grid, nut. The nut should not be tightened all the way. The preload must be adjusted so that the shaft rotates freely and the auger has no longitudinal play. We put on the handle last and secure it with a wing nut. All.

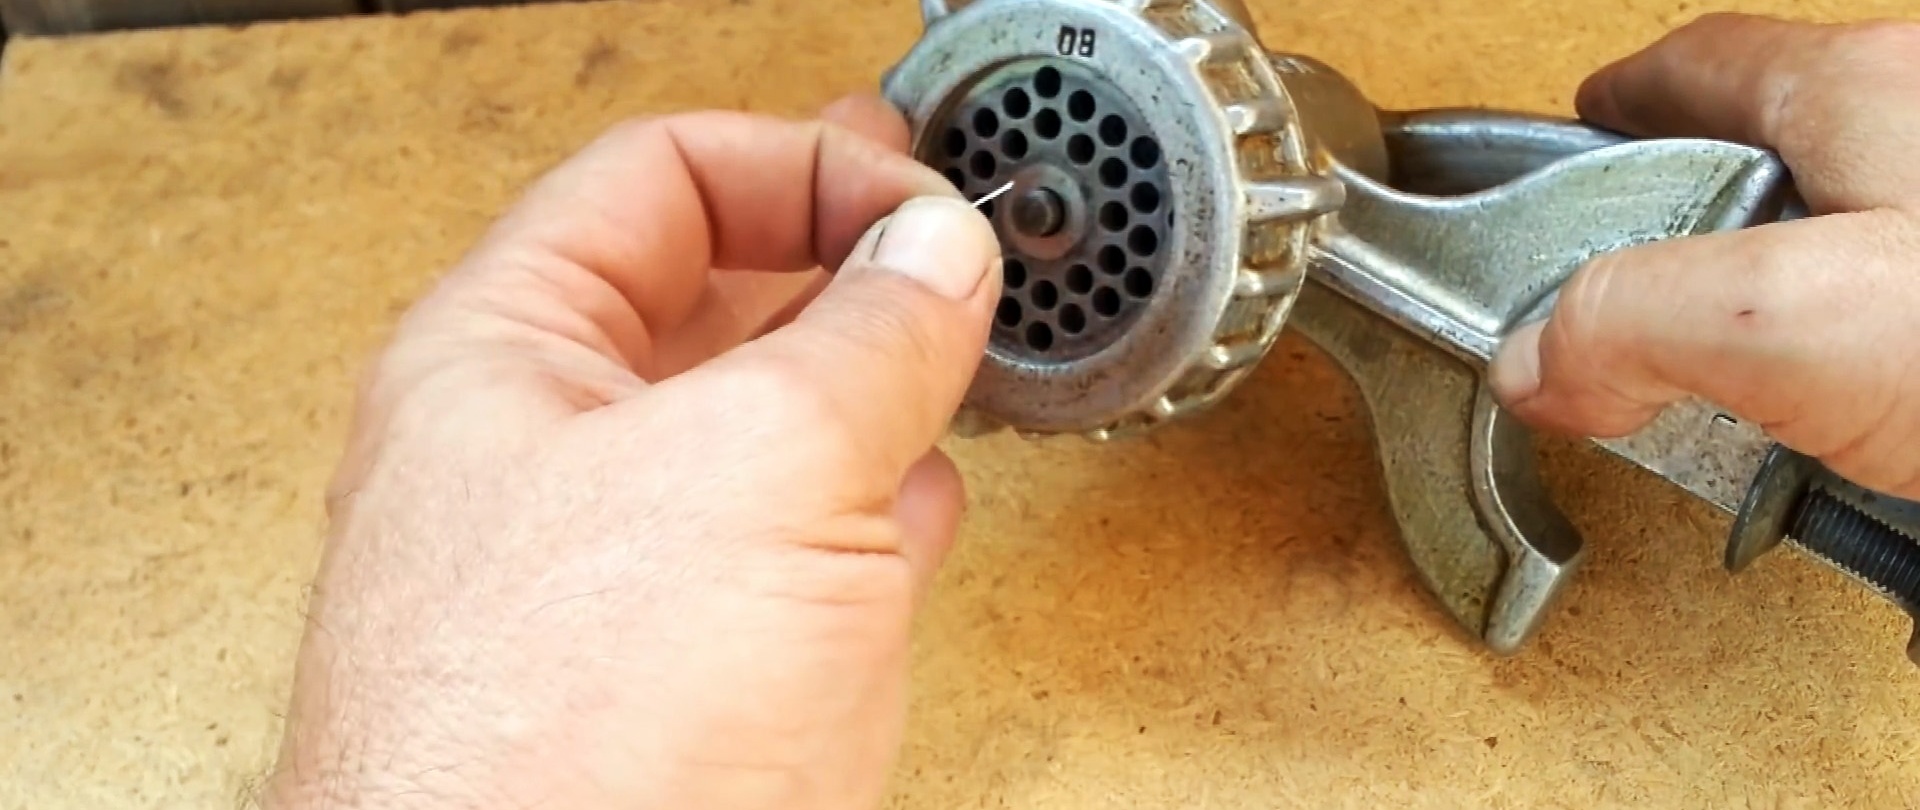
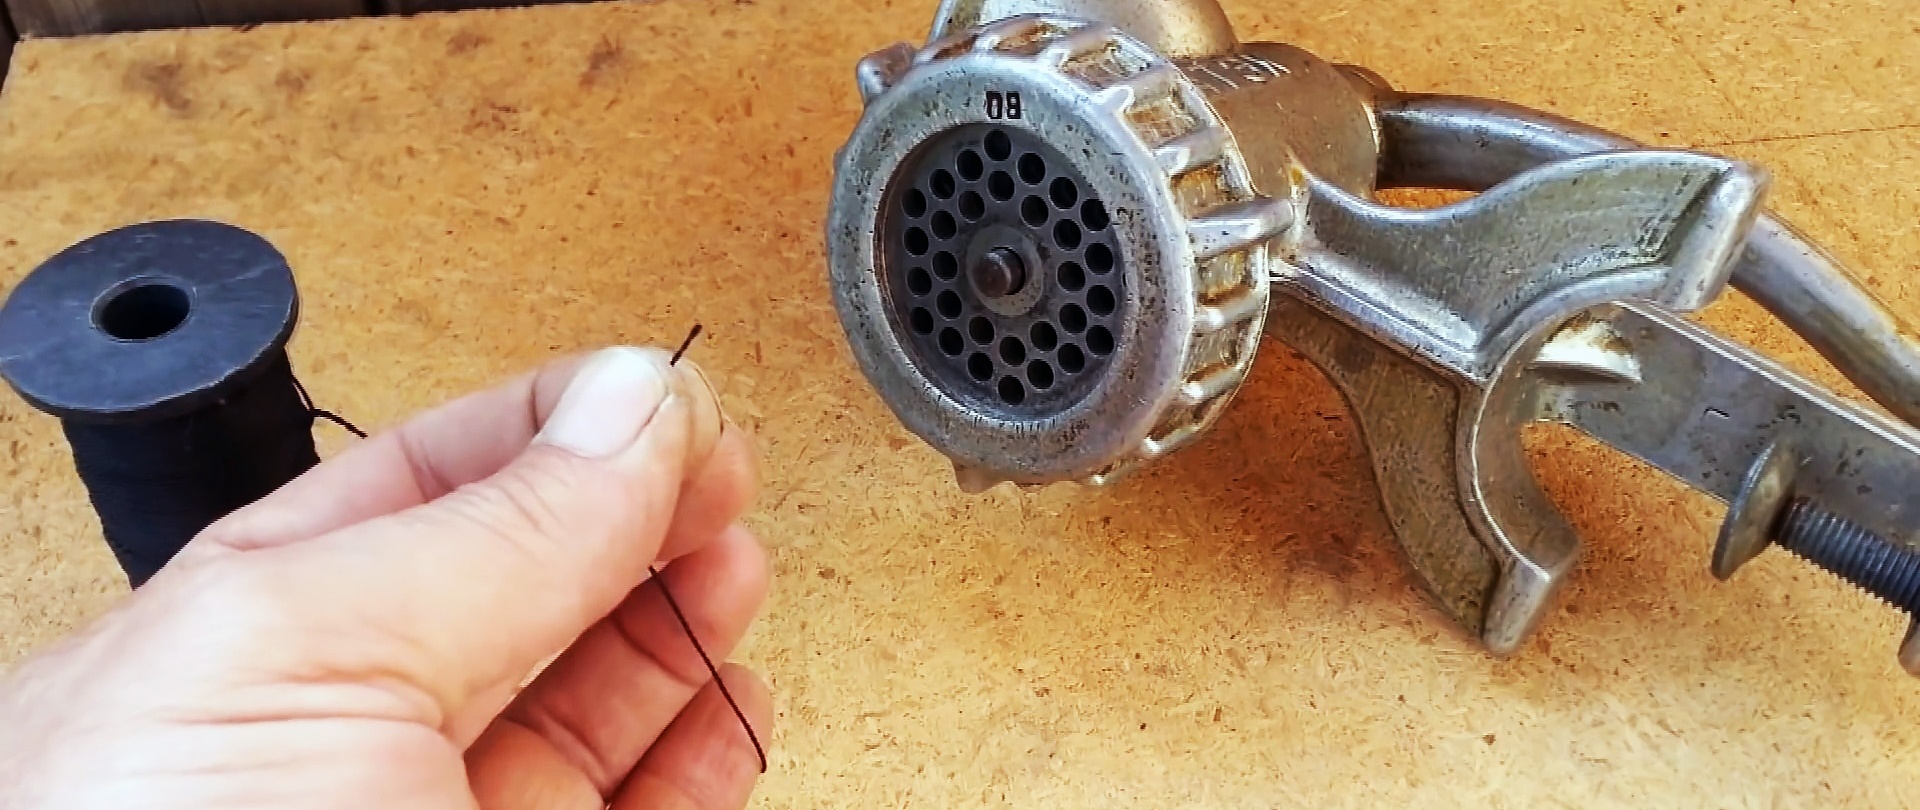
To check the results, let's try cutting the thread with a meat grinder. We use two options: a regular sewing “magpie” and a thick nylon one. One by one, insert a piece of thread into the hole in the grate and turn the auger. The threads have been cut. The grid-screw pair turned out to be so sharp.