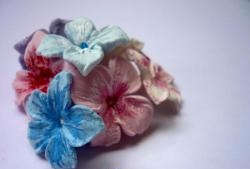
This homemade clay for modeling, unlike other recipes, in particular paper clay, without increasing the cost and without increasing the labor intensity of preparation, is very convenient to use, since it ideally holds and retains its shape, rolls out very thinly, is easy to cut with scissors, is stored for a long time, does not susceptible to molding, does not deteriorate from short-term exposure to water, etc. Any adult and even a high school student can independently prepare the proposed homemade clay for modeling.

Will need
To prepare the proposed homemade clay for a variety of modeling, you will need the following accessible and inexpensive ingredients:
- PVA glue – 500 g;
- vinegar – 6-8 tablespoons;
- wheat flour – 400 g;
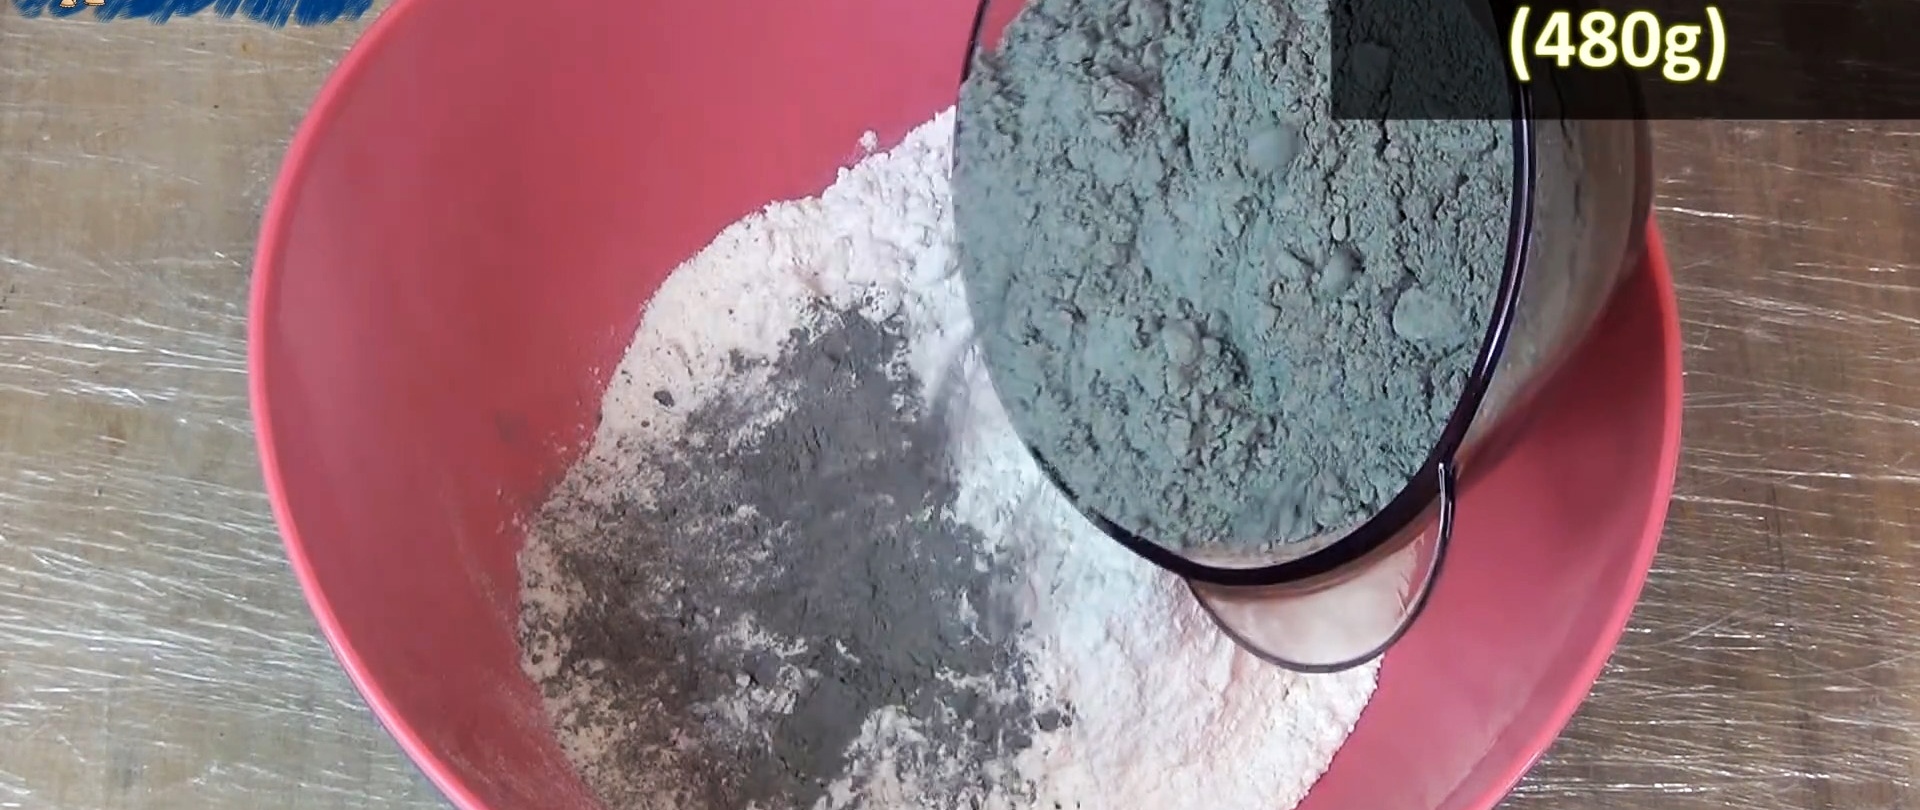
- cement M-400 – 480 g;
- paper napkins – 20 g.
Depending on the required density, the ratio of ingredients may vary within some narrow limits. For example, to get thicker homemade clay, we reduce the amount of vinegar used. Conversely, to make the clay softer and more pliable, add a little more vinegar.

Making clay
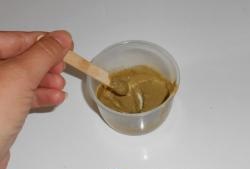
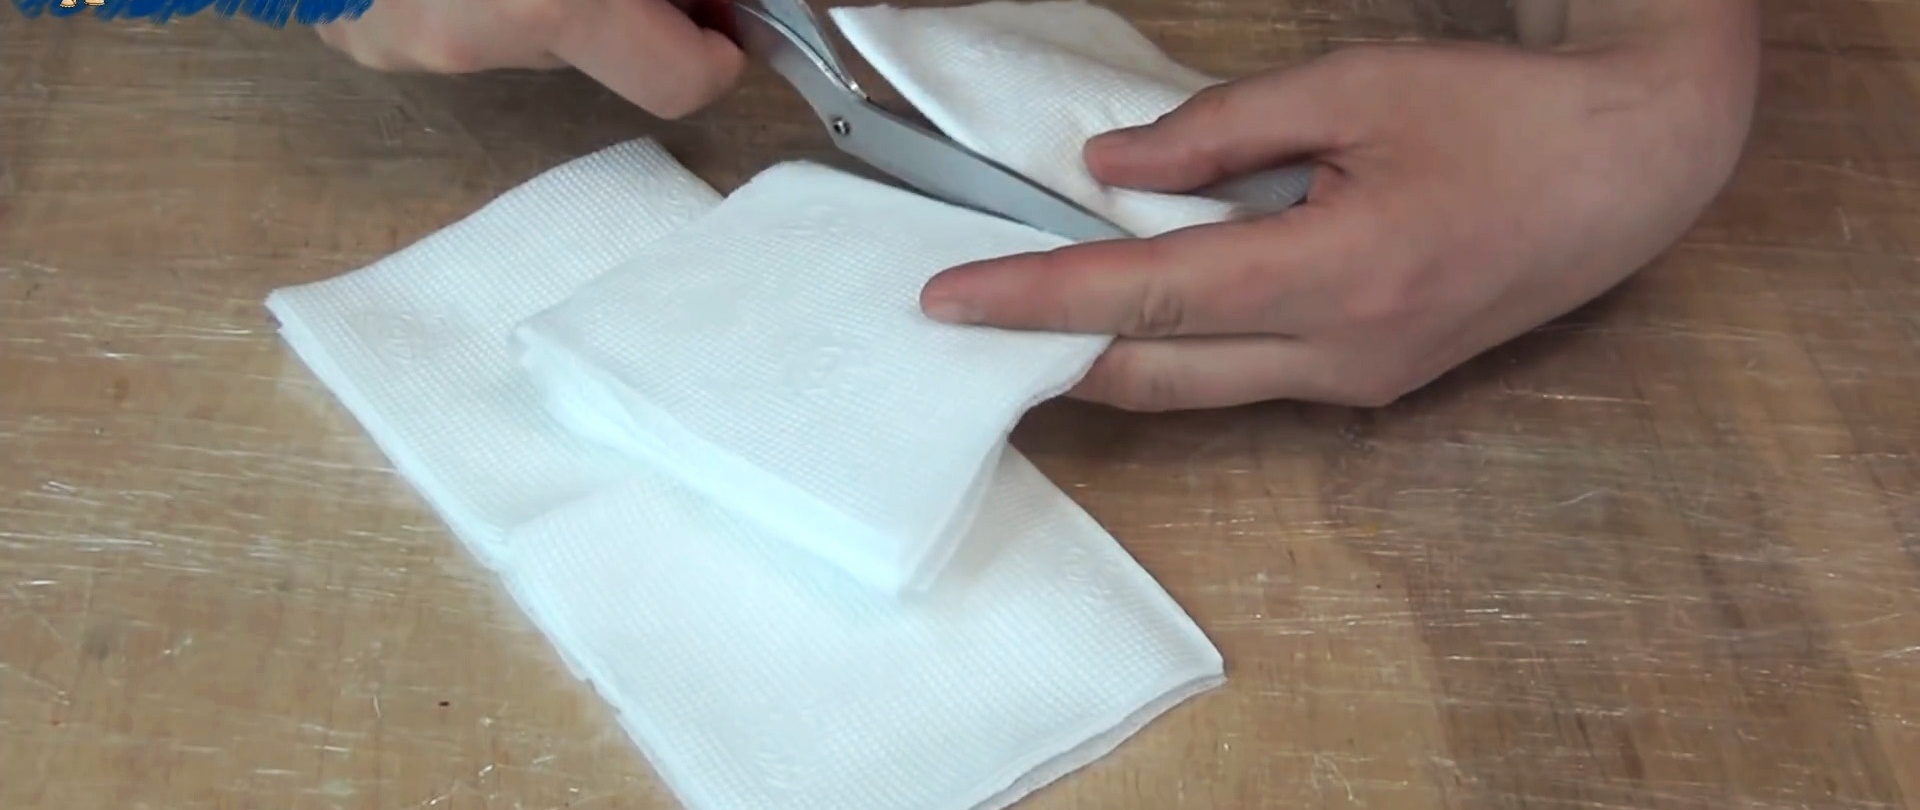
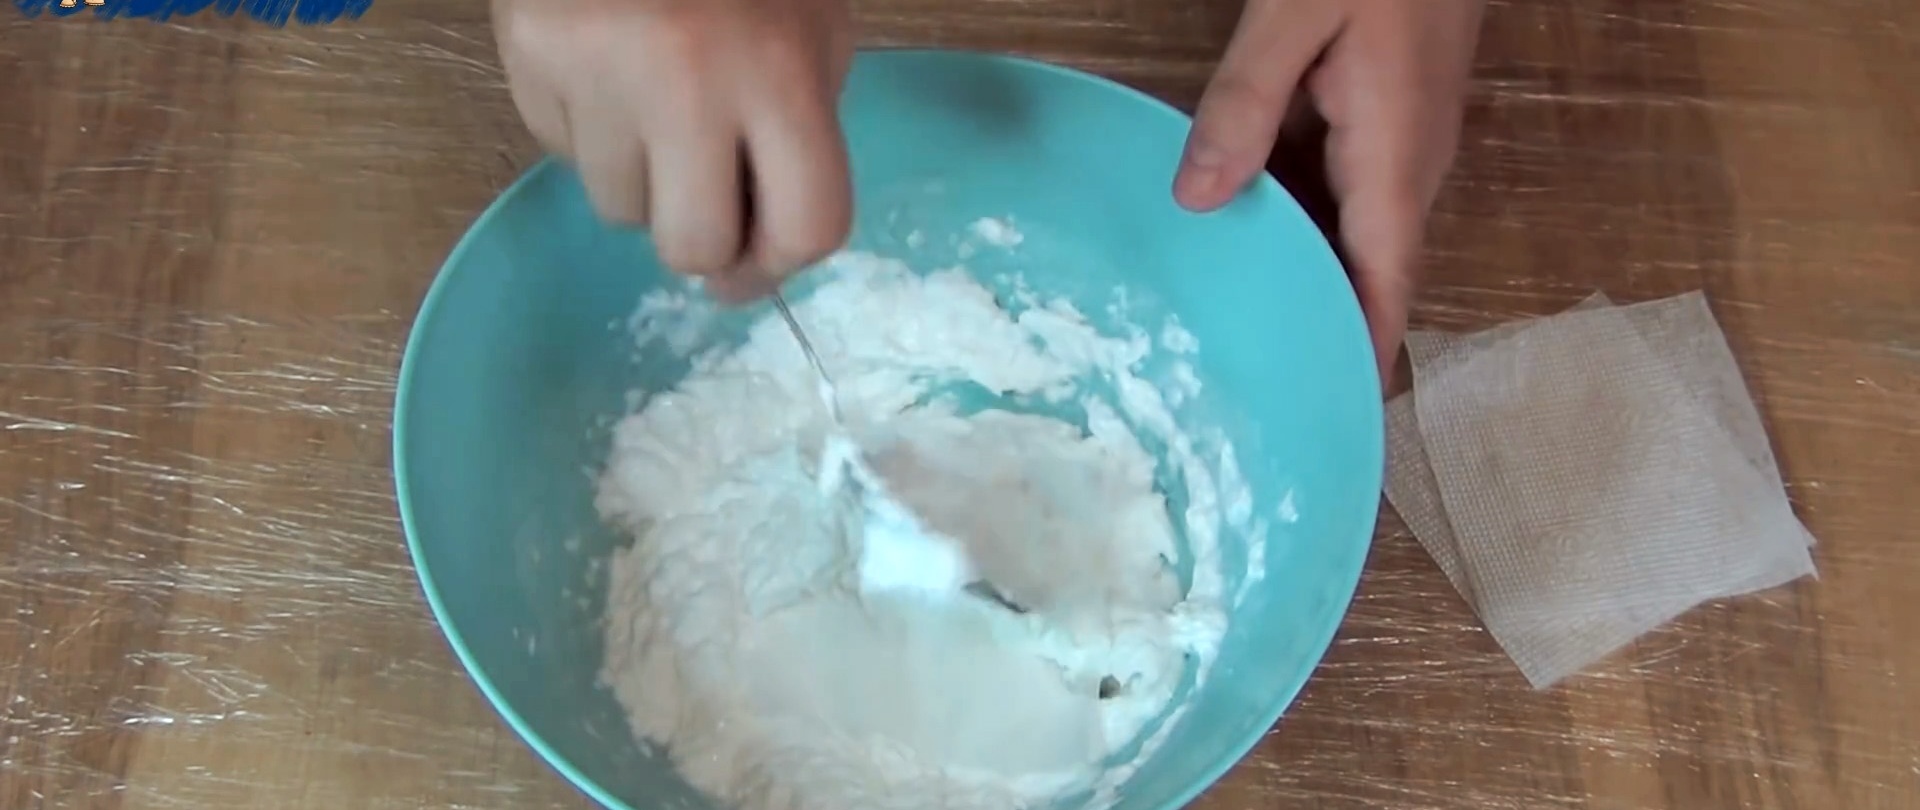
We begin the preparation with paper napkins, which we unfold, cut into quarters with scissors along the fold lines and place one at a time in PVA glue, previously poured into a container of suitable capacity, constantly stirring the contents with a spoon.
Pour wheat flour into a separate container, then cement and mix thoroughly until a homogeneous mixture is obtained, which is then poured into a container with PVA glue with dissolved paper napkins.
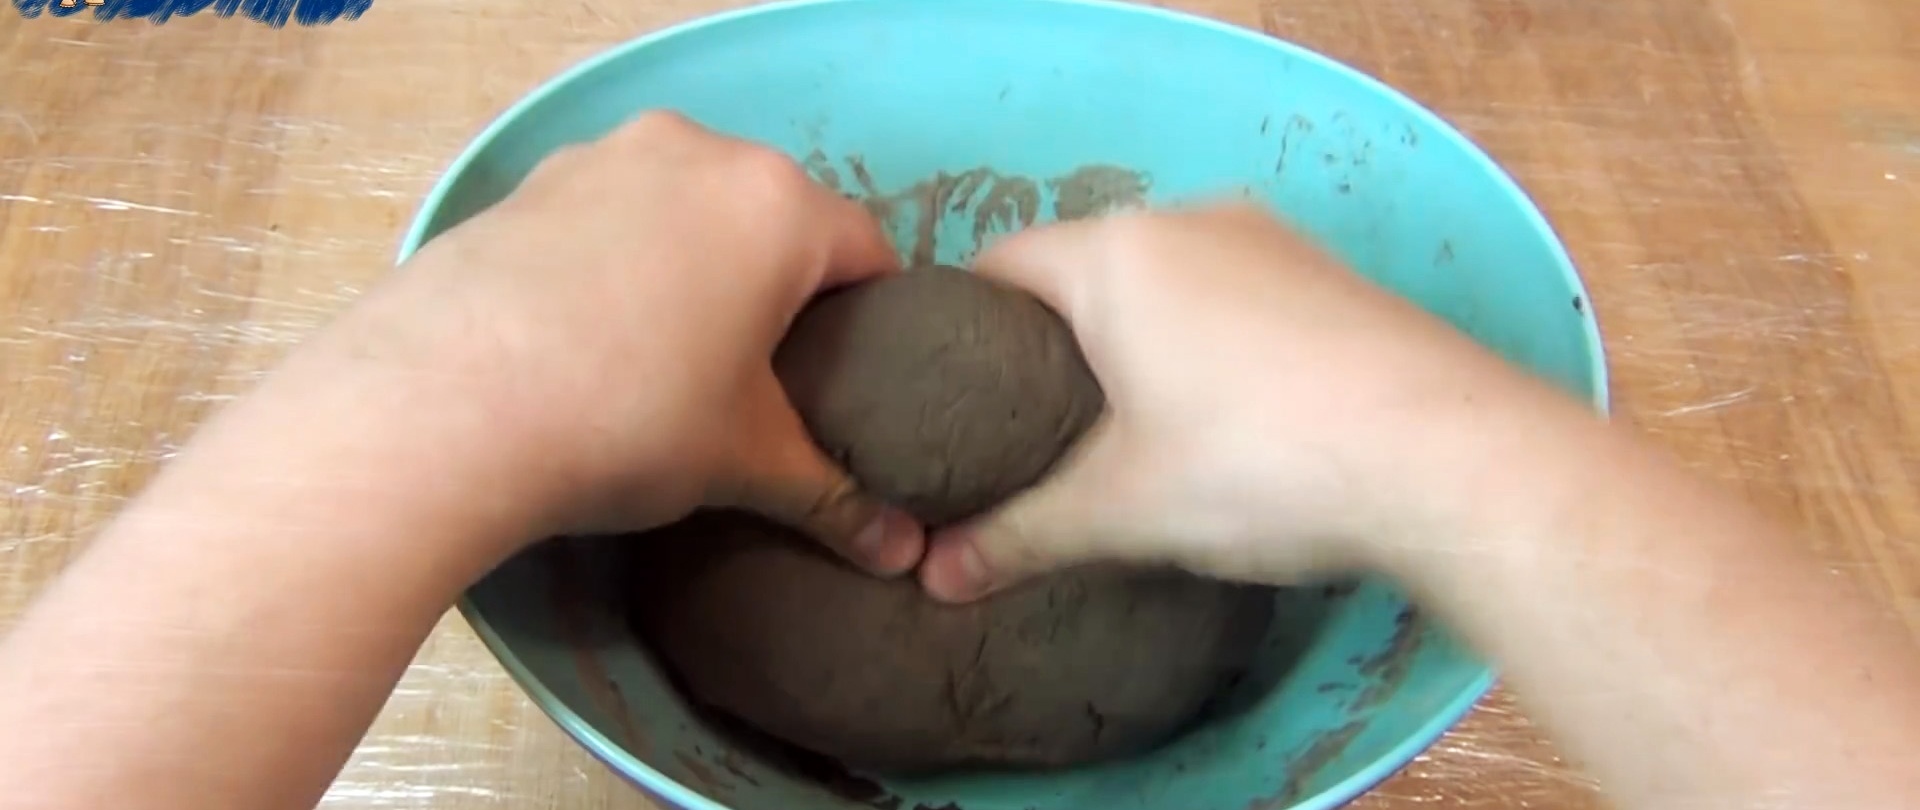
Again, thoroughly mix the resulting mass, first with a spoon, and then with gloved hands until a homogeneous mixture is obtained.


Add 6-8 tablespoons of vinegar to the resulting mixture and mix everything again with your hands until the solution is completely homogenized.
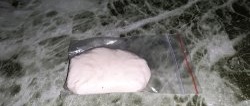
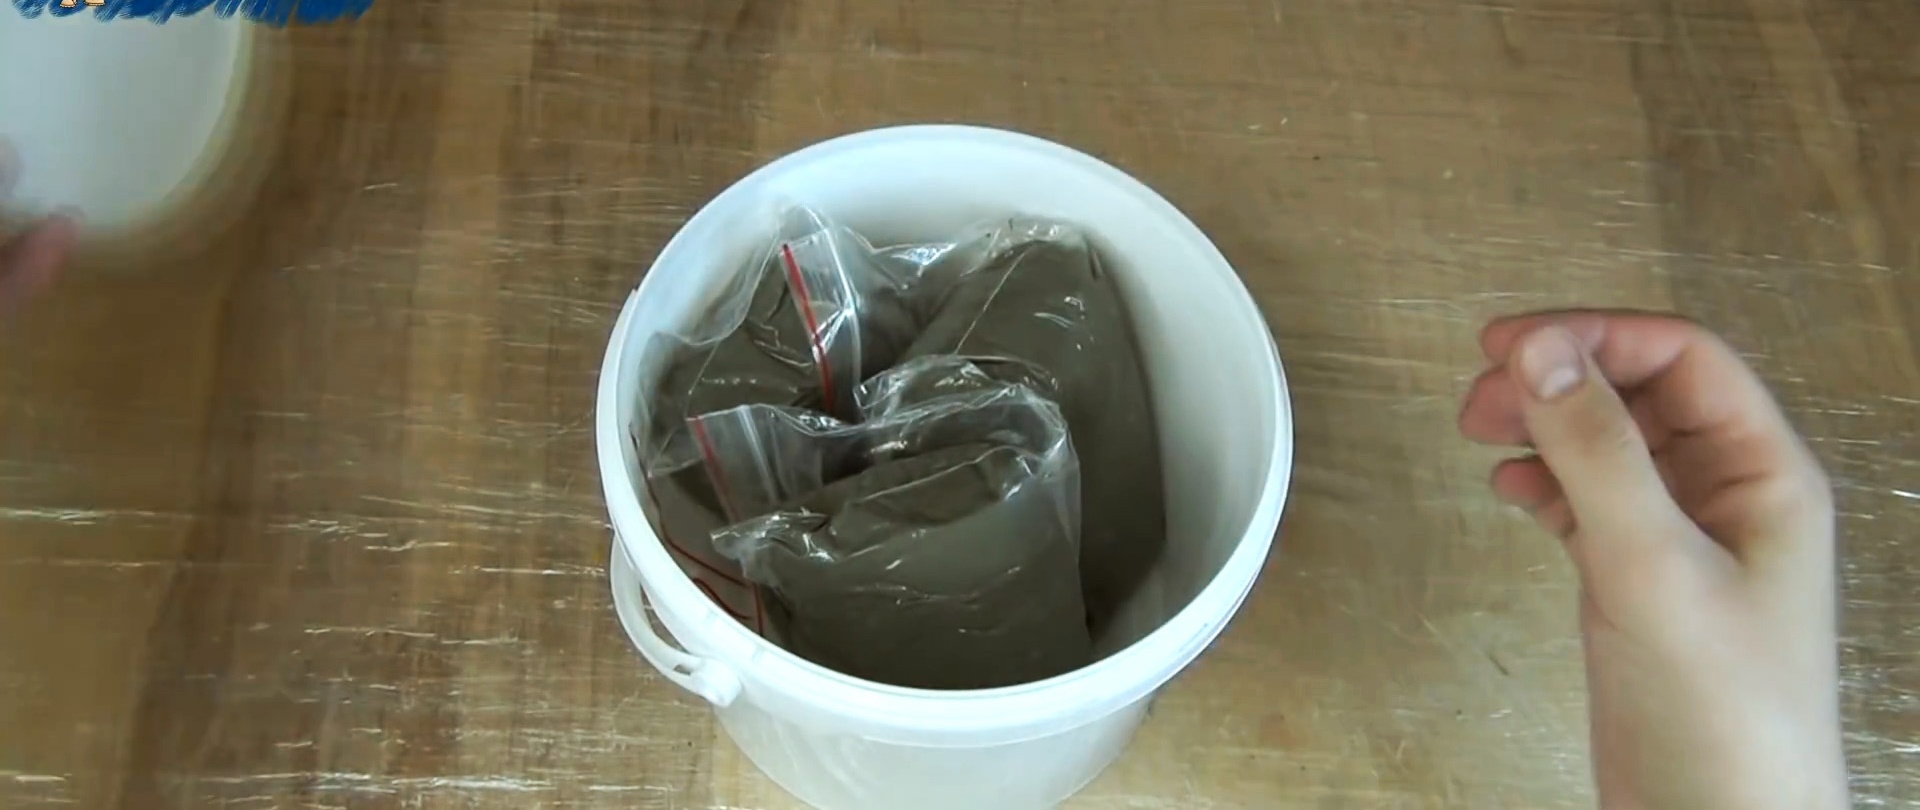
Then we lubricate our hands with rich cream or any oil and proceed to packaging homemade homemade clay in plastic bags with airtight packaging locks.

We place bags of homemade clay in a plastic jar with a tight-fitting lid and can store it for more than two months. To significantly increase the shelf life, clay must be kept in the refrigerator.
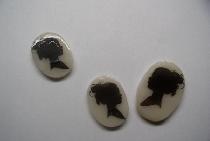
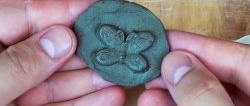
Hardened homemade clay is quite mechanically strong and relatively moisture resistant, so products made from it can also be used outdoors.