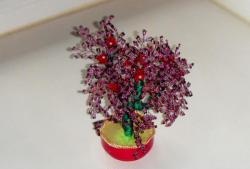
Flowers decorate our lives, and it makes us especially happy when they live forever. How? If they are made of paper. Such a bouquet is inferior to a living one, only in the absence of aroma. You can bring joy to your loved ones and friends with paper flowers or simply decorate your home. Arrange bouquets, make panels or magnificent flower trees with your own hands, it’s so easy! But you need to learn this too, so you need to start simple. For example, from a flower tree.
So how do you make a flower tree?
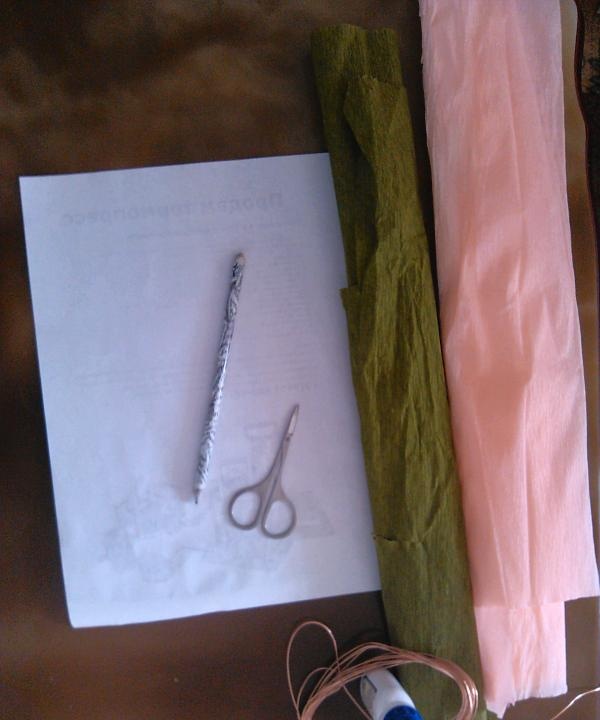
You will need:
• Crepe paper, the color you would like your flowers to be, and green paper.
• Plastic bottle with a bottom diameter of 10-15 cm
• Soft wire 1.5 m
• Pencil
• Paper A4-1 sheet
• Glue
• Scissors
First, cut off the bottom of the bottle to create a container about 5 cm high.
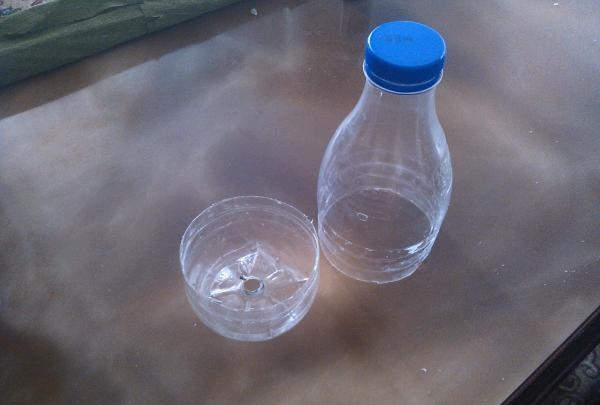
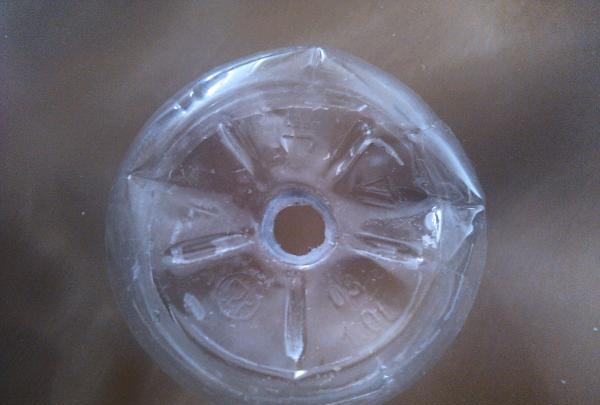
Make a hole 1cm in diameter in the center of the container.
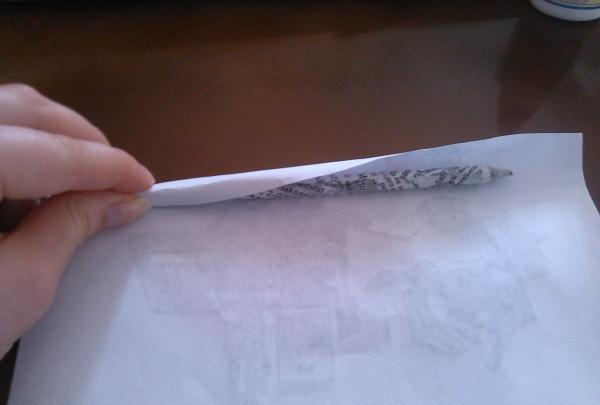
Now take a pencil and, using it as a rod, wrap it in paper. You have a paper tube. Take out your pencil. We have a future tree trunk.

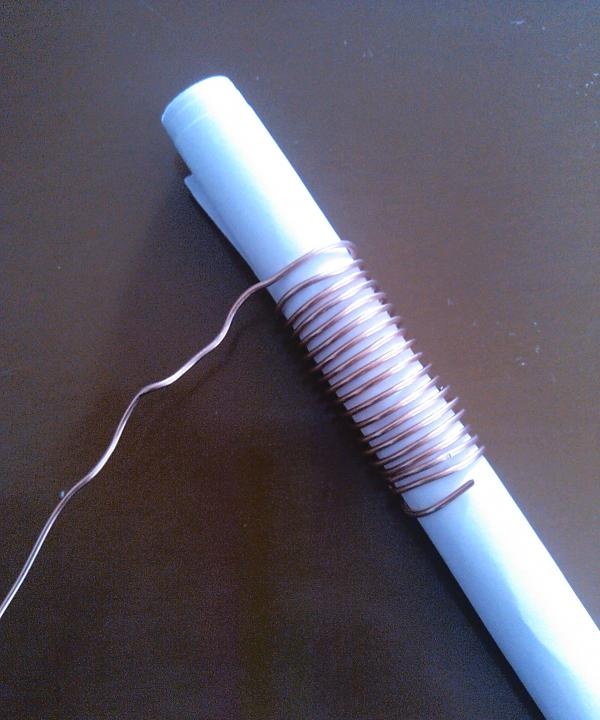
We take the wire and twist the barrel into a tight spiral. We fix it.
The most important part is making flowers.
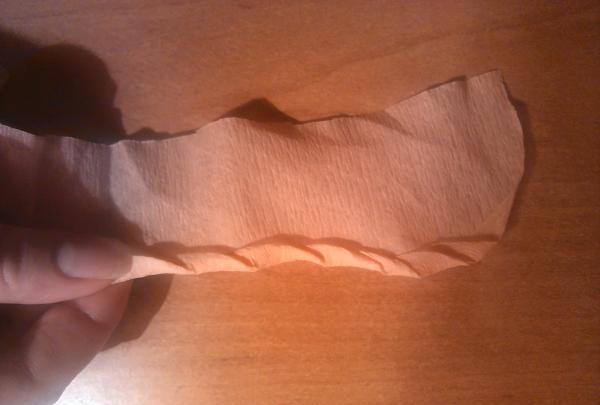
Cut a strip 8-10 cm wide and 20-30 centimeters long. Stretch it a little.
Fold the upper left corner, then again...
Now proceed to the more difficult part... Take the part that you folded a second time in the middle with two fingers, with the other hand grab the part a little to the right and twist the paper in the form of a candy wrapper and secure it. Now move the fingers of your left hand to the fold and hold while you bend the paper with the fingers of your right hand, as described above. So continue further.

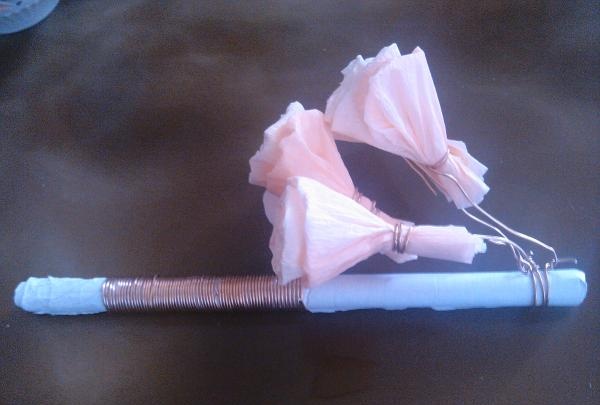
Roll the resulting workpiece into a rose, straighten the petals and secure the base with wire, leaving another 5 cm in reserve.

We attach the rosette to the end of the manufactured trunk.
We make enough roses to make a ball.

Now take green paper, grease it with glue and wrap it around the bottom of the bun.
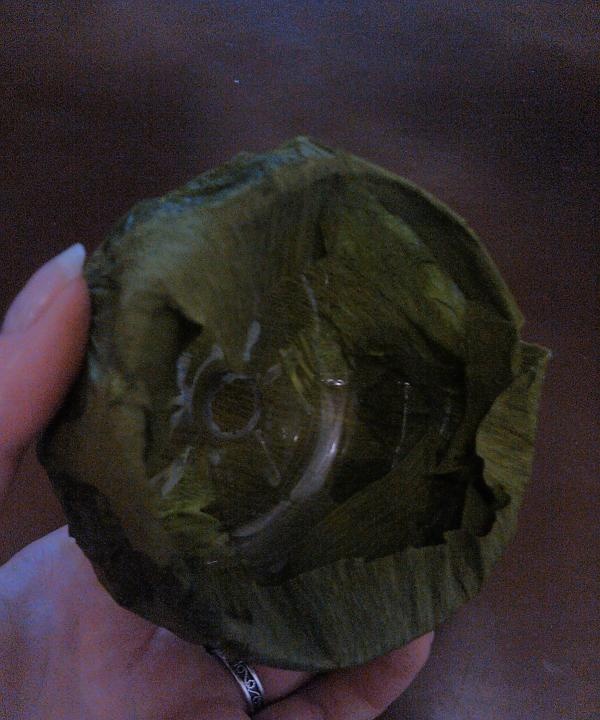
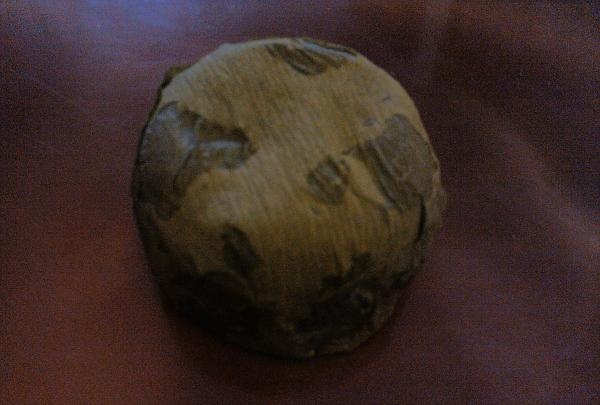
We insert our flower tree into the manufactured base.

You can decorate all this with beads.
The flower tree is ready!