Do it yourself
Life hacks, master classes, useful tips, recipes.
home » Handicraft techniques » Sewing » Sewing clothes » Scarf “Tenderness” using the “Crazy Wool” technique
The history of the scarf goes back more than two thousand years. The scarf first appeared in ancient China for practical purposes - to protect itself from cold and wind. It was made from wool, silk and lace and other materials. Today it is part of the wardrobe in cold weather, an accessory in warm weather, and even as jewelry. Scarves are worn by everyone: from a small child to an elderly person, so many designers, stylists, and even ordinary people try to wear this wonderful piece of clothing in an original way. Every girl dreams of an original thing that matches her style. So that a thing or, for example, earrings, a skirt, a coat, would be unique in her wardrobe. There is such an opportunity - to make it yourself with the least amount of money. I suggest you make it from threads and chiffon using the Crazy Wool technique (i.e. crazy thread). The peculiarity and advantage of such a scarf is originality, ease of execution and low cost. Surely no one will have such a scarf. And even if someone does something similar, it will still turn out differently.
So let's get started!
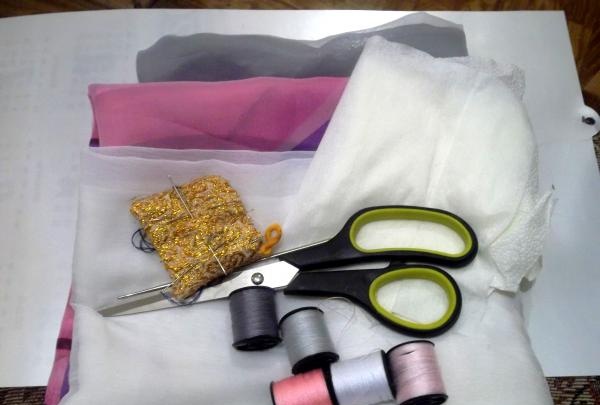
We will need:
-30 cm of chiffon fabric in each color (pink, white and grey),
-sewing threads (white, gray pink, shades of gray and pink),
-paper towels,
- silver lurex threads,
- sewing machine,
- pincushion,
-scissors,
-Crochet hook,
-pins,
- tailor's chalks.

We will need


Progress
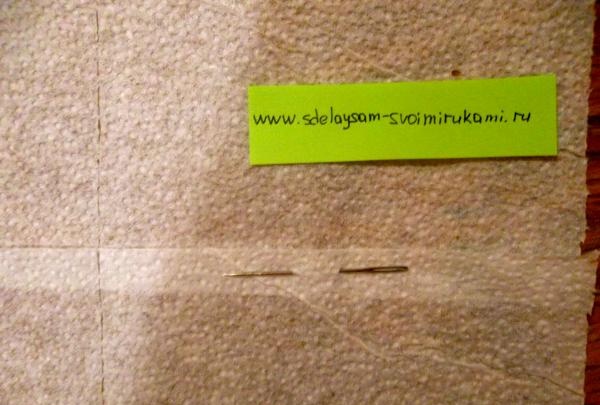
1. Unroll the paper towel along the length of the desired scarf. If there is not enough width, then unwind the same amount along the length and fasten the edges with needles. This is the basis. You can use non-woven fabric if you don’t want paper towels, but non-woven fabric is many times more expensive and less soluble in water, and it’s also harder to find, because you need a special water-soluble non-woven fabric for fabrics. Namely, because of its good solubility in water and budget, I chose it and recommend it to you.

napkin


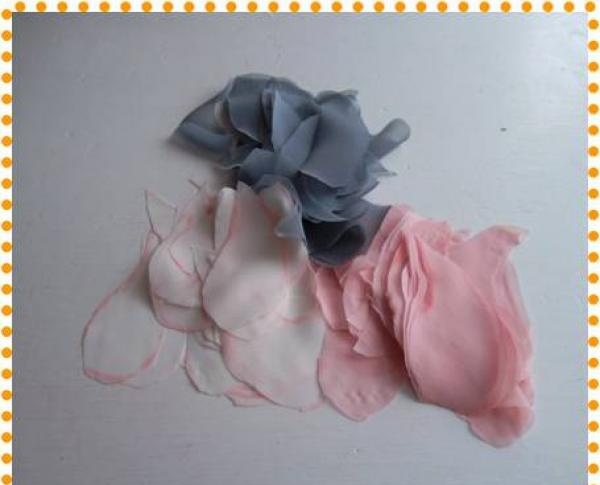
2. On the chiffon we draw droplets in the form of a peacock feather, 8-10 cm long, and cut out these pieces. Out of 30 cm of each color, about 30 - 25 pieces should come out. There should be about 90 drops in total.

draw droplets


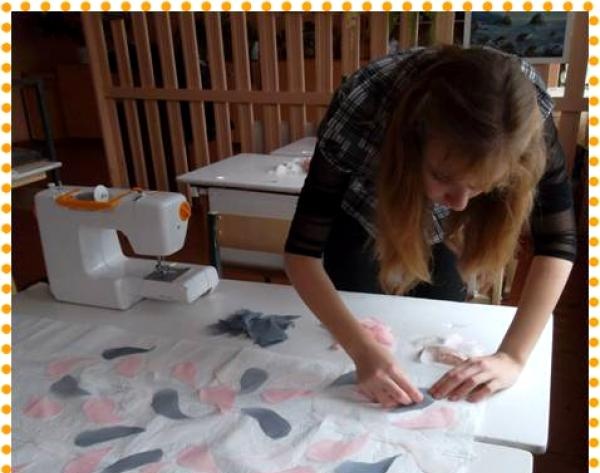
3. Pin the droplets with needles over the entire area of ​​the desired scarf or baste it onto the base with thread. I basted it on towels. It's convenient for anyone. It must be said that the droplets need to be distributed evenly over the entire surface and make sure that there is not too much of one color nearby or that the droplets are dense in some places and thin in others.

Pin the droplets with needles


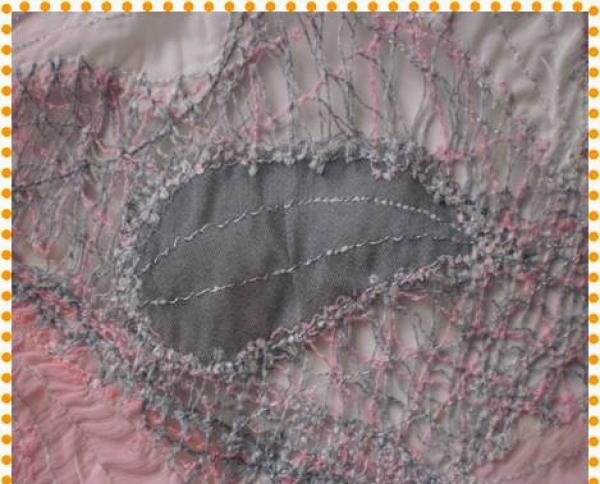
4. Use a sewing machine to sew lines from one drop to another across the entire scarf, first in one color - pink. This work is long, but the result is worth it. By machine stitching, be sure to go to the droplet, as shown in the Photo, otherwise the whole product will fall apart in pieces after washing, because the droplets will not be sewn together. Then use other colors - gray, pink and white.
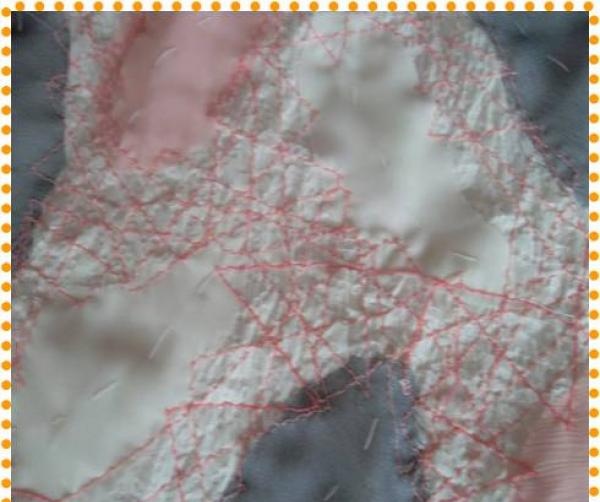
Sew on a sewing machine

Sew on a sewing machine


Do this over the entire area of ​​the scarf.
5. You can stitch the “veins” of the droplets with lurex, or you can simply stitch along the area of ​​the scarf.

Sew on a sewing machine


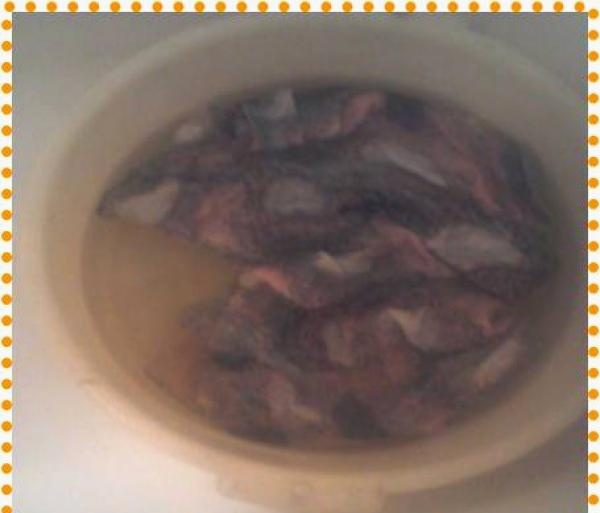
6. Soak the whole thing in warm water without powder and gently wash it so that the paper dissolves. Remove the paper from the scarf.

soak in warm water


7. Then dry and iron.

dry and iron


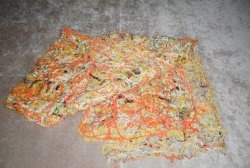
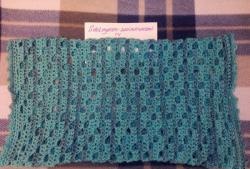
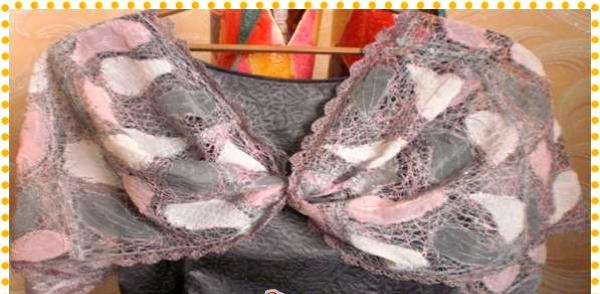
8. We look - there is no paper, only the “cobweb” remains.
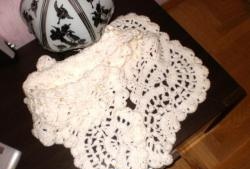
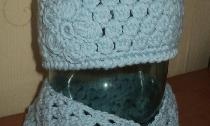
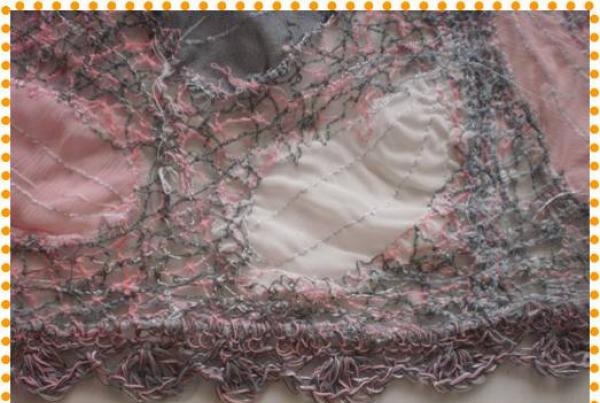
9. To make the scarf look neat, we’ll crochet the edges, but you can just carefully hem them. I tied the edge of the scarf with threads, which I used to stitch the space between the droplets. I connected several colors into one thread and first tied regular air loops around the edge. grabbing the edges of the scarf. This way you just get a neat edge. Next, I tied a scarf with double crochets for beauty. It turned out great!

no paper


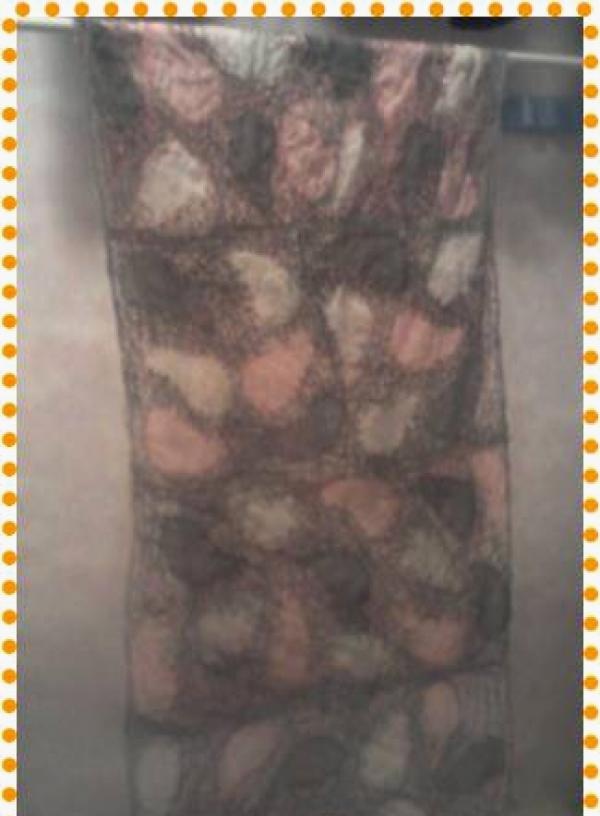
The end result is a scarf like this.

Scarf Tenderness using the Crazywool technique


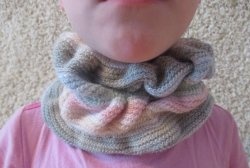
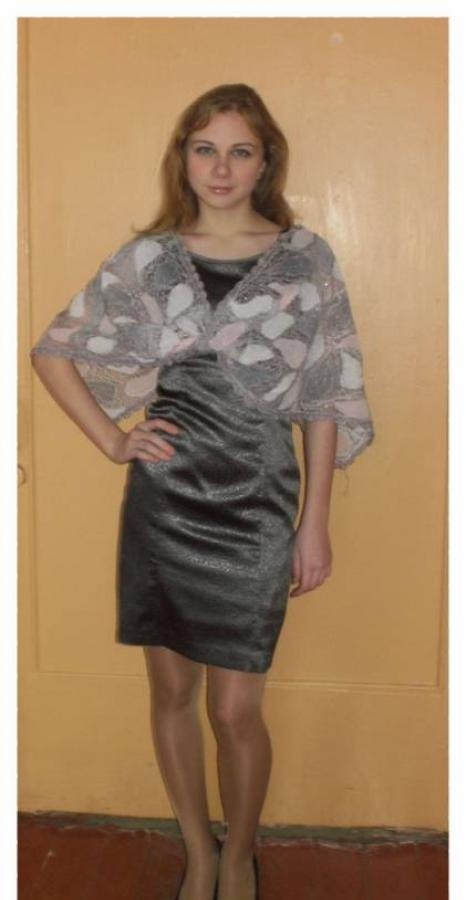
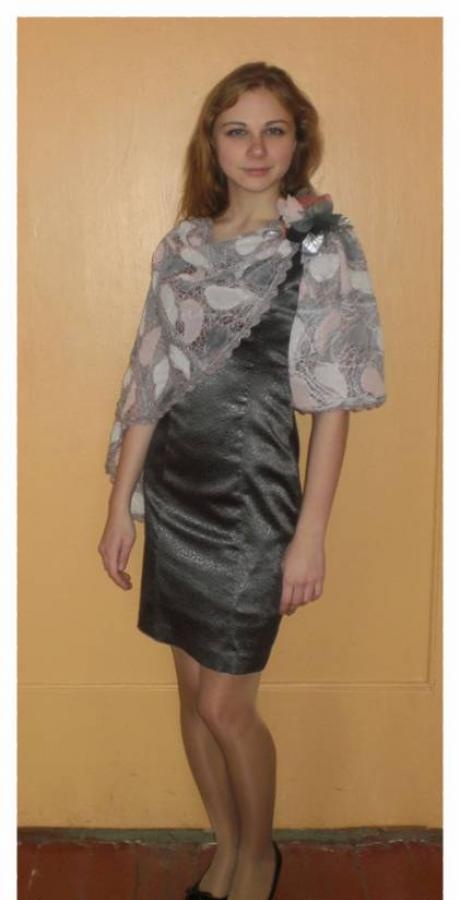
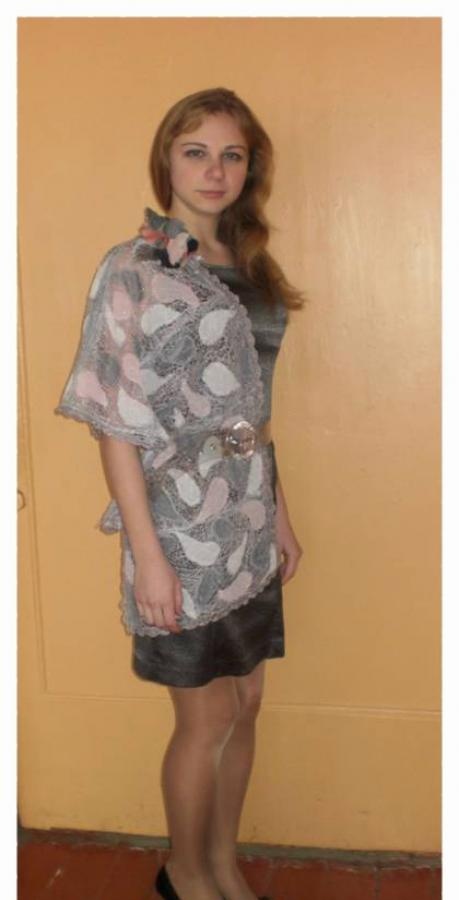
Next are wearing options and a demonstration of the product itself.

Scarf Tenderness using the Crazywool technique


I would like to say that people around me did not understand how I made this scarf. I had to explain it to everyone. Many immediately wanted the same one, but in a different color.

Scarf Tenderness using the Crazywool technique

Scarf Tenderness using the Crazywool technique


Creative success!
Author - Bodrova Elizaveta Sergeevna.
come back
Comment
  • bowtiesmilelaughingblushsmileyrelaxed relaxedsmirk
    heart_eyeskissing_heartkissing_closed_eyesflushedrelievedsatisfiedgrin
    winkstuck_out_tongue_winking_eyestuck_out_tongue_closed_eyesgrinningkissingstuck_out_tonguesleeping
    worriedfrowninganguishedopen_mouthgrimacingconfusedhushed
    expressionlessunamusedsweat_smilesweatdisappointed_relievedwearypassive
    disappointedconfoundedfearfulcold_sweatperseverecrysob
    joyastonishedscreamtired_faceangryragetriumph
    sleepyyummasksunglassesdizzy_faceimpsmiling_imp
    neutral_faceno_mouthinnocent
3+three=
Comments (1)
  1. Victoria
    #1 Victoria Guests 14 August 2015 23:16
    4
    Good afternoon How interesting you did this! And I'm crazy, throwing threads.Tell me, please, are paper towels the ones that look like napkins but are thicker? or some others? And do they fall off the fabric? I once tried to stitch a small piece on a napkin. So I still can’t completely pull the paper out of the seams. Maybe I washed it roughly? Please tell me if there is any trick when washing, if you sew on paper towels. I really don’t want to buy expensive water-soluble interlining. And I really liked your technique, I’ll definitely try it.

How to sew a scops owl pillow with your own hands

How to cook shashlik according to the Soviet recipe

How to sew a textile doll step by step | Do it yourself

Do it yourself - crafts and master classes | Page 219

«Do it yourself - with your own hands» - a site of interesting homemade products made from scrap materials and items at home. Step-by-step master classes with photos and descriptions, technologies, life hacks - everything a real master or just a craftsman needs for needlework. Crafts of any complexity, a large selection of directions and ideas for creativity.

We recommend reading

Washing machine error codes