Materials for work:
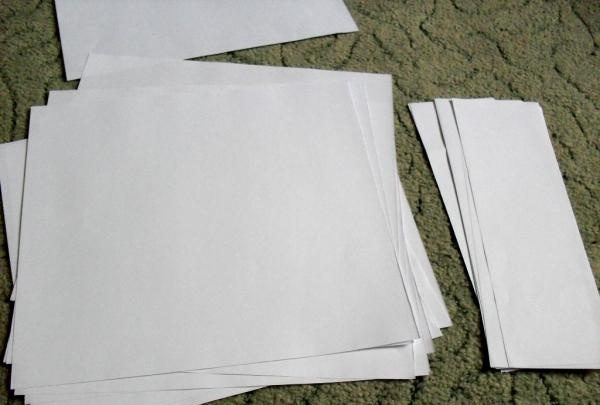
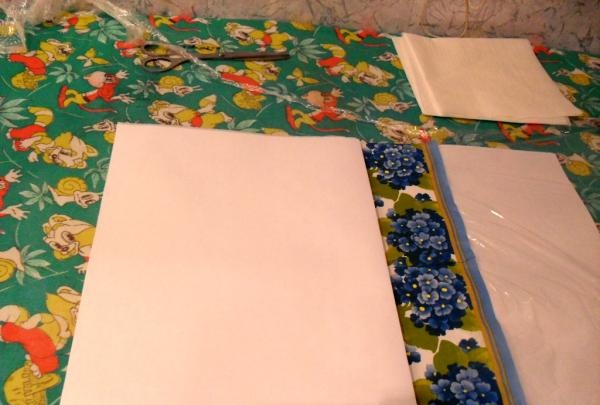
- A3 paper – 20 sheets;
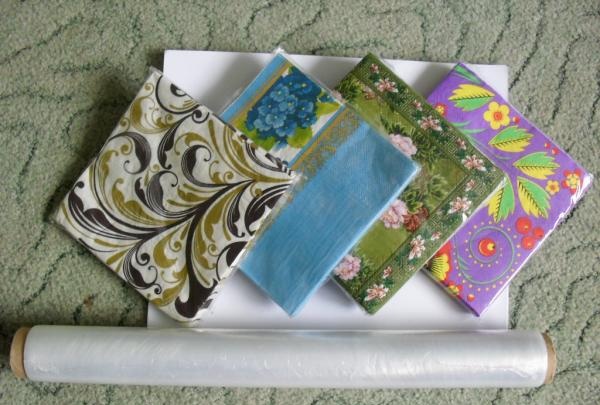
- Napkins of different designs – 30 pieces;
- Food film – 1 roll;
- Medical bandage – 2 pieces;
- Liquid PVA glue (construction) – 0.5 cups;
- PVA glue pencil – 1 piece;
- Wide satin ribbon – 0.5 m;
- Super glue – 1 tube;
- Thick wallpaper measuring 0.4 x 0.5 m - 2 pieces;
- Postcard – 1 piece;
- Curly scissors, paper cutting knife, brush.
Stages of work:
First stage: making scrapbooking pages.
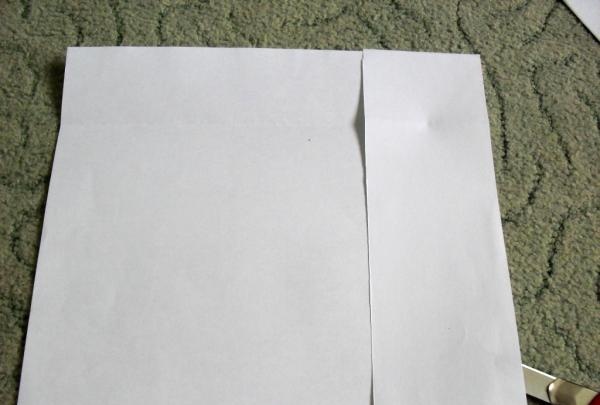
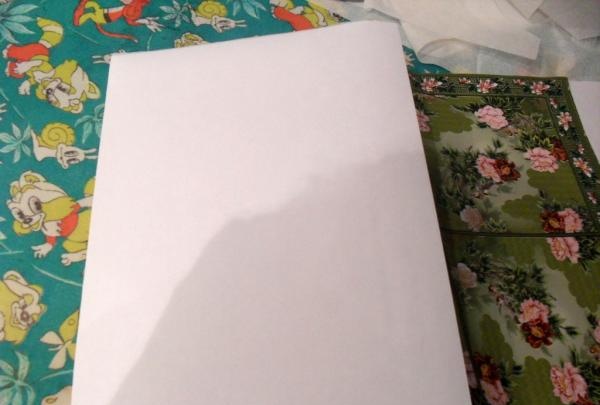
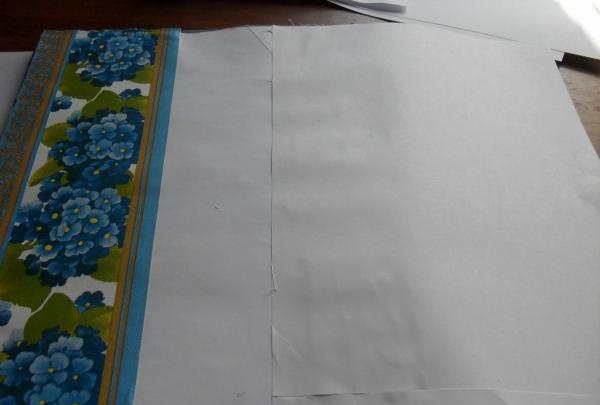
We reduce A3 sheets by cutting off excess along the top and sides. It turns out to be a square, slightly larger than an A4 sheet.
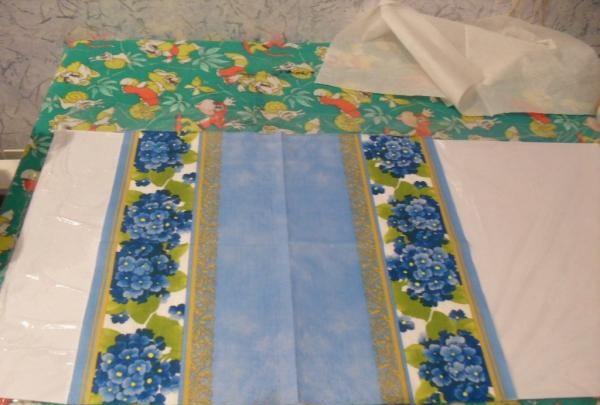
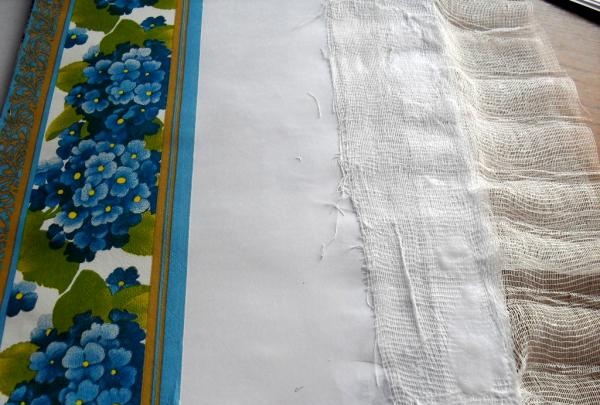
We take three-layer napkins with different patterns and cling film.
On a flat surface, combine the 2 sheets so that the joints do not overlap each other.
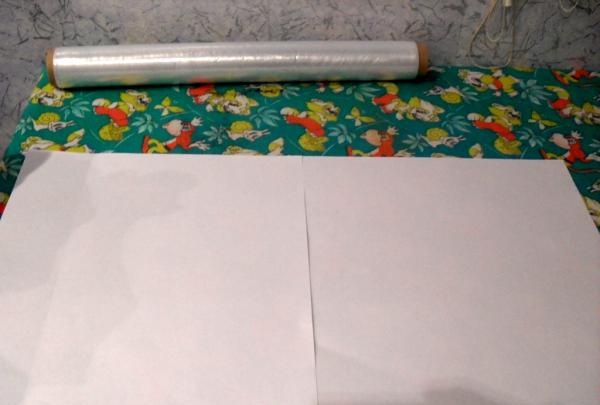
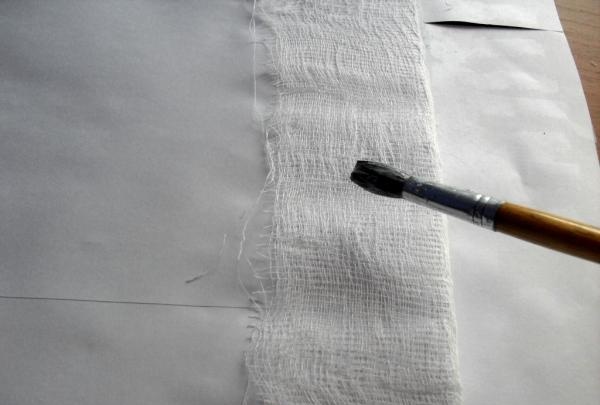
Roll out cling film over the sheets.
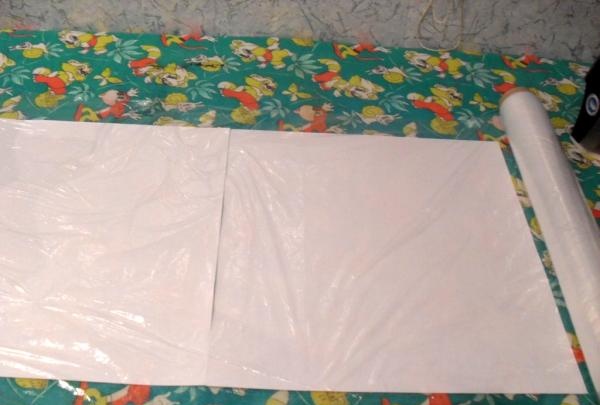
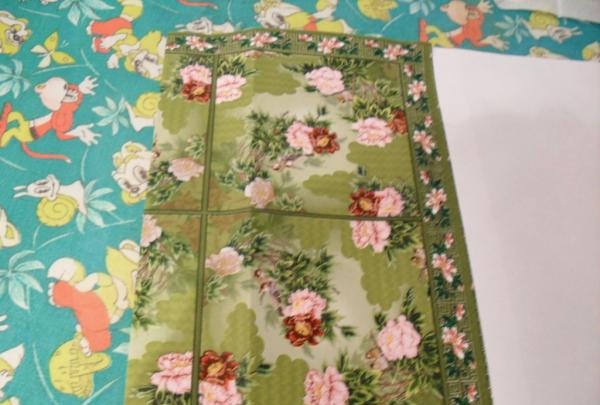
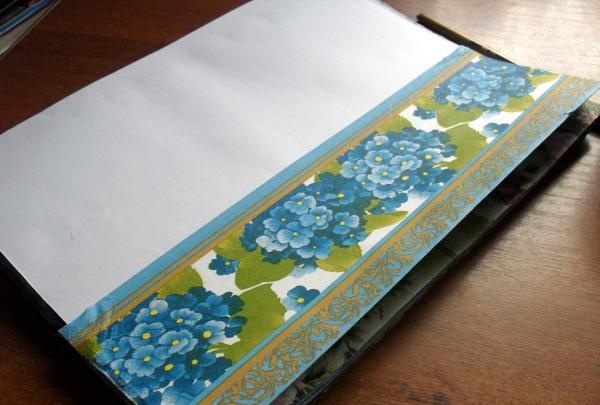
We separate the excess layers from the napkin and place it on top of the film. We make a small indent from the edge to form a fold in the pages.
Carefully and thoroughly iron the napkin, trying not to touch the film on the right edge of the napkin.
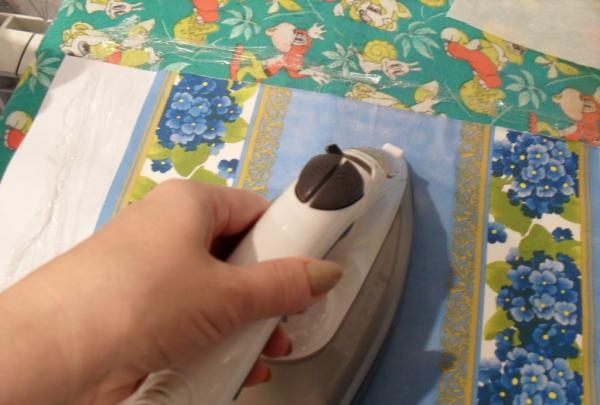
We form the bend of the sheet.
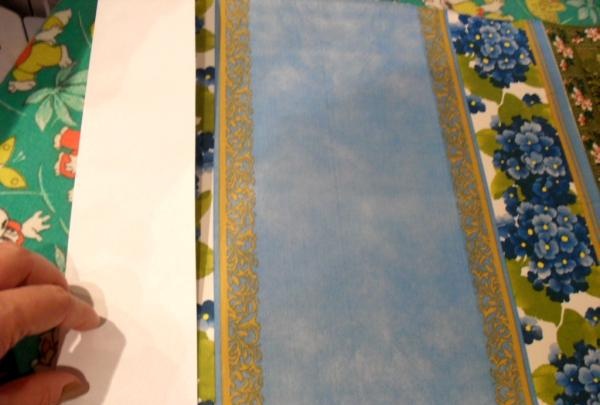
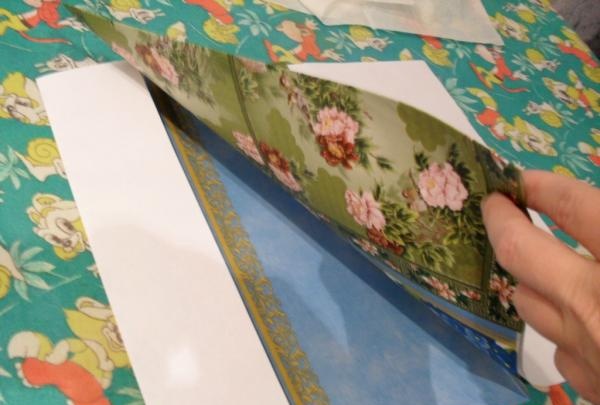
Move the resulting gluing to the left. Next to the already glued second sheet of paper, place the third sheet end-to-end. We unwind the film to the right, covering the third sheet with it. Place a second napkin (of a different color) on top. Iron it with an iron.
We form the fold of the first sheet of the album.
We form the fold of the second sheet of the album.
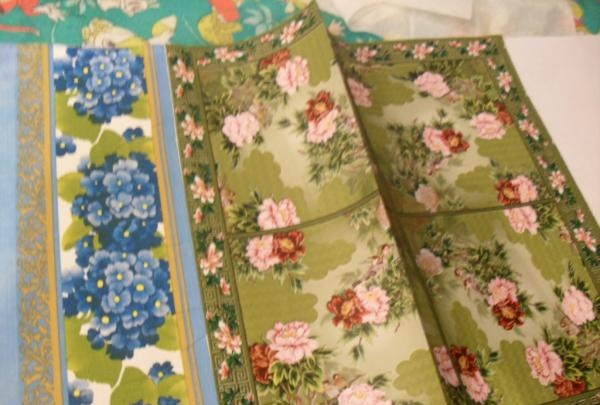
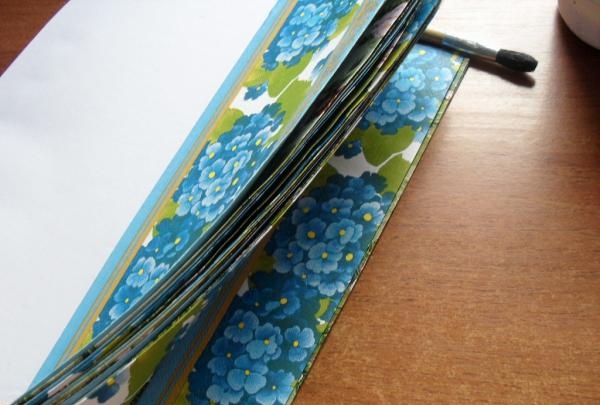
We drag the gluing to the left side of the table. Place another sheet of paper under the film rolled out to the right, smooth the film, and place a new napkin on it. Smooth it with an iron.
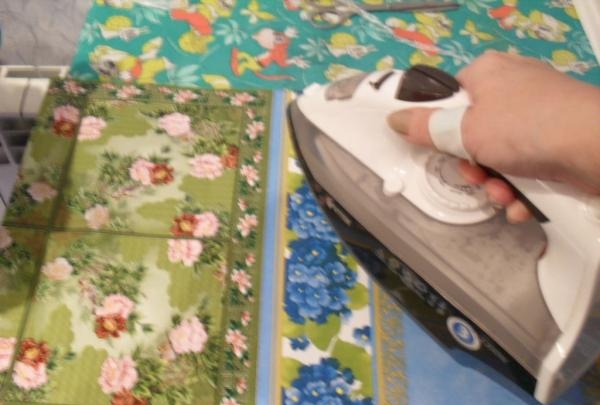
We make a bend again, we get another sheet of the album.
Thus, repeating the steps, we make the required number of landscape sheets.
Second stage: making the binding.
To form the binding we take PVA and bandages.
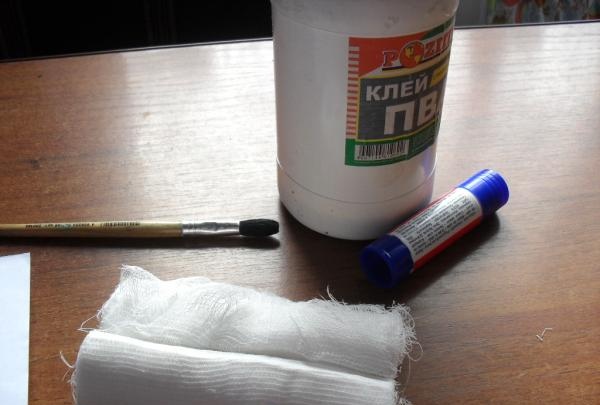
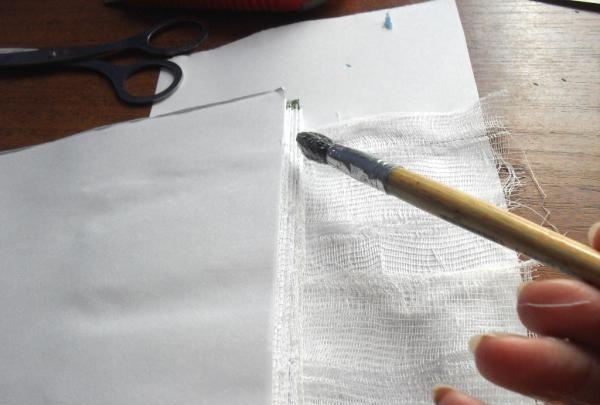
All album pages have a white interior. Apply glue to the first inner part.
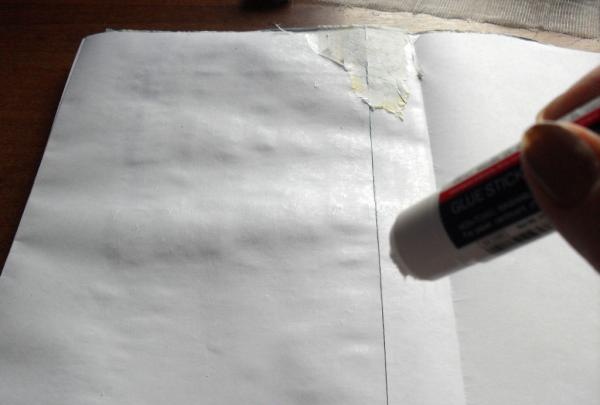
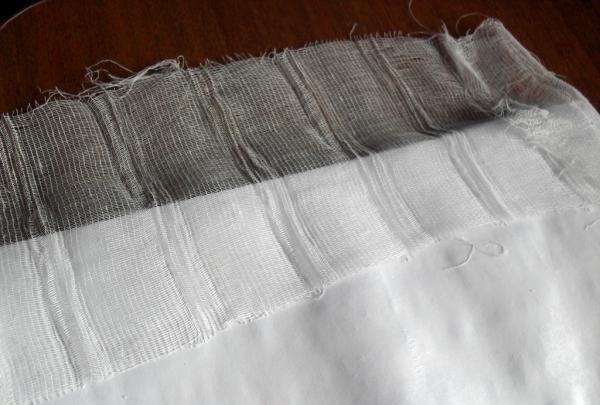
We lay a piece of bandage along the edge where the pages are folded, leaving part of it for work.
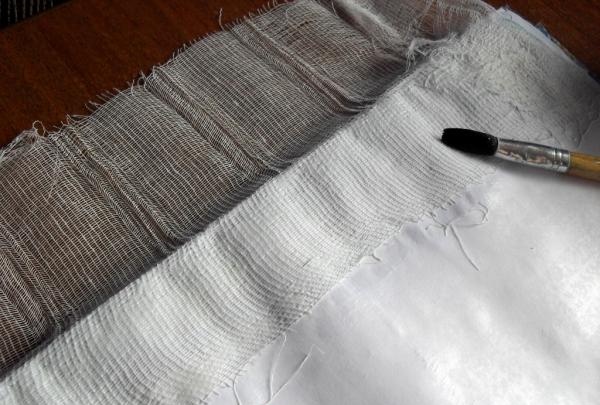
Apply a thin layer of liquid PVA to the bandage.
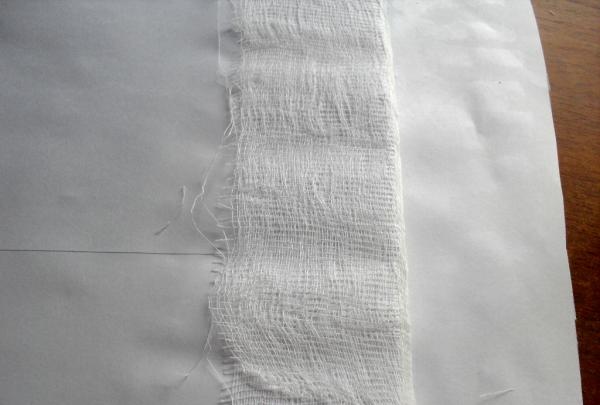
Turn the page over and fold the bandage over the turned page. We apply glue to it, connect the pages, and smooth them out.
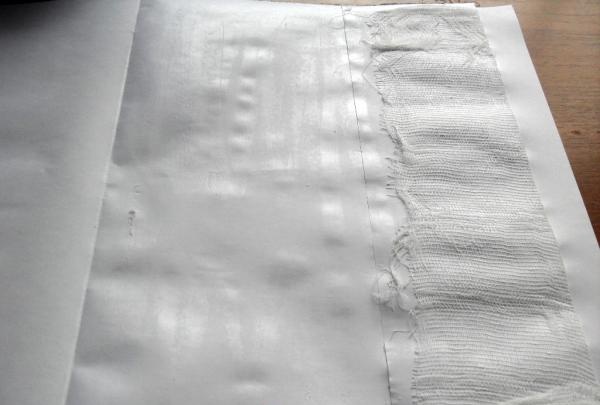
We repeat all steps until the end of the album. We put an additional piece of bandage on top of the last page and glue it.
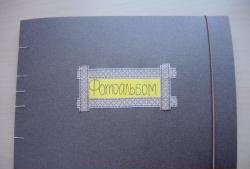
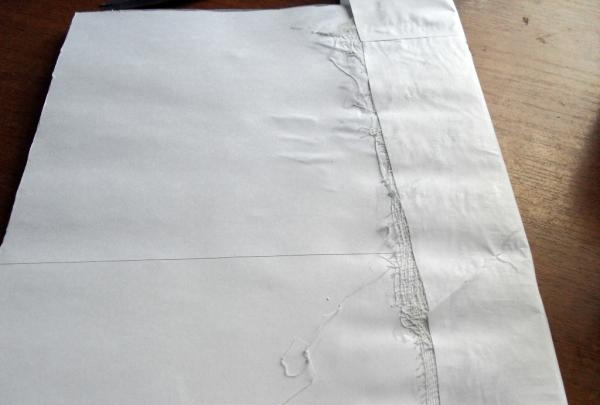
Place a piece of paper in the place where the sticker is placed.
We are turning the album over. Carefully coat the entire binding with PVA.
We bend the bandage, covering the entire binding.
Coat the bandage with liquid glue.
We wrap a piece of paper placed over the binding in a bandage moistened with glue.
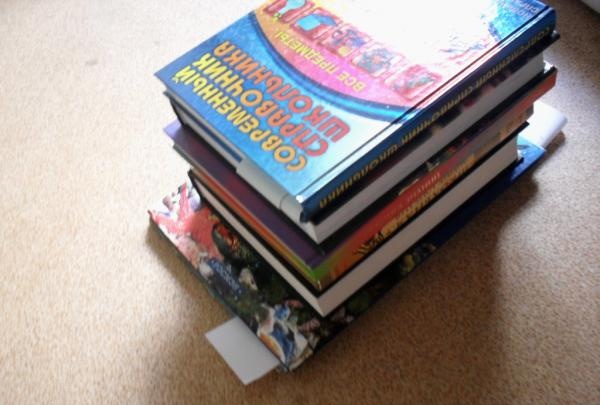
We put the album under the press. We dry it for a day.
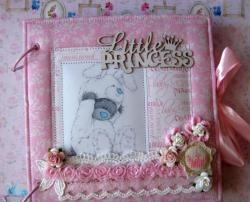
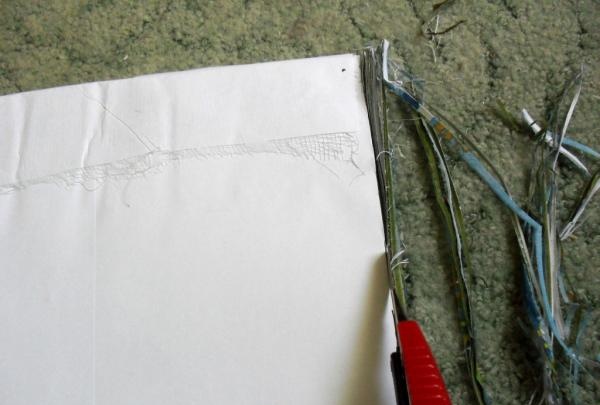
Third stage: creating the cover.
We cut off the uneven edges of the album.
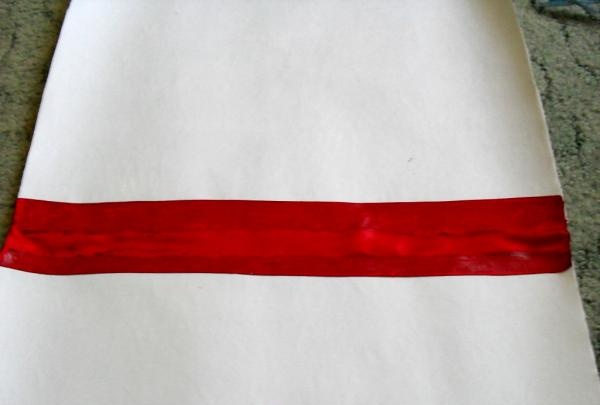
Cut the satin ribbon to a length corresponding to the length of the album binding.
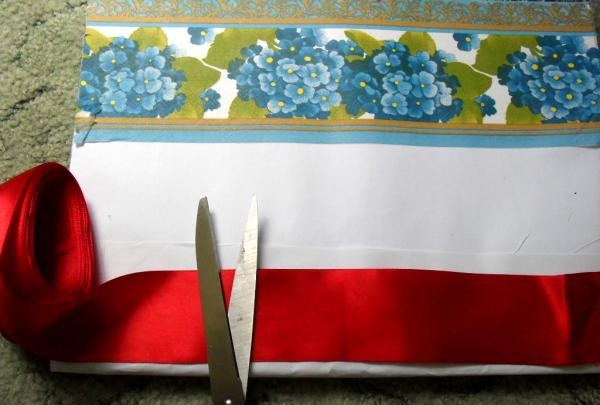
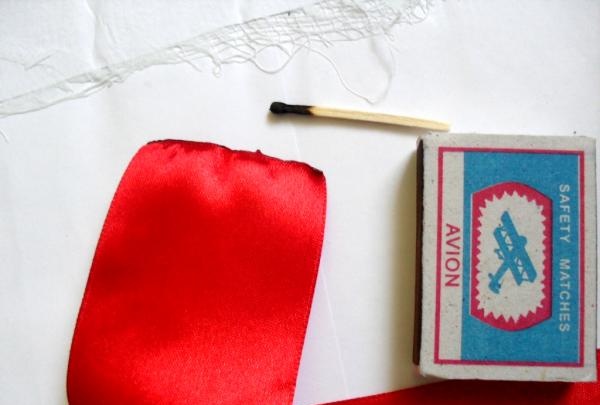
To avoid fraying, burn the edges of the tape.
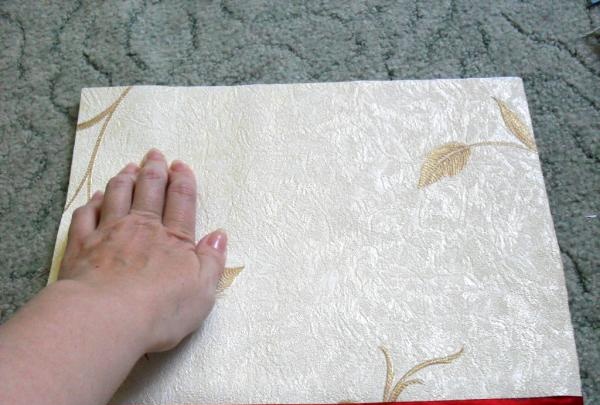
We cut thick wallpaper to the size of the album.
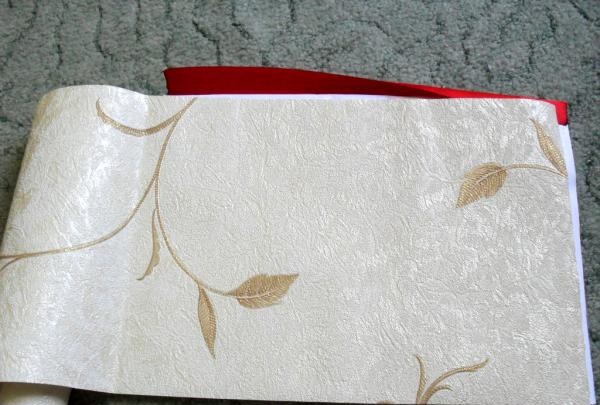
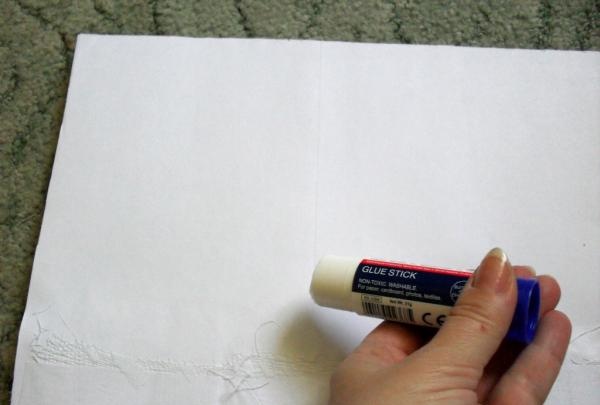
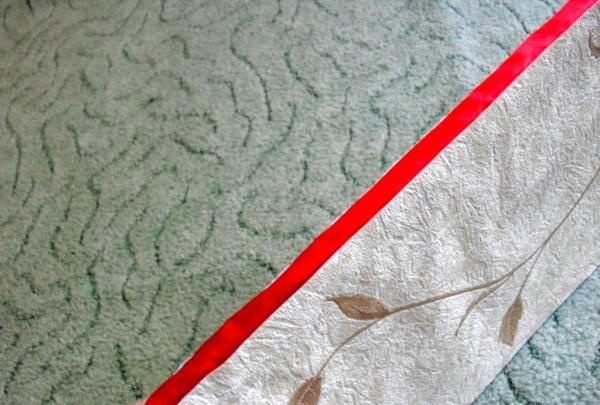
On the left side of the edge of the wallpaper we glue the edge of a satin ribbon, soaking it with superglue.
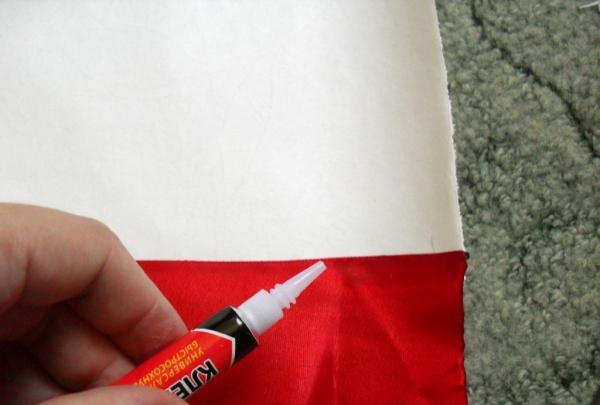
We similarly attach the second piece of wallpaper to the other side of the tape.
The result was a cover binding.

Apply glue to one side of the album.
Smooth out thoroughly.
We also glue the other side of the cover to the album. It turned out to be a soft cover.

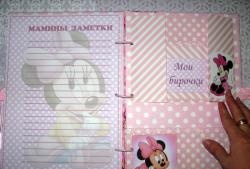
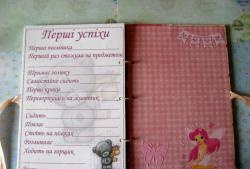
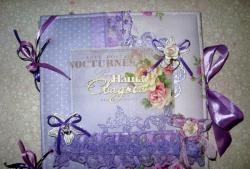
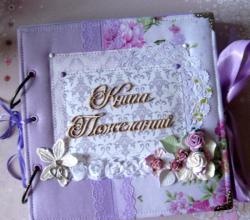
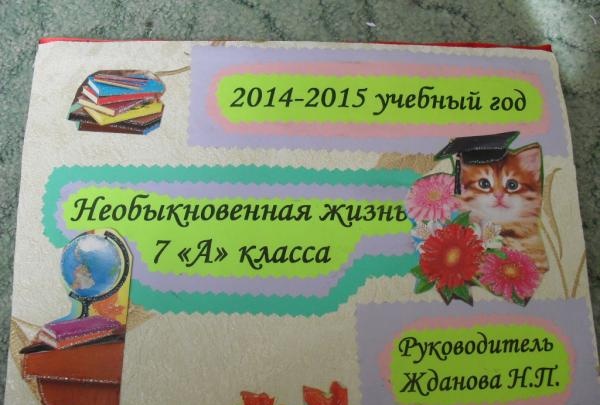
Using shaped scissors, we cut out irregular shapes from colored paper (on which the desired text is already printed). Glue them to the front of the cover.
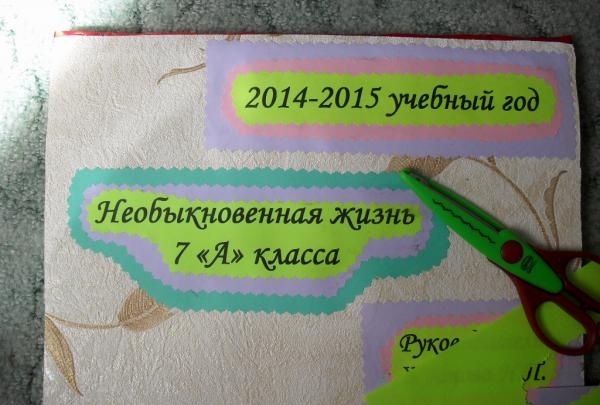
Add some liveliness by cutting out colored pictures from the postcard.
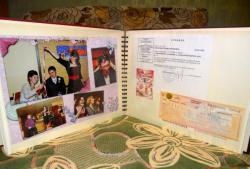
Stage four: making the album meaningful.
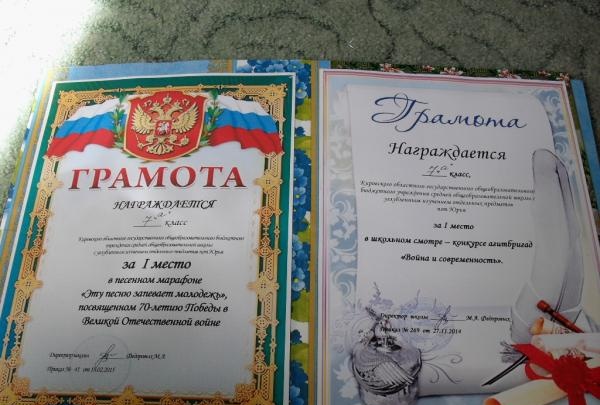
We paste certificates and diplomas inside the album.
Adding photos.
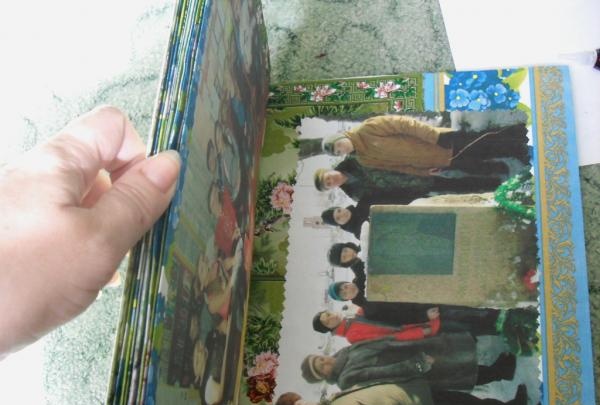
If such an album will keep your family secrets, you can add text content to the photos. For example, biographies or memoirs.