For work we will prepare the following materials and tools:
- - Whatman paper;
- - a sheet of cardboard;
- - a set of gouache paints;
- - scissors;
- - brushes;
- - a tube of PVA glue;
- - a set of multi-colored paper napkins;
- - corrugated paper of different shades;
- - a simple pencil;
- - double-sided colored paper;
- - threads;
- - blue self-adhesive foam.
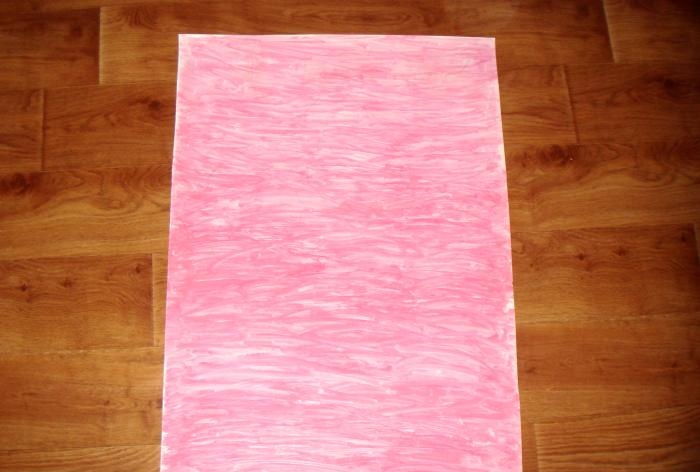
We take whatman paper and cover it with bright gouache paint. The pink shade suits the spring theme very well. It is better to apply the paint with a thick brush.
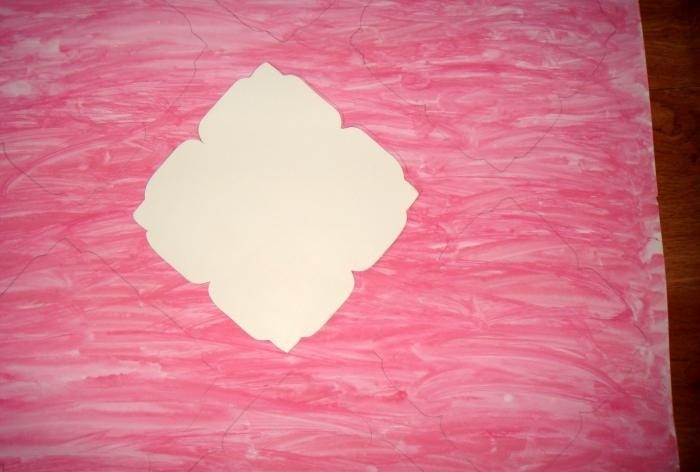
We cut out a stencil of an unusual shape from cardboard. With its help we draw several individual elements (mini-paintings).
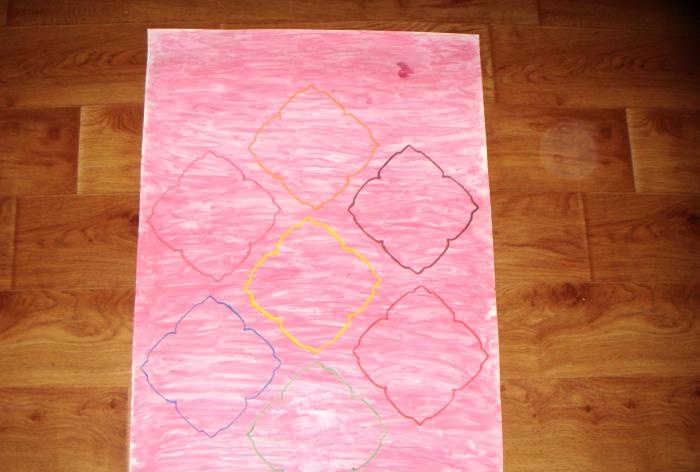
We draw the outline with different shades of gouache paint using a thin brush.This makes 7 frames.
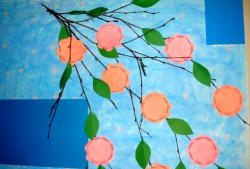
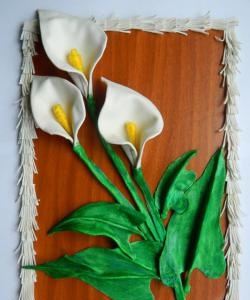
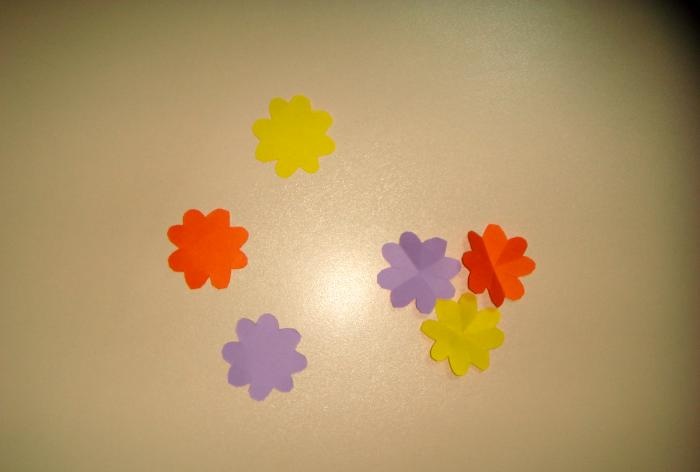
From colored double-sided paper (yellow, orange and purple) we cut out miniature flowers and bend them several times to give them volume.
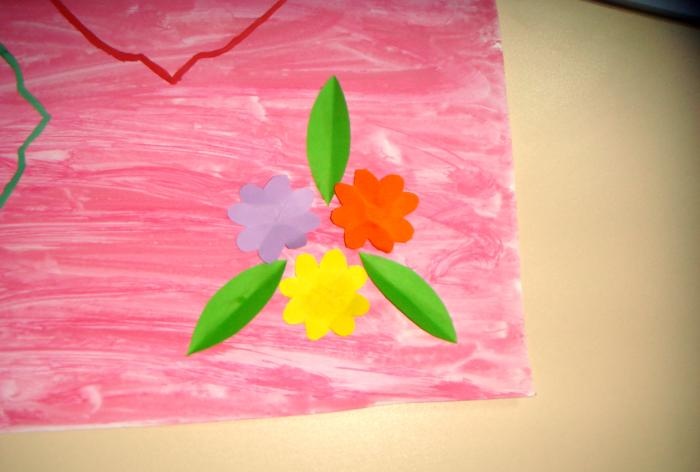
We cut out oblong leaves from green paper and bend them in half lengthwise.
In the corner of whatman paper we glue three different colored flowers and the same number of leaves.
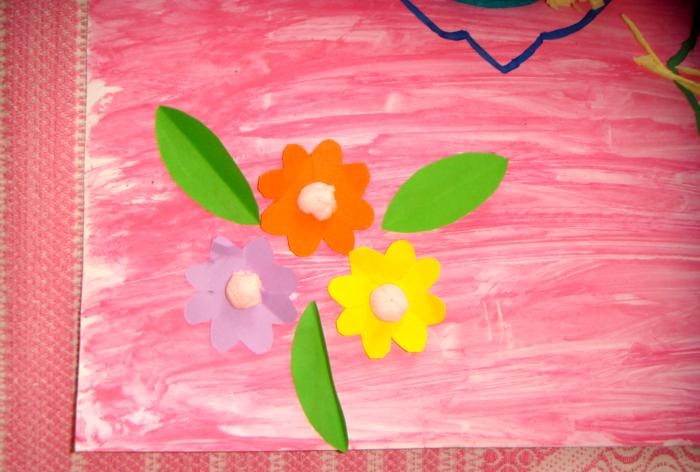
We make the center of the flowers from a pink napkin.
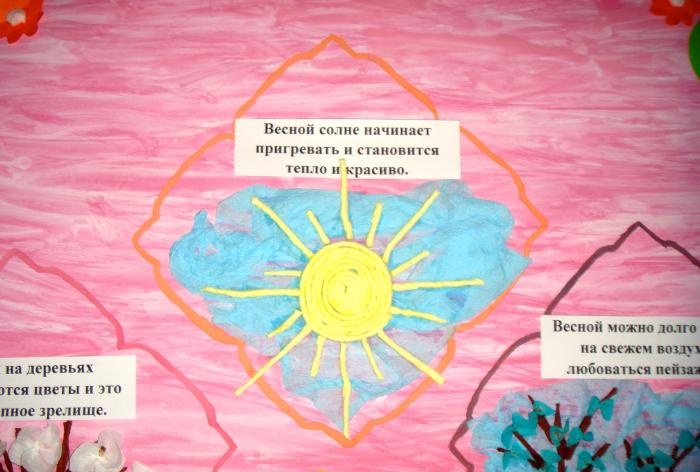
Now let's start making mini-paintings.
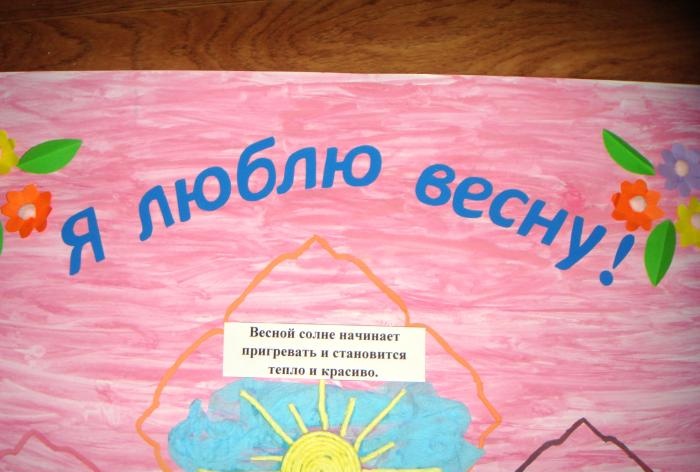
We form the sky from a blue napkin. And from strands twisted from a yellow napkin, we lay out the sun with rays. All parts are easily fixed with PVA glue.
Above the application we write information on the topic.
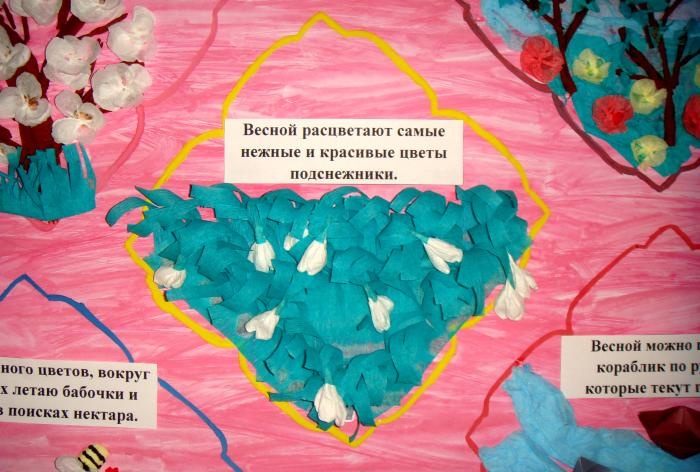
We cut out strips from green corrugated paper, make fringe and twist it a little with the blade of scissors. Glue the strips horizontally. The result is lush grass. We form snowdrops from a white napkin (three petals each, fastened together). Glue snowdrops between the blades of grass.
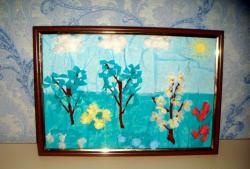
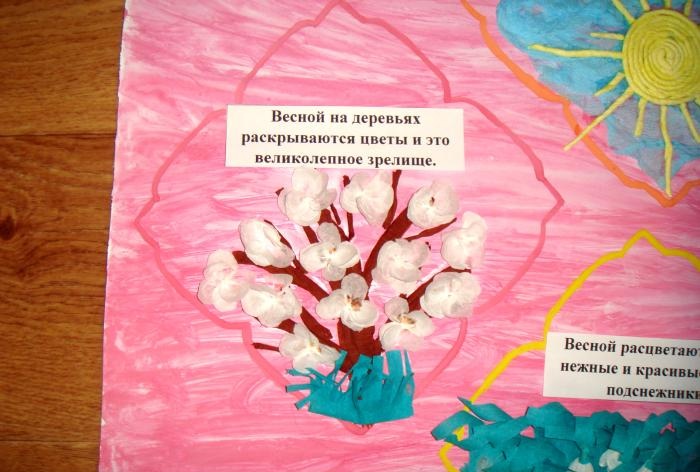
We make flagella of different thicknesses and lengths from brown corrugated paper. From them we form a tree with branches. We glue delicate flowers made from a white napkin onto the branches. The result is a tree with lush flowers.
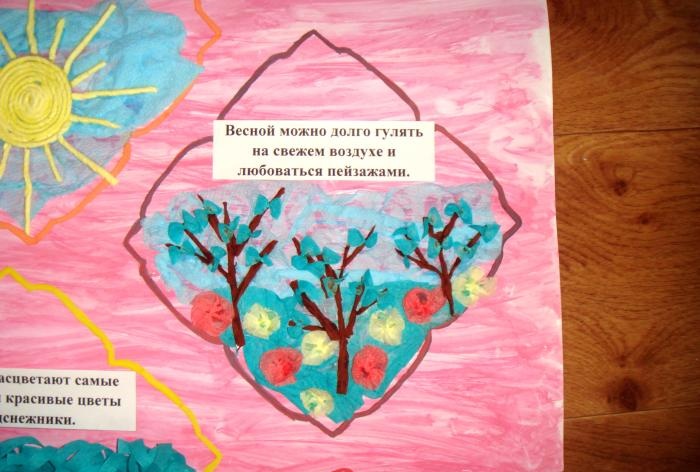
You can make a whole landscape. The sky is a blue napkin, the grass is green crepe paper. The trees are made of brown crepe paper, there are delicate green leaves on the branches, and at the bottom we place flowers made of pink and yellow napkins.
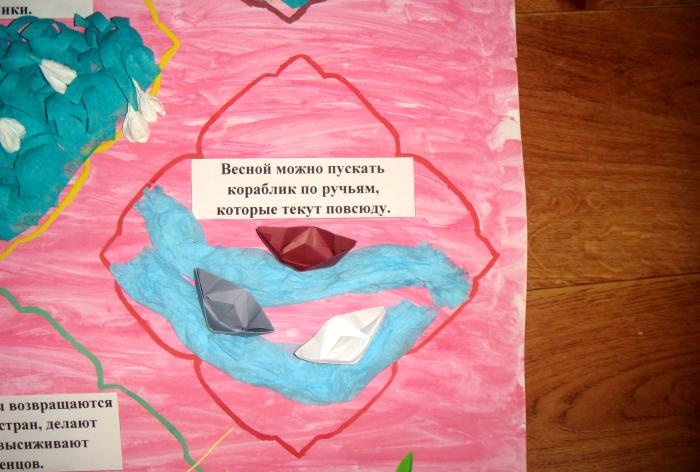
We make streams of blue napkins. On them we glue multi-colored boats made using the technique origami.
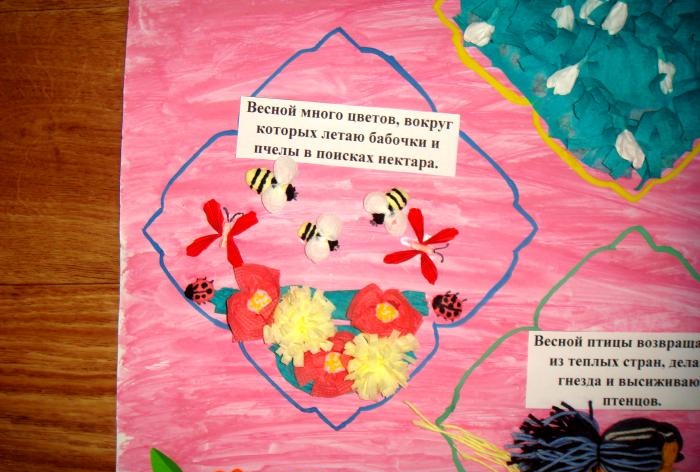
From napkins in green, pink and yellow shades we make a flowering meadow over which insects fly. Bright butterflies, active bees and fussy ladybugs are made from multi-colored napkins.
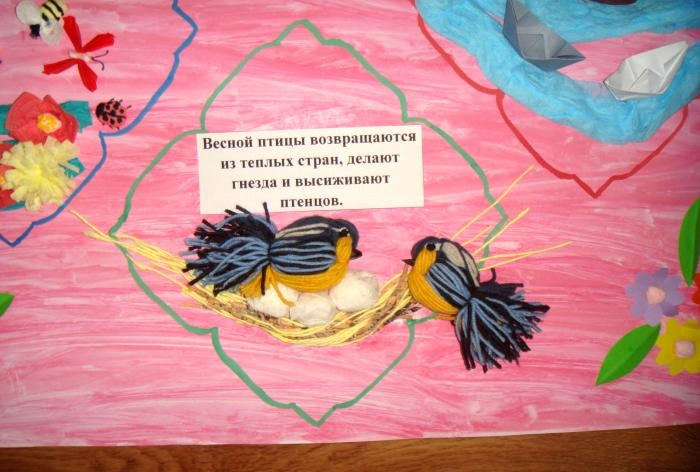
We make a nest from brown and yellow napkins. The eggs will be balls of white crepe paper, and the birds can be made from leftover knitting threads.
All that remains is to cut out the letters from the self-adhesive film.
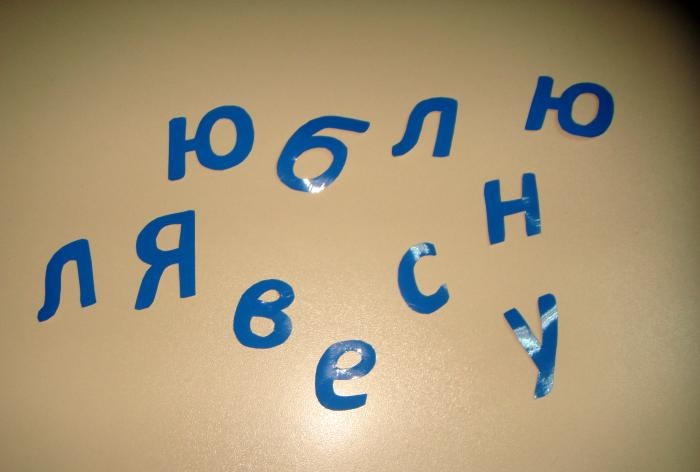
And paste the title of the panel: “I love spring.”
This is such a beautiful job.
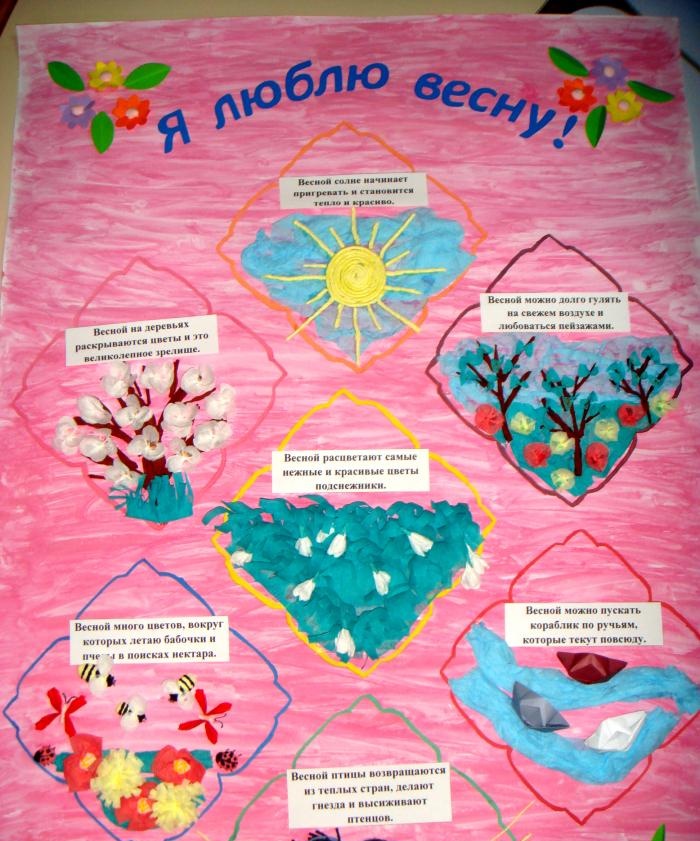
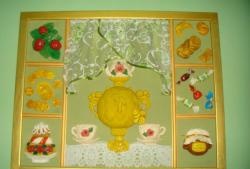
The general panel dedicated to spring consists of mini-paintings of the corresponding theme.
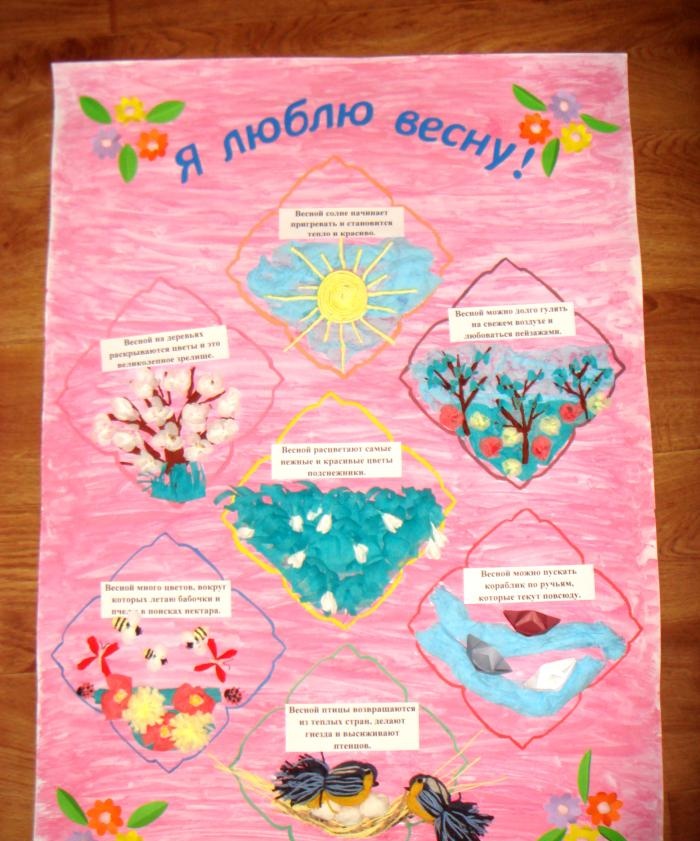
This craft will be useful to any teacher when working with children.