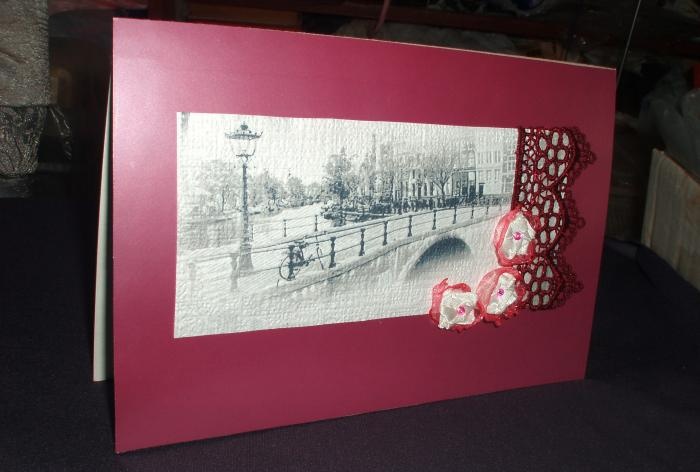
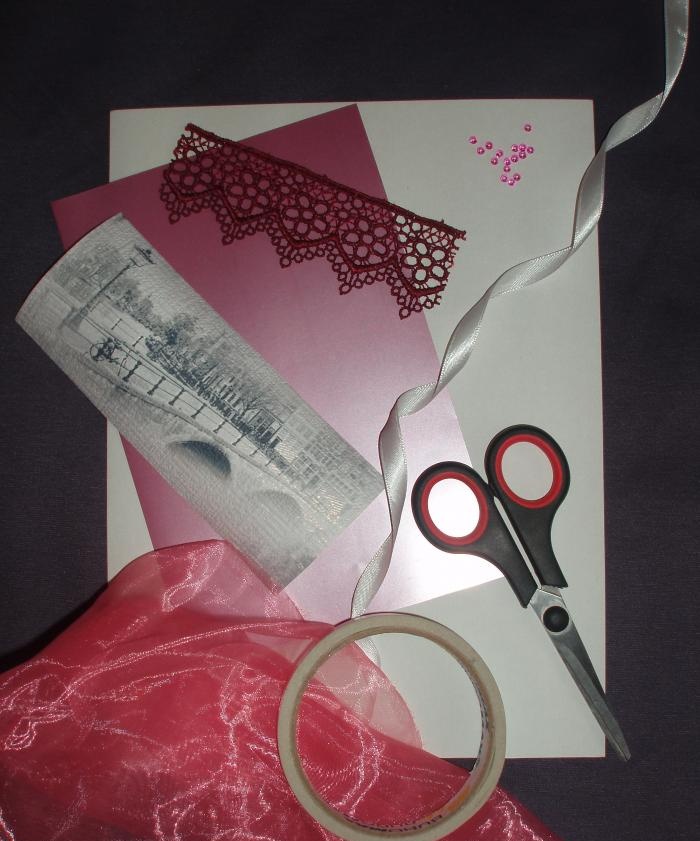
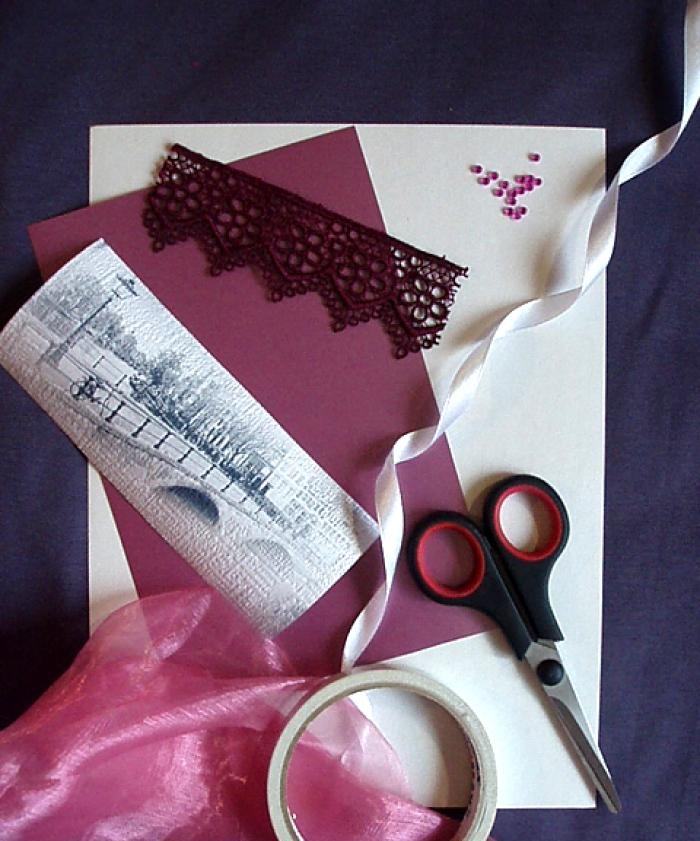
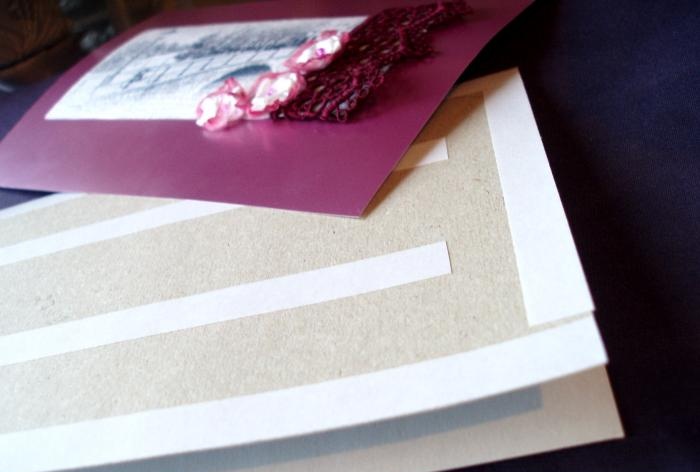
For the postcard you need:
- a piece of white or gray cardboard for the base of the postcard measuring 27x20.5 cm;
- a piece of plain colored cardboard for the front of the postcard measuring 20.5x13.5 cm, in this case plain cardboard with a metallic effect was used;
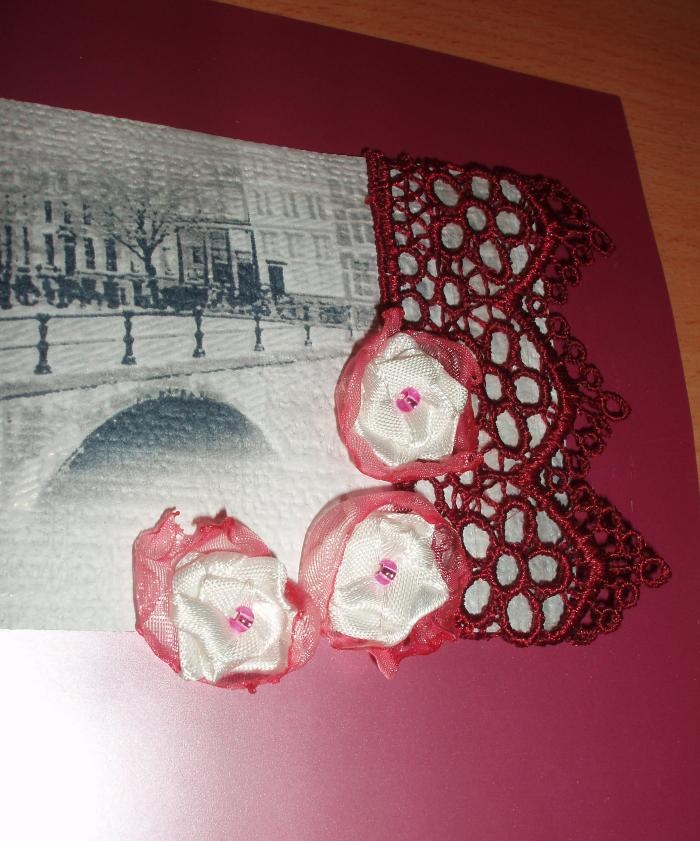
- a decorative detail measuring 16x7 cm; when making this postcard, a motif was used that was cut out from a piece of ordinary wall wallpaper, but you can use any picture you like from the cover of a notebook or from a magazine, preferably the picture is made of thick paper or cardboard;
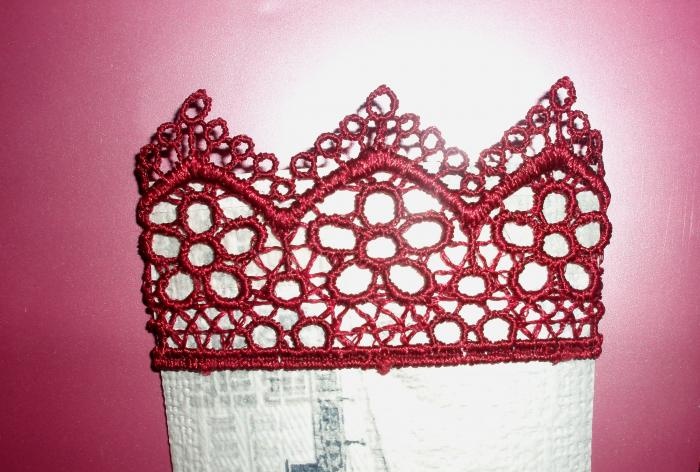
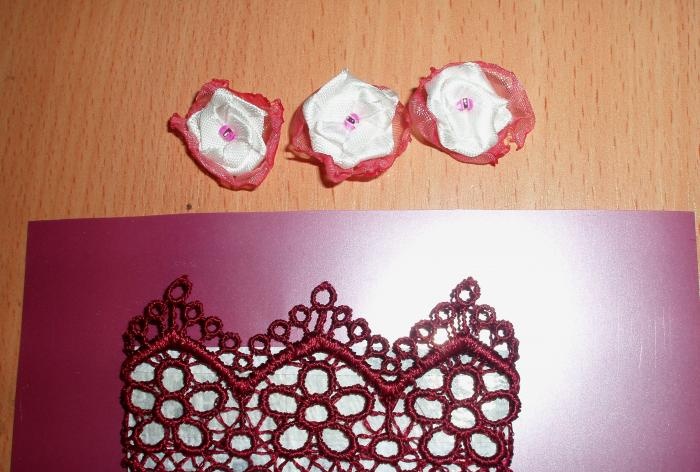
- a piece of guipure lace braid with a scalloped edge about 10 cm long and 3 cm wide;
- shreds of organza; as a last resort, if there is no organza, you can replace it with artificial chiffon;
- satin ribbon about 0.75 cm wide and about 60 cm long;
- 3 beads, seed beads or pearls for the centers of the flowers.
In addition, additional materials will be required:
- a needle and thread in the color of the satin ribbon;
- stationery or construction double-sided tape 1 cm wide;
- scissors;
- pencil and ruler for cutting out parts from cardboard;
- matches and a candle for singeing organza sections.
Also, in addition to all of the above, you, of course, cannot do without skillful hands, a fresh dose of inspiration and uncontrollable imagination, because it is unlikely that you will be able to repeat exactly a handmade thing, and you will have to create your own masterpiece!
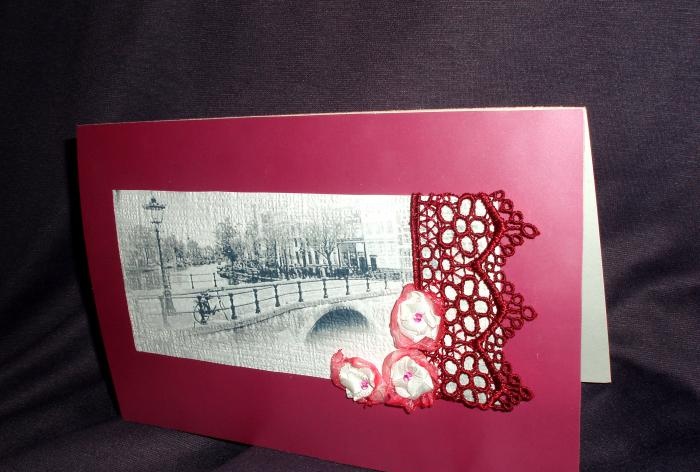
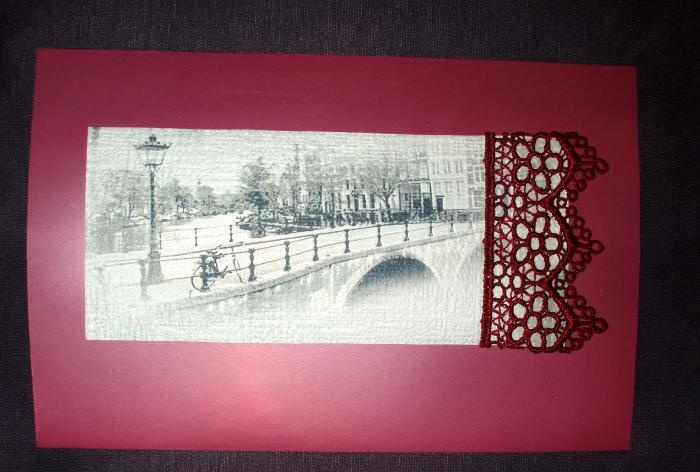
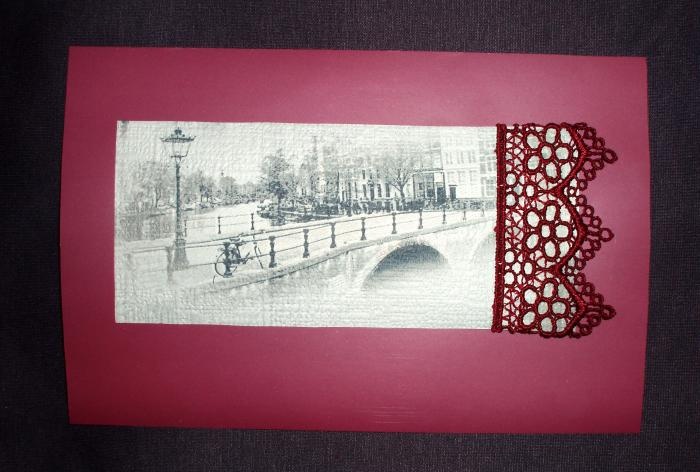
So, first we work with a small motif, which in this case was cut out of thick wallpaper. We decorate the right edge with a scalloped border. To do this, simply glue a strip of double-sided tape to the front side of the motif, and then put guipure braid on the adhesive strip so that the scallops look beyond the edge of the motif and subsequently overlap the background.

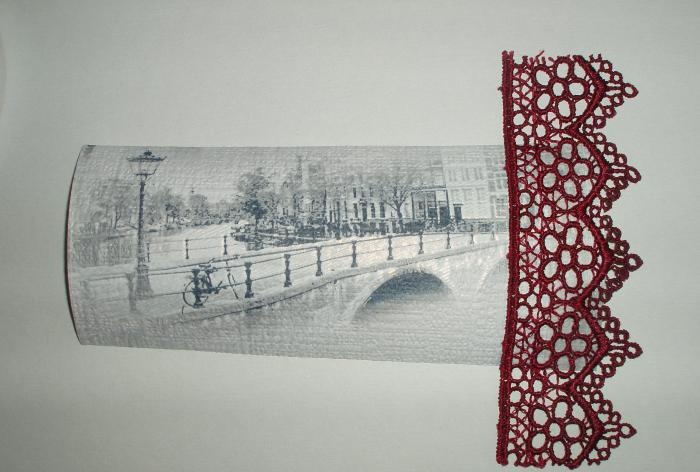
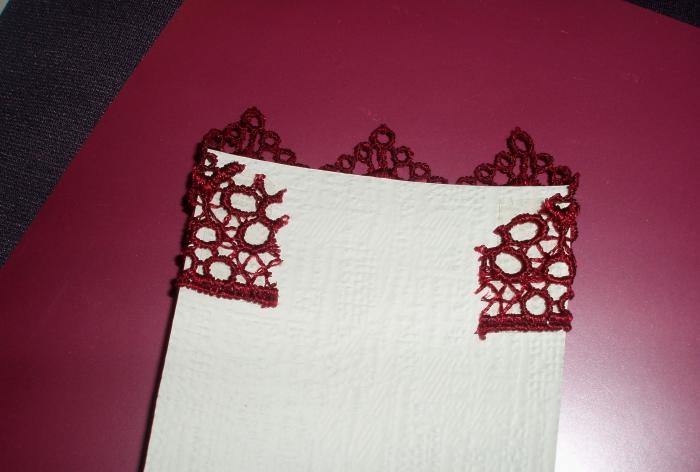
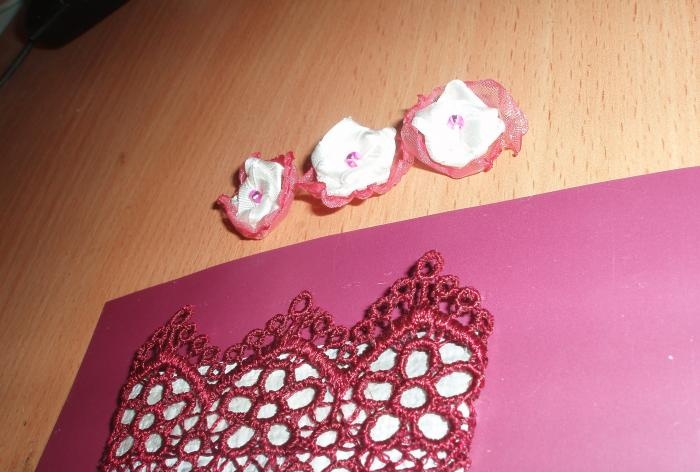
Gently press the braid so that it is well secured and turn the decorative element over. We trim off the excess braid and unnecessary scallops, leaving an allowance of 1.5 cm on each side. We glue them with pieces of double-sided tape to the wrong side of the wallpaper motif.
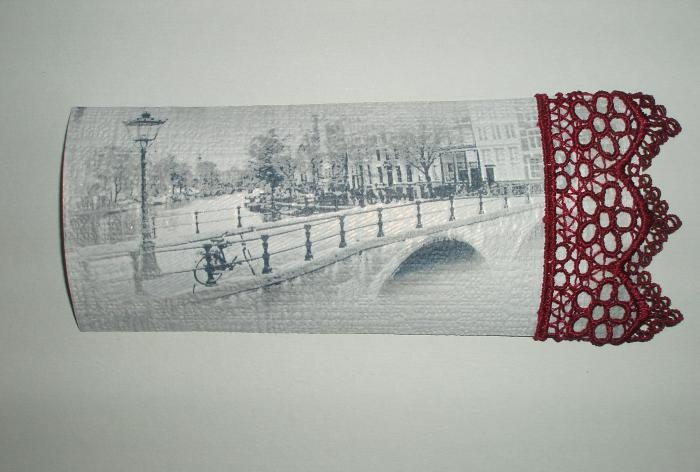
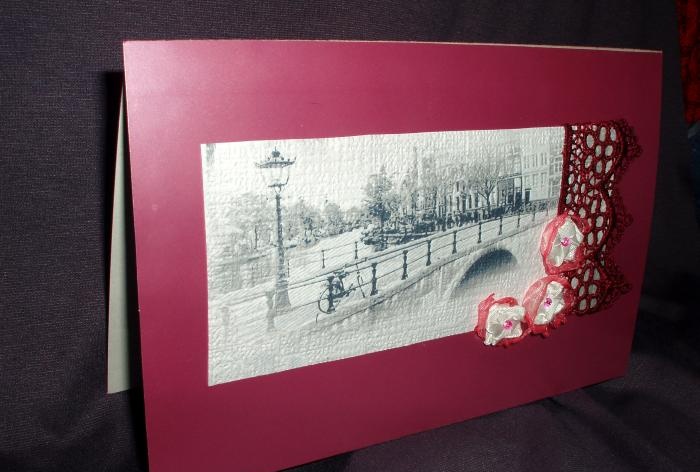
Now our little motive is ready. Glue it onto a piece of colored cardboard, which will be the front of the card. To do this we use double-sided tape. We especially carefully glue the side where the guipure braid is located. The front side of the card is almost ready.
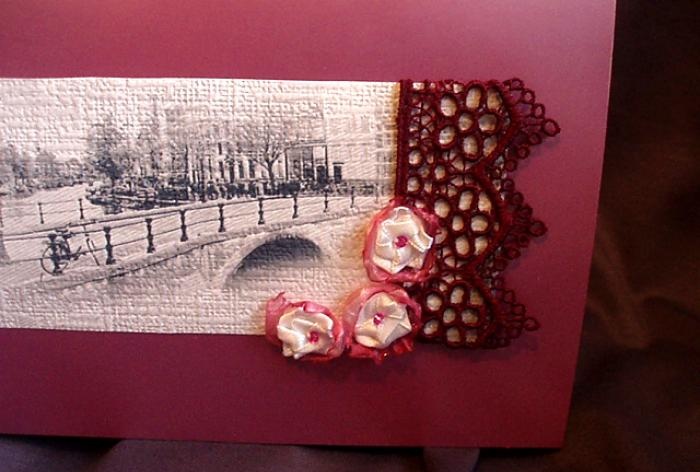
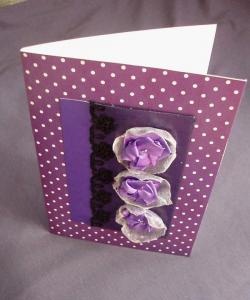
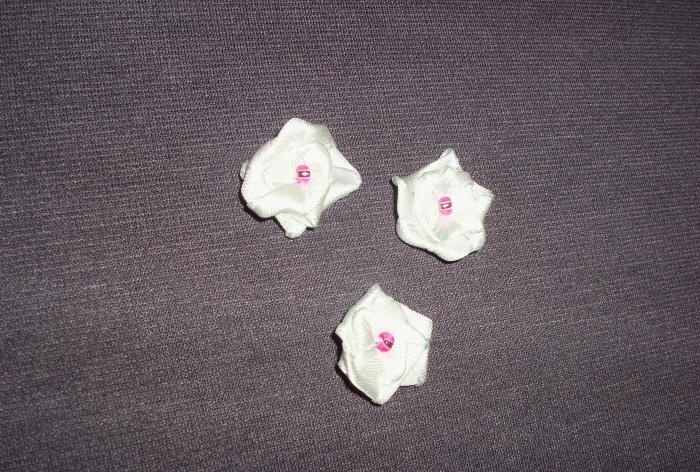
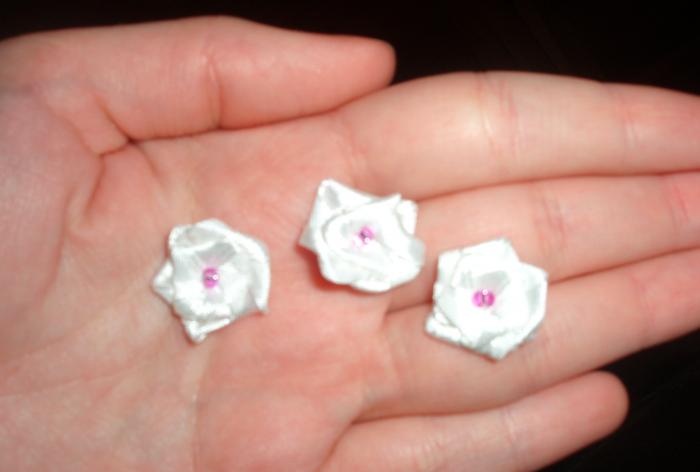
Now we decorate the card with romantic and delicate floral elements. We twist roses from satin braid. We try to make them as flat as possible.There is no need to make them too large and bulky; roses with 2-3 rows of ribbon are quite enough. The maximum diameter of the flower is no more than 1.5 cm. We sew the roses from the wrong side so that the thread does not “climb” onto the front side of the flower. Then we bring the thread into the middle and sew on the bead. We take the thread back to the wrong side and fasten it. In total, it is tedious to make three flowers. Although, of course, if you wish, you can make 5 or even more floral motifs.
To make the roses more decorated and sophisticated, we will make stylized sepals for each flower from scraps of organza. To do this, cut out three shreds with a diameter of about 4-5 cm. It doesn’t matter that the shreds are uneven; you shouldn’t strive for an ideal circle.
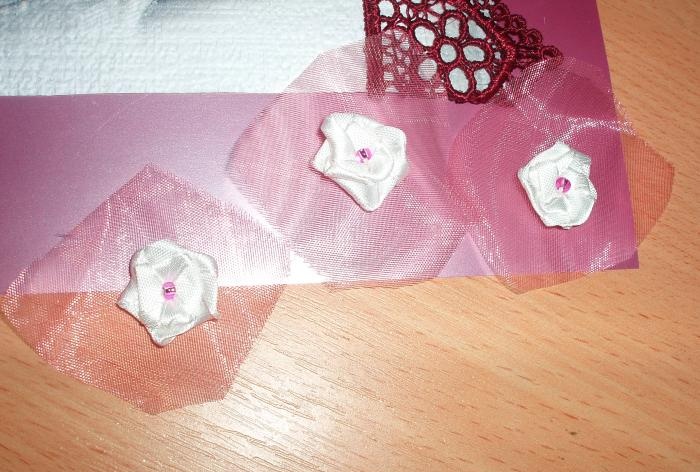
Light a candle and carefully process the cuts of the shreds over an open fire. Be careful not to burn your fingers or burn the organza. To do this, do not bring the fabric too close to the fire - the cuts should only be slightly scorched. If you hold the edge of the scrap to the side of the flame, the edges will simply melt slightly without losing their shape. And if you hold a piece of fabric on top of the flame, the edge will not only be scorched, but will also bend bizarrely, giving the piece the shape of a cup or nest. Make sure that the entire perimeter of the cut is scorched, otherwise the unscorched edge threatens to unravel and become “tattered.” In this way, singe all three pieces of organza. After this, place the roses in organza sepals.
Take a thread and a needle and simply sew the resulting flowers with double thread to the front side of the card. Feel free to sew all the layers at once: plain cardboard, a wallpaper motif, guipure lace, if roses are found on it, an organza sepal and the flower itself from a ribbon. This way you will securely attach your little creations to the card.2-3 stitches per flower are enough. On the reverse side, for greater reliability, you can glue the place of stitches and threads with tape or a drop of glue.
Now we have one last task left: to assemble the front side of the card, already decorated with the motif, lace and flowers, and the base of the card. To begin, bend the base of the card in half so that when folded it measures 13.5 x 20.5 cm. To make the fold line even and neat, you can firmly attach a ruler to it and carefully draw a thick needle along the place of the future fold, as if scratching a straight line. This is especially recommended if the cardboard is very thick and dense.
Having folded the base in half, cover it around the entire perimeter with strips of double-sided tape. Make sure the corners are glued. You can also stick a couple of strips in the middle for extra strength.
Carefully separate the top layer from the strips of tape and press the front side of the card onto the base. Squeeze all areas to be glued well. Now your postcard is ready to delight the recipient with a romantic congratulation!