Video
The sofa shelf is ideal as a cozy place to indulge in a good book.
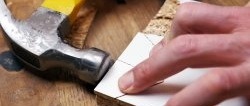
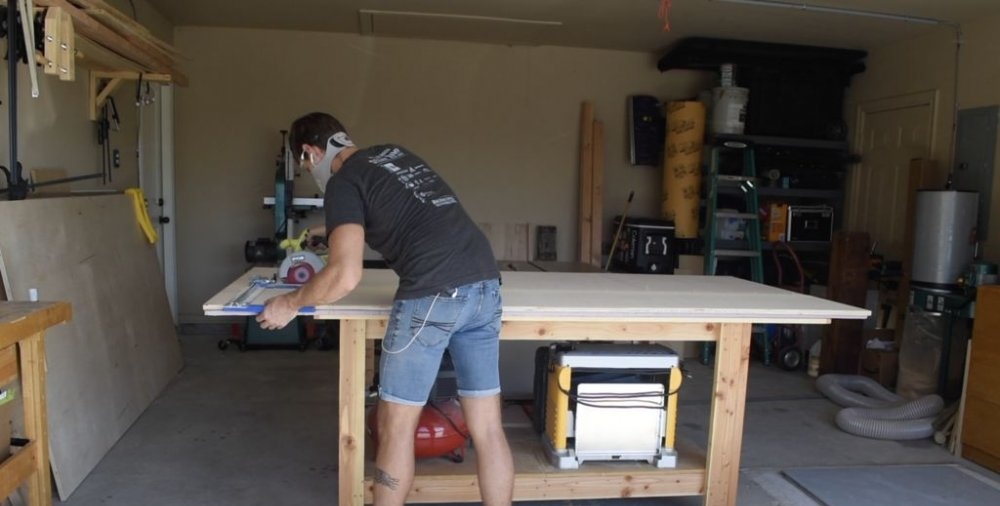
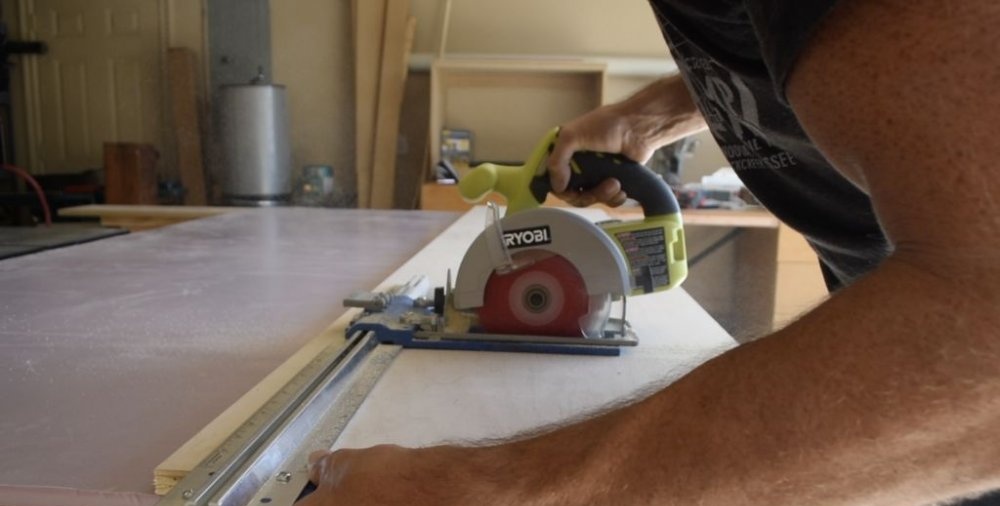
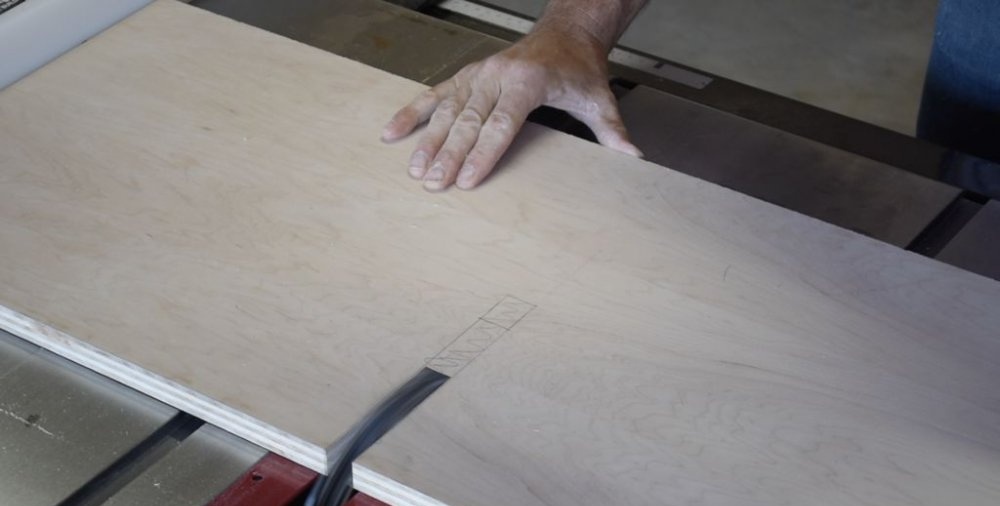
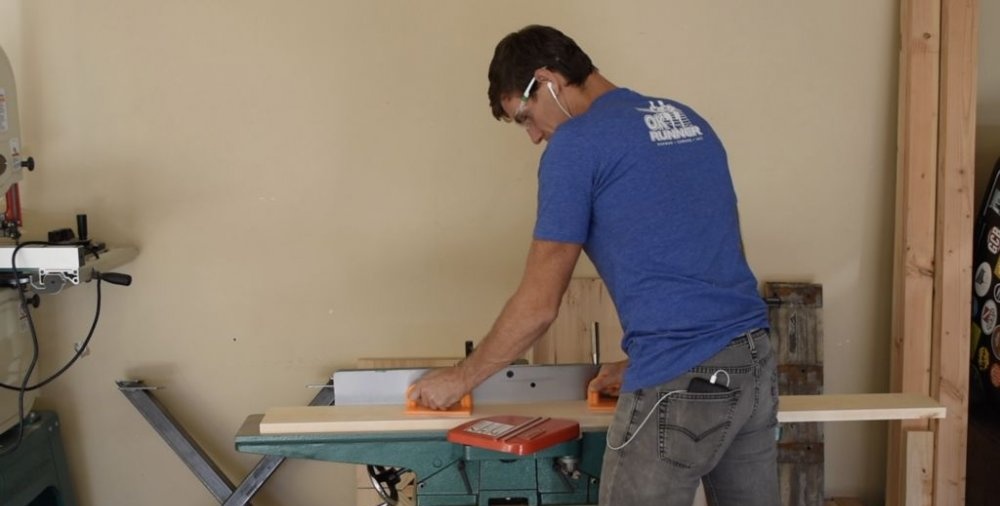
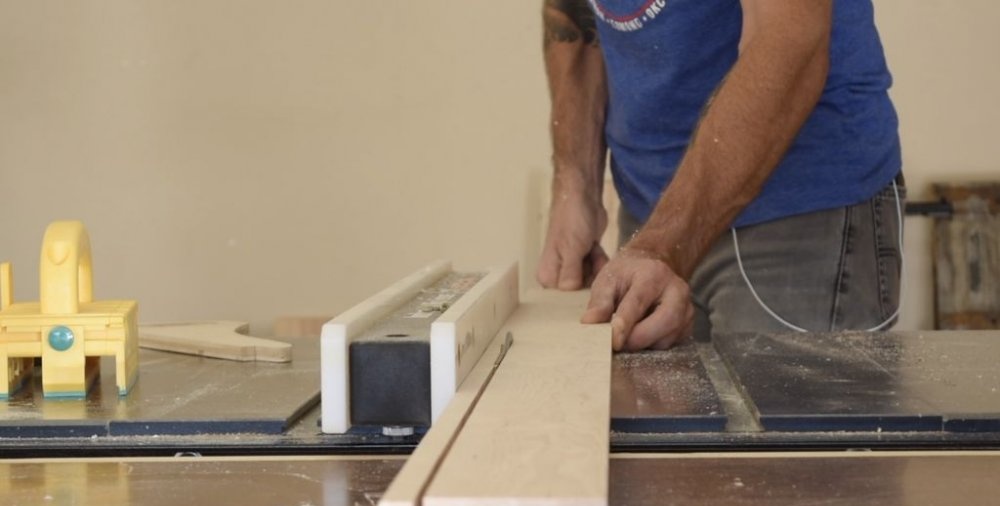
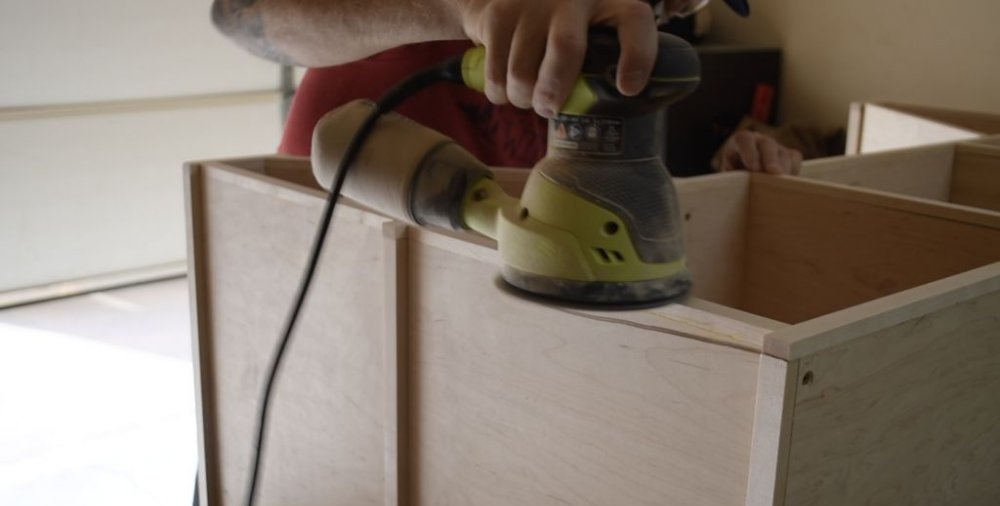
Sawing plywood
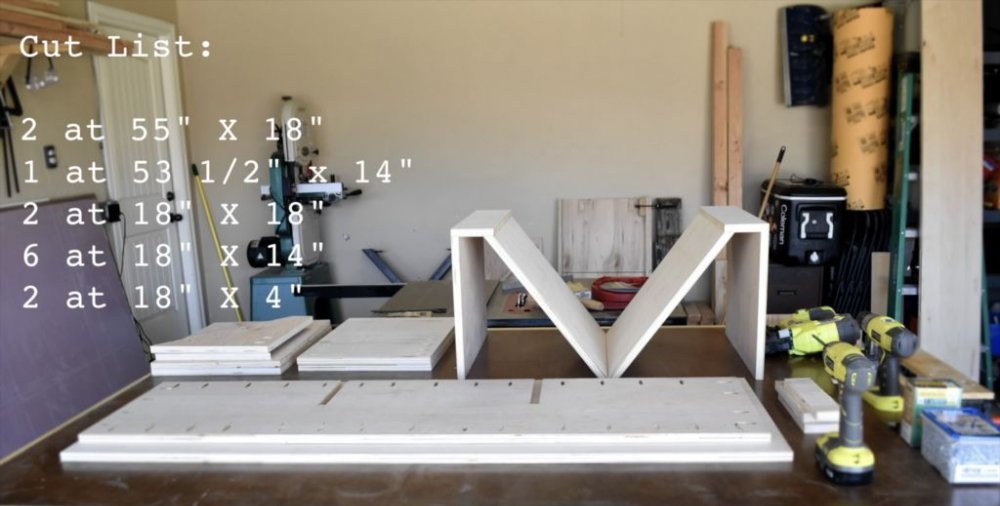
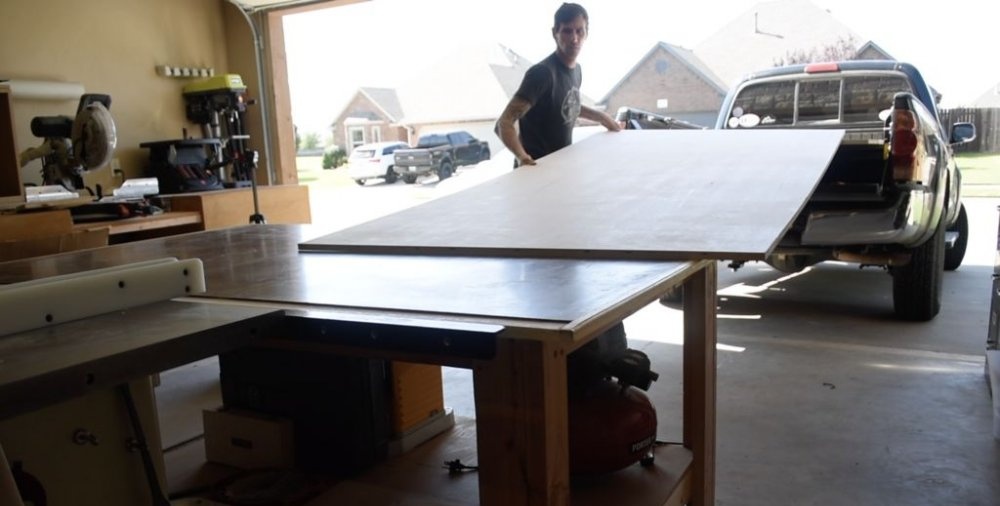
This sofa shelf is mainly composed of two sheets of maple plywood measuring 122 x 244 cm. These need to be cut into components of the following dimensions:
- 45 x 140 cm – 2 pcs.
- 35 x 135 cm – 1 pc.
- 45 x 45 cm – 2 pcs.
- 35 x 45 cm – 6 pcs.
- 10 x 45 cm – 2 pcs.
This work is easier to do with a plunge-cut circular saw, but if there are guides, the work on a circular saw can be done quite accurately and easily.
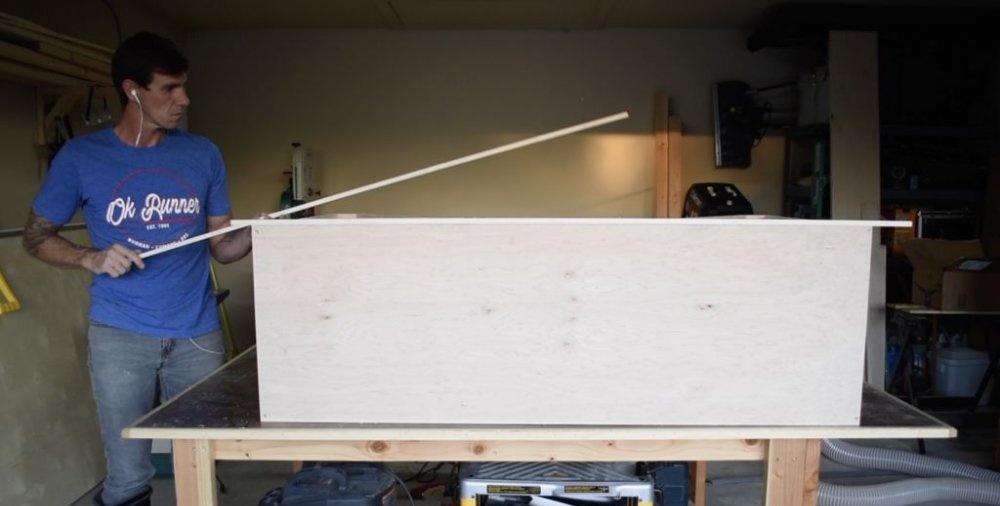
Assembling the backs and top panel
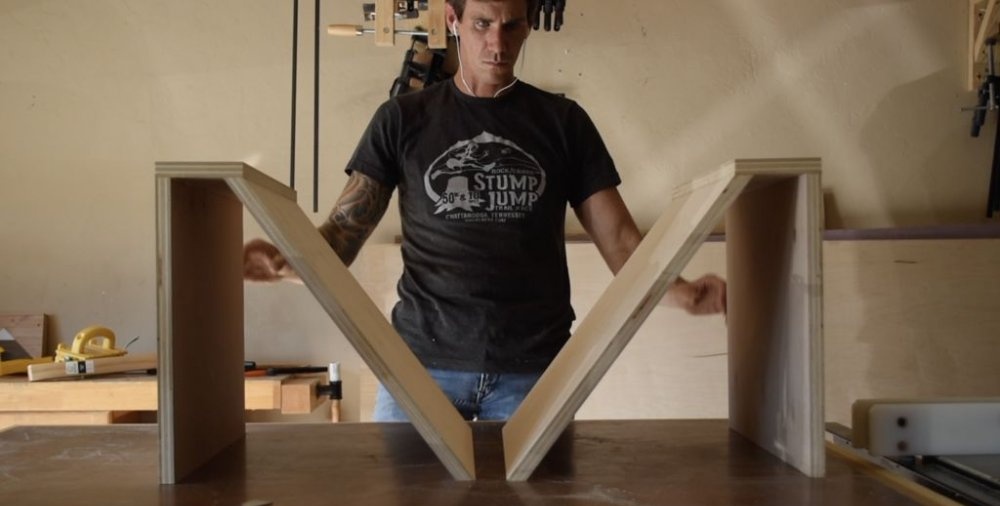
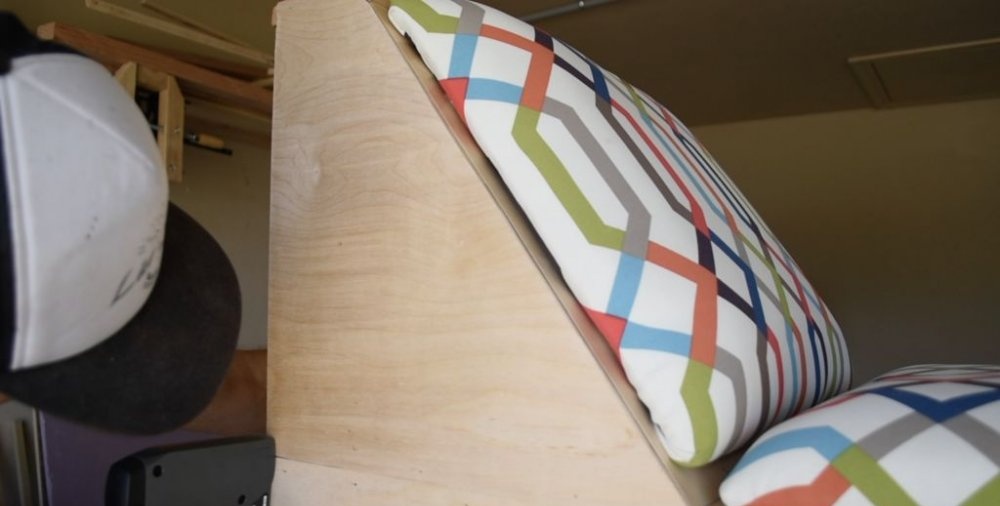
The two backrests have an inclination of 37 degrees.
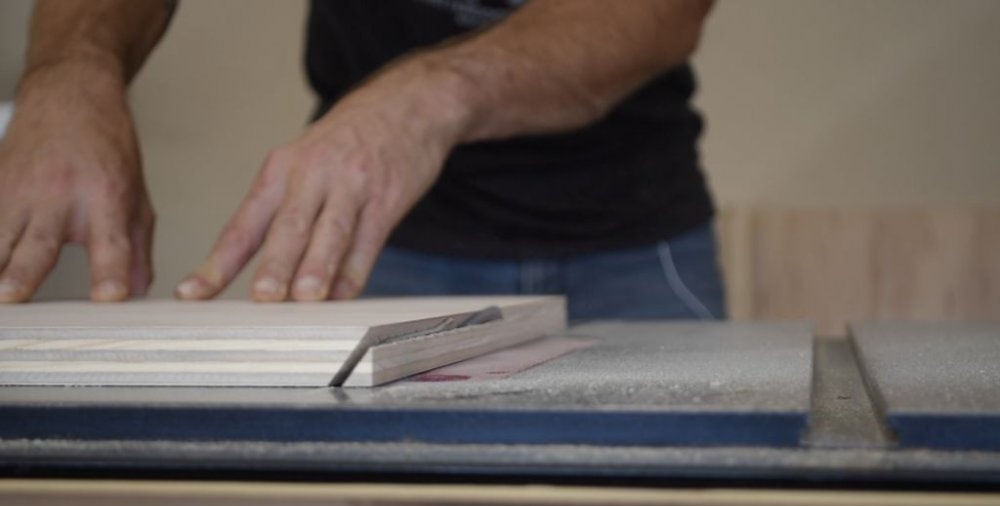
Set the saw blade at an angle of 37 degrees, now cut the bottom and top parts of the plywood measuring 45 x 45 cm with it. The cutting planes should be parallel to each other.
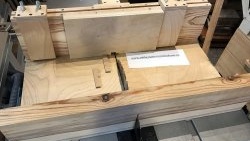
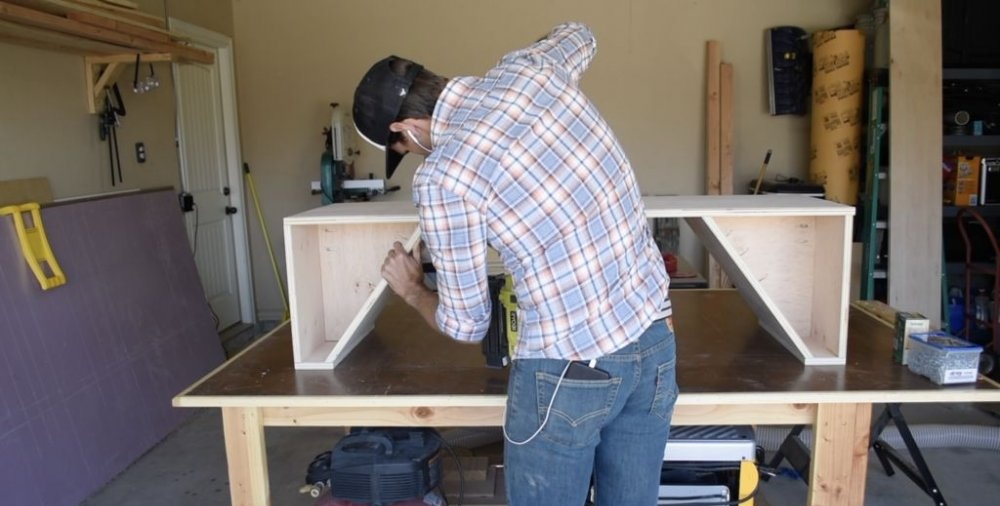
Attach the backrest by joining the 45 x 45 cm, 10 x 45 cm and 35 x 45 cm panels as shown in the photo. To pre-fix them, I used wood glue and several thin nails.
Then I traced the outline of the inside of the backs onto the remaining sheet of plywood and cut out these elements using a band saw.These will make a partition/rib for the backs.
Cut three measuring segments with which the partition can be conveniently fixed to a depth of 22 cm.
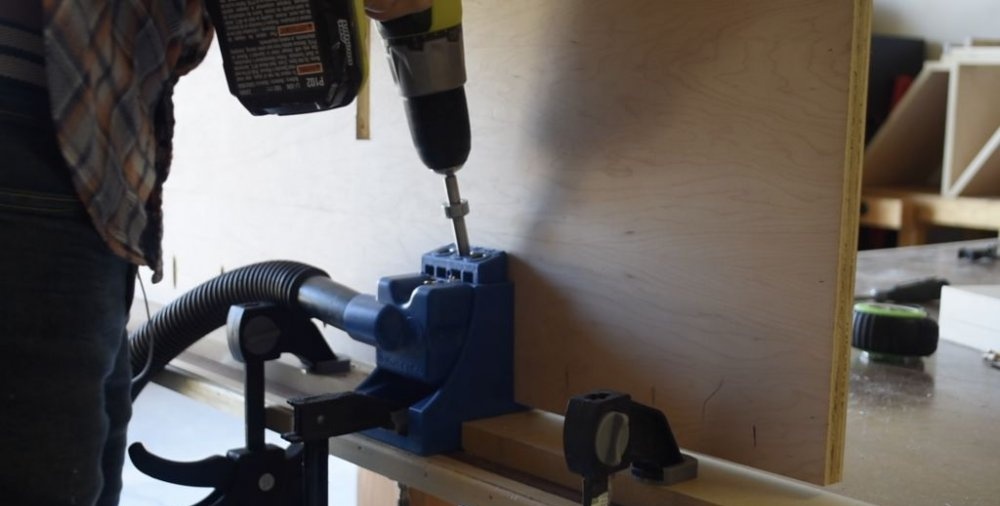
Drill several holes to attach the partition to the back, but they need to be made from the inside, which will later be closed. They also need to be made at an angle that will ensure convenient screwing in of the screws.
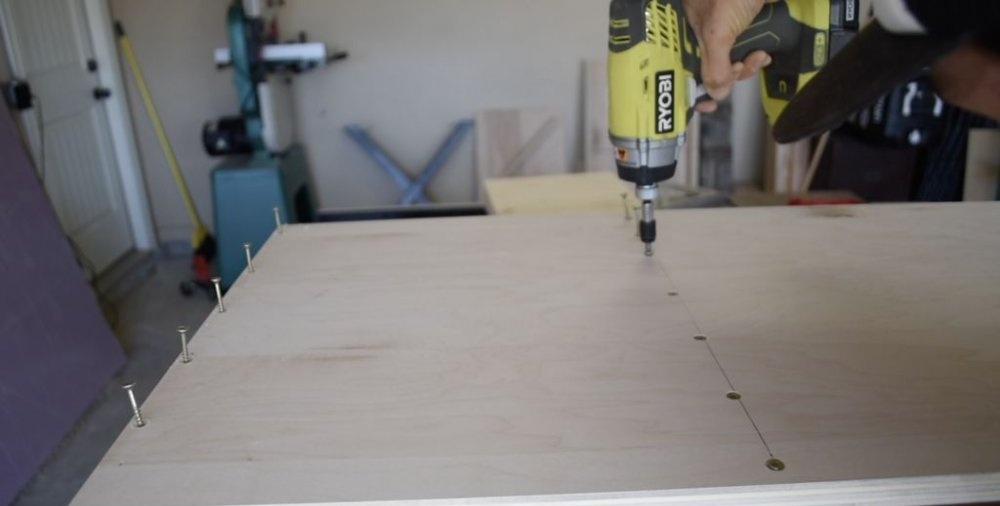
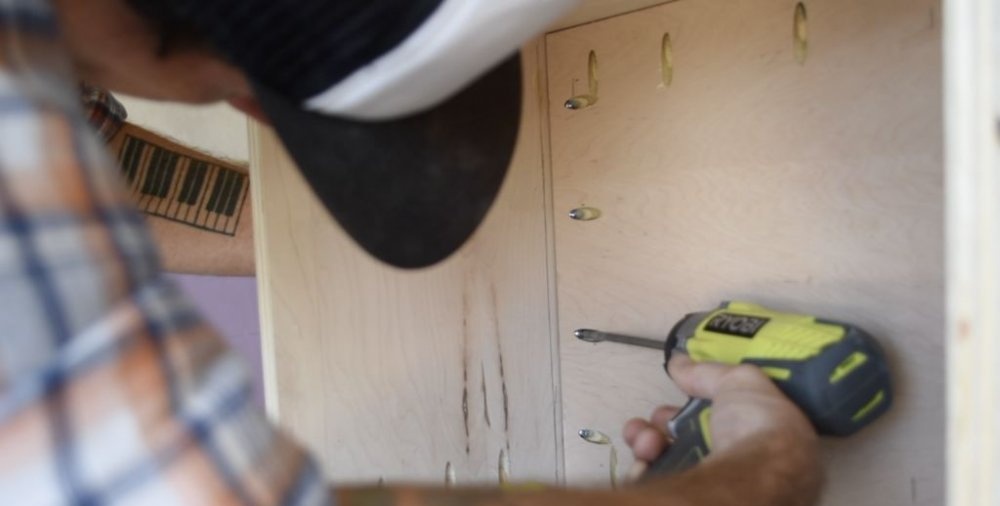
Attach the two backs securely to the top panel of the shelf. To do this you need to make preliminary holes. The screw heads should sink into the plywood.
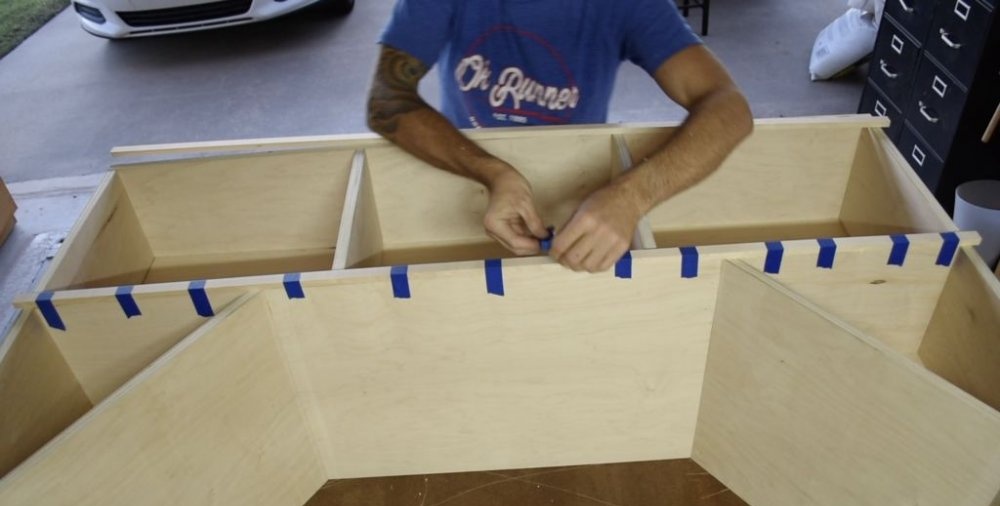
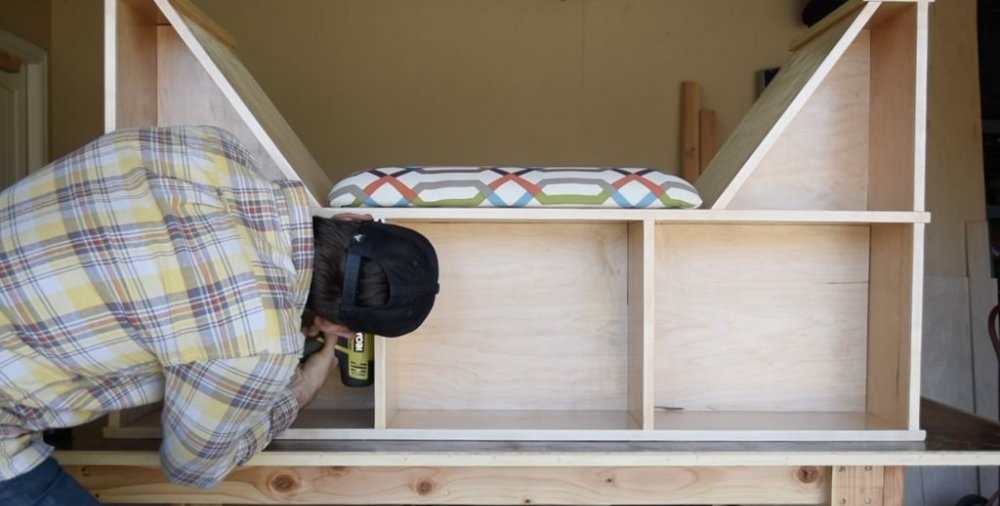
Assembling the shelf
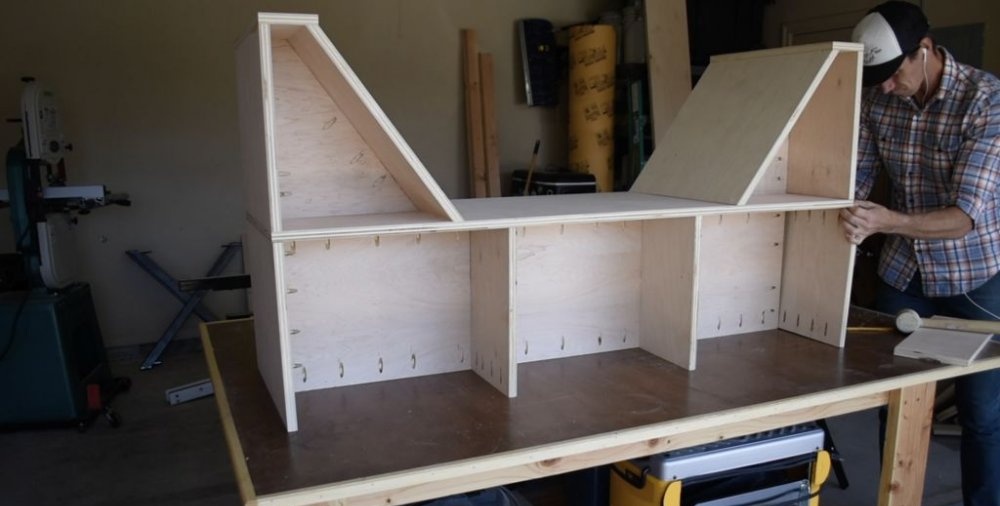
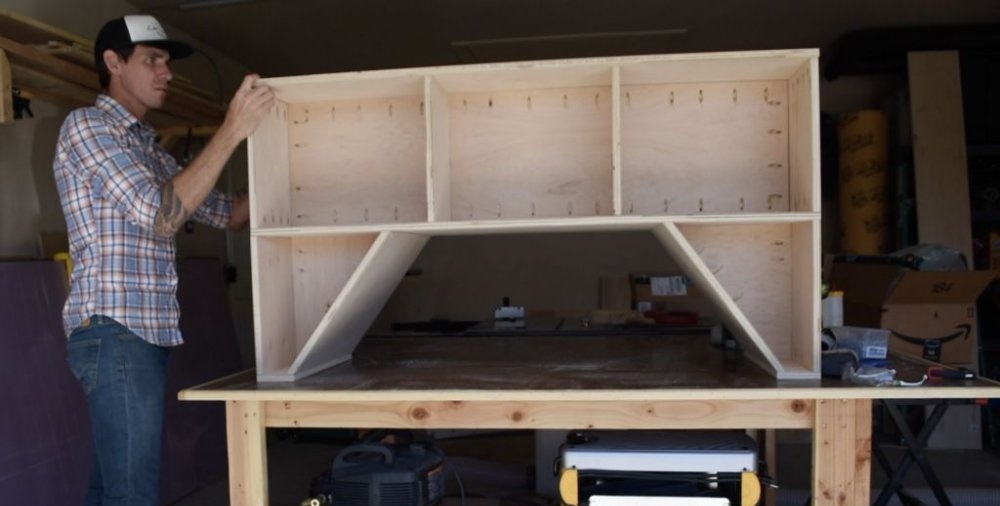
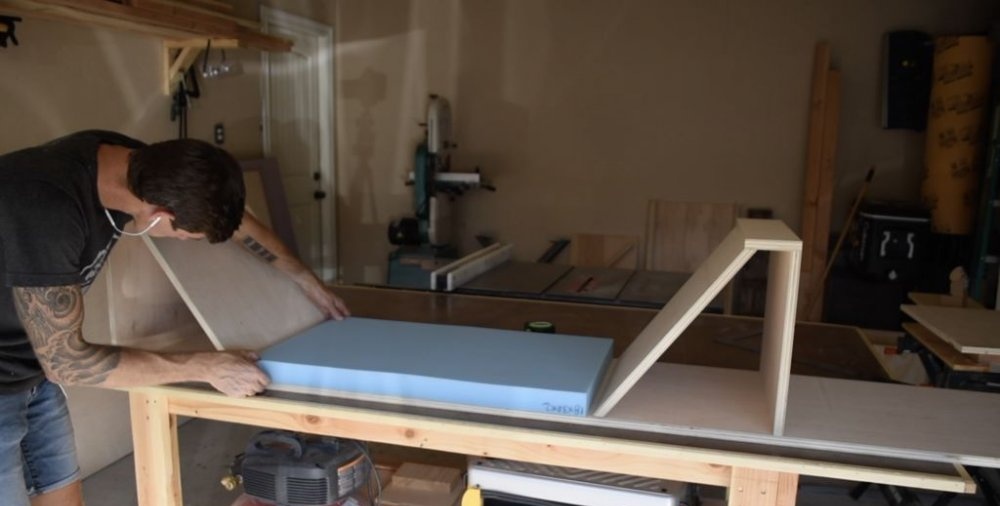
The sofa shelf is 45cm wide, but you probably won't want the bookshelf to be the same depth. To solve this problem, we will add longitudinal plywood, which will simultaneously provide structural strength and leave the shelf depth at only 22 cm. This central panel, in turn, will be divided by two perpendicular partitions that will overlap it. I made wide cuts that can be made with a router, bandsaw, or handsaw.
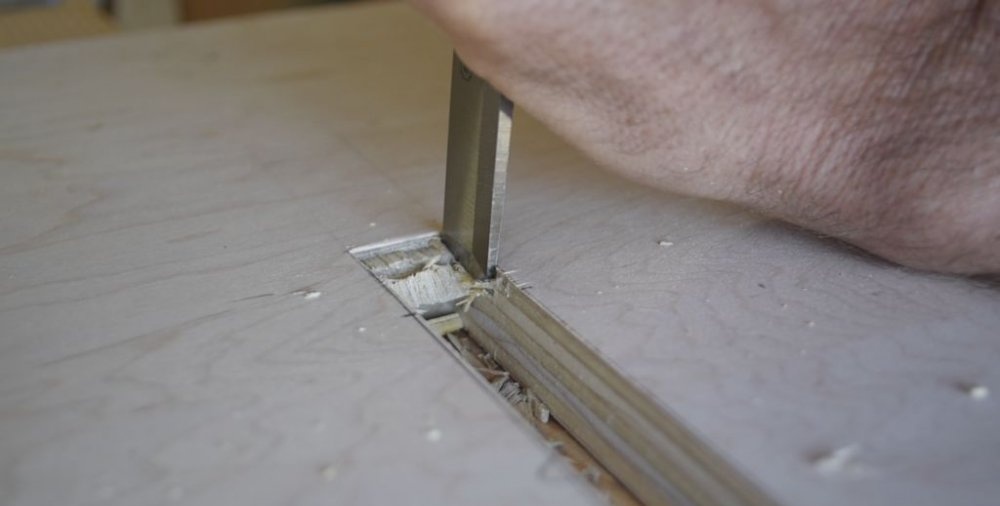
The width of each book compartment should be approximately 45 cm. Make a mark in the middle of the central panel, indicating the depth of the cut (17 cm).
The width of the cut should be equal to the thickness of the plywood, and you can use a chisel to align the inner edge of the cut.
Make similar 17 cm long slits in two partitions measuring 35 x 45 cm.
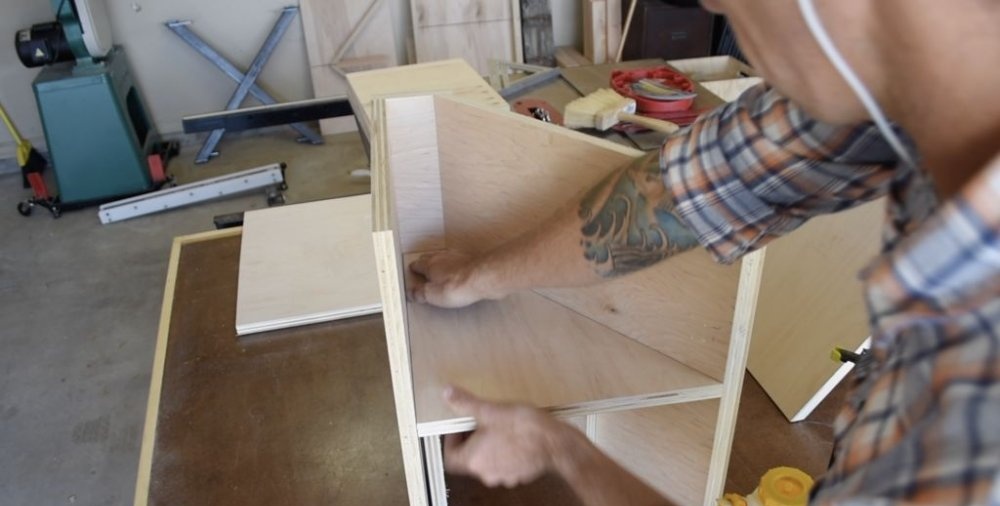
Before attaching the central panel, you need to drill holes around its entire perimeter for mounting on the back of it. (Later they will be covered by the back wall)
Apply glue to the cuts of the partitions.
Attach them to the bottom panel through the pilot holes.
Attach the side panels measuring 35 x 45 cm.
Facing

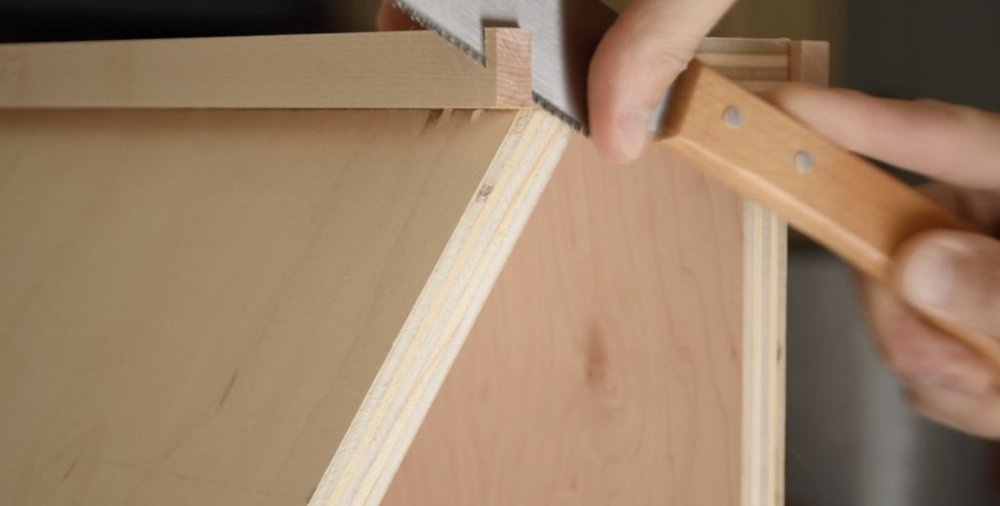
To cover the visible layers of veneer, I made maple veneer. It could be done using metal trims, but at the edges they will not look so neat.
Let's prepare the board. First I made it the same thickness as the plywood.
Then I spread it into several platbands 1 cm thick. Two of them should be at least 140 cm in length.
Apply glue to the face pieces of the plywood and secure the trim with insulating tape.
I also did the cladding on the side parts, as can be seen in the photographs. To attach it, I used a combination of “superglue” and wood glue. This made it possible to first fix the platband with “superglue”, so that later it could be more firmly glued with wood glue.
After this, trim off any excess protruding parts of the cladding.
After this, sand the surface of the platbands to make their edges more rounded.
Manufacturing of seats and their installation
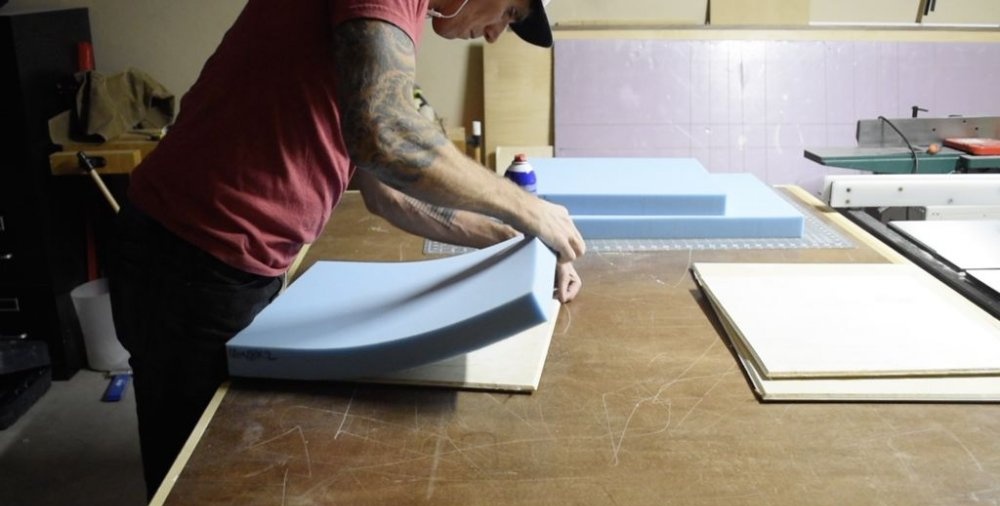
Soft seats are made of 1 cm thick plywood and foam rubber for furniture. I also found suitable batting and fabric on the Internet.
Cut the bases for the seats from plywood 1 cm thick to the size of the two backs and the bottom. You should get two pieces of plywood 45 x 45 cm, and one 110 x 45 cm. They need to be made slightly smaller than the dimensions of the shelf, taking into account the thickness of the foam rubber, batting and fabric.
Make the edges of the plywood more rounded so that the fabric adheres to them better.
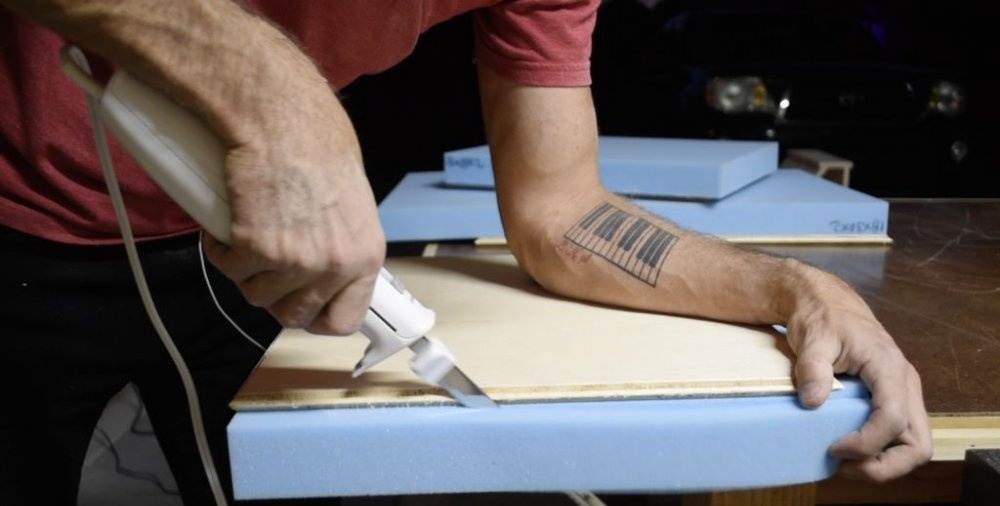
Attach the foam to the plywood with glue
Trim it around the edges.
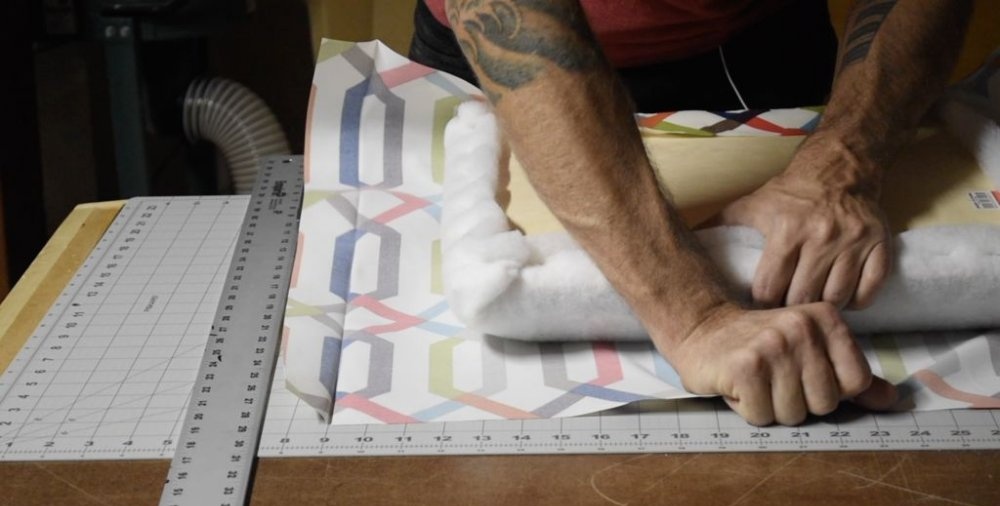
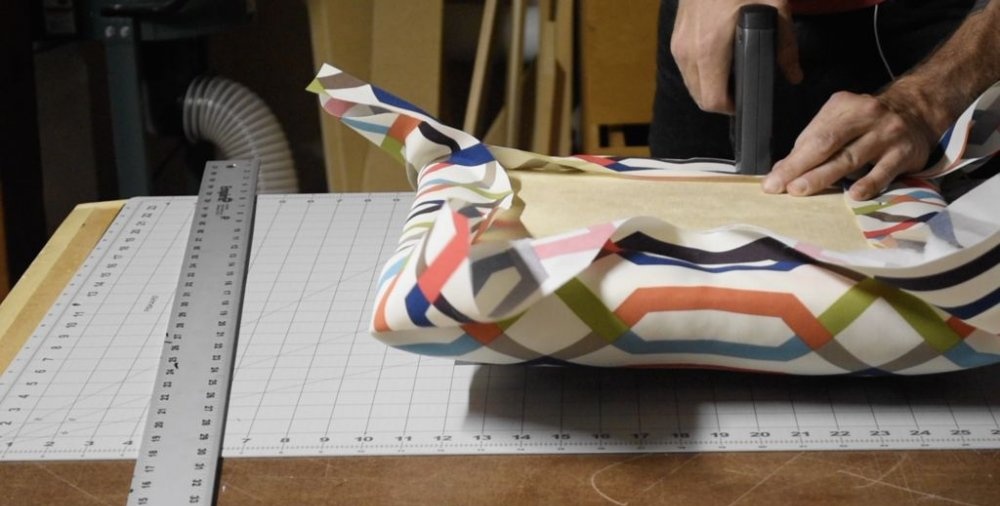
Cut the batting to the appropriate size and stretch it tightly over the seat. Secure it with furniture staples. Start from the middle, ending by cutting off any excess corners.
Cut the fabric and attach it in the same way, smoothing it out so that there are no wrinkles on the surface. There is no need to rush at this stage. Everything should look neat.
Cover the wooden surfaces of the sofa with 3-4 coats of clear varnish.
Screw the seats to the sofa from the inside.
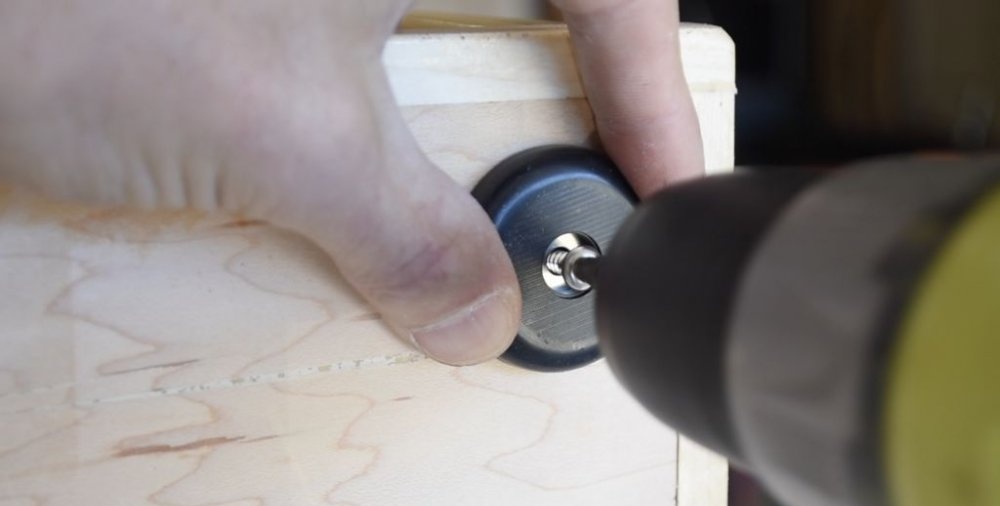
Installing the back wall and rubber gaskets

Use 3mm plywood to cover the back of the sofa to cover all attachment points. First, I separately cut out a rectangular sheet for the bottom, and then the elements for the backs.
Attach four rubber pads at the bottom.
This is all. Now just watch your kids' faces light up when they see a new nook to read books. Thank you for your attention.