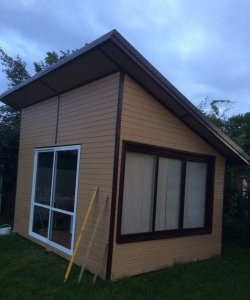
A summer shower in a summer cottage is simply necessary. What could be more pleasant after a hard day at work is to take a cool, refreshing shower. In this article I want to tell you how I made a shower with my own hands from materials that were on my site. I am sure that most owners of their summer cottages have these materials. I only bought the bare minimum of what was needed.
Making a summer shower out of brick
First, it is important to decide on the place where the outdoor shower will be built. This is an important step, since the correct location of the shower will determine how quickly the water will heat up in the tank. The shower should be located in such a place that the tank receives direct sunlight throughout the day. For me personally, it is important that the water is warm, because if I swim in cold water, I will definitely get sick.
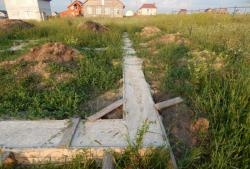
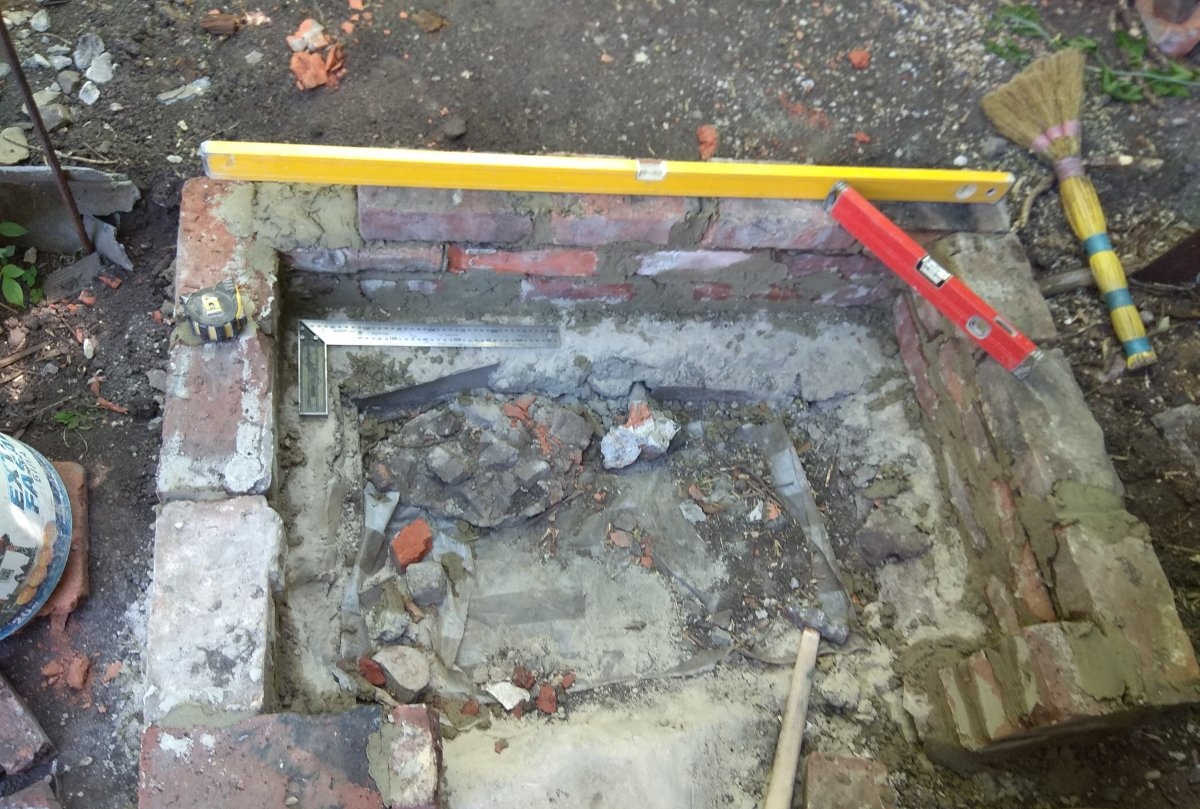
Once I had chosen a suitable location to build the shower, I began digging a trench to pour the foundation.
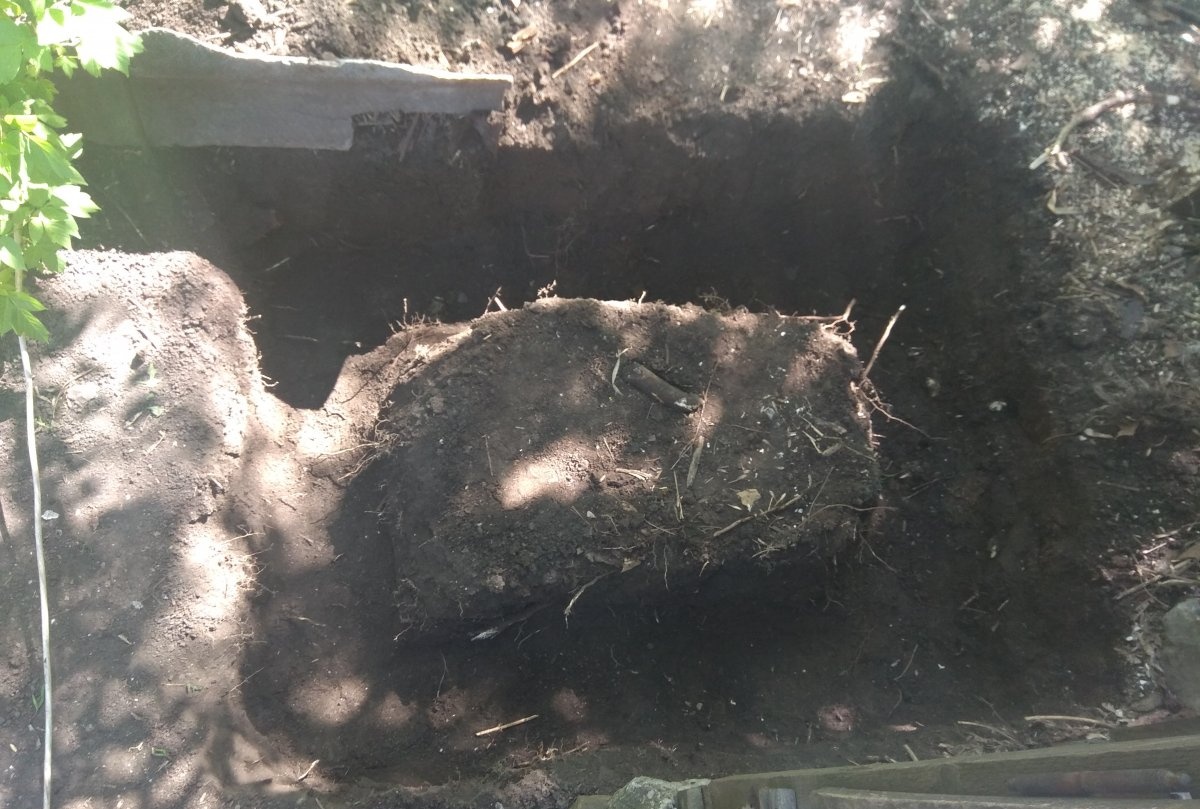
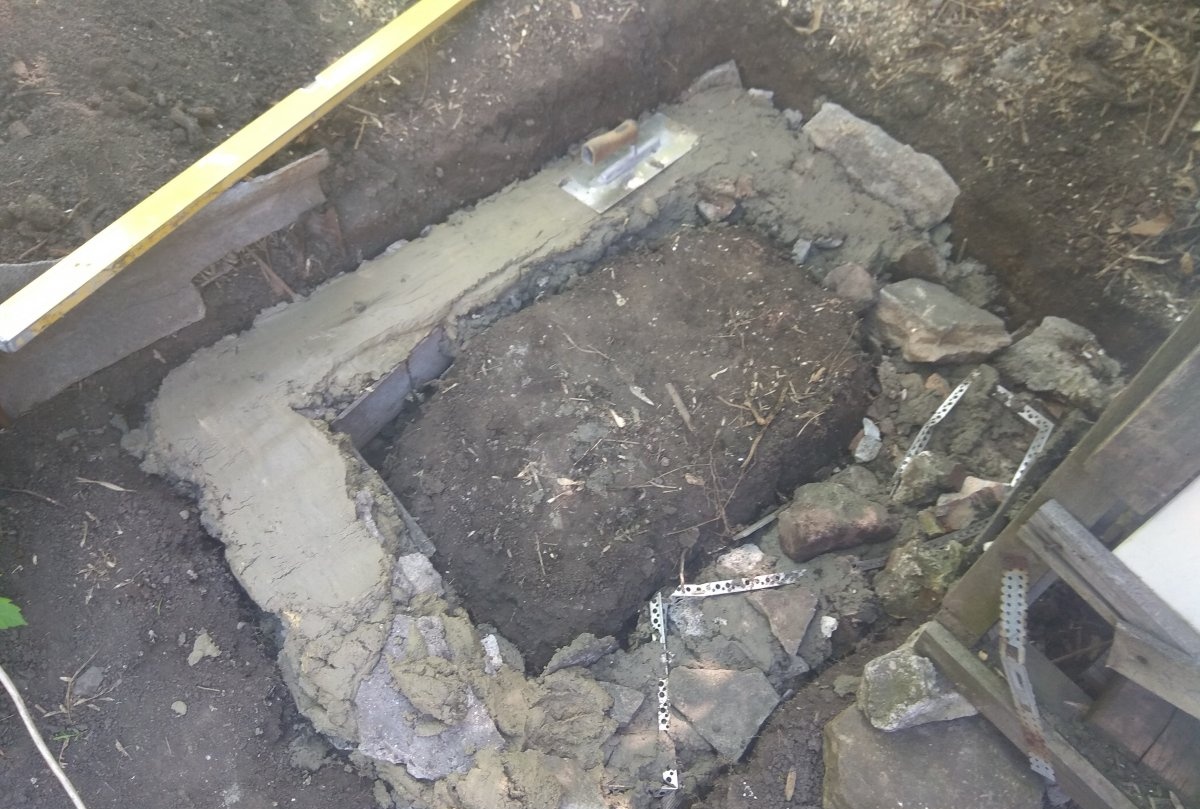
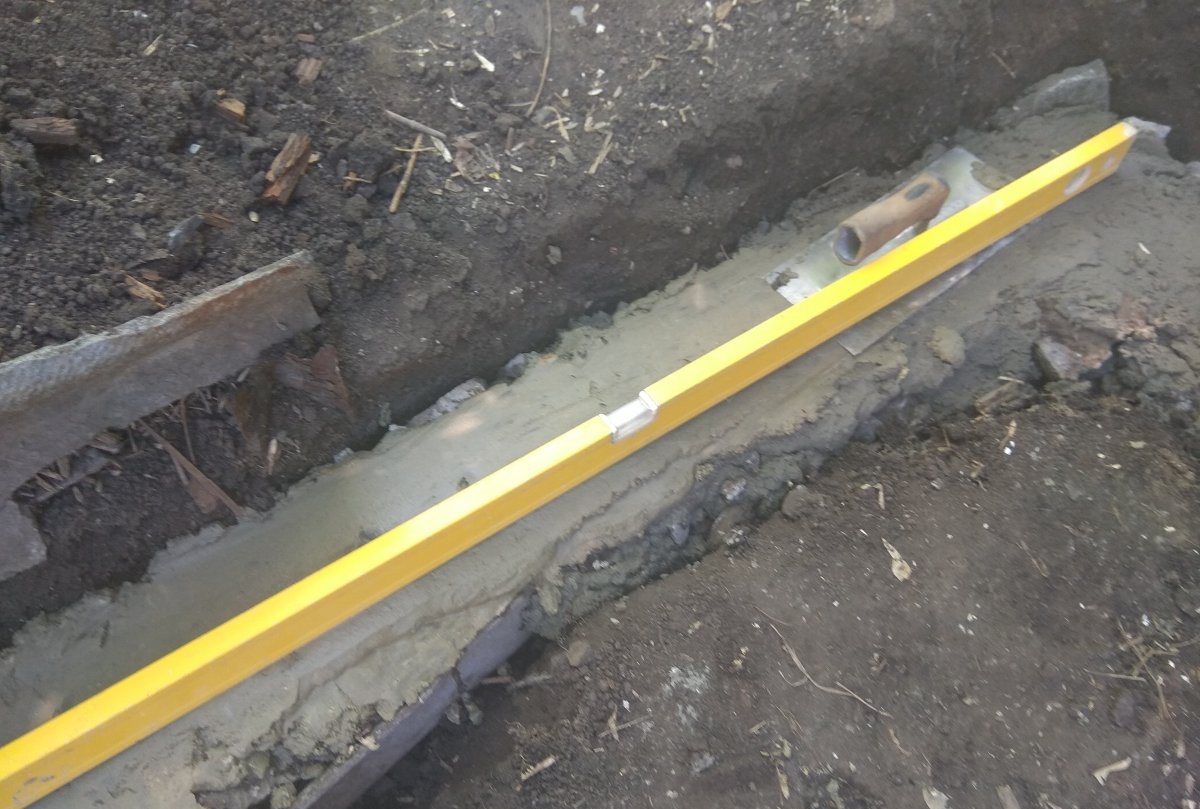
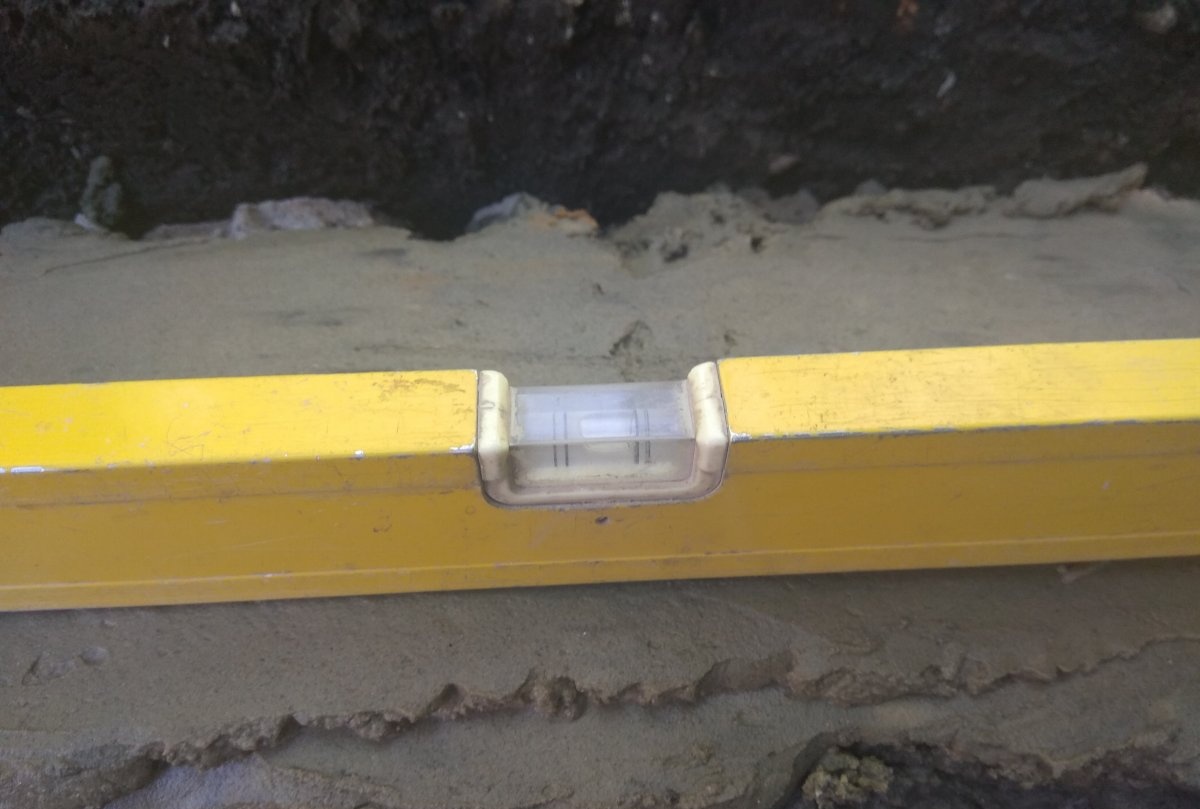
Since the load on the foundation will not be too great, I did not dig a deep trench. For this building, a foundation depth of 20–25 cm (1 spade bayonet) is sufficient. Then I poured the foundation. Its dimensions were 1.5x1.2 meters.The foundation must be poured level.
You will need to wait for the solution to harden so you can build the shower walls. I started building the walls the next day.
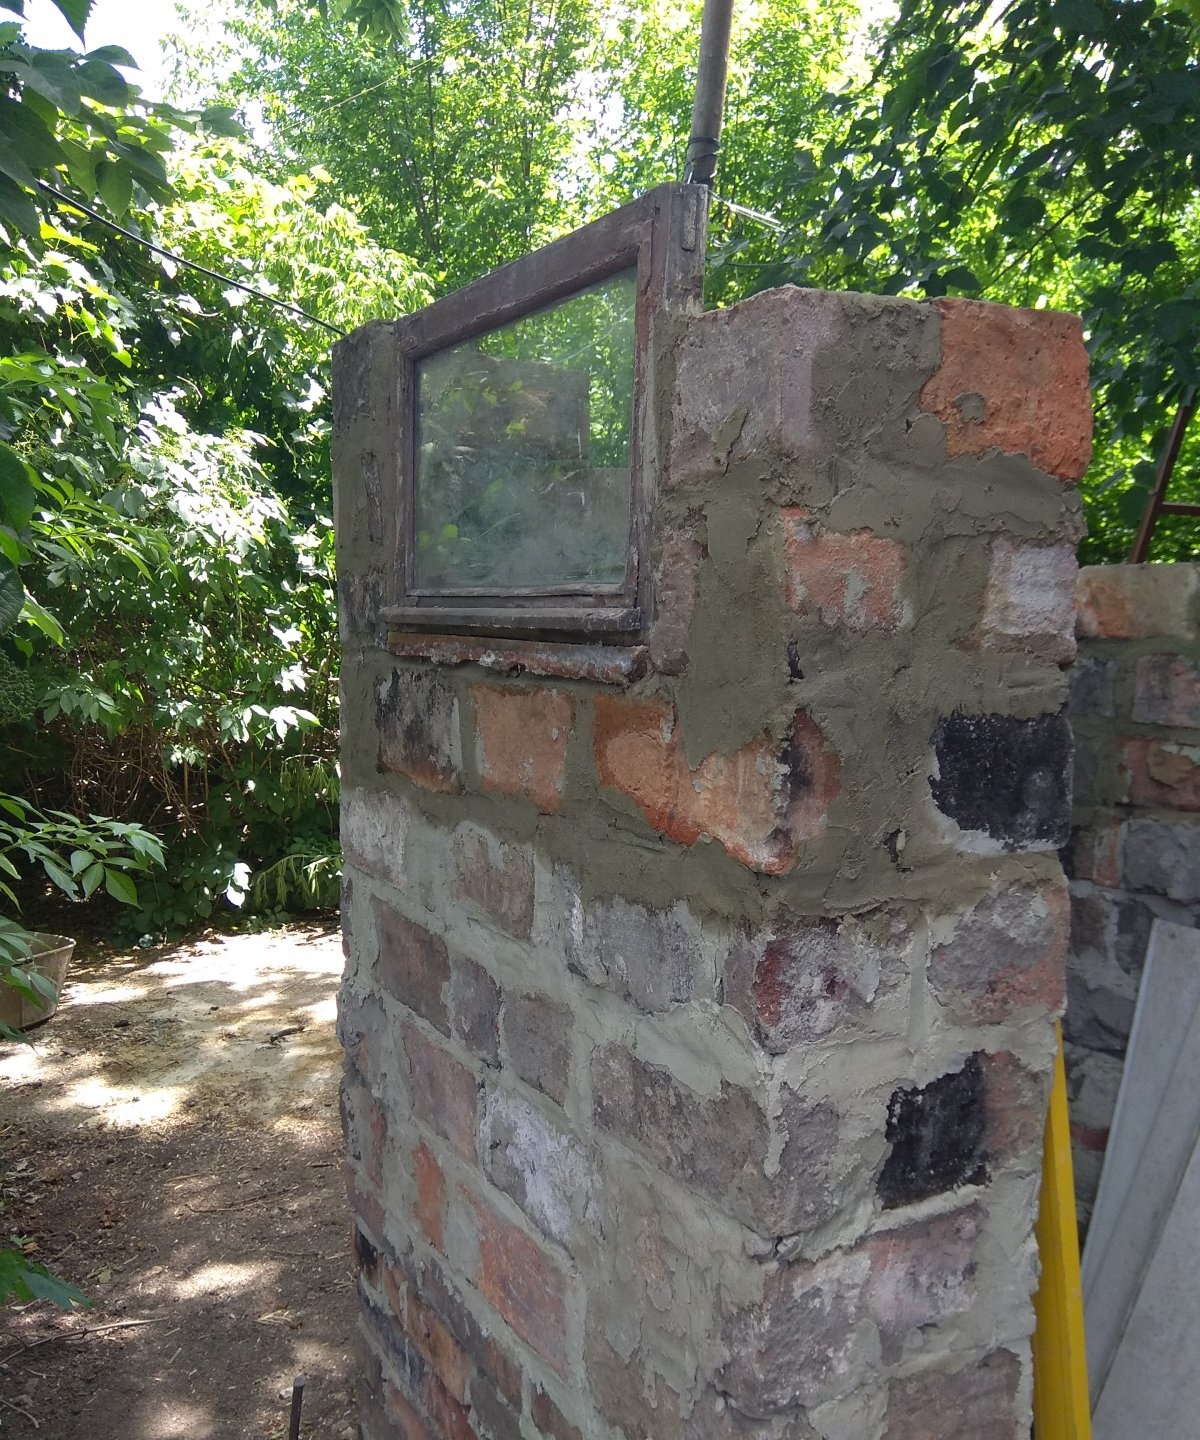
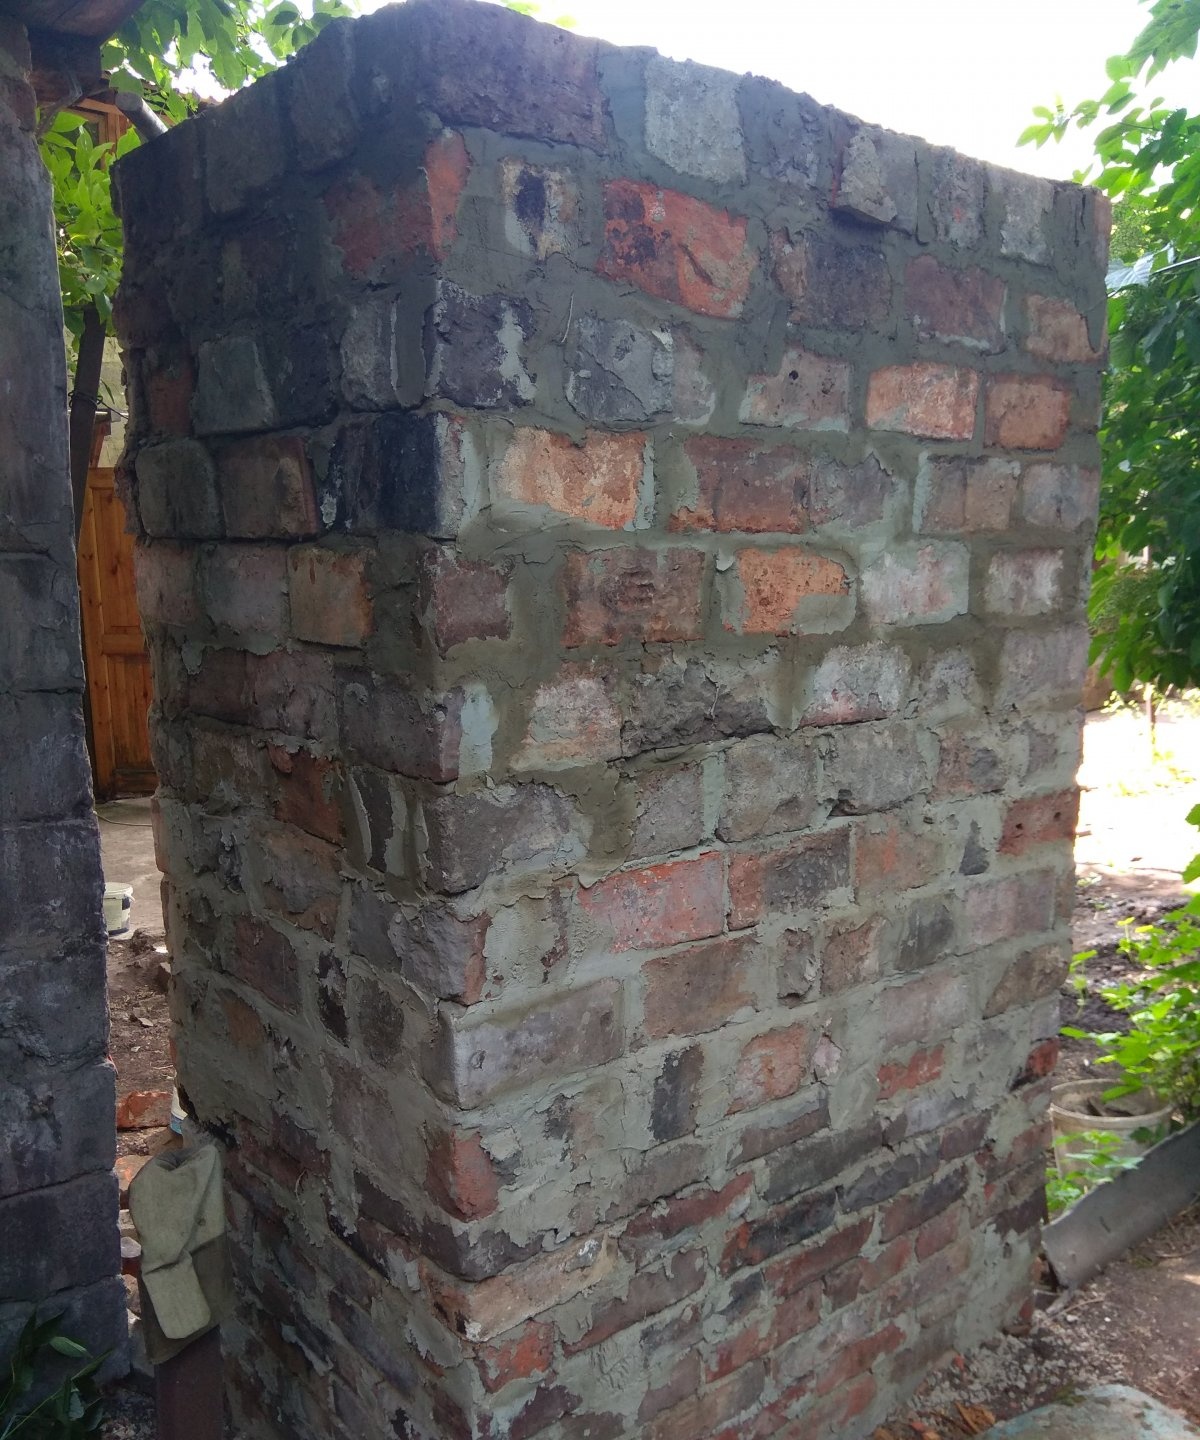
I had a lot of old red brick, so I used this particular material for the walls. The proportions of the mortar for laying bricks are standard - 1 part of cement and three parts of sand, I used the same proportions for pouring the foundation. When laying a red brick wall, it is also important to use a building level. I laid out the first ten rows of brick in “half a brick”, then laid the brick with a spoon. This is also for the purpose of economy, since I did not have enough bricks, and also so that there would not be a large load on the foundation.
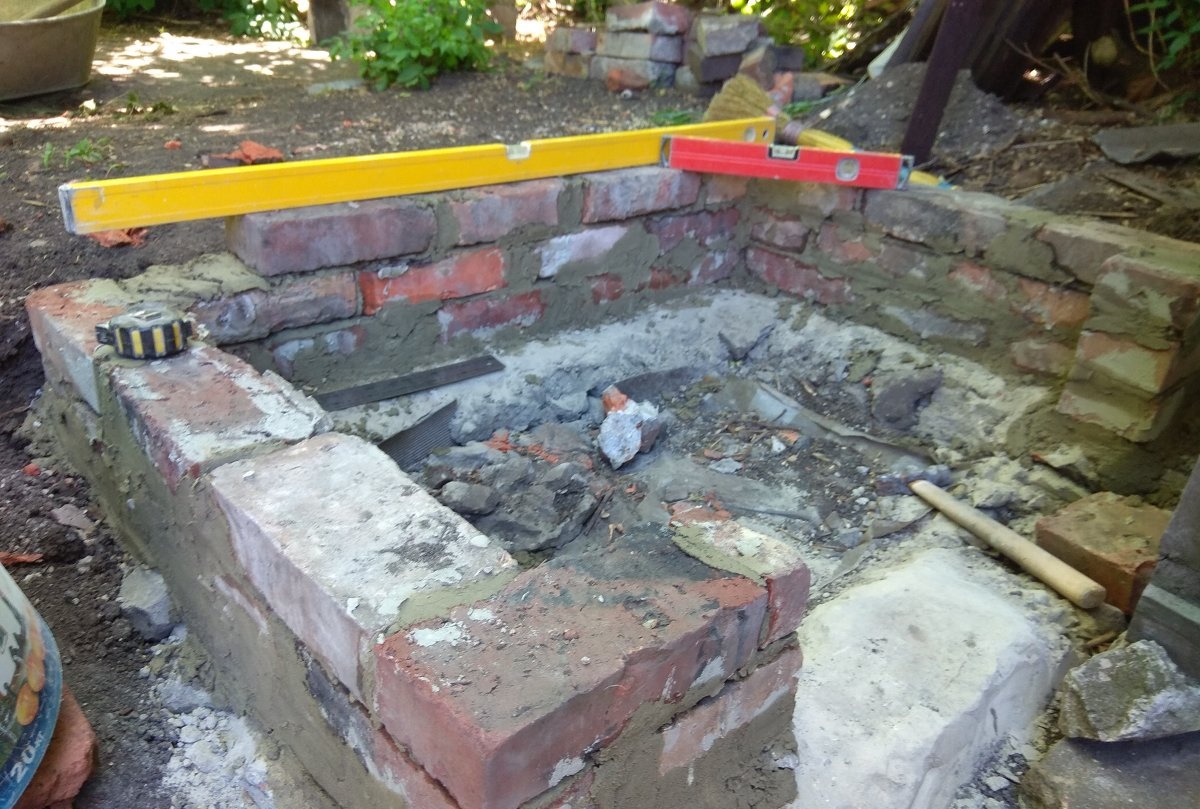
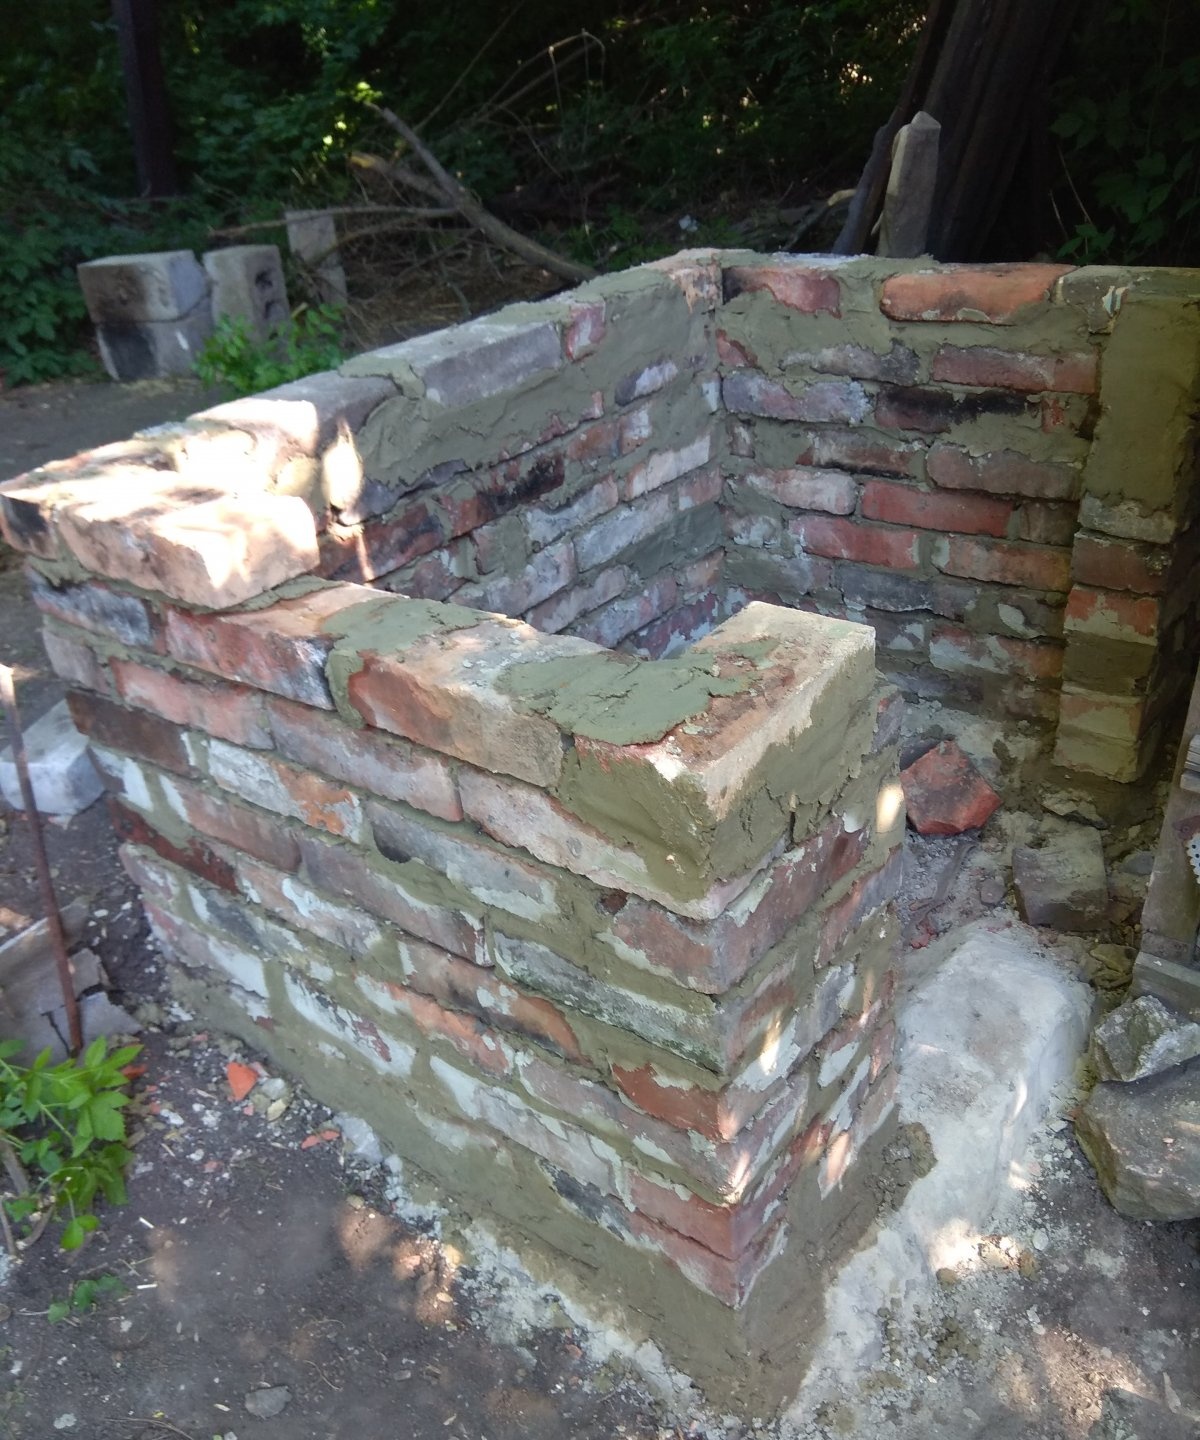

The height of the walls must be selected according to your height. The shower tap should be about 20 - 30 cm above your head. The height of the walls of my shower was 2.2 meters. I calculated the height of the walls not from the foundation itself, since later I planned to make the floor from tiles, but a little higher.
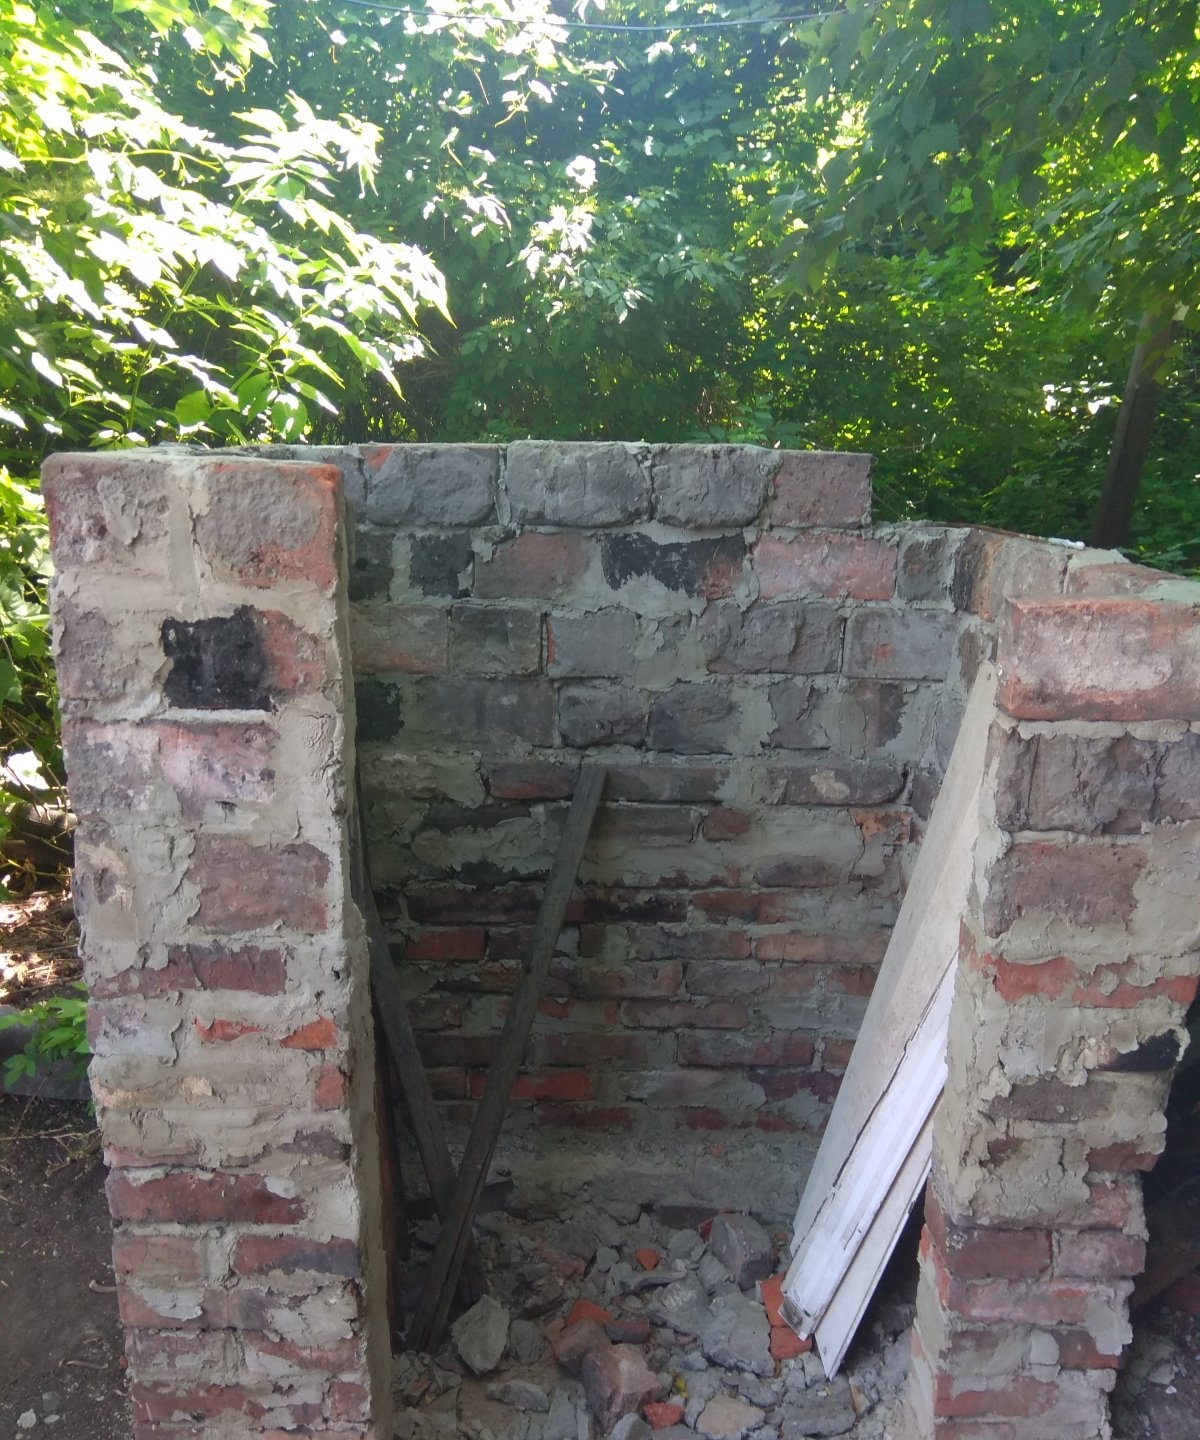
While building the walls, you can make a window to provide light in the shower. I once replaced the old windows with new plastic ones in the extension, and I still had the old ones, which I did not throw away, but took them to my summer cottage. So one small window just came in handy. I just covered it with brick. On top of the window you need to lay a corner or some kind of metal plate on which you can lay the brick.

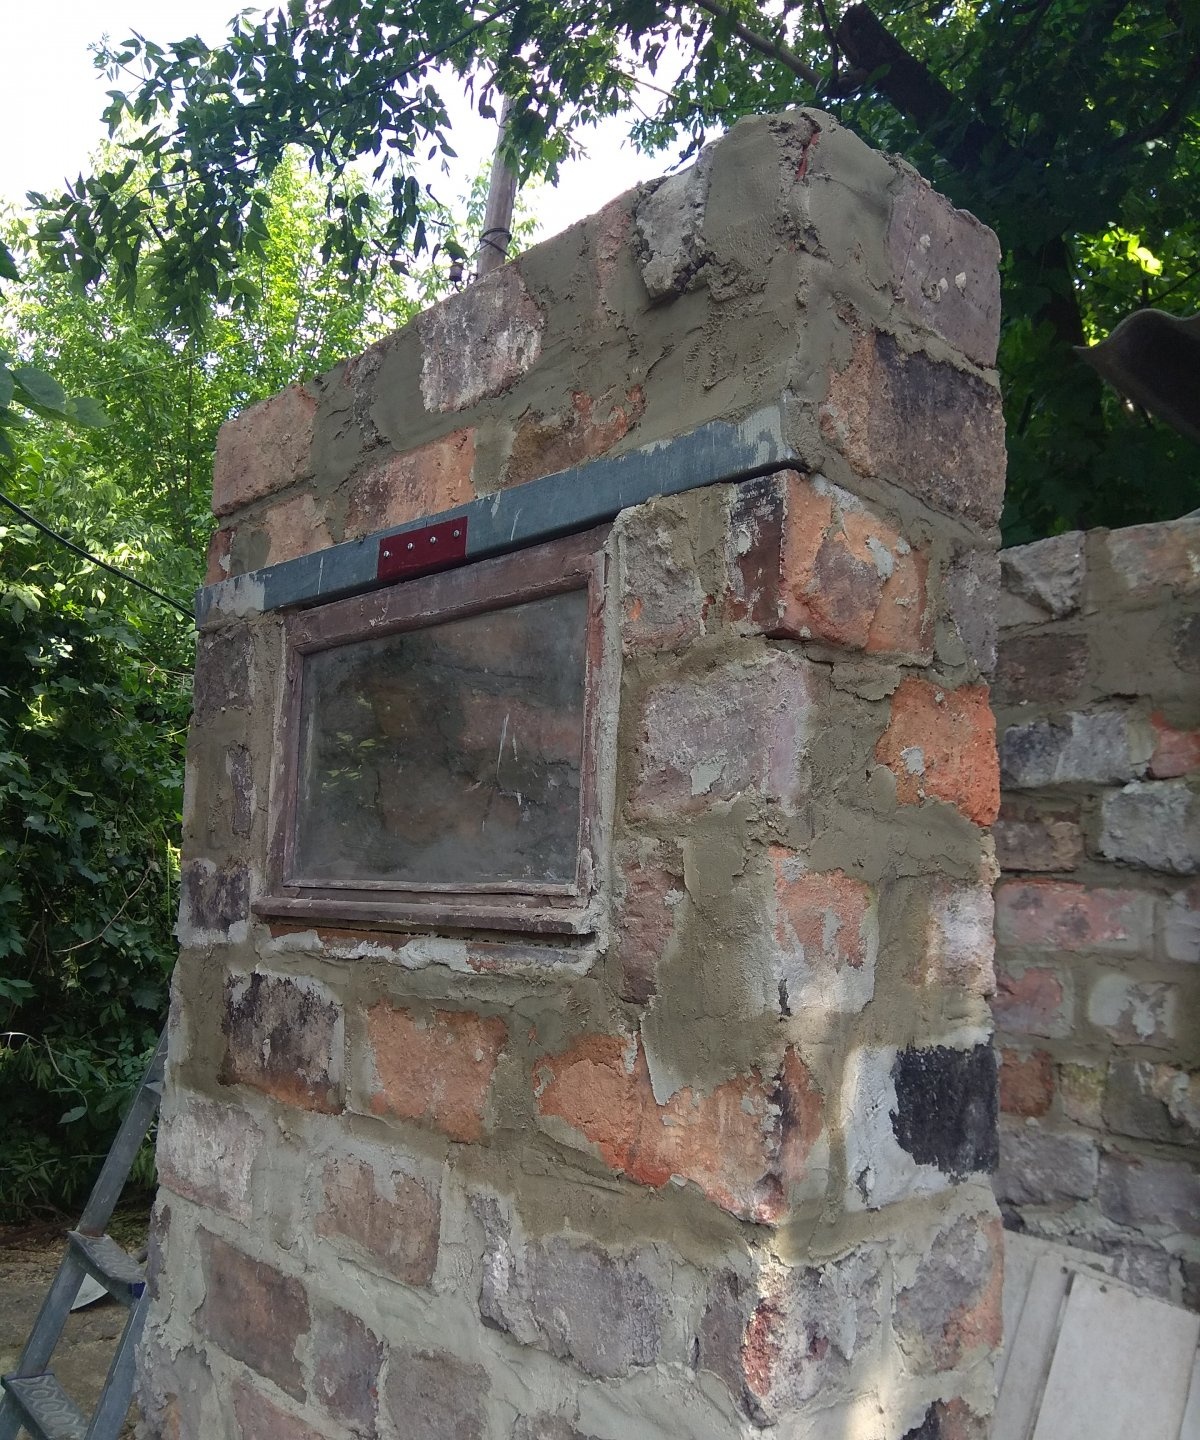
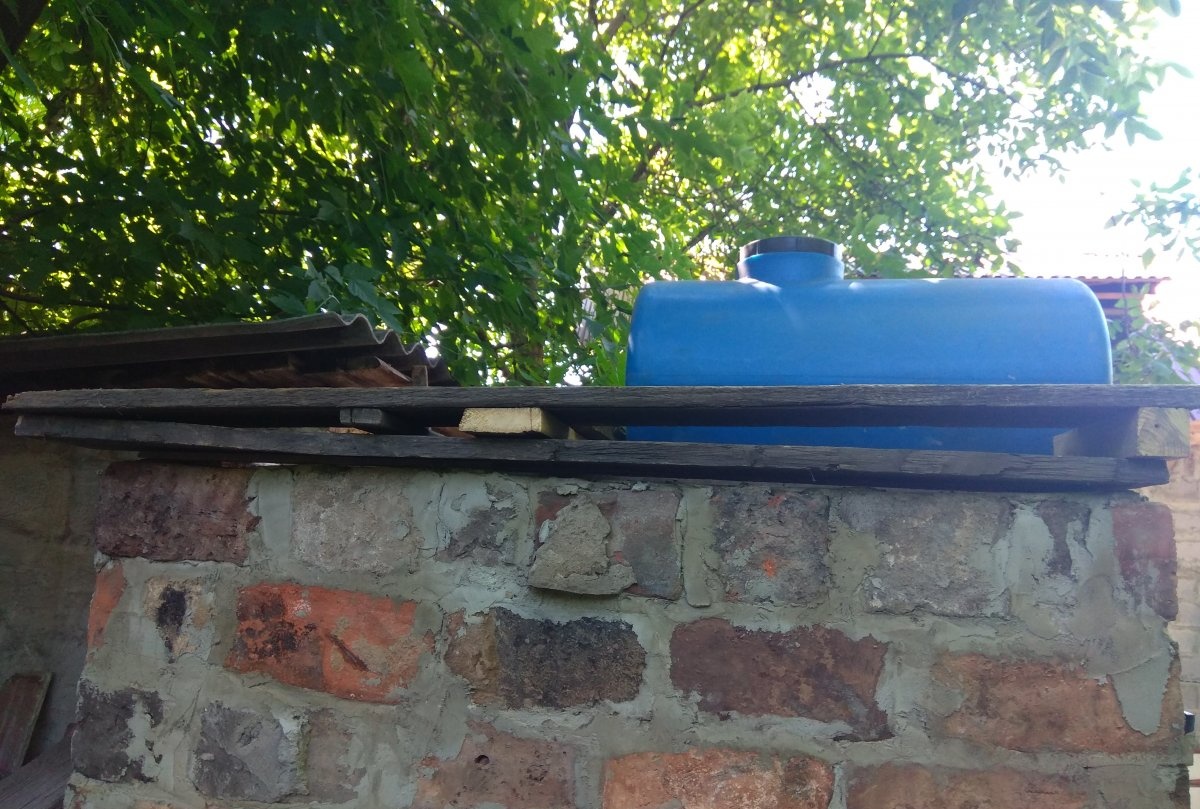
Next I started making the roof. To do this, I took two beams that corresponded in length to the internal dimensions of the shower and attached 4 boards to them with self-tapping screws, which also fit on the walls of the shower. Additionally, the bars can be screwed in for quick installation, and for this you need a hammer drill.This is important to do, because otherwise a strong wind could simply blow away the roof of the shower.
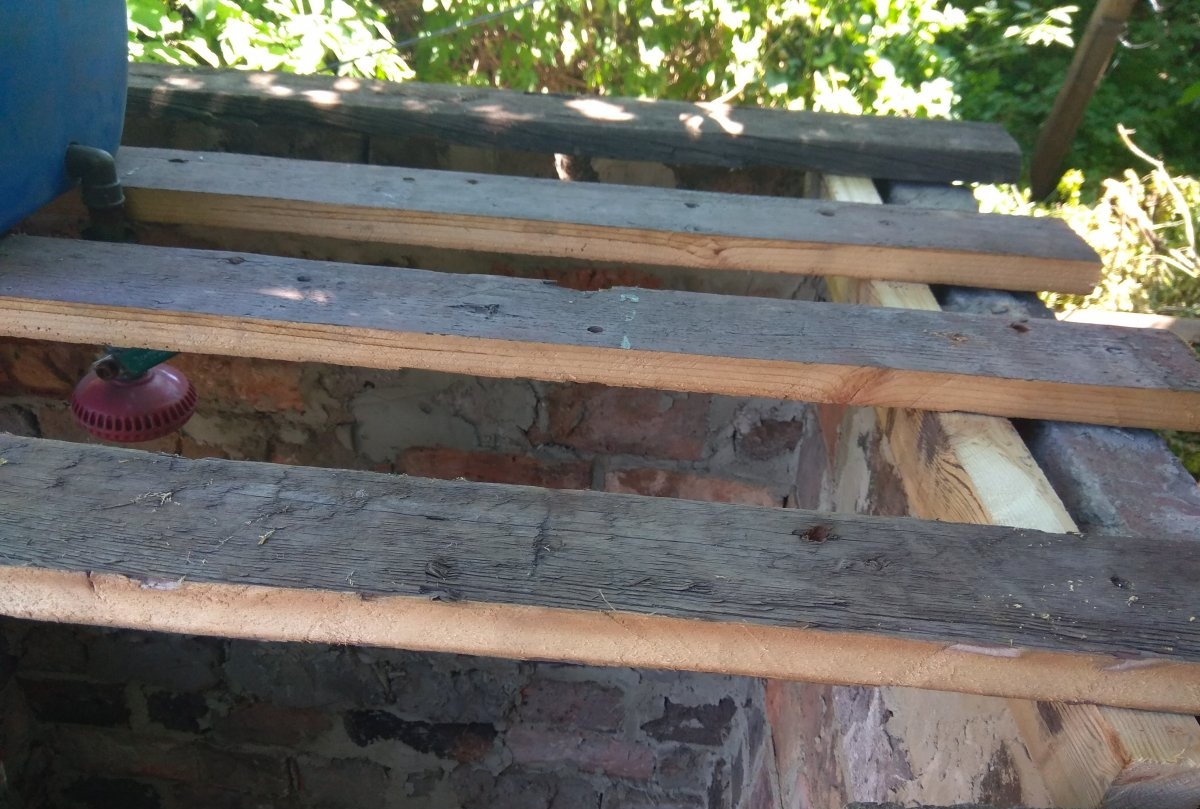
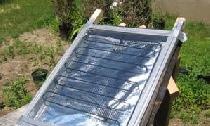
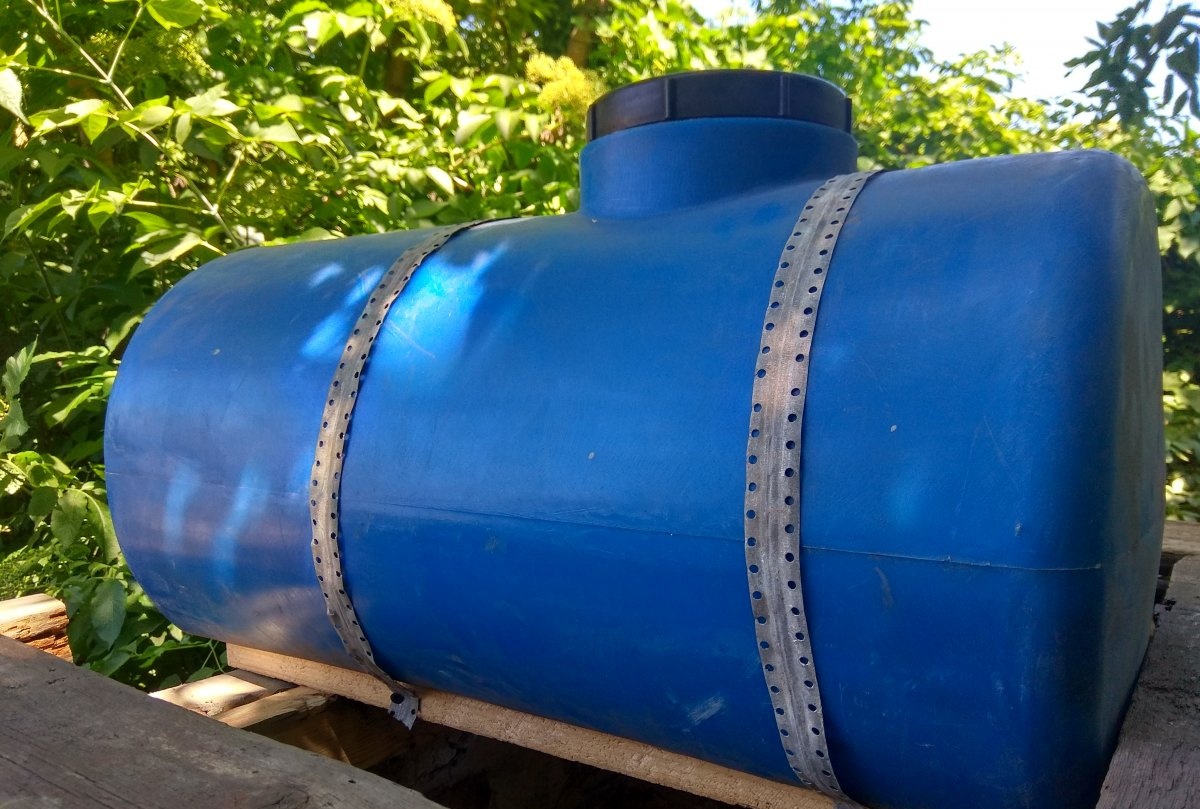
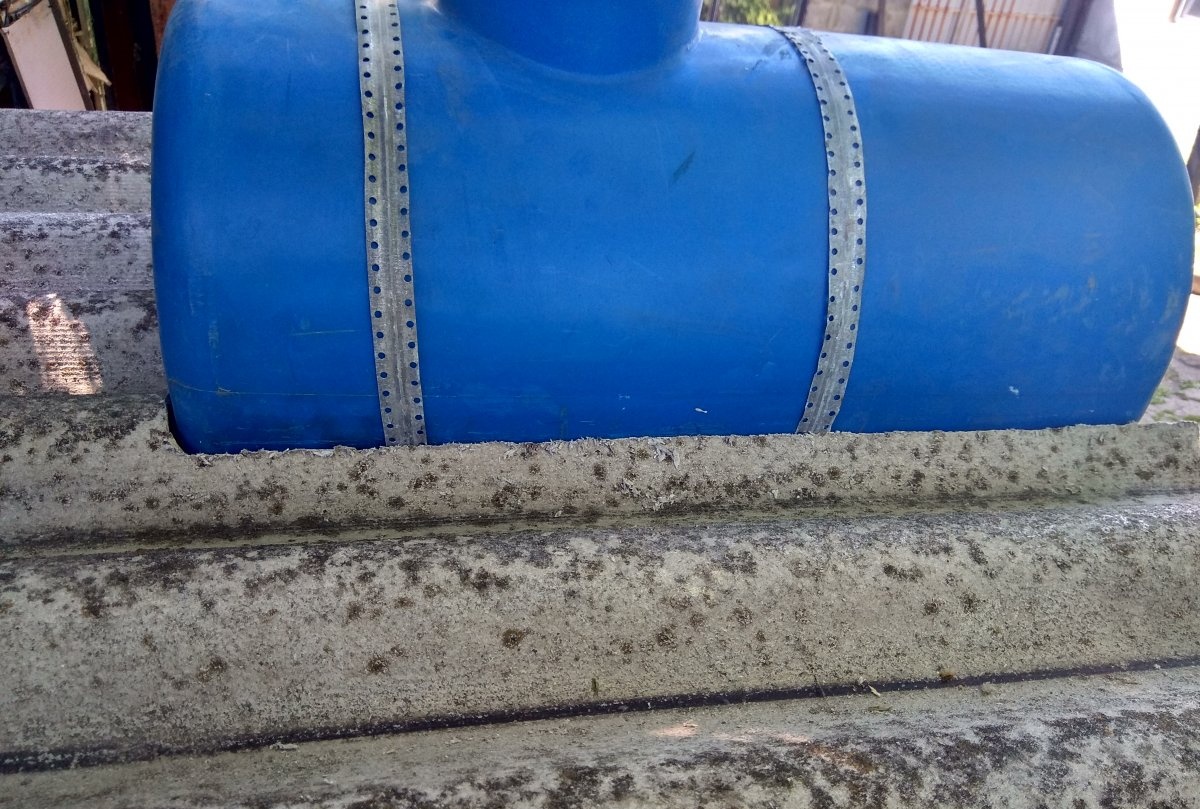
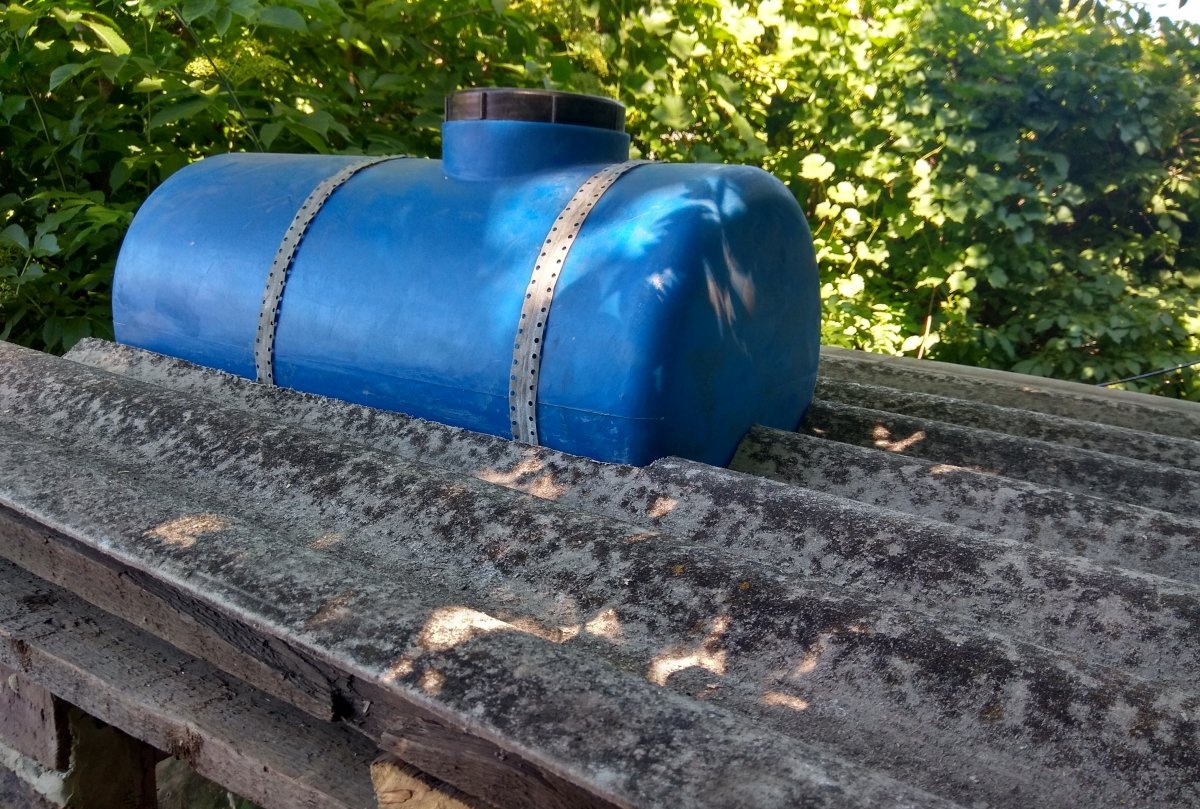
Next, the tank is placed on these boards. I had to buy a tank. There are three people in my family, so I chose a 60 liter tank. This is quite enough. If you use a tank with a large number of liters, the water in it will take longer to heat up. I secured the tank with the help of beacons, which I covered it with, and secured it to the lower boards with screws. Usually 20 liters of water is more than enough for one person to swim.
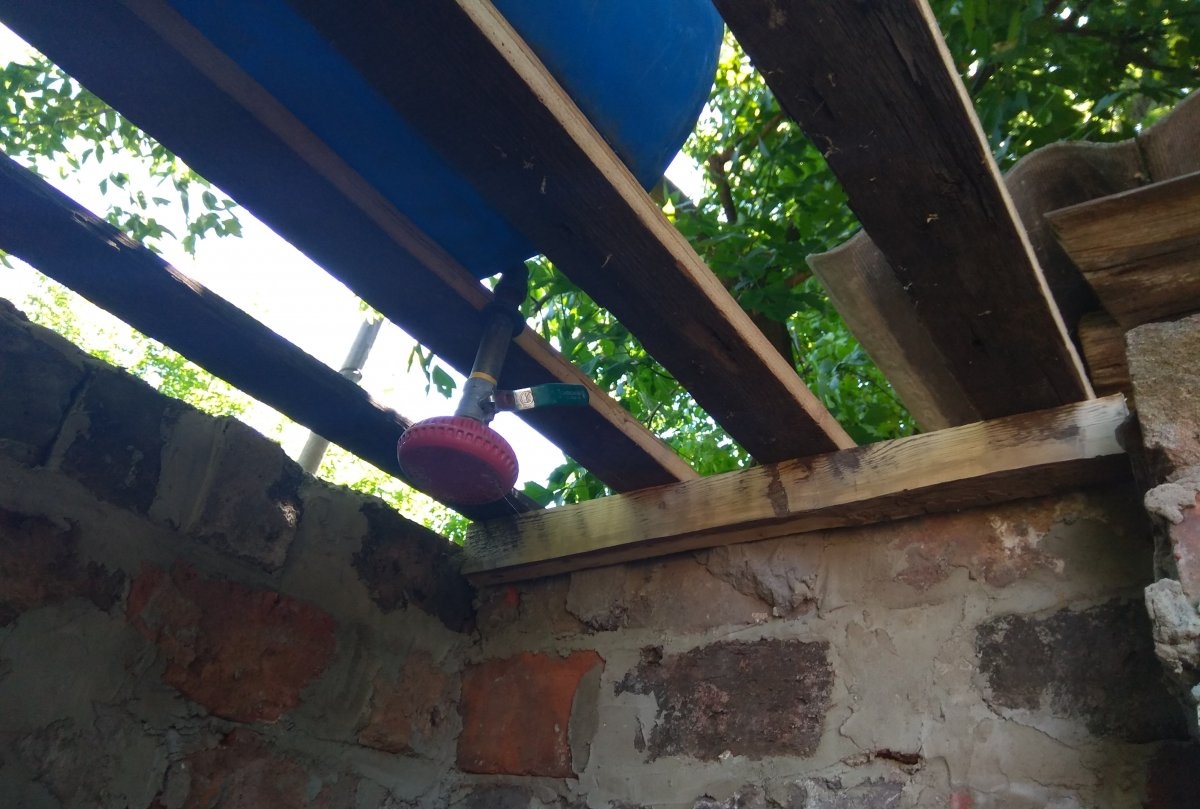
To allow the water to drain to the side, I made a small slope on the roof by placing blocks on one edge of the roof. I also secured smaller pieces of wood in the middle, and then secured a board on top. Thus, I ended up with small slopes on both sides. I attached a whole sheet of slate to them. But before that, you need to measure the size of the tank, apply it to a sheet of slate, and cut a piece so that it fits freely on the roof. I secured the slate with large nails to the slope, which I installed before.
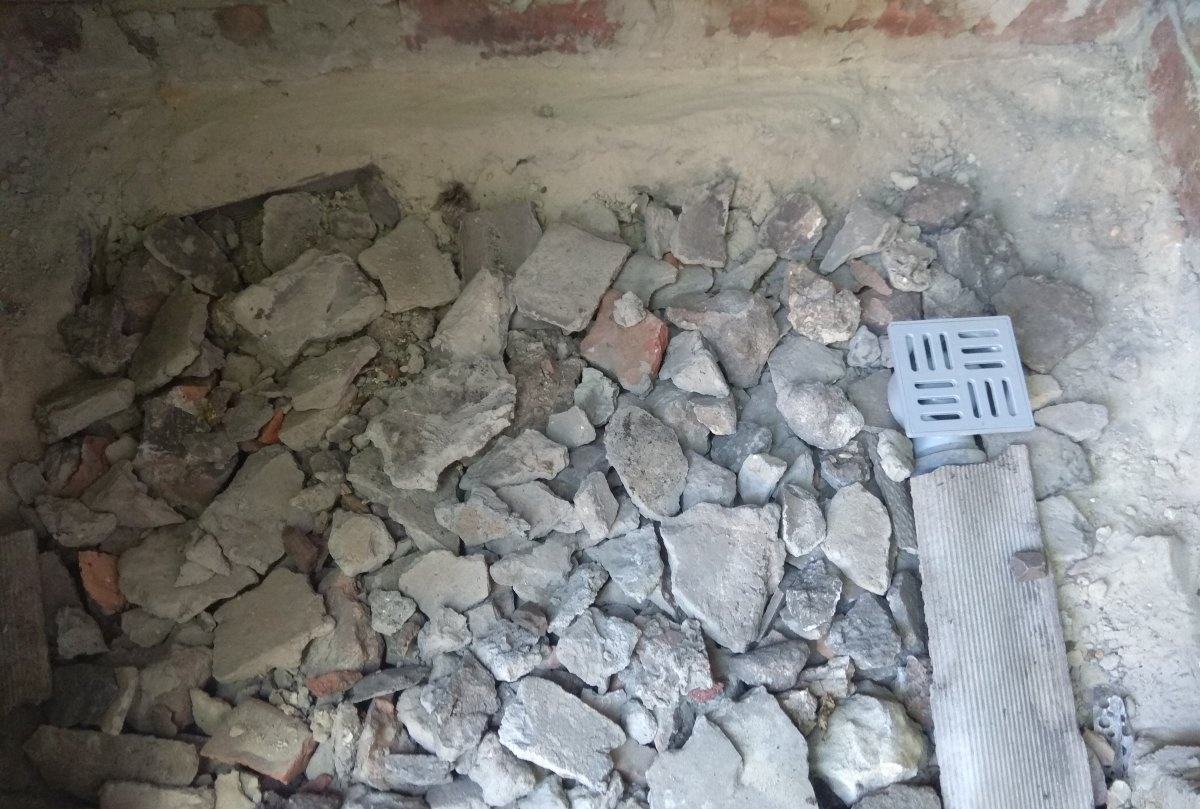
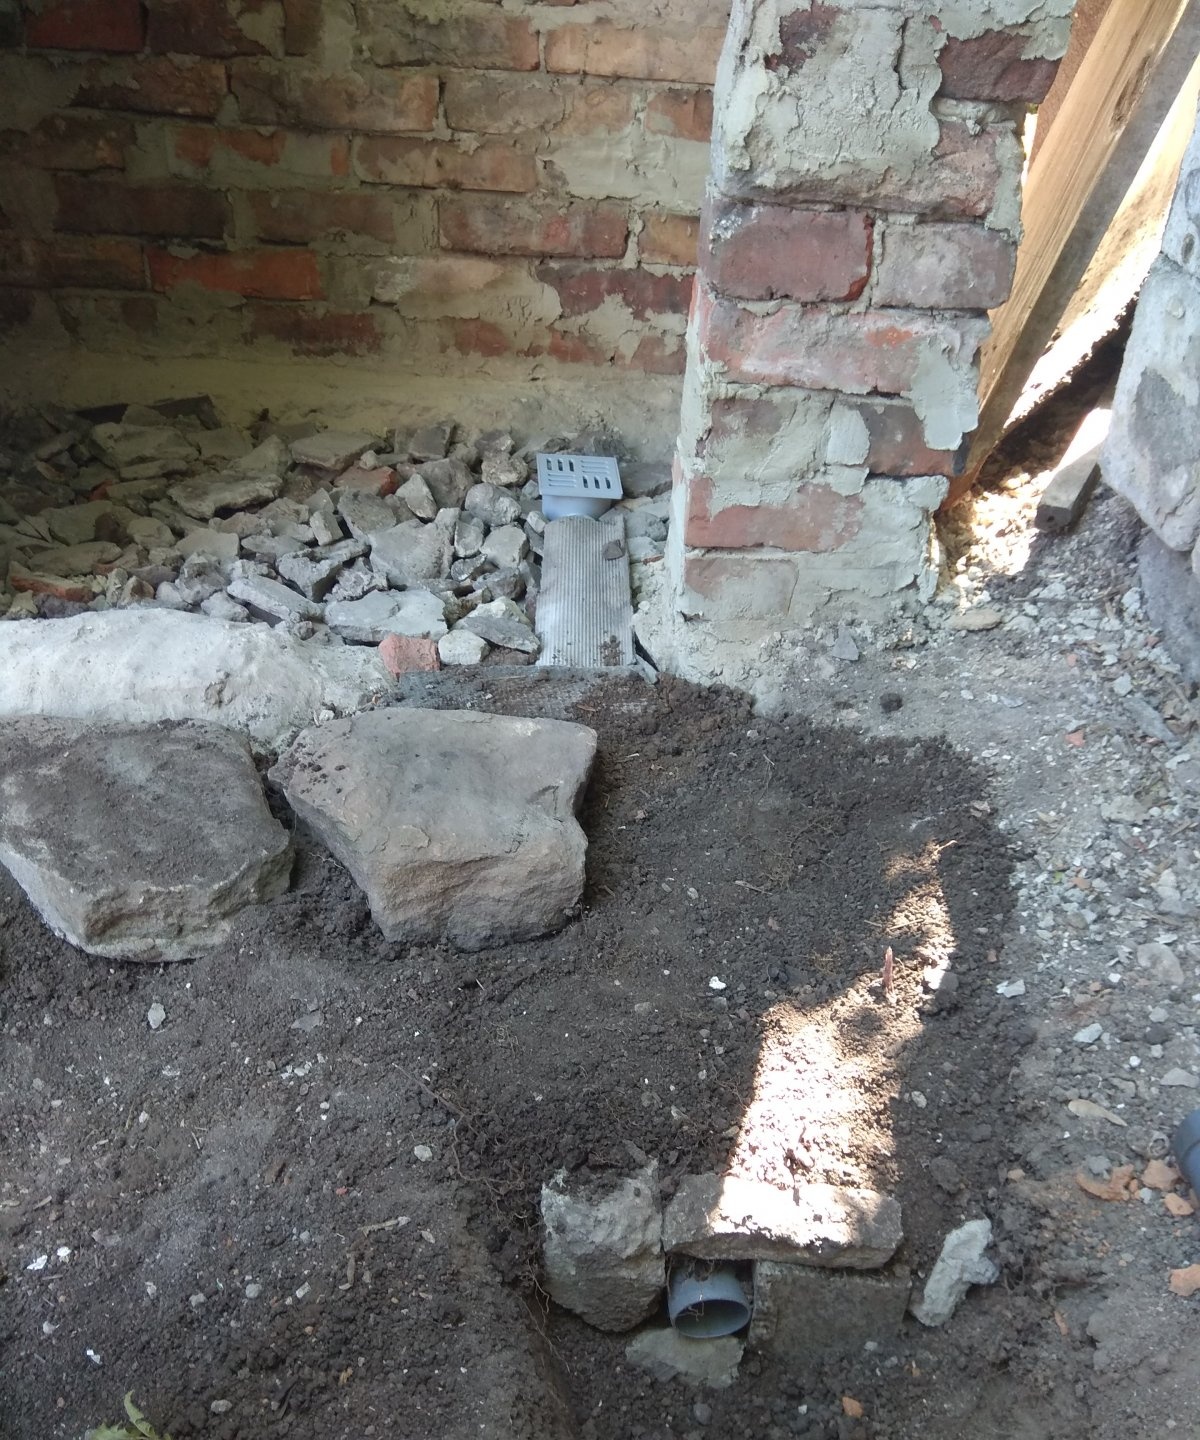
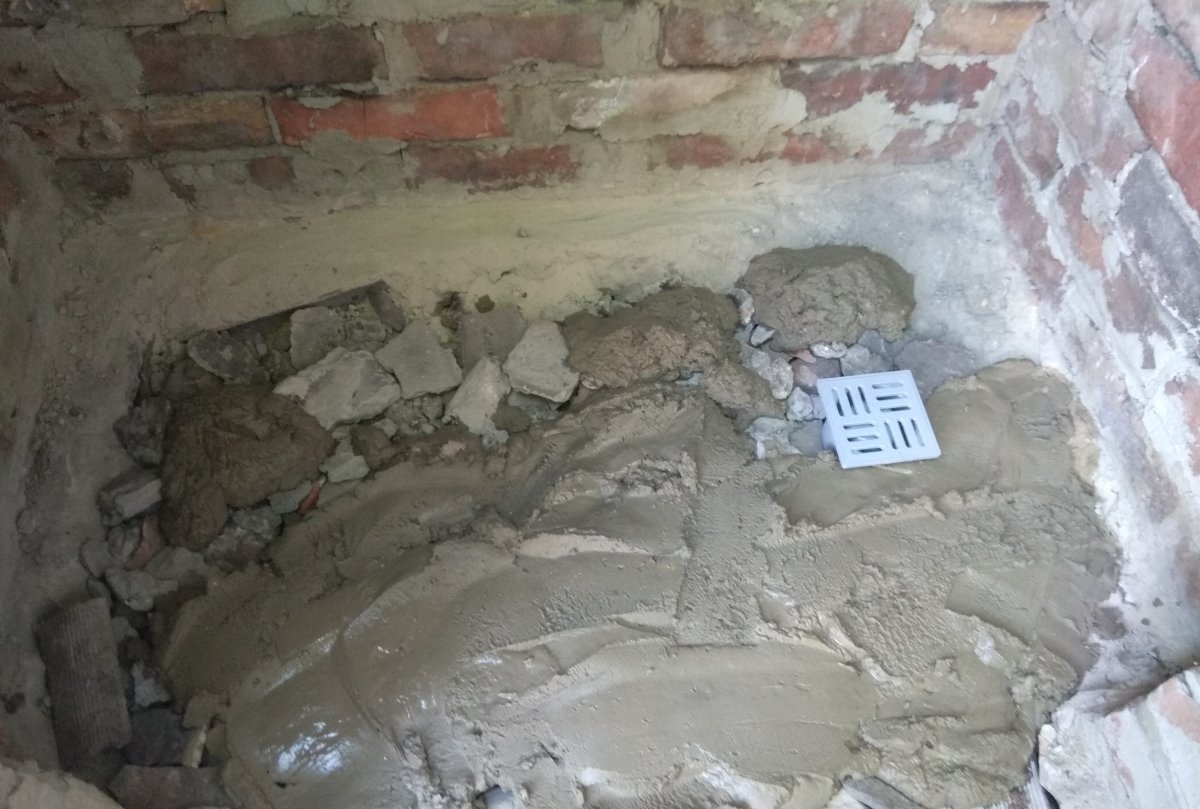
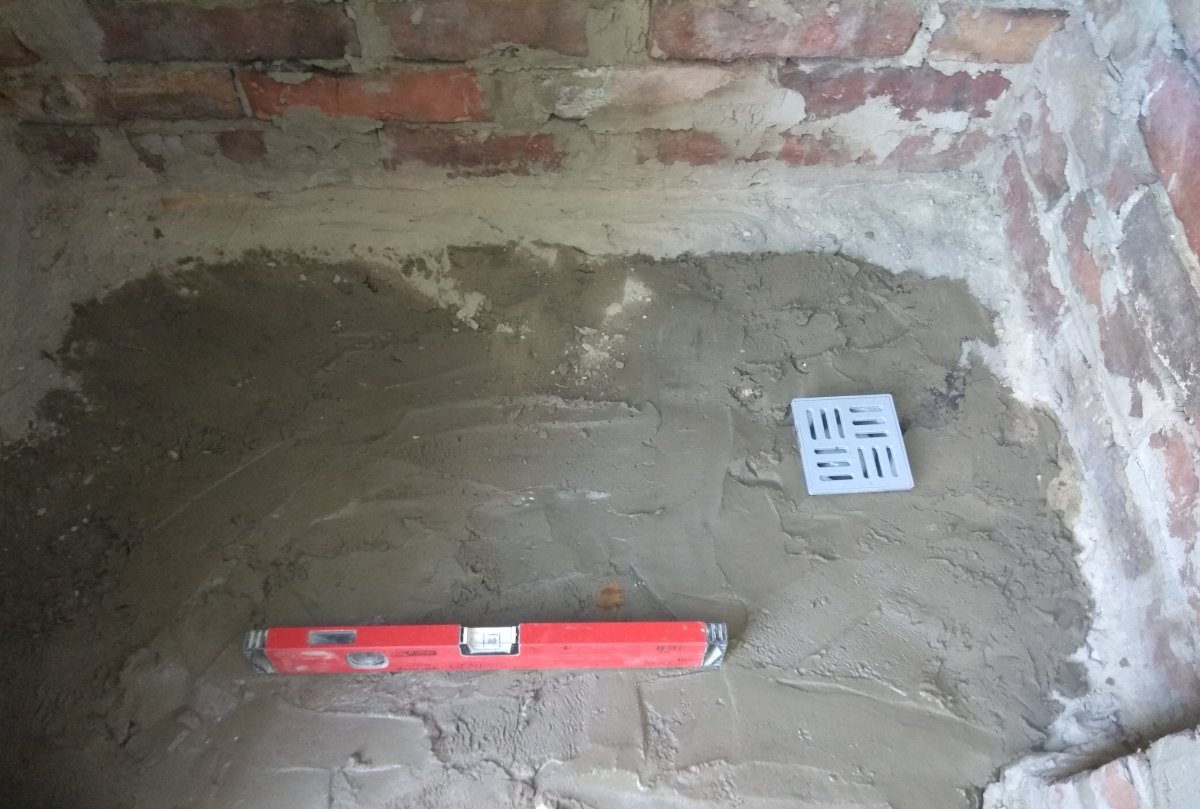
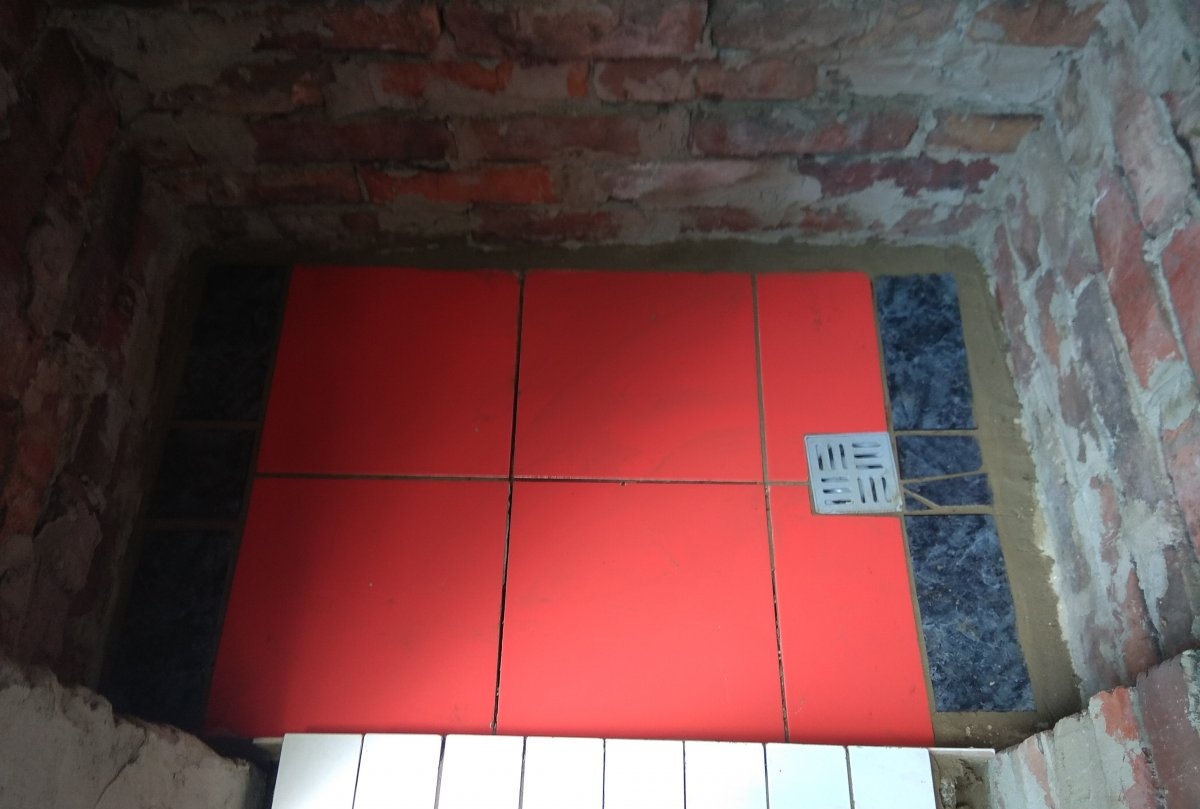
Next I started making the floor. I had some old tiles and decided to use them for these purposes. Before laying the tiles, I immediately installed a water drain. This drain went into a small hole through a pipe next to the shower. After that, I poured the screed and laid the tiles on top. The tiles must be laid at such a level that water flows from the walls to the drain. It is not necessary to dig a large hole to drain water, as is often advised, especially if you use it in the summer. A small hole is quite enough, and it doesn’t even have to be covered. In the heat of the summer, the water that flows from the shower into the pit dries out instantly.
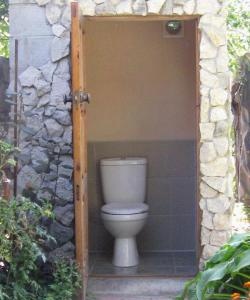
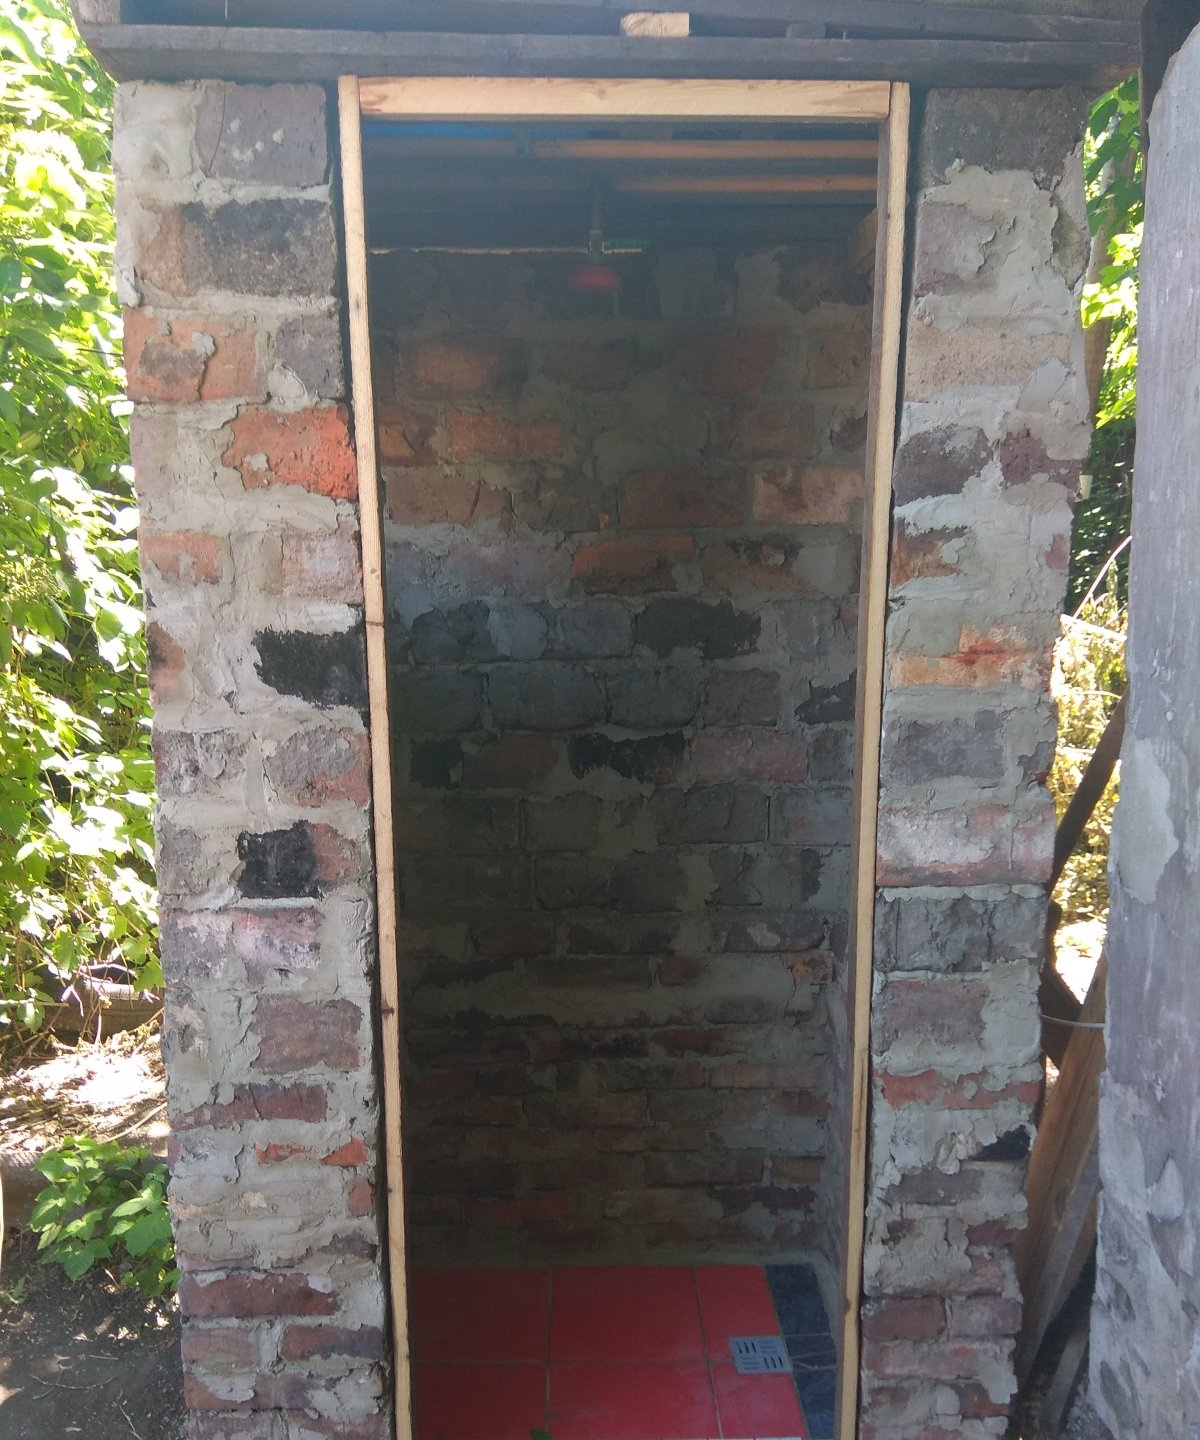
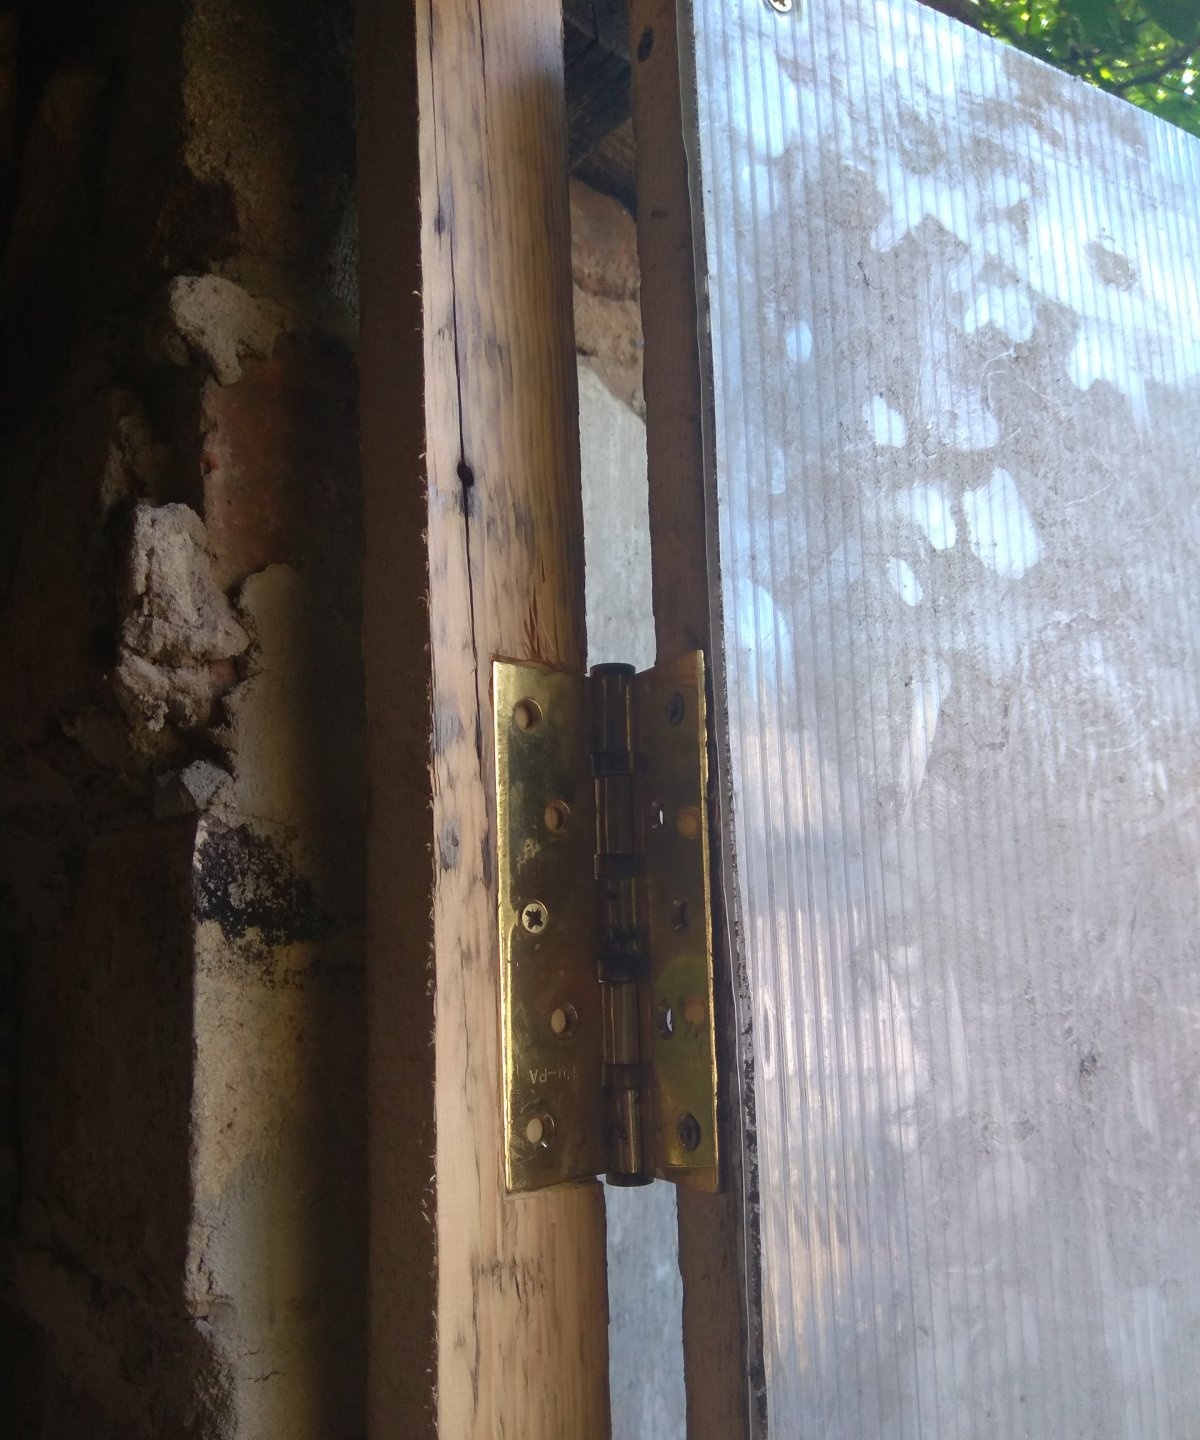
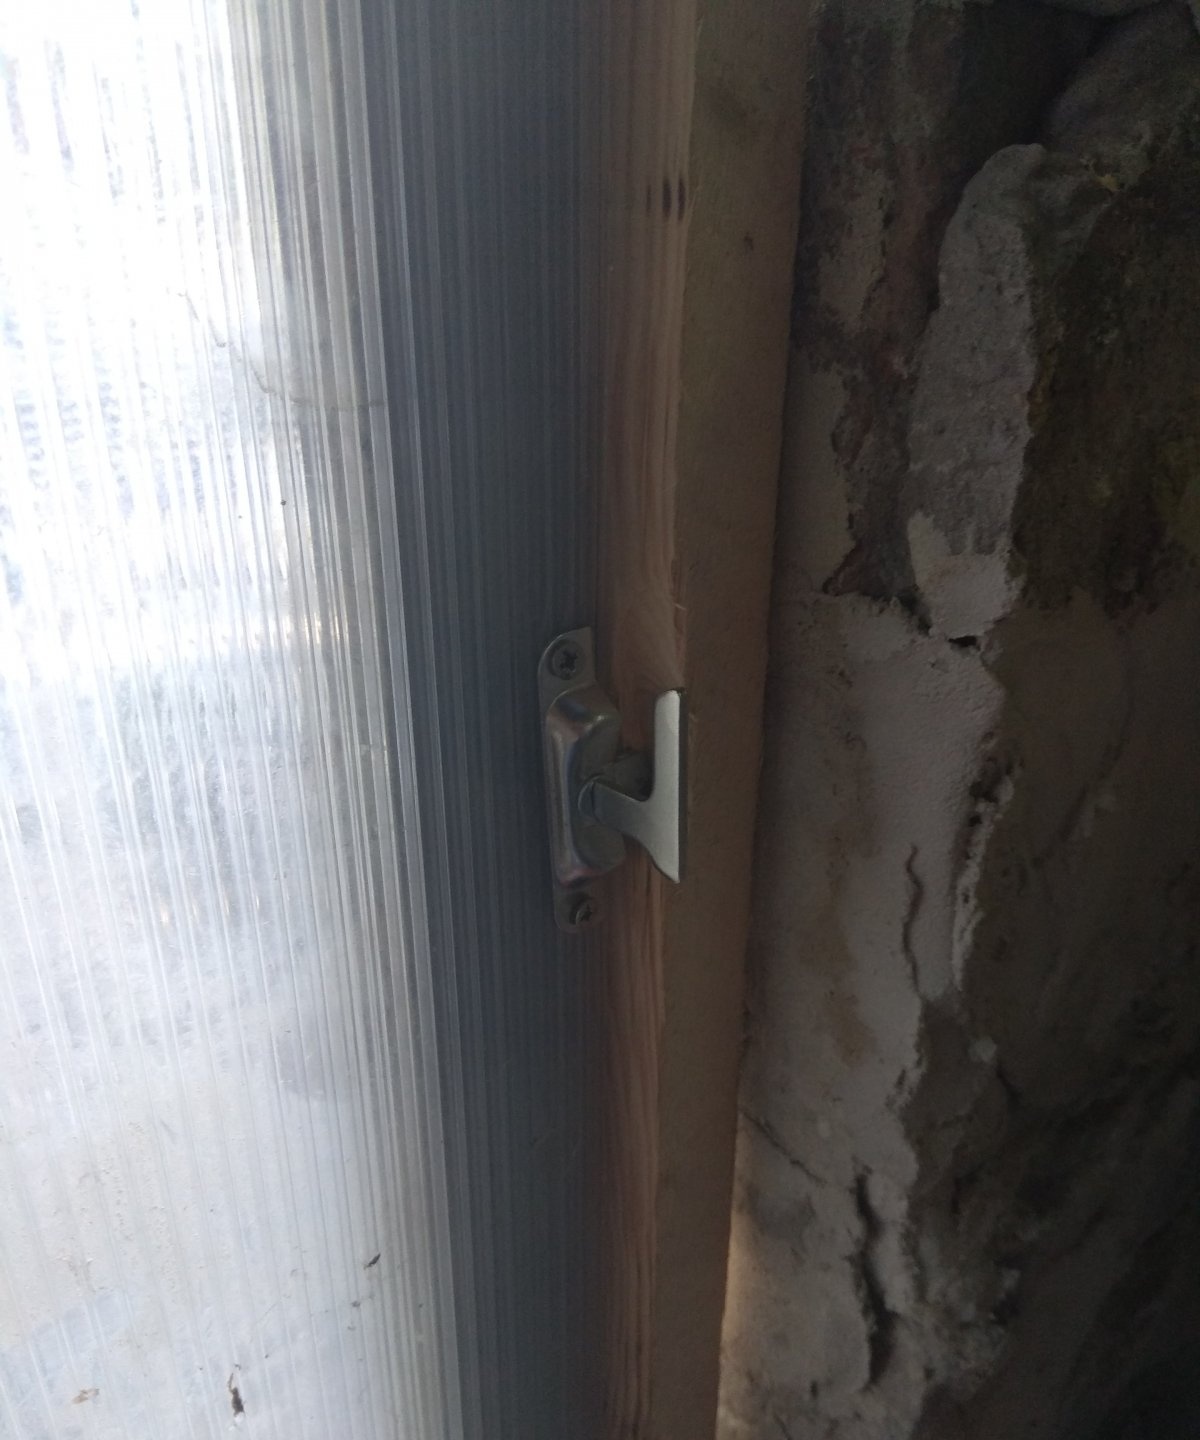
Now all that remains is to make the door.First, I made a loot out of timber. After that, I made a door according to the size of this loot. To make it convenient, I did not install the loot right away, but first made it on a flat surface, and there on the ground I made a door according to the internal size of the loot. The door consists of two long bars, which are fastened by four transverse ones. To make the door light, I filled the cross bars with translucent plastic, which also lets in light. After that, I fastened the door with the hinges on the hinges, and installed the entire door frame into the shower doorway. I also made a castle inside.
Thus, I built a summer shower on my summer cottage. In the future, if I get around to it, I will plaster it inside and out. This shower option is quite simple and not very expensive, considering that I already had most of the materials. It only took me two days to make it.