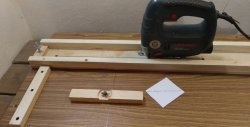
Materials:
- replaceable blade for scalpel cutter;
- wooden slats;
- mounting perforated corners – 2 pcs.;
- short screws;
- tin or sheet metal.

Making a cutter
Assembling the cutter should begin by preparing 2 short slats, which will serve as a parallel stop and a mechanism for adjusting the width of the cut. Ideally, one of them will be narrower, which will make the tool lighter. The optimal length of a wide rail is 15 cm, and a narrow one is 10 cm.
Next you need to trim the mounting corners. Their sides are cut to the height of a narrow strip. This is not necessary, but with shortened corners the tool will look more compact and neat.

In order for the cutter to have a pleasant appearance, glide well and not leave splinters, it is necessary to sand the slats, at the same time rounding off the sharp edges. If their sides are not completely parallel, this can be corrected by sanding. Next we will paint.

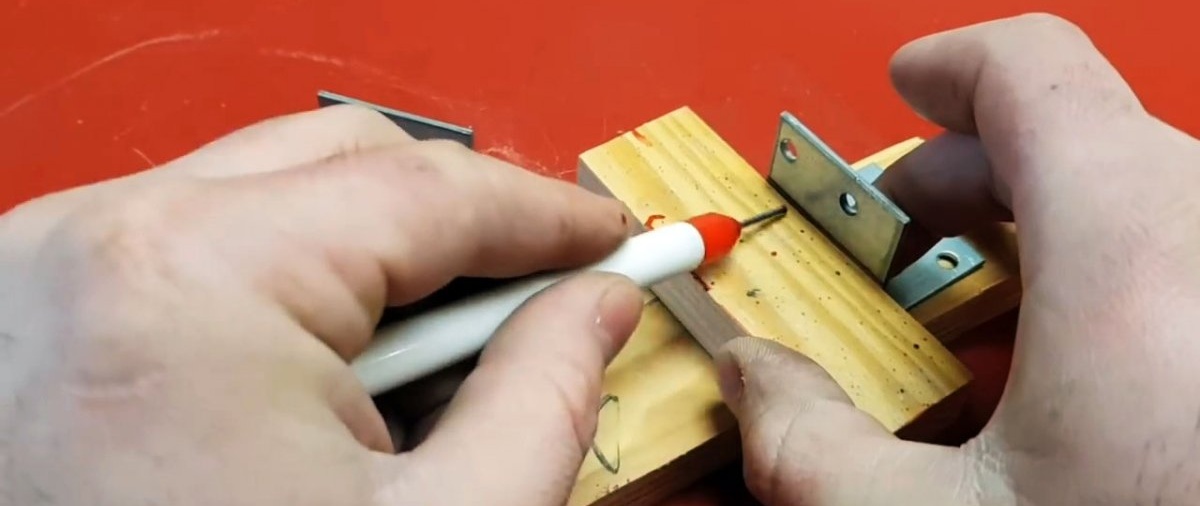
You need to screw a plate made of tin or any sheet metal to the end of the narrow rail with 2 self-tapping screws. It is important that the distance between the screws allows you to insert a scalpel blade under the plate.

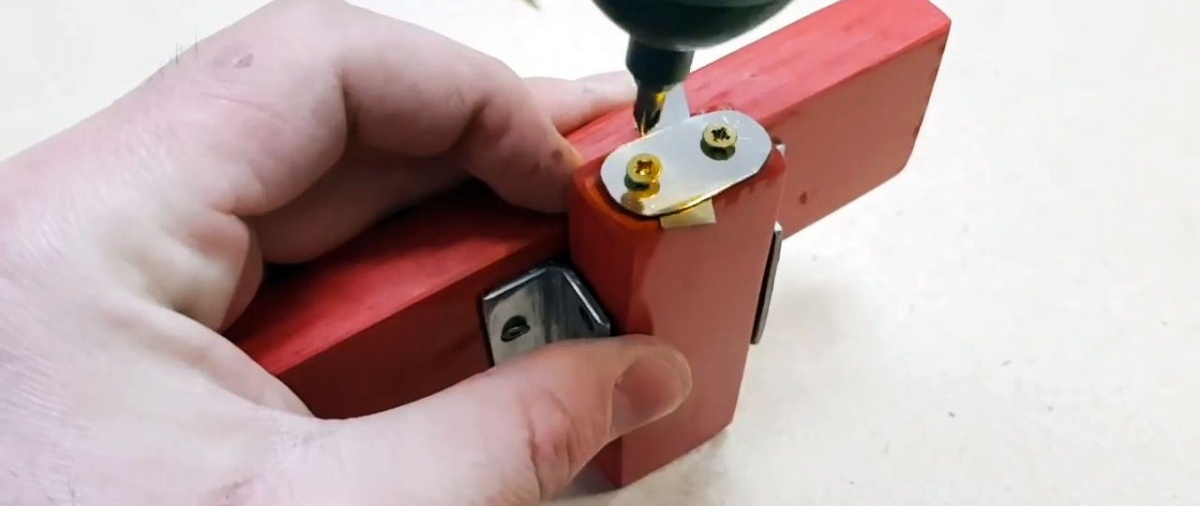
Then you also need to screw the cut corners onto the wide rail using self-tapping screws. Their task is to clamp a narrow bar between them so that it is located at a right angle relative to the second one.

Next, the blade is inserted under the plate and positioned in such a way that its tip, when the instrument is laid on the table, reaches the table top. After this, its position is fixed by tightening the screws.

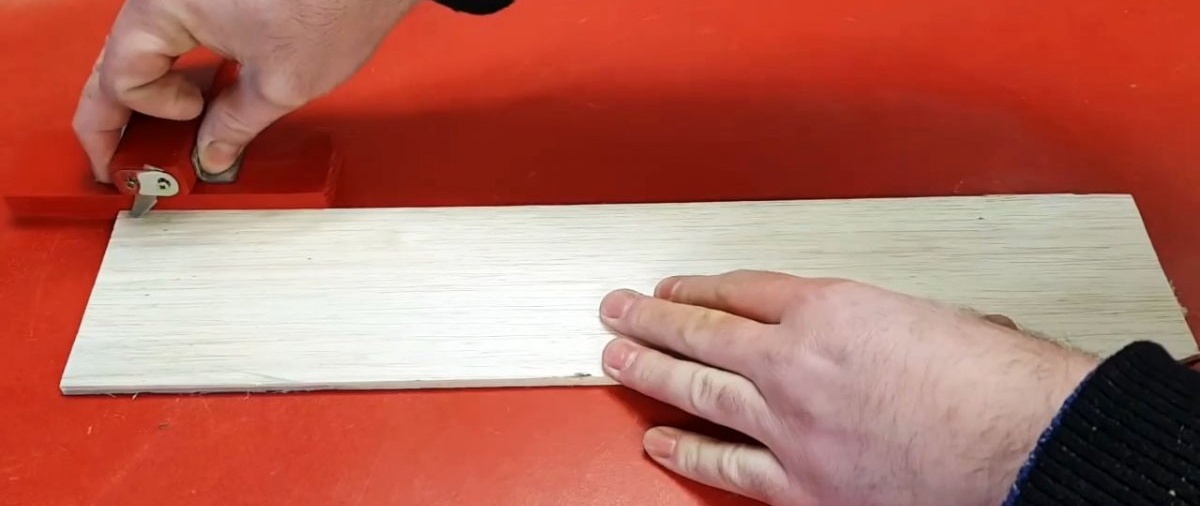
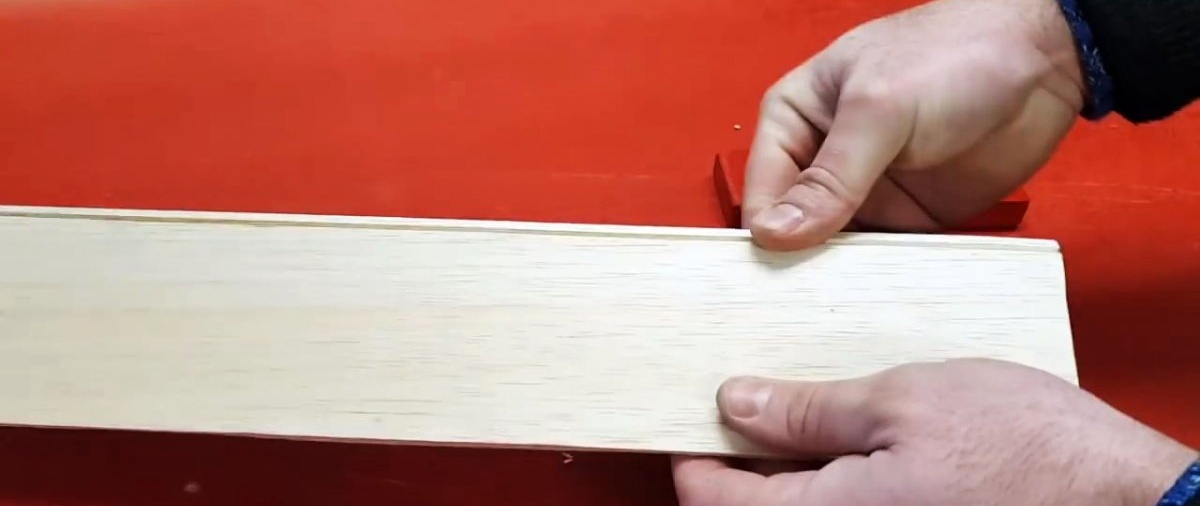
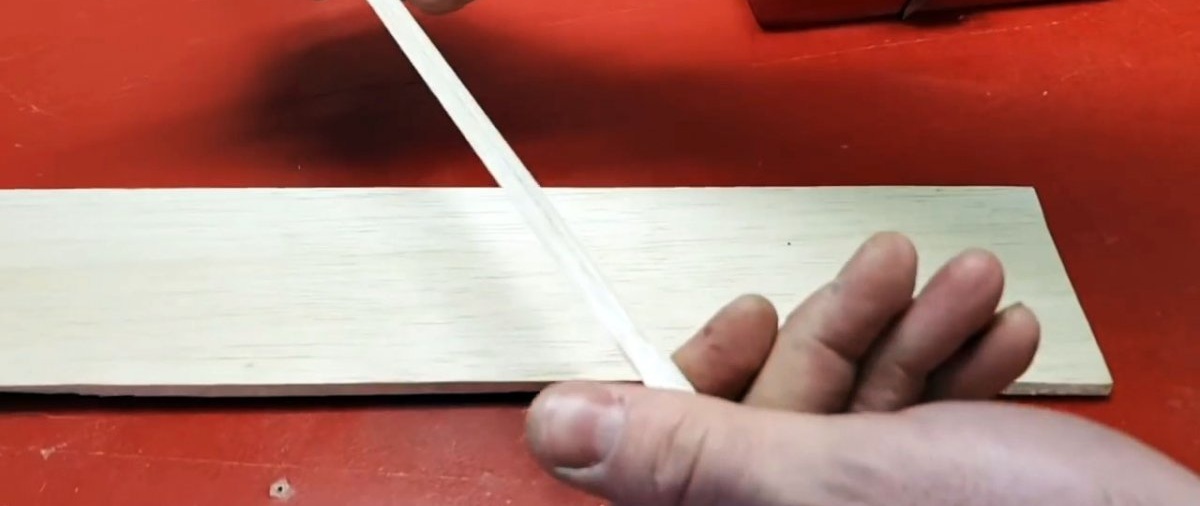
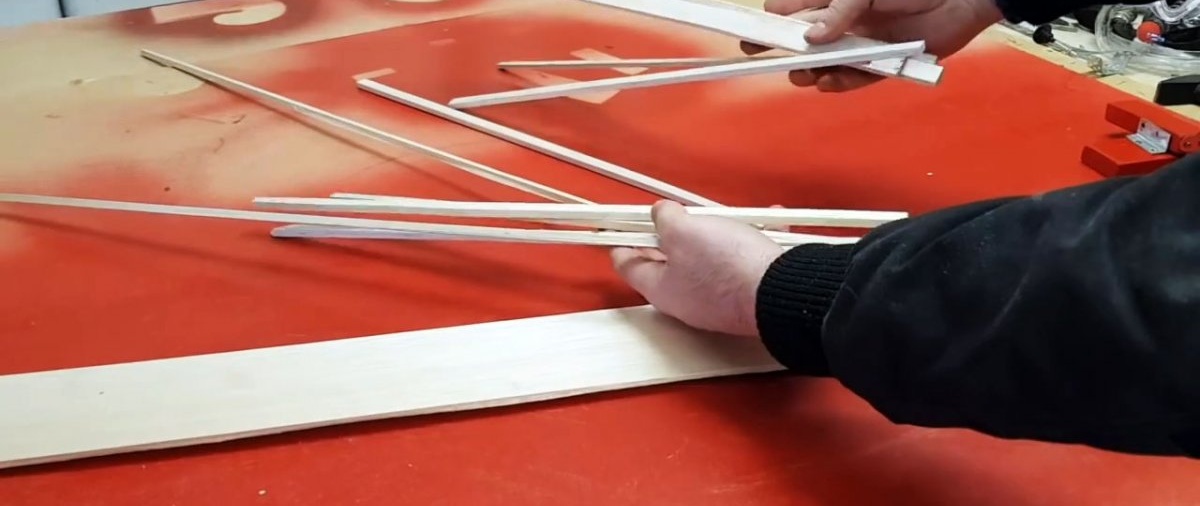
To use the cutter, you need to extend its rack with the blade to the length to which you want to cut. After this, the tool is applied close to the material and pulled towards itself. In this case, you need to try to ensure that the thrust bar is constantly pressed. In this case, you are guaranteed to get a perfect parallel cut.