Many photographers, working in graphic editors, specially bleach the photo to improve or recognize individual tones and proceed to further colorize it to their taste, having a palette of original shades at hand. It is also often necessary to initially process a black-and-white old photo using the color mode. Using the Photoshop program, you can colorize a photo in several different ways, but the simplest and most optimal of them is color correction in the “Color” layer mode.
So, what is color, for general understanding? First of all, this is information. The degree of perception and assessment of this work by an outside observer ultimately depends on how accurately the image is processed, how voluminous and, without frills, but colorful, taking into account even the smallest details in the photo. In other words: the more accessible the information, the easier it is to assimilate.
Getting Started
First of all, open the desired photo in the program itself.

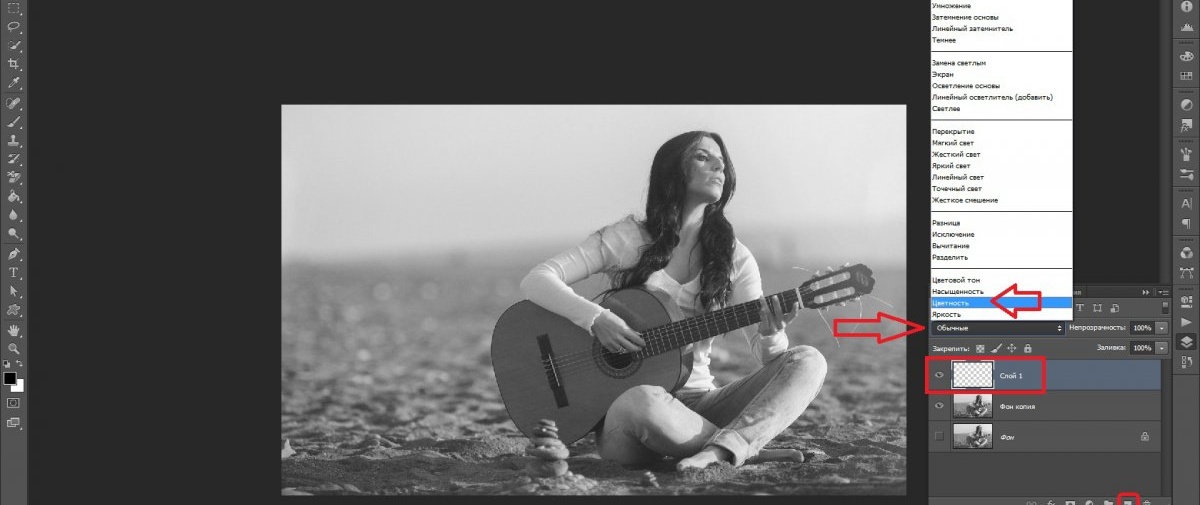
Looking at the image, you can intuitively, relying on life experience and memory, determine in advance the future color of the acoustic guitar and the sand on which the girl is sitting. And the first step, as usual, is duplicating the layer. The background pinned layer can be disabled for now in the panel on the right by clicking on the eye icon, and temporarily forget about its existence. The duplicate layer is automatically detected as a copy of the background; If desired, you can rename it at your discretion.

The next step is to immediately create an empty layer by clicking on the second button on the right in the lower case of commands, next to the basket. A new thumbnail appears above the previous layer, indicating that this layer is completely transparent. Now, by clicking on it, you need to make it active, and the “Normal” mode must be changed to “Color”. This mode will allow you to apply paints most naturally, taking into account all the shadows on the canvas and possible local transitions in contrast.
Next, by selecting the “Brush” tool in the panel on the left (or by clicking on the key with the English letter “B”), you should set the brush size in the top menu. The remaining settings can be left untouched: view (default - “soft round”); hardness, opacity and brush pressure are set to 100%.
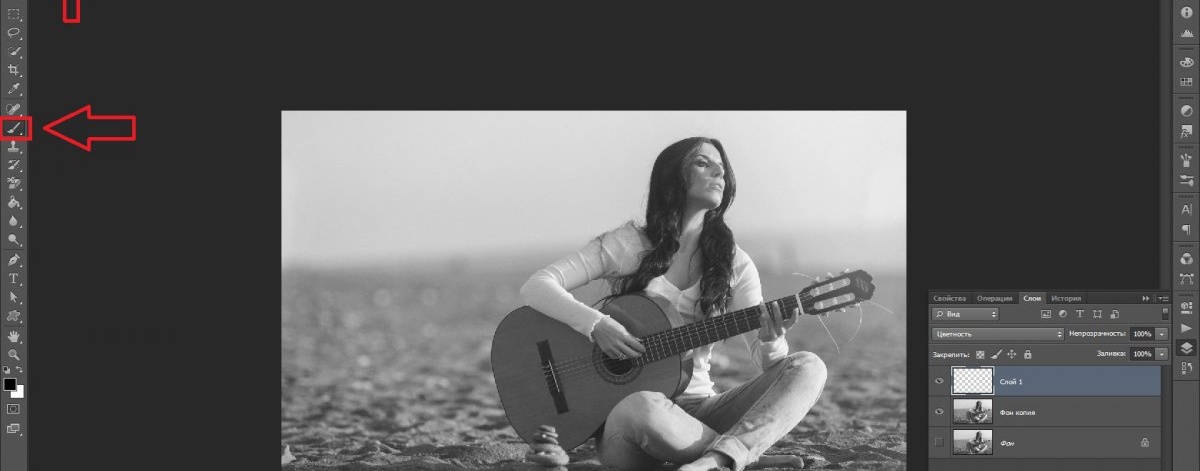
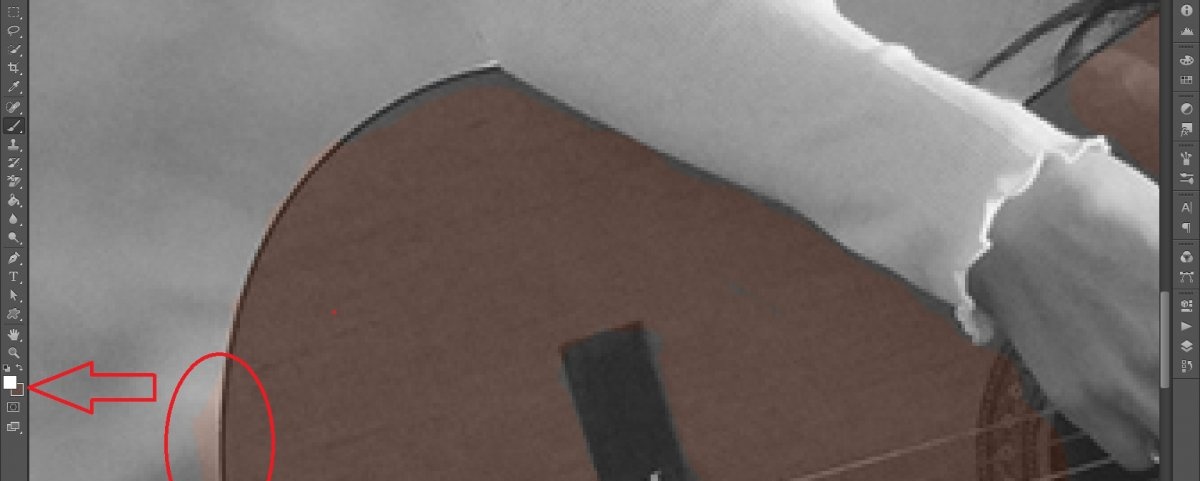
For convenience, you can adjust the image scale by pressing the “Z” key (or selecting the “Scale” tool in the left panel) and then clicking on the workspace.
Let's say you decide to start painting the top of your guitar. As a rule, on acoustic guitars this is an orange or yellow tone. Select the main color from the most suitable shades in the tool below, as in the screenshot:
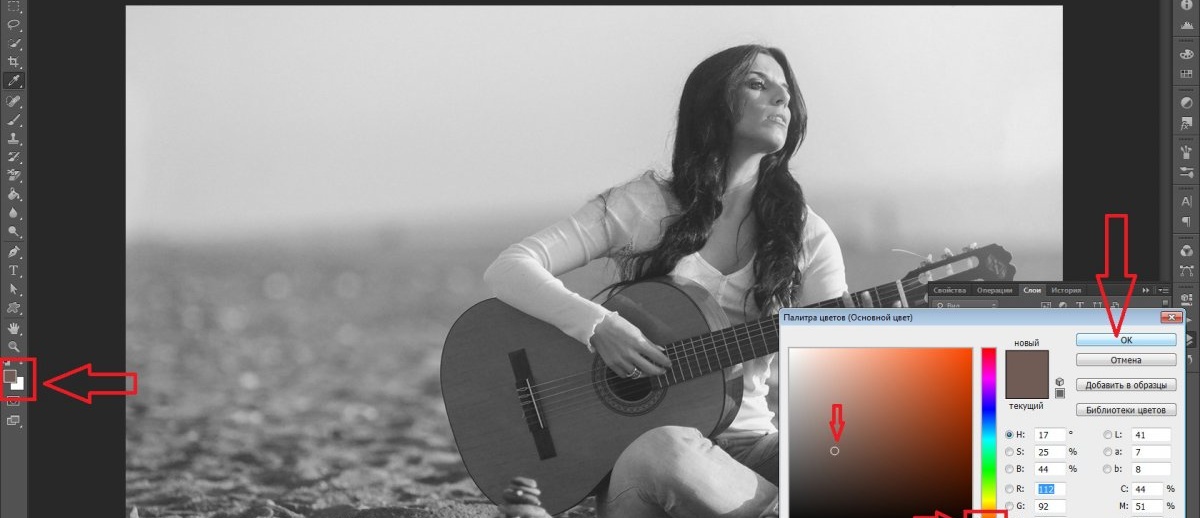
Calling the “Brush” tool again, let’s start applying strokes.If in some places you can’t accurately paint over an object, that’s okay. Correcting the flaws here is as easy as shelling pears: change the main color of the overlay to the opposite white and, working as if with an eraser, restore the previous background.
In the process of working, sorting through various shades in the palette, the most rational thing for each of them would be to create a separate layer with a color mode, as described above. Then it will be easier in the future to change any color with one click, without painting the entire area again, performing operations directly with a specific rendering option.
You can continue to paint further, for example: “revive the sky”, apply the appropriate tone to the hands and face of the model, etc. By constantly practicing colorizing photos, trying new tonal settings and brushes, everyone has the opportunity to achieve excellent results. At the same time, many works, even those with seemingly overly bold color solutions, cannot be classified as non-standard, because any creative approach, in any artistic activity, can hardly be limited by certain strict principles.