Materials:
- plastic pipe 1/2 or 3/4 inch;
- 90 degree elbow;
- stub;
- adapter fitting for hose;
- coupling for fitting;
- steel rod;
- mounting bracket;
- furniture screw M6 with round head;
- M6 nuts – 2 pcs.;
- short screws – 2 pcs.;
- cold welding;
- Super glue.
Sprinkler manufacturing process
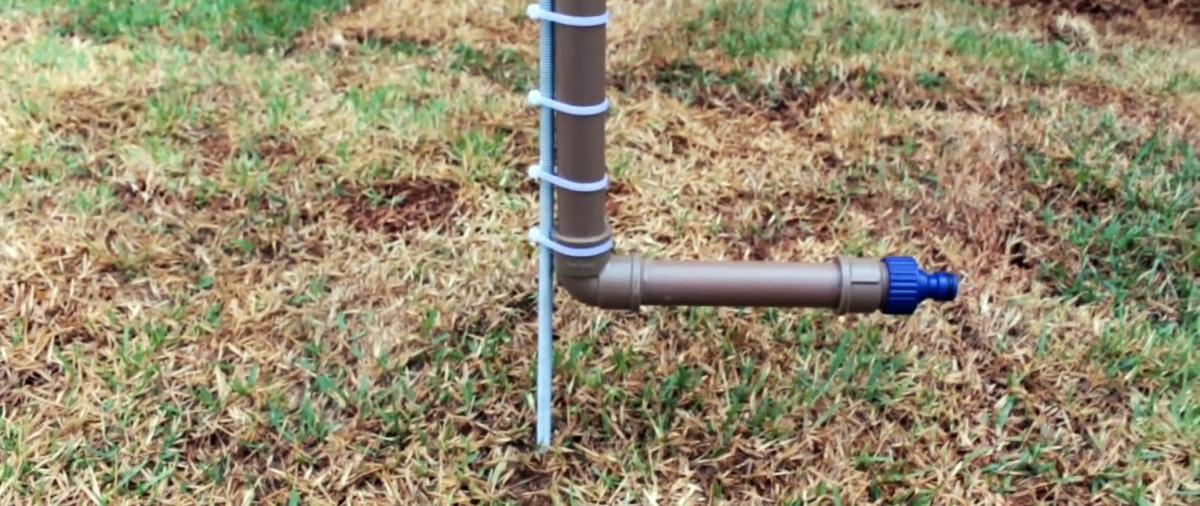
The principle of operation of a homemade sprinkler will be identical to a fire sprinkler. This will allow you to work even with water containing large particles of debris, and will provide good splashing. Its assembly must begin with the manufacture of a stand. To do this, you need to connect 2 pieces of pipe using an elbow.
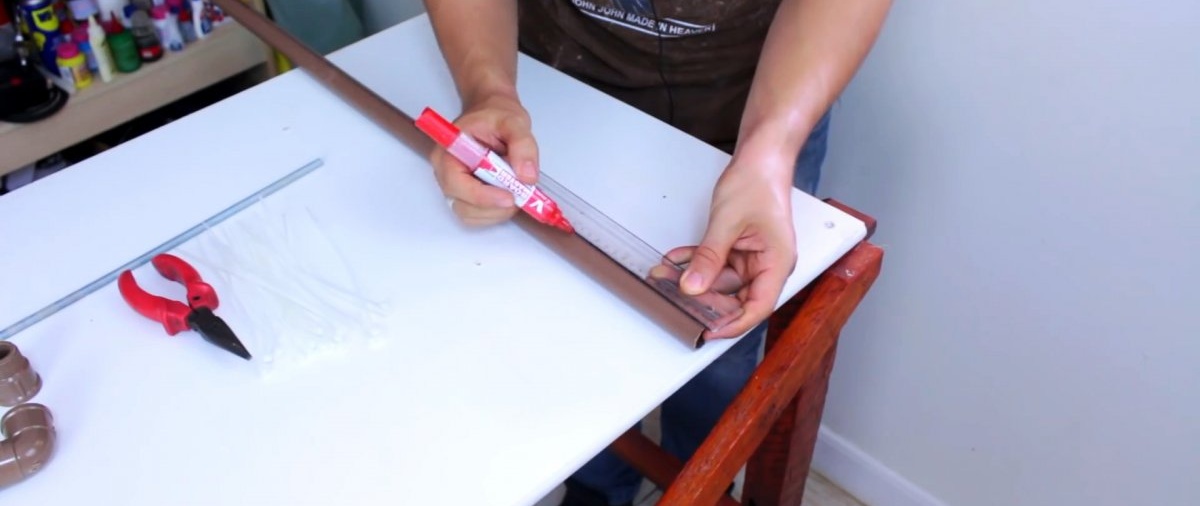
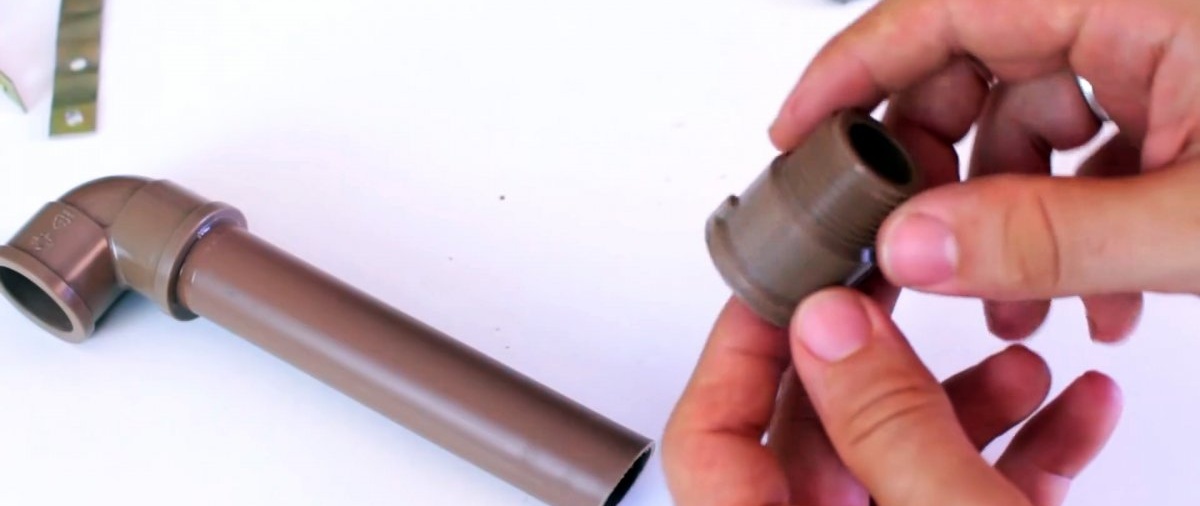
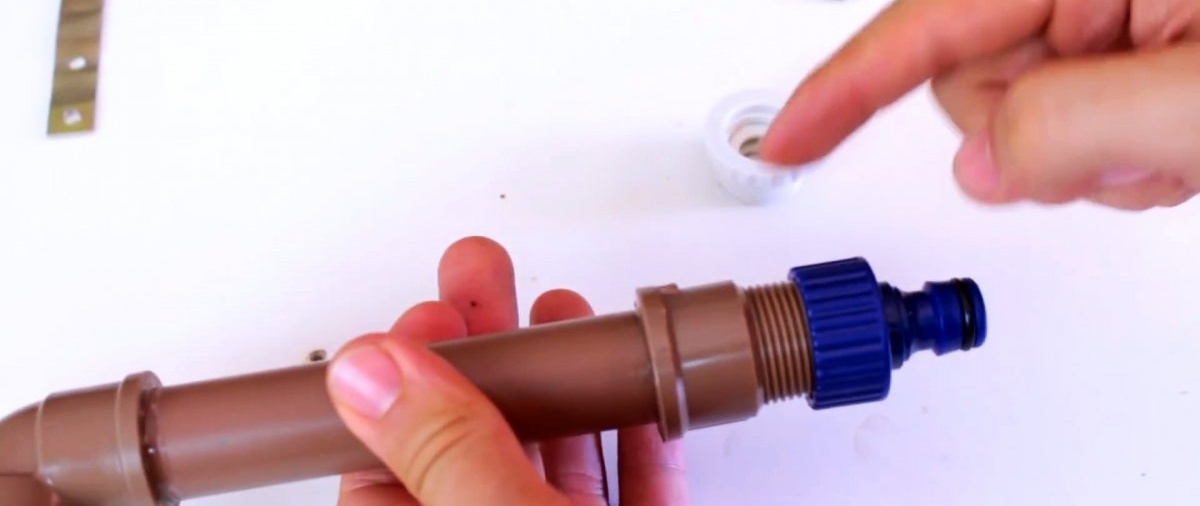
One section should be 1 m or more long to raise the sprinkler head higher.Depending on what kind of plastic pipes are used, the connection is made using glue or soldering. The short tube is equipped with an adapter coupling and a fitting for a garden hose. The connection to the water supply will be made through it.

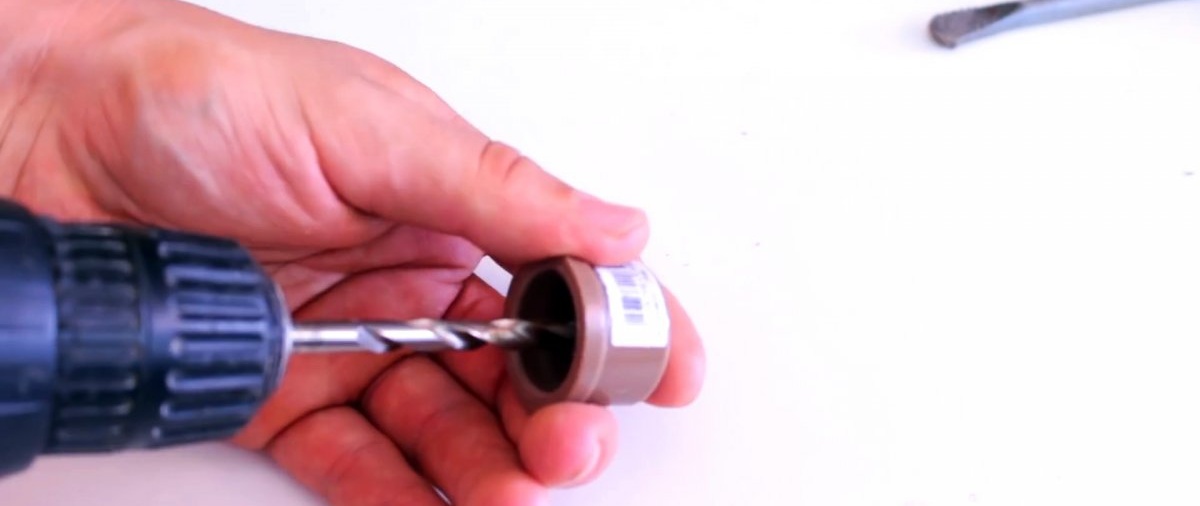
A plug with a drilled hole is installed on a long pipe.
Next you need to make a sprinkler. For this purpose, a thin-walled narrow mounting angle is used. You need to drill a wide hole in it so that the M6 screw can easily fit into it. Then, using superglue and soda, glue the nut onto the hole.
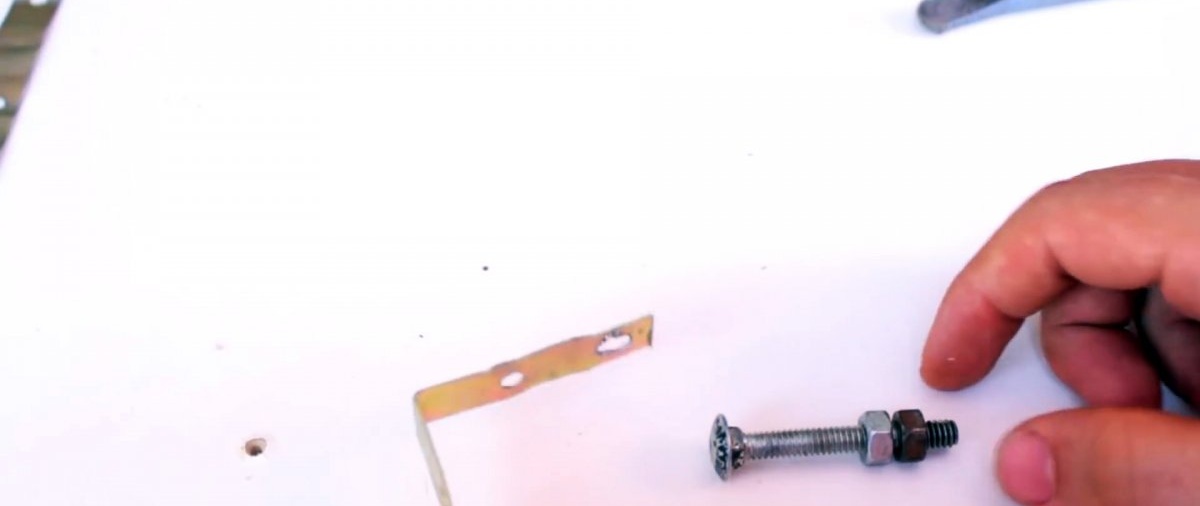

A round head screw with a pre-screwed nut is screwed into the corner. After this, the corner is leveled and screwed to the tube with the plug using short self-tapping screws.

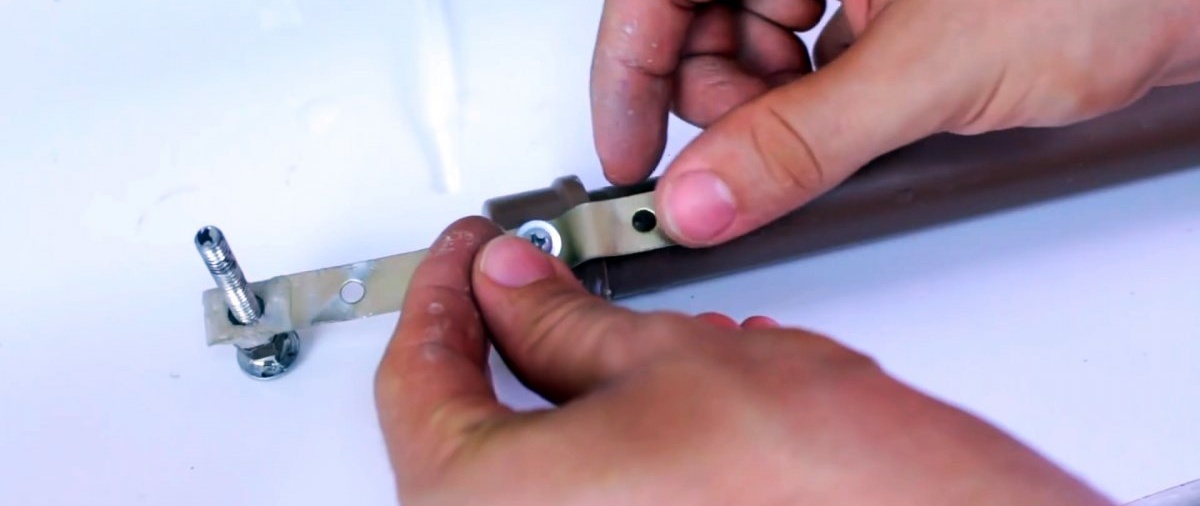
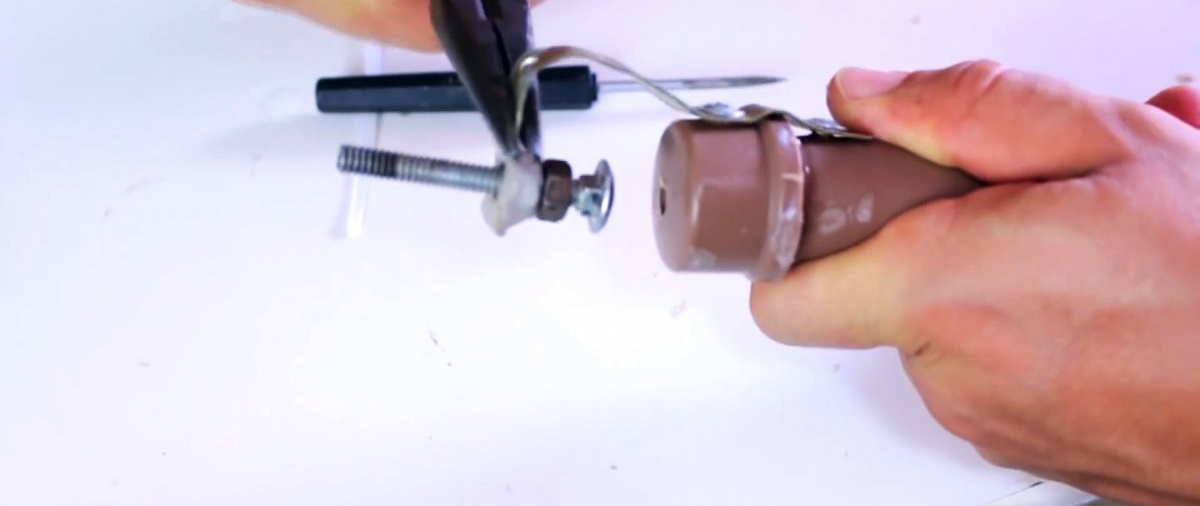
Then the aligned corner is bent so that the head of the screw screwed into it coincides with the hole in the plug, while maintaining a gap of 10-15 mm between them. To give rigidity to the corner, it is advisable to cover it with cold welding, but in such a way as to preserve the ability to rotate the screw. This will also improve the design.

By rotating the screw you can adjust the gap to change the spray parameters. Its position is fixed with a lock nut. Next, a steel rod is attached to the sprinkler stand using a tie or electrical tape in order to be able to stick it into the ground.