To work you need to prepare:
• material scraps;
• scissors;
• pencil;
• ruler;
• paper;
• braid;
• a needle and thread (if possible, a sewing machine).
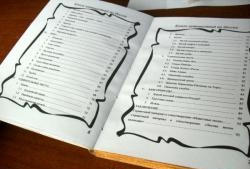
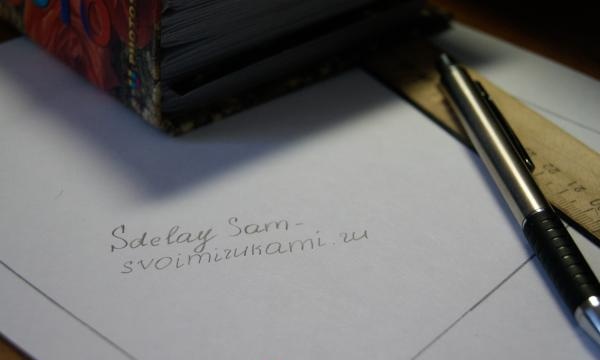
1. First of all, you need to choose a book for which the cover will be made. Having decided on the book, you can move on to the process of making the circuit.
On a piece of paper, using a pencil and a ruler, draw a rectangle, the dimensions of which will correspond to the size of the book spread. After this, you need to step back from the sides of the rectangle by 3-5 cm (in the future, this increase will allow you to make “pockets” into which the book will be inserted).
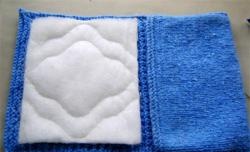
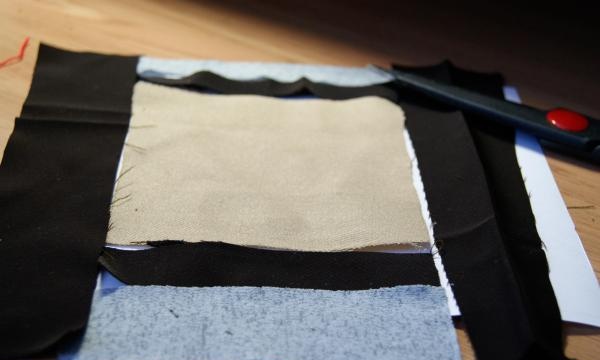
2. On a marked sheet of paper, you should place scraps of fabric, forming the intended pattern from them.In this case, it is necessary to take into account seam allowances (at least 5 mm). In the photo below you can see a possible arrangement of pieces of matter.

3. After the pattern has been chosen, you need to prepare the flaps for assembly (give them the required shape, iron them, etc.).
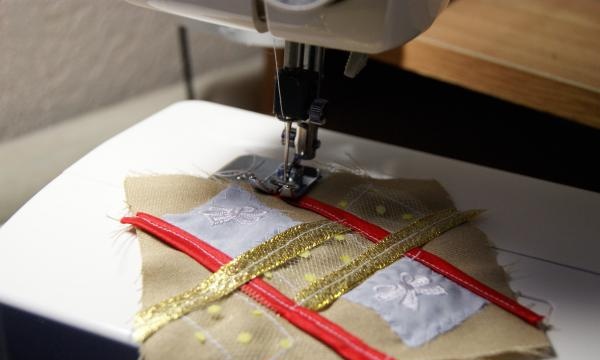
4. Since the smallest parts are concentrated on one square flap, assembling the canvas must begin by connecting the corresponding parts. In this case, the work is performed according to the principle of appliqué, that is, small flaps are sewn onto a single piece of fabric. Accordingly, to fix small parts it is better to choose decorative seams.
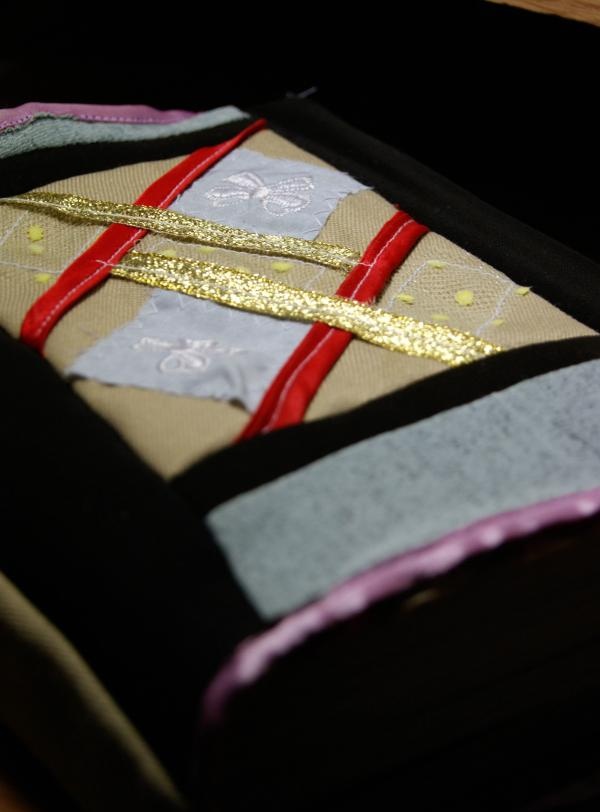
5. After completing work on the main drawing, you can begin connecting the remaining parts together.
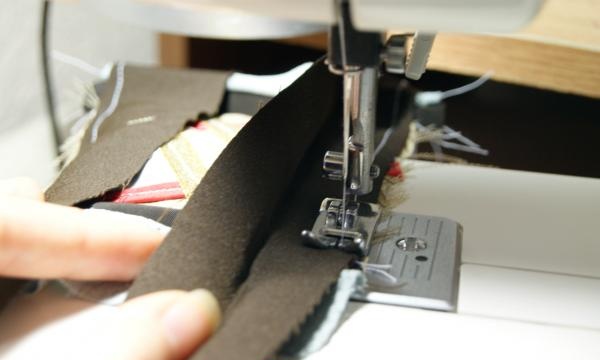
6. The second half of the cover can be done in a similar way to the first. However, in this case, it will be made from two flaps, which in texture and color match the material that was used to make the front part of the cover.
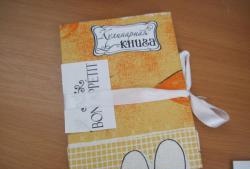
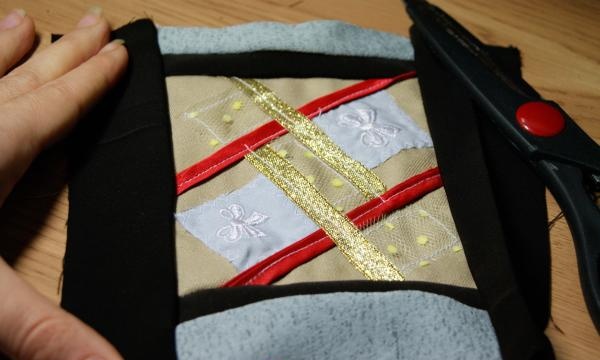
7. It is necessary to connect the parts of the second half of the cover, and then connect it to the front part. After both halves are sewn, the “pockets” of the cover should be formed. To do this, the edge of the cover needs to be turned inward by 3-5 cm (depending on what kind of increase was made) and stitched at the top and bottom. These steps must be repeated for the second edge.
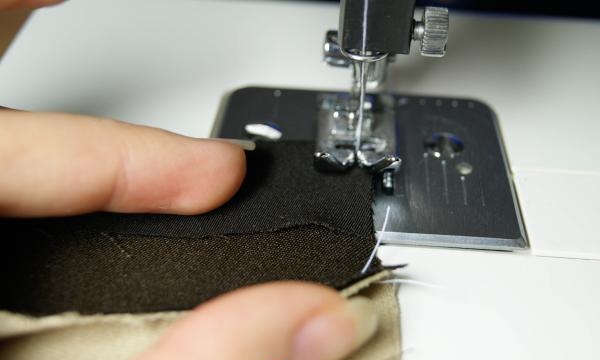
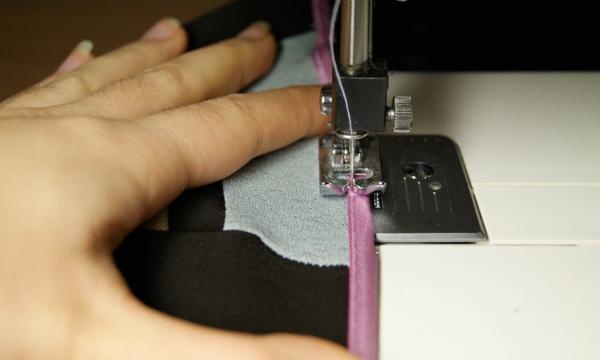
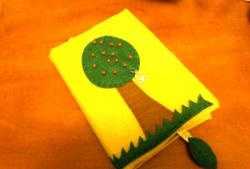
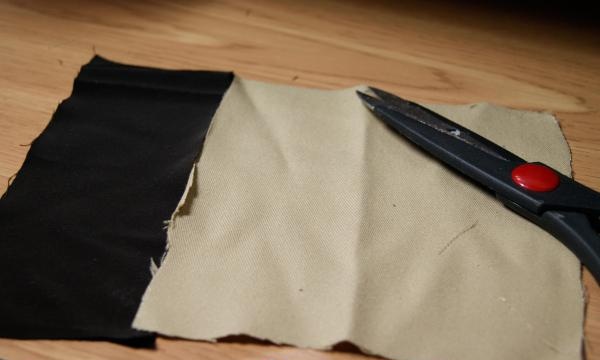
8. To complete the cover, trim the bottom and top edges. For this purpose, it is necessary to sew a braid to them (in the master class, a narrow satin ribbon folded in half is used).