To assemble and join floor boards, door panels, long wall shelves, etc., the workpieces must be compressed along their entire length and with the same force. Purchasing something like this in a store will cost a pretty penny. With desire and some plumbing skills, any adult can make such clamps.
Will need
Materials:- short threaded rods;
- connecting and regular nuts;
- pan head carriage bolts;
- long hex bolts;
- profile rectangular pipes;
- square rod;
- steel strip and angle;
- thin tin.
Welding electrodes for general purposes on AliExpress at a discount - http://alii.pub/606j2h
Tools: welding, grinder, drilling machine, tape measure, square, marker, clamps, magnetic squares.The process of making clamps for holding and gluing long wooden pieces

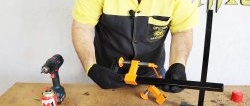
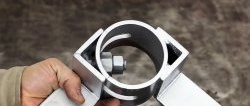
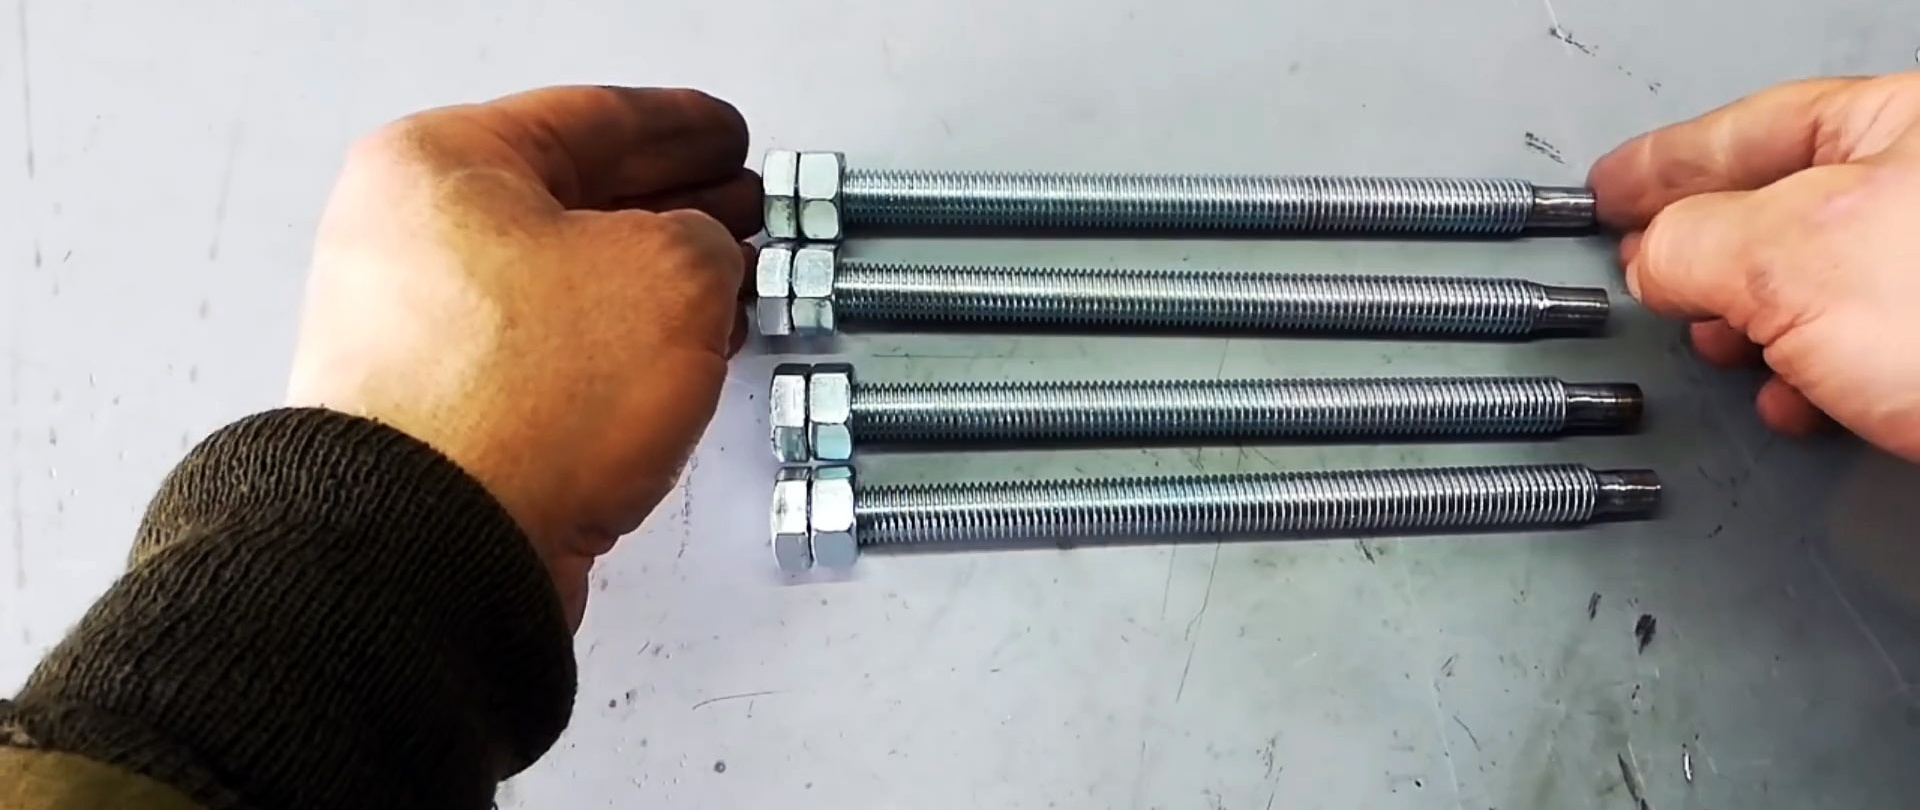
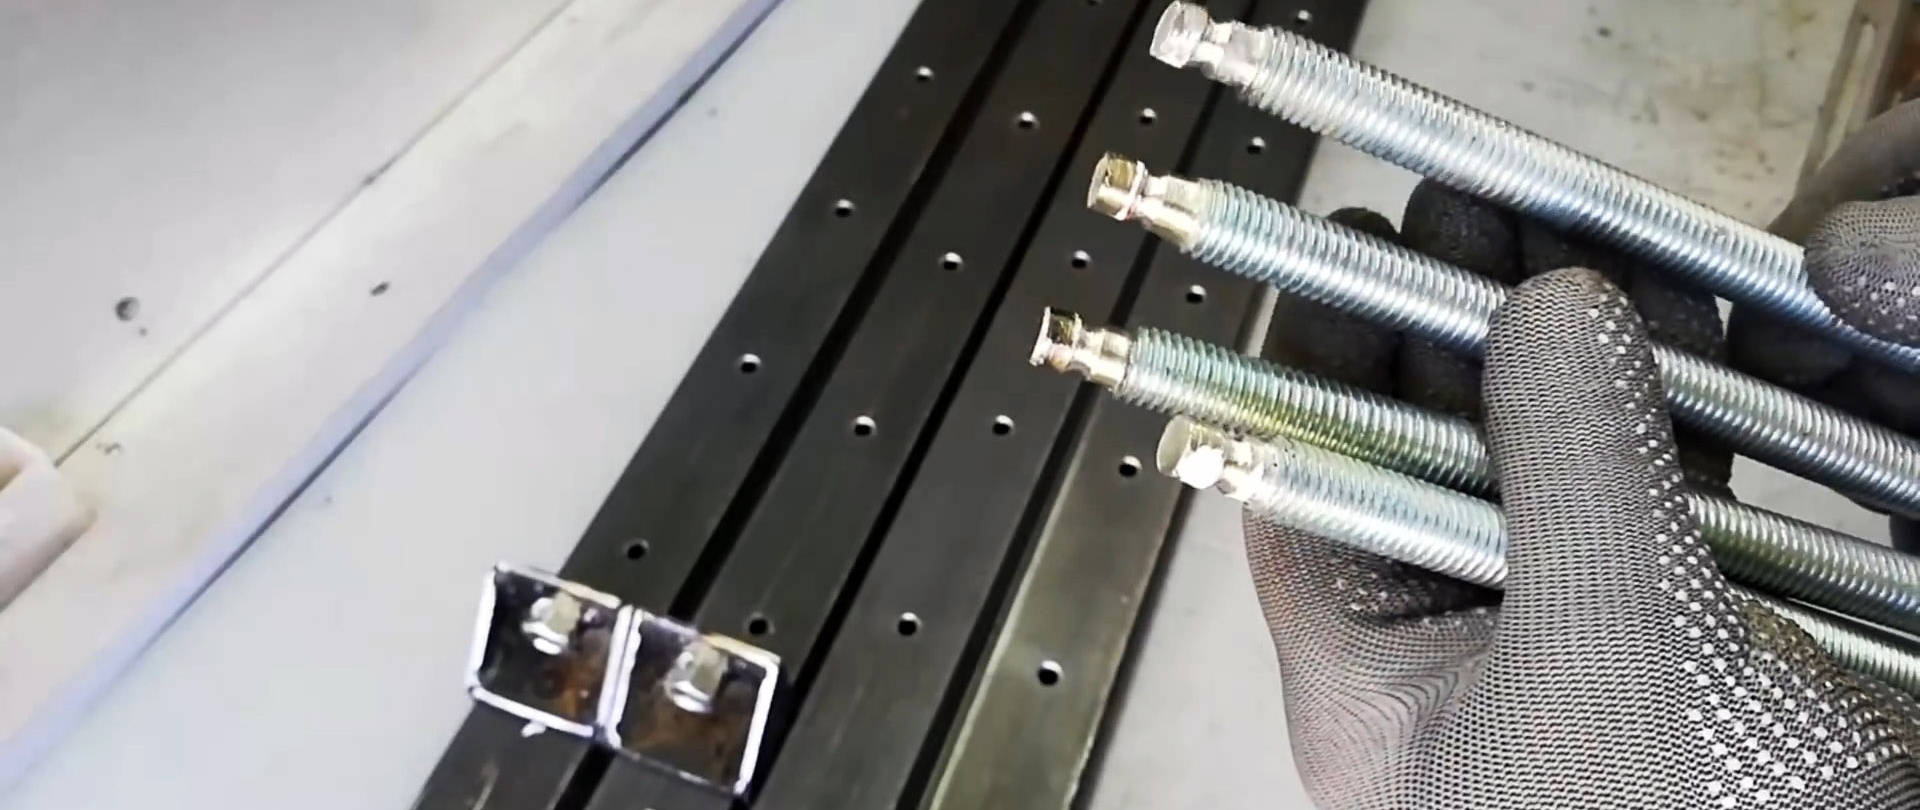
We screw the short studs into the connecting nuts until the end and weld them.We convert the semicircular heads of the carriage bolts into hexagonal ones.

Closer to the bottom of the connecting nuts with screwed-in studs, we mark and drill through transverse holes, insert carriage bolts into them and screw the nuts onto them.

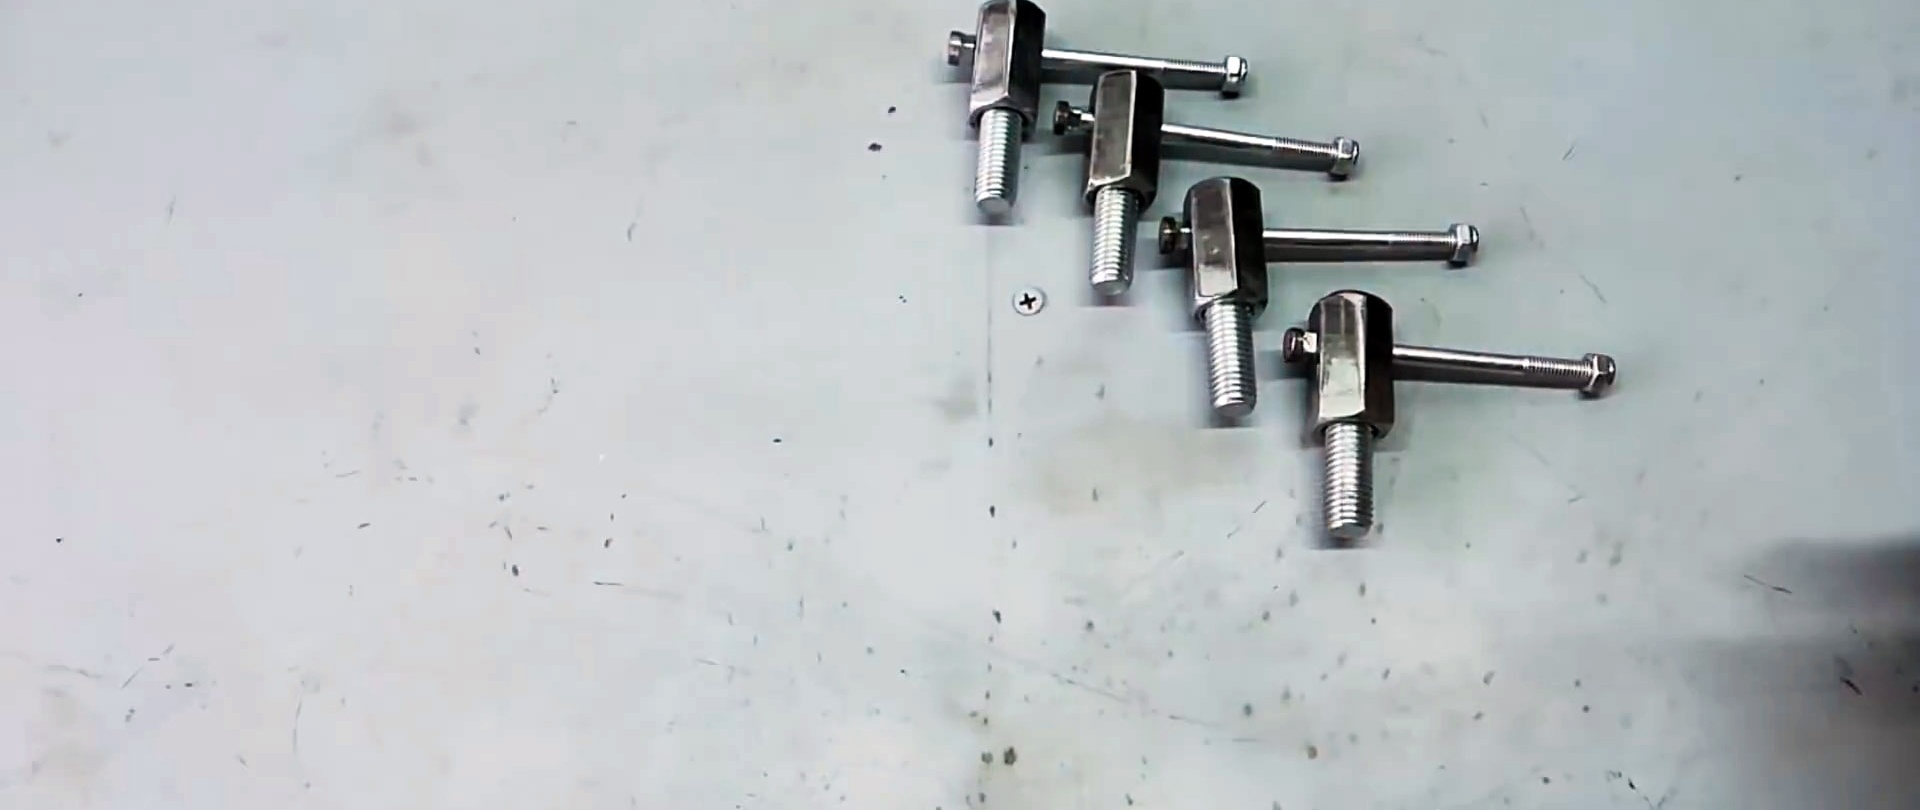
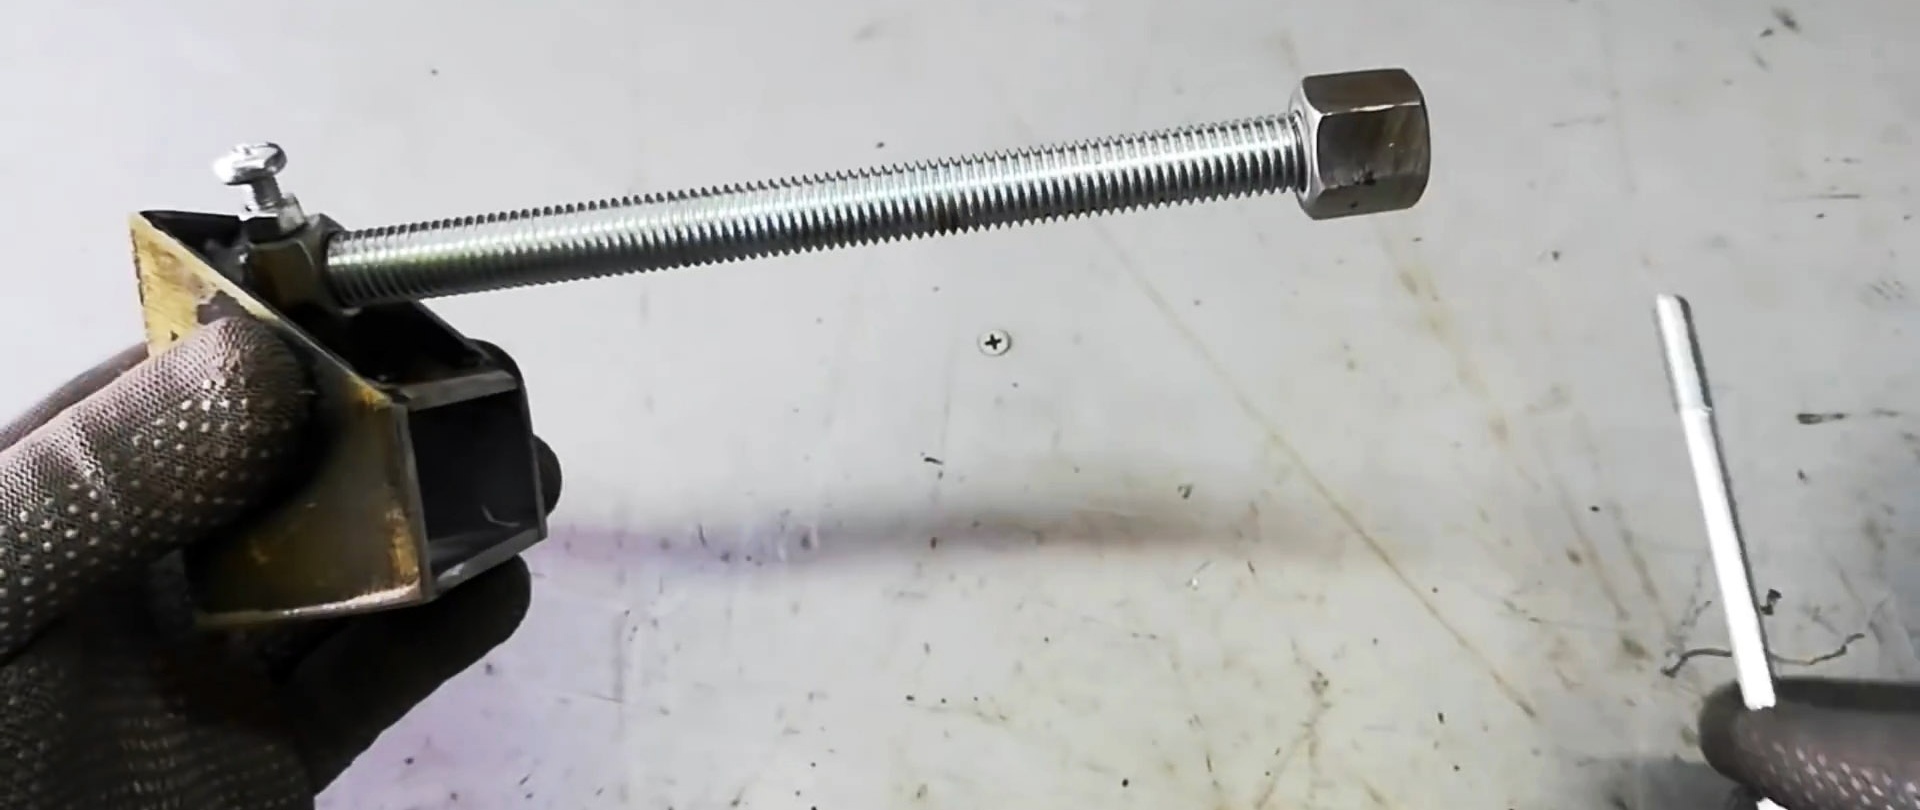
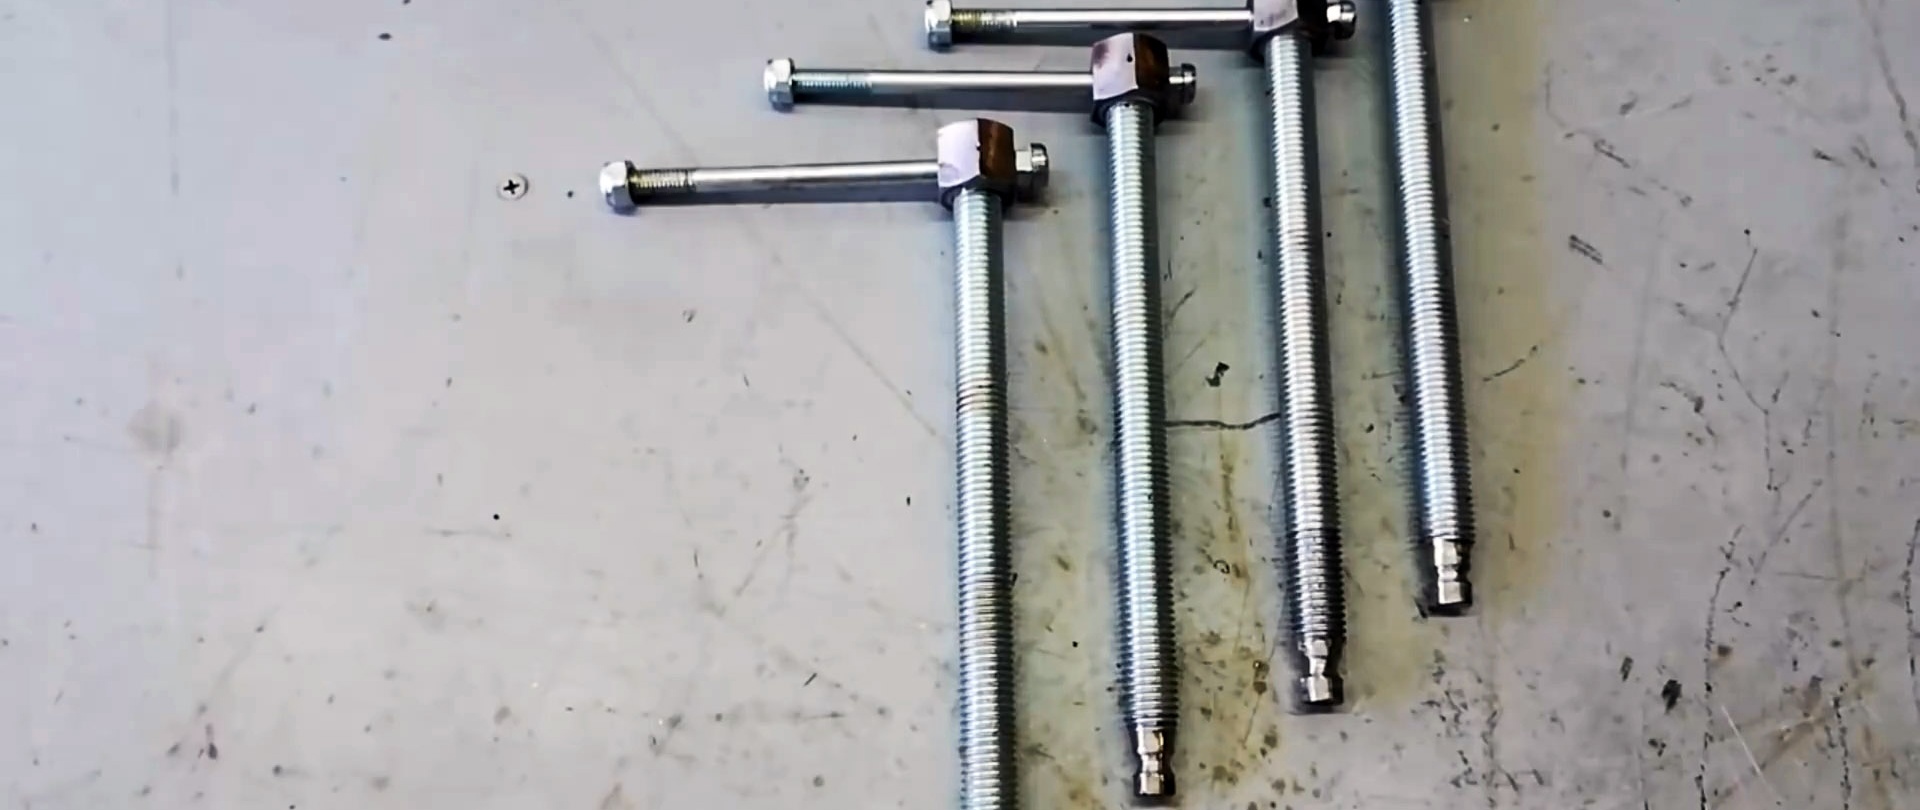
Cut the connecting nut into halves. At the ends of long hex bolts, instead of several turns of thread, we create a cylindrical surface.

We screw the nuts to the bolt heads and weld them.


We cut 4 pieces of 1000 mm length from a profile rectangular pipe 25×50 mm. You can use other pipe sizes depending on the circumstances.
We cut a steel angle 40x40 mm and a steel strip 40 mm wide into pieces 50 mm long, and a square rod equal to the height of the connecting nuts.
We apply a corner shelf to the wide sides of the profile pipe, placing a strip of tin and a plate under it. We measure the total size of the connection - 70 mm.
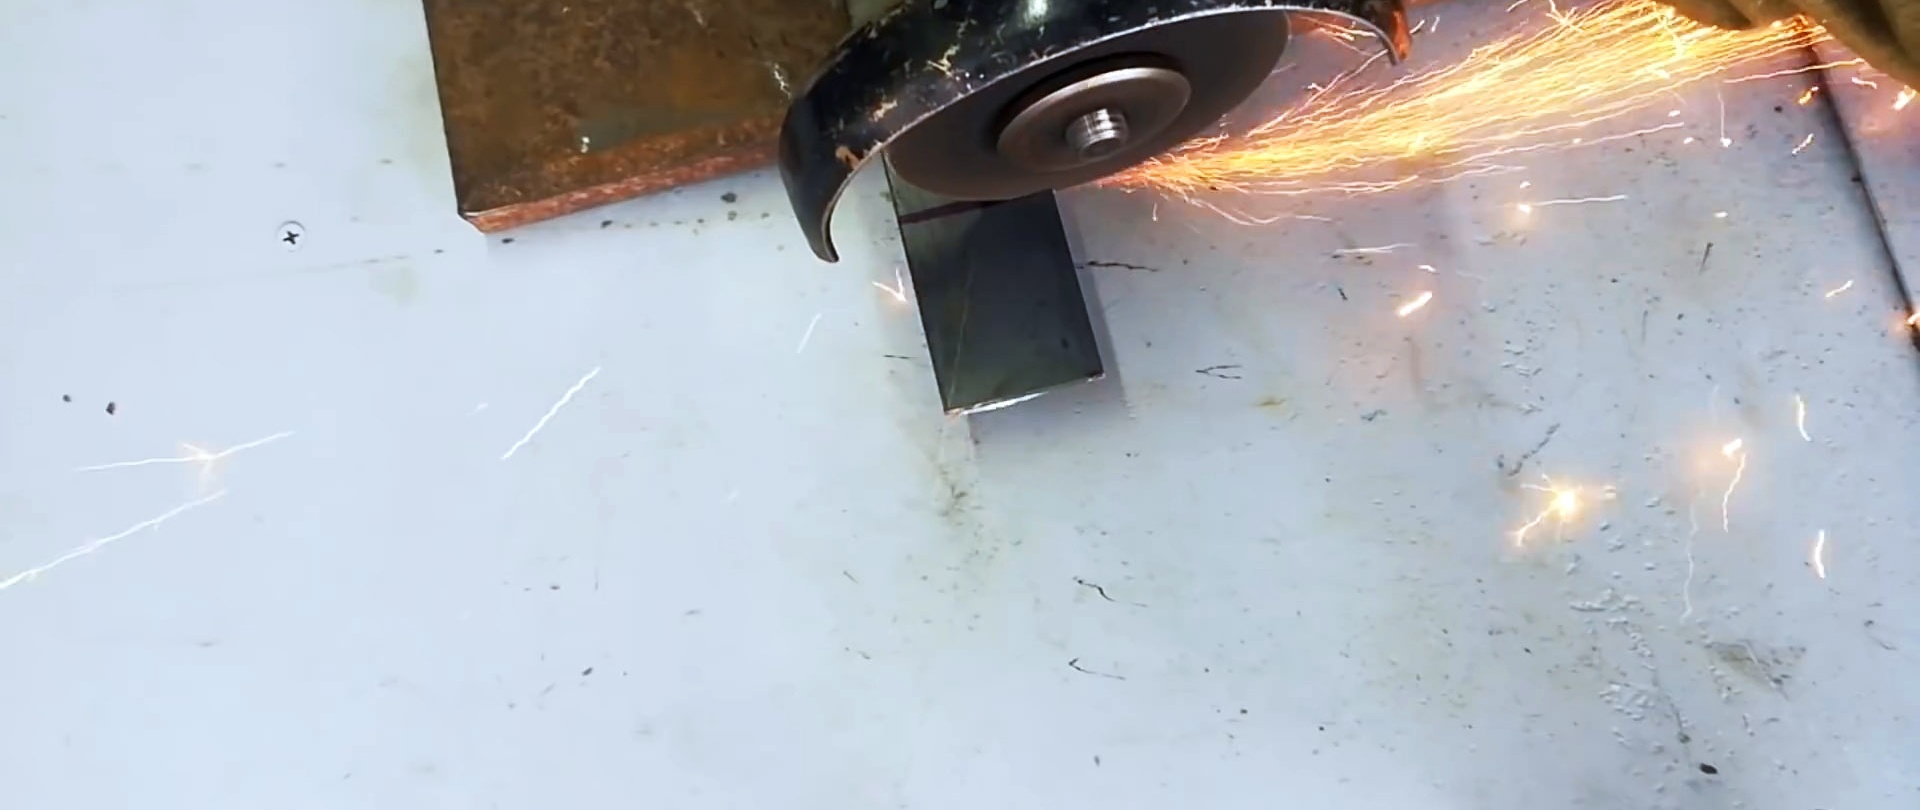
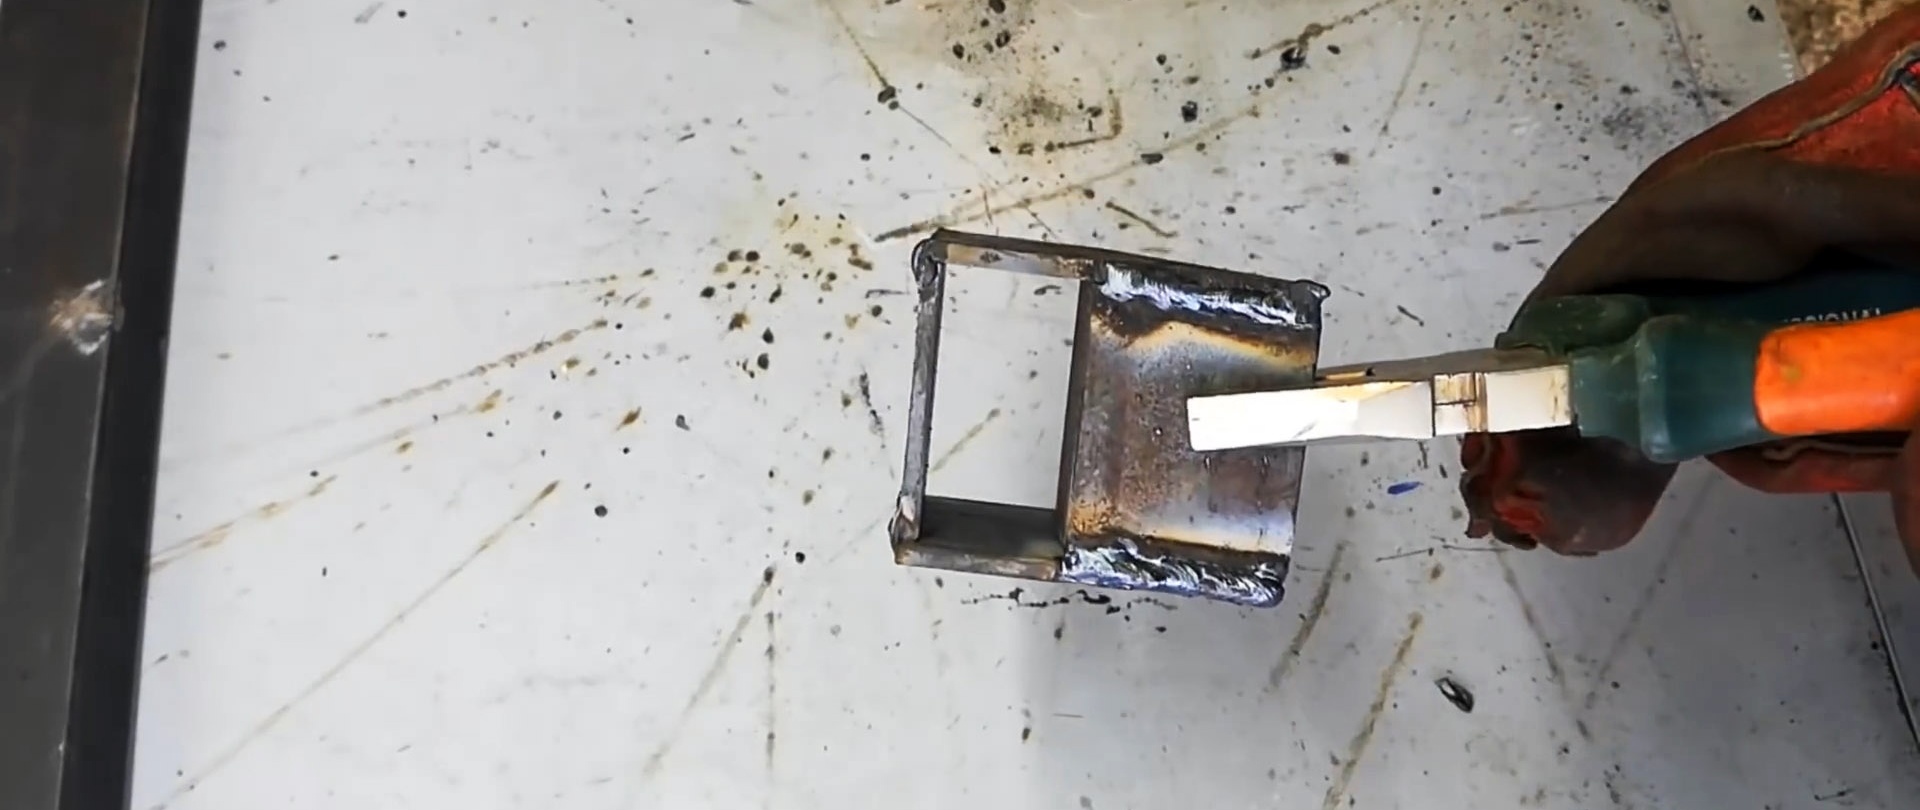
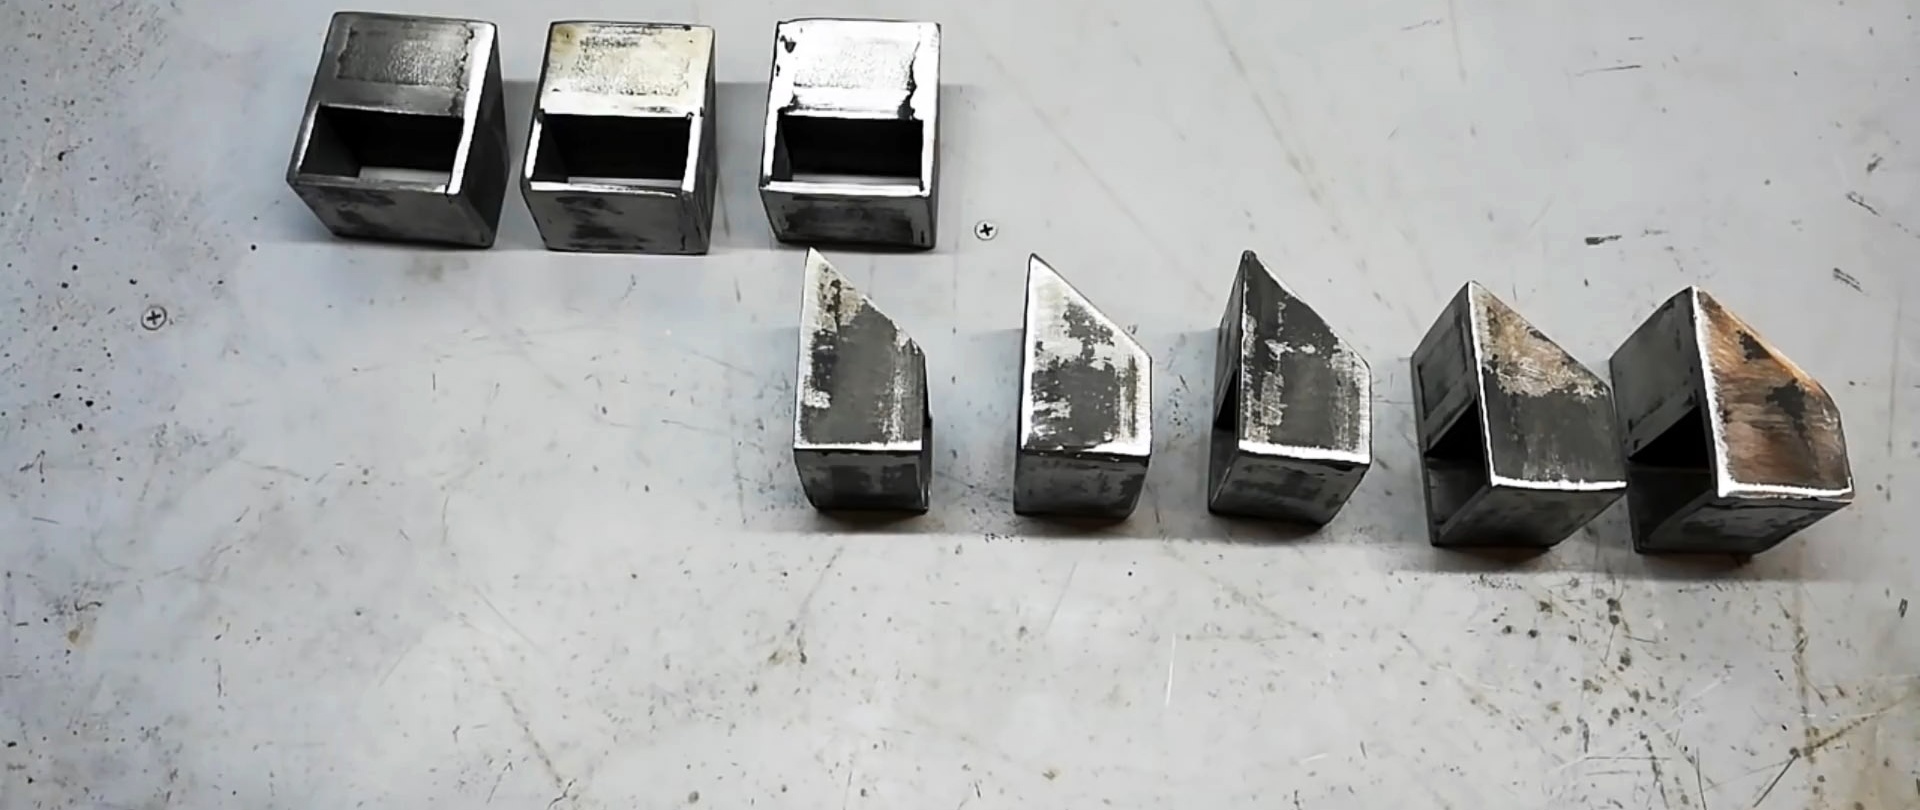
We cut 16 plates 40x70 mm from the strip. We place the corner with its end on the plate so that one shelf is located along its long side, and the second - across and not on the edge of the plate.
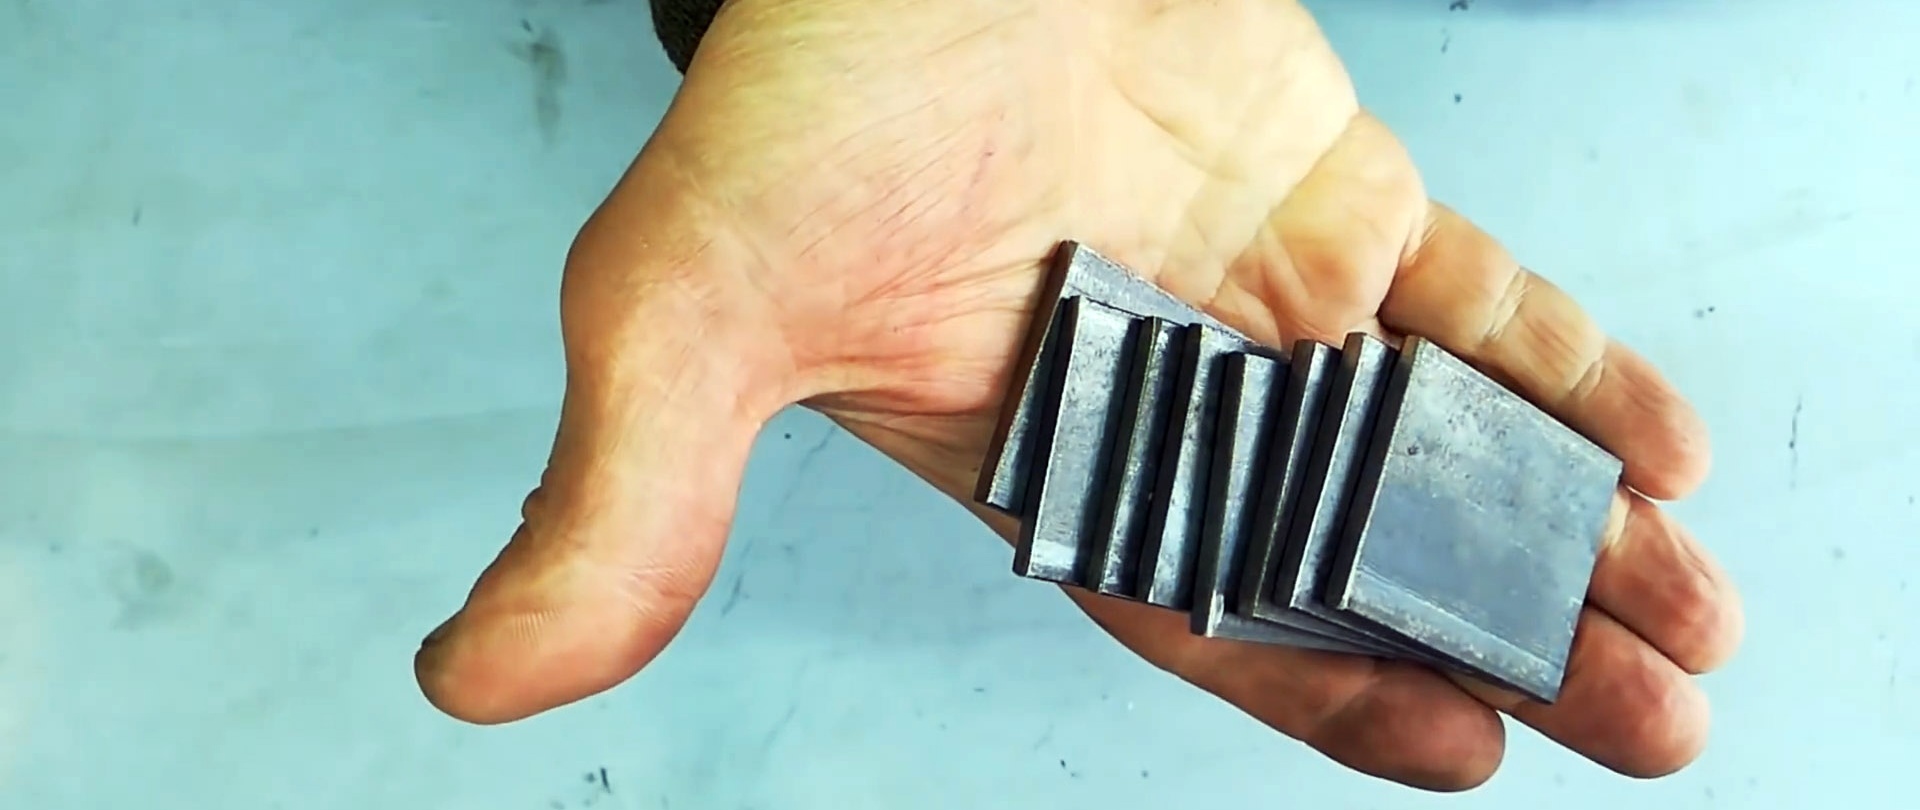
We draw a straight line on the plate between the ends of the corner shelves. Using a grinder, we cut off the corner of the plate and separate it from the strip. We prepare 16 such parts.


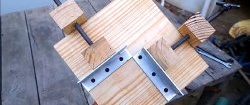
We place the profile pipe on the plate with a bevel with the narrow side indented from the edge of the plate by the width of the rectangular plate. On the other hand, pressing the shelf against the wide side of the pipe, we place a corner on the plate with a bevel.
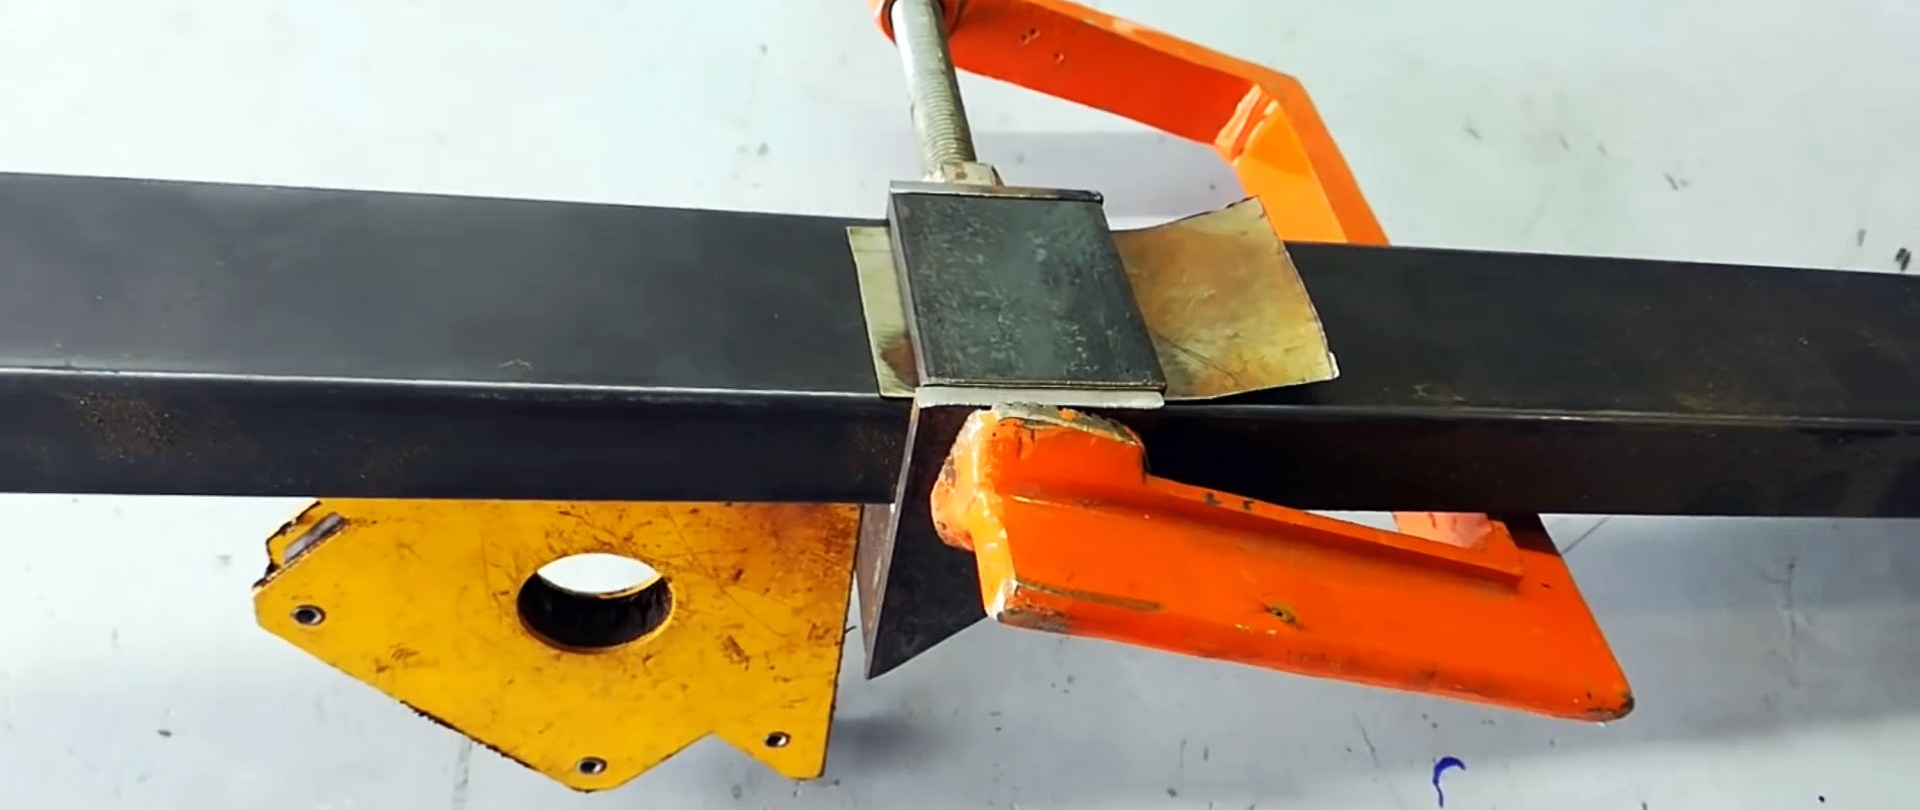
To ensure a gap between the angle and the pipe, as well as on the narrow side of the pipe, we place strips of tin. We cover the ends of the corner, rectangular plate and the narrow side of the pipe with a plate with a bevel.
We compress the assembly with a clamp and weld the parts to each other. We get a one-piece box-shaped structure that can slide freely along the profile pipe. We produce 8 such units.
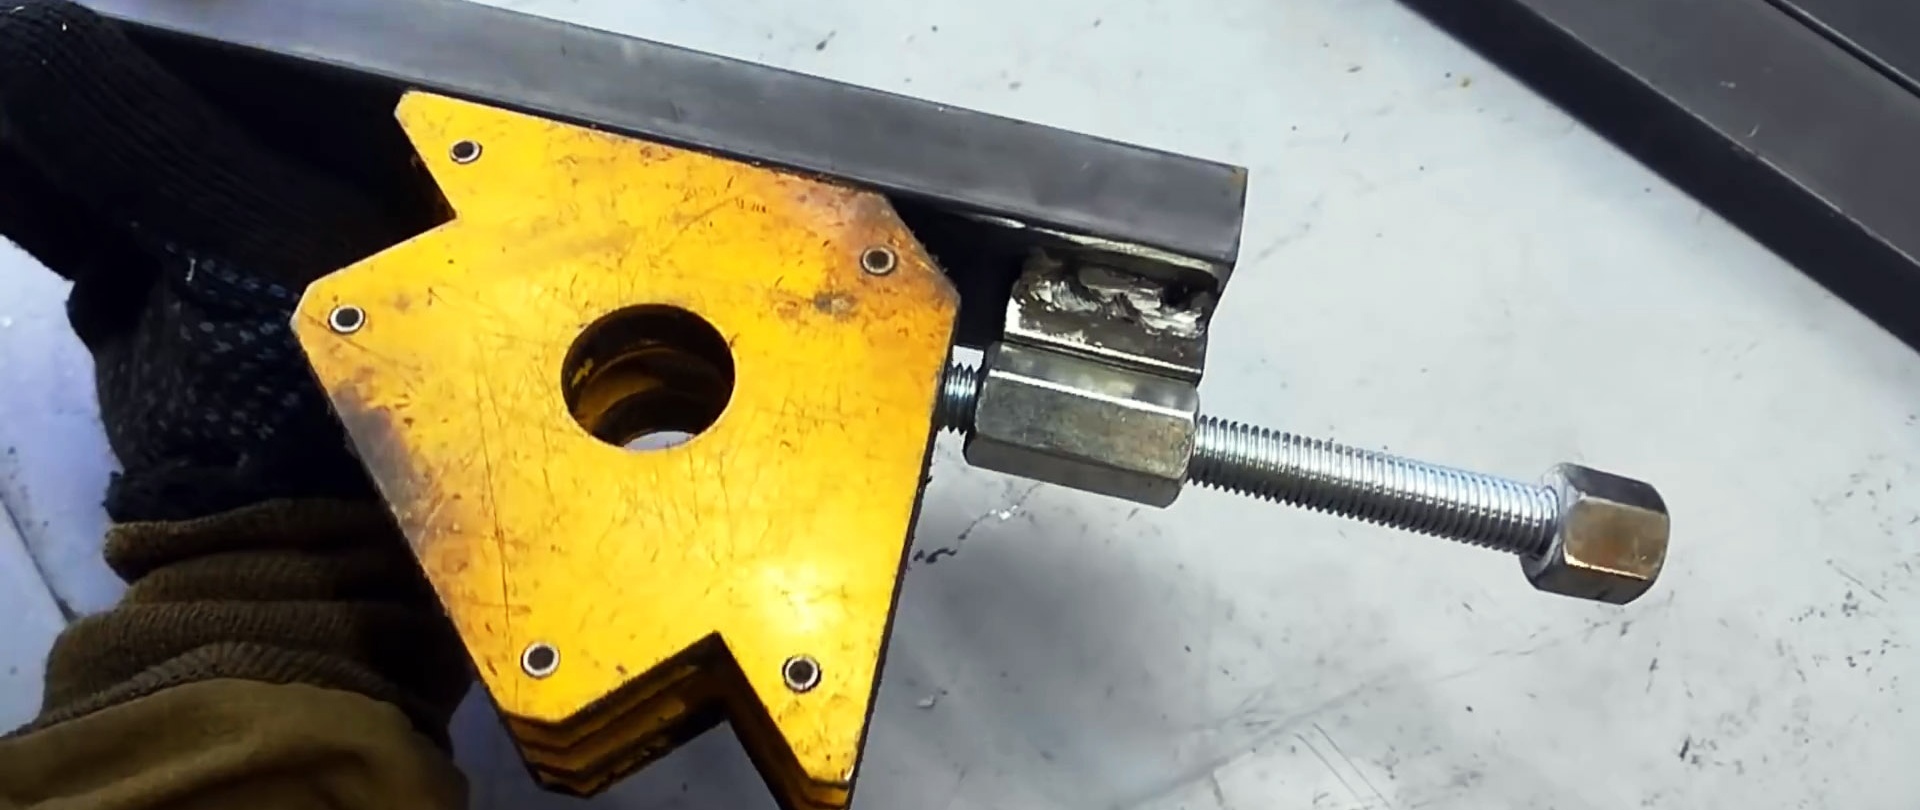
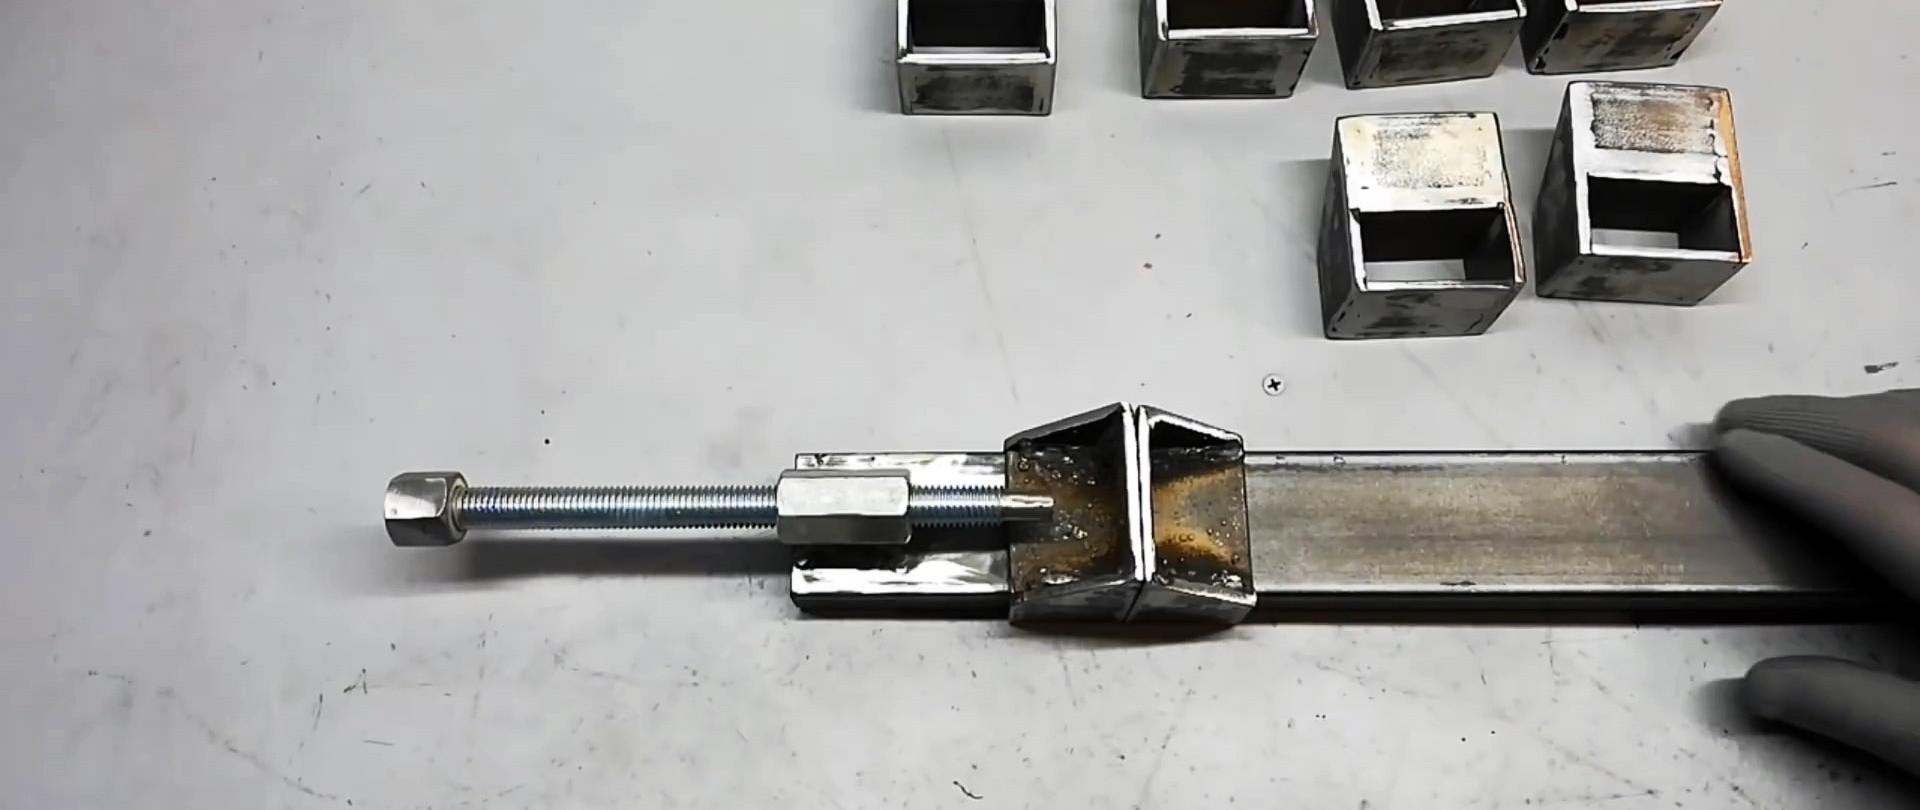
We install the square rods longitudinally in the center of the wide side of the pipe from its end and weld it in this position.

We place a connecting nut with a bolt screwed into it longitudinally on top of the square rod and weld the nut to the rod.
On the free side of the profile pipes we put on two one-piece box-shaped structures. Moreover, the bevel of the first should be from above and directed towards the connecting nut, the bevel of the second is also from above, but directed outwards.
We almost twist the double nut from the bolt thread and, resting it on the corner flange, weld it.

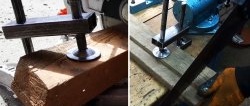
In the center of the lower shelves of the corners of the opposite stops, closer to their edges, we drill holes, weld nuts and screw in bolts with collars, slightly sharpening the ends.
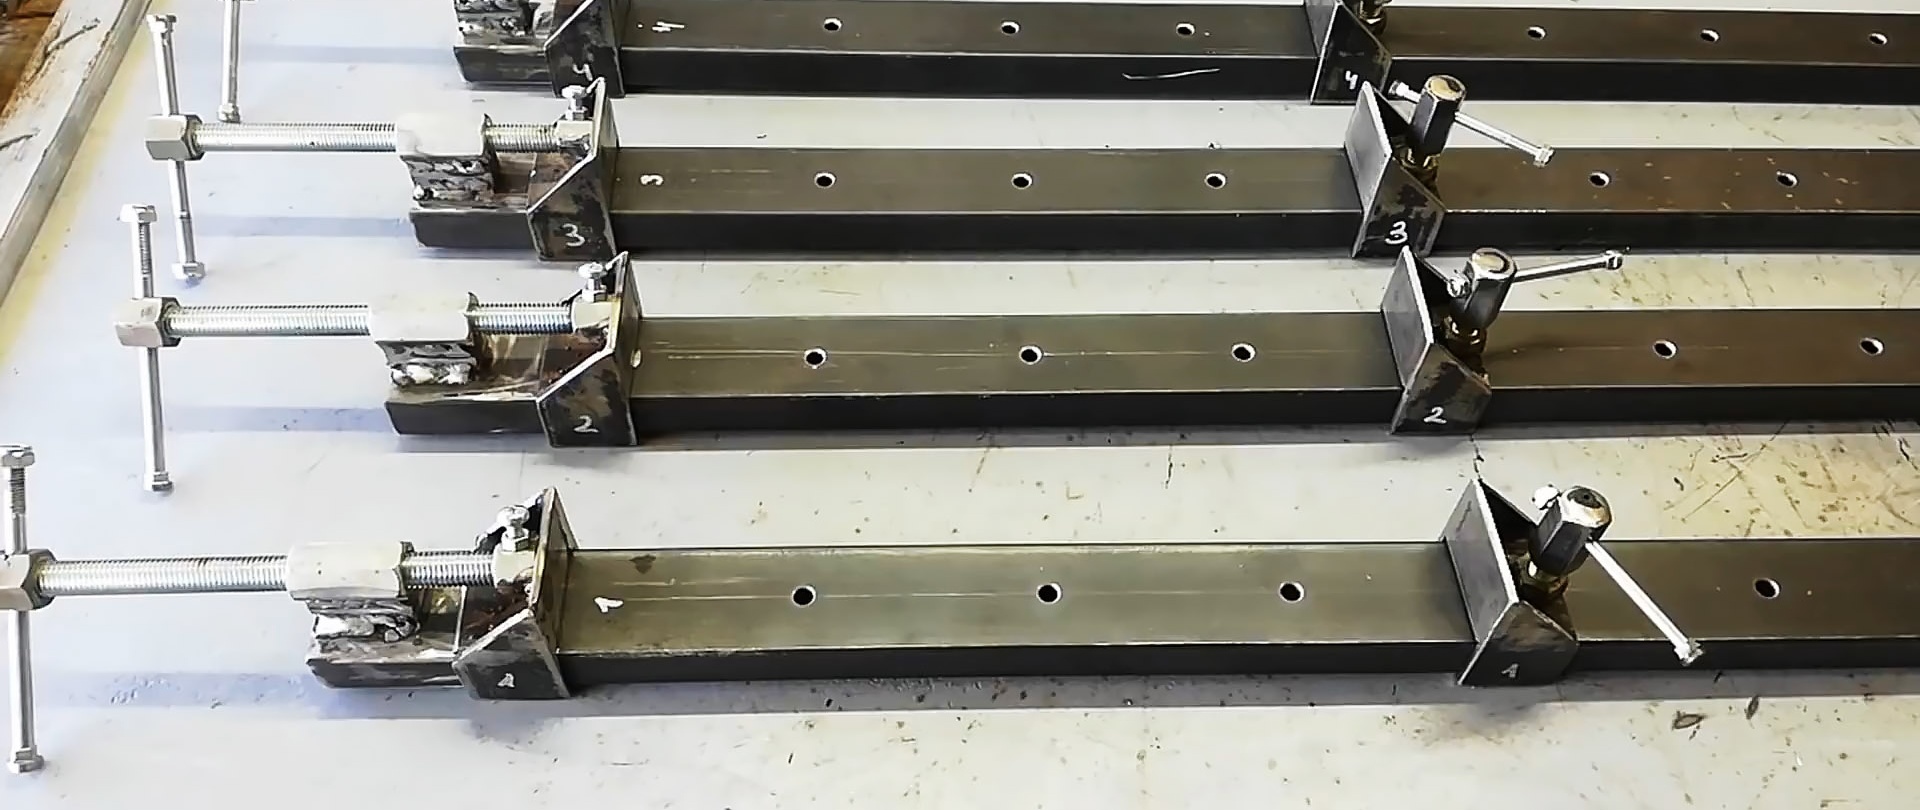
We move the stops to the ends of the profile pipes and, according to the markings, drill a system of holes along their longitudinal axes.

In the double nuts welded to the stops, we drill transverse holes and cut threads into them. We screw the bolts into the nuts and mark and make belts on the cylindrical ends.

We screw the bolts with collars into the nuts, and screw the locking bolts with screwed nuts into the holes.
We drill through holes through the double nuts and the rods of the locking bolts, insert the collar bolts into them and screw the nuts onto their ends.

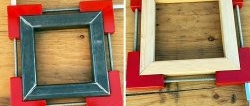
We screw the locking bolts into the stop nuts and put them on the guide pipes. After the paint has dried, the set of clamps is ready for use.

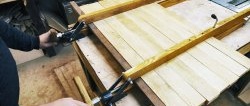
To do this, we place boards for gluing between the stops. We place the stops with locking bolts close to the nearest board and lock them.We compress the second board with stops using lead screws.

Watch the video
An interesting idea for making a clamp with your own hands - https://enn.washerhouse.com/7744-ljubopytnaja-ideja-po-izgotovleniju-strubciny-svoimi-rukami.html