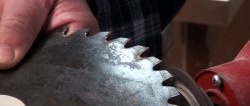
When saw blades lose their sharpness, they reduce not only the speed, but also the quality of the cut. Therefore, they need to be sharpened periodically. If you do this simply with a file under the roof, then you will not be able to achieve much improvement in sawing. A blade sharpened in this way can only be used to cut firewood, but it will not allow you to get a clean cut right away. For high-quality sharpening you need a jig (device). Such a device can be assembled with your own hands.
What you will need:
- Bulgarian;
- diamond sharpening disc;
- telescopic drawer guides – 2 pcs;
- plywood 20 mm;
- bolts, nuts M8;
- worm clamp on the body of the angle grinder.
Any discs for angle grinders on AliExpress with a discount - http://alii.pub/61bjly
The manufacturing process of a device for sharpening circular discs and cutters
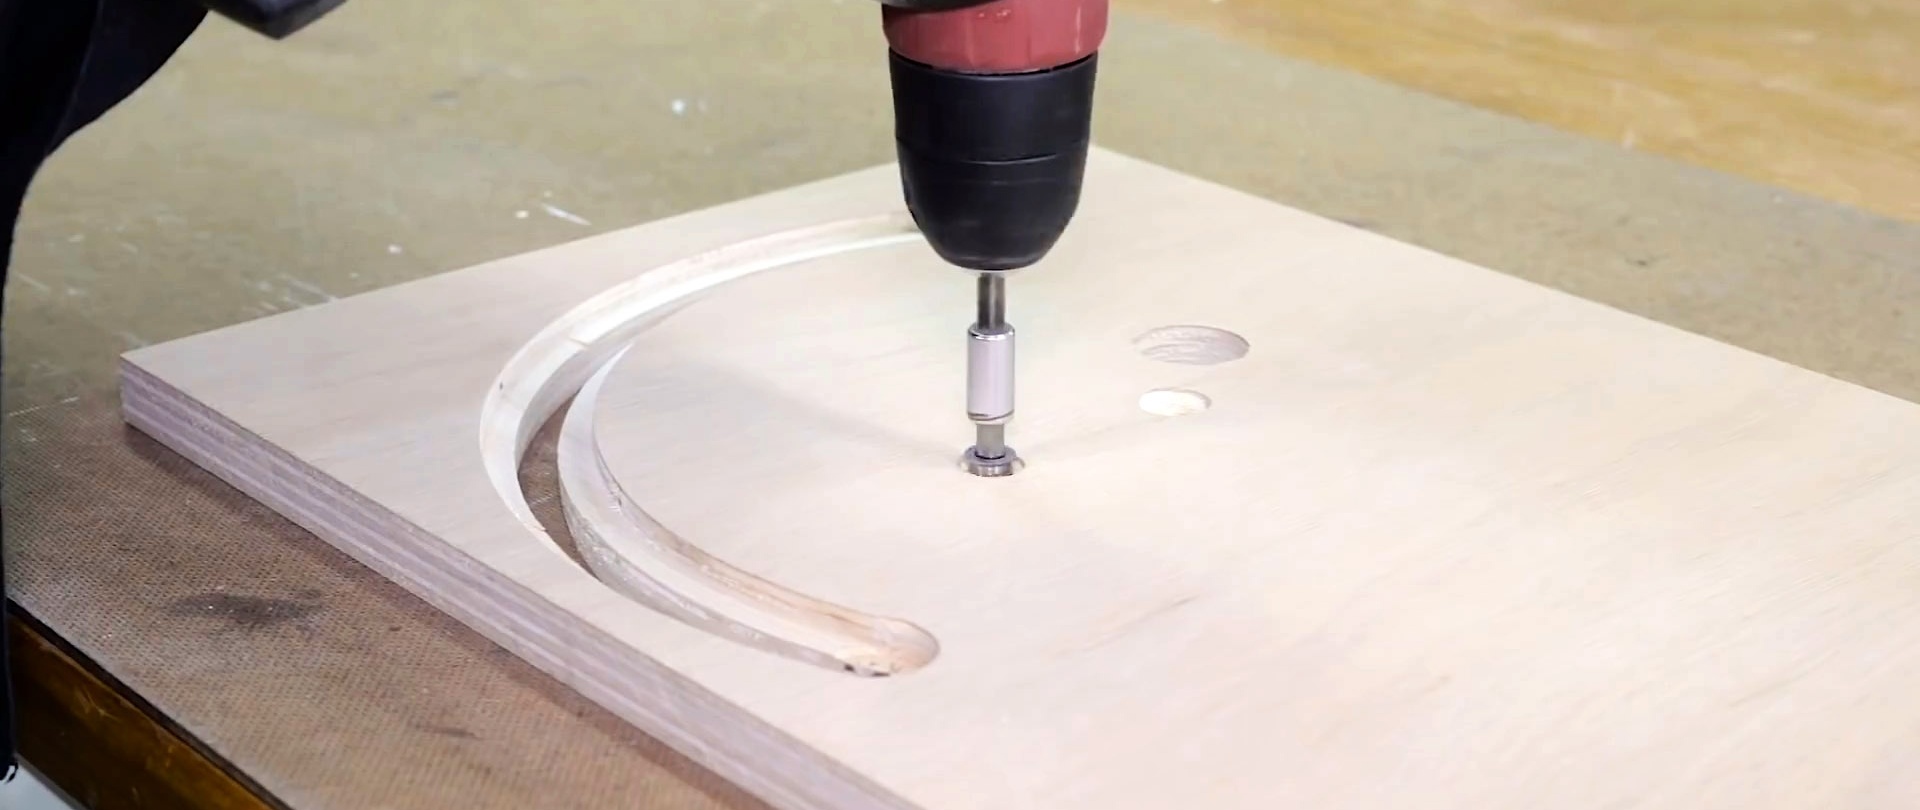
It is necessary to make the sole of the device from plywood, approximately 300x400 mm in size. It requires milling a radius through groove, which will later allow you to attach the grinder and adjust its angle relative to the discs being sharpened.


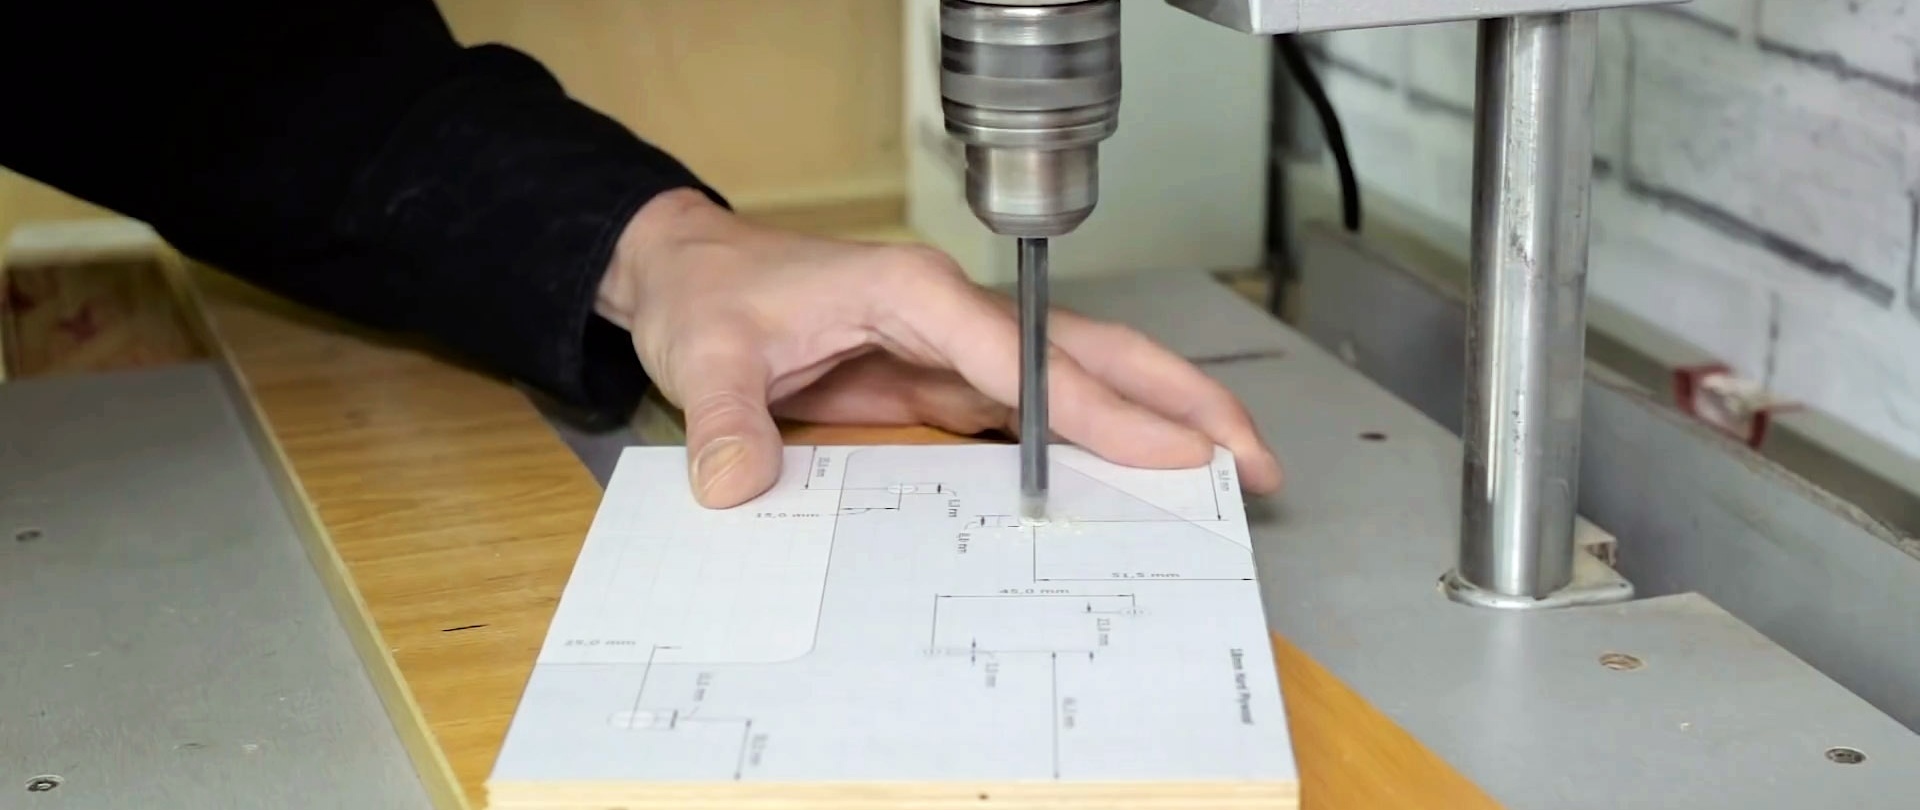
From the bottom you will need to select a quarter on it to allow the head of the adjusting bolt to slide. Before bending, 3 holes are drilled for screwing the angle grinder mount. It would be better to do them after making the next part.
An L-shaped mount for an angle grinder is cut out of plywood. Holes are drilled in it as in the photo. One will act as a rotation axis. It is located at the place where the router is attached when preparing a radius groove. A furniture nut is screwed into it. On the contrary, another hole is made for attaching the part directly into the groove itself. The third hole will allow you to screw the grinder to this part.

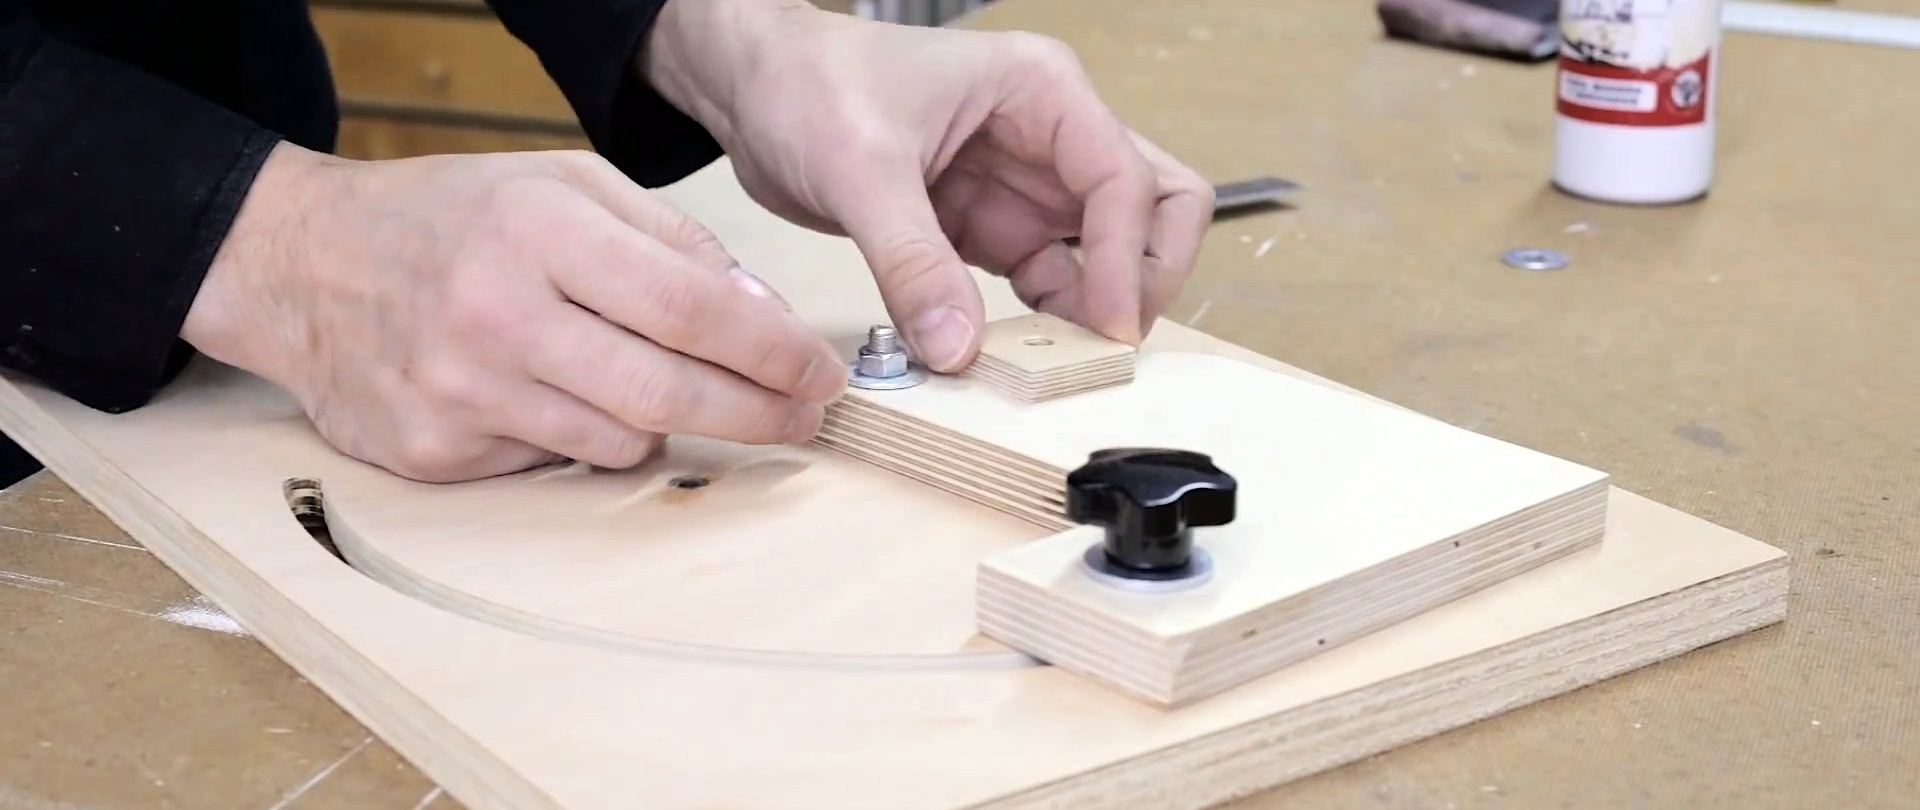
The part is clamped onto the sole with bolts. A wing nut is used over the radius slot. The angle grinder will hold the central bolt screwed into the standard hole for the handle. To avoid screwing the entire body of the grinder onto it, a wide hole is made in the sole. Through it it will be possible to screw the bolt through the L-shaped mount into the tool with a wrench or hexagon. A small plywood insert is glued above the central bolt to raise the platform at the point of contact with the angle grinder.
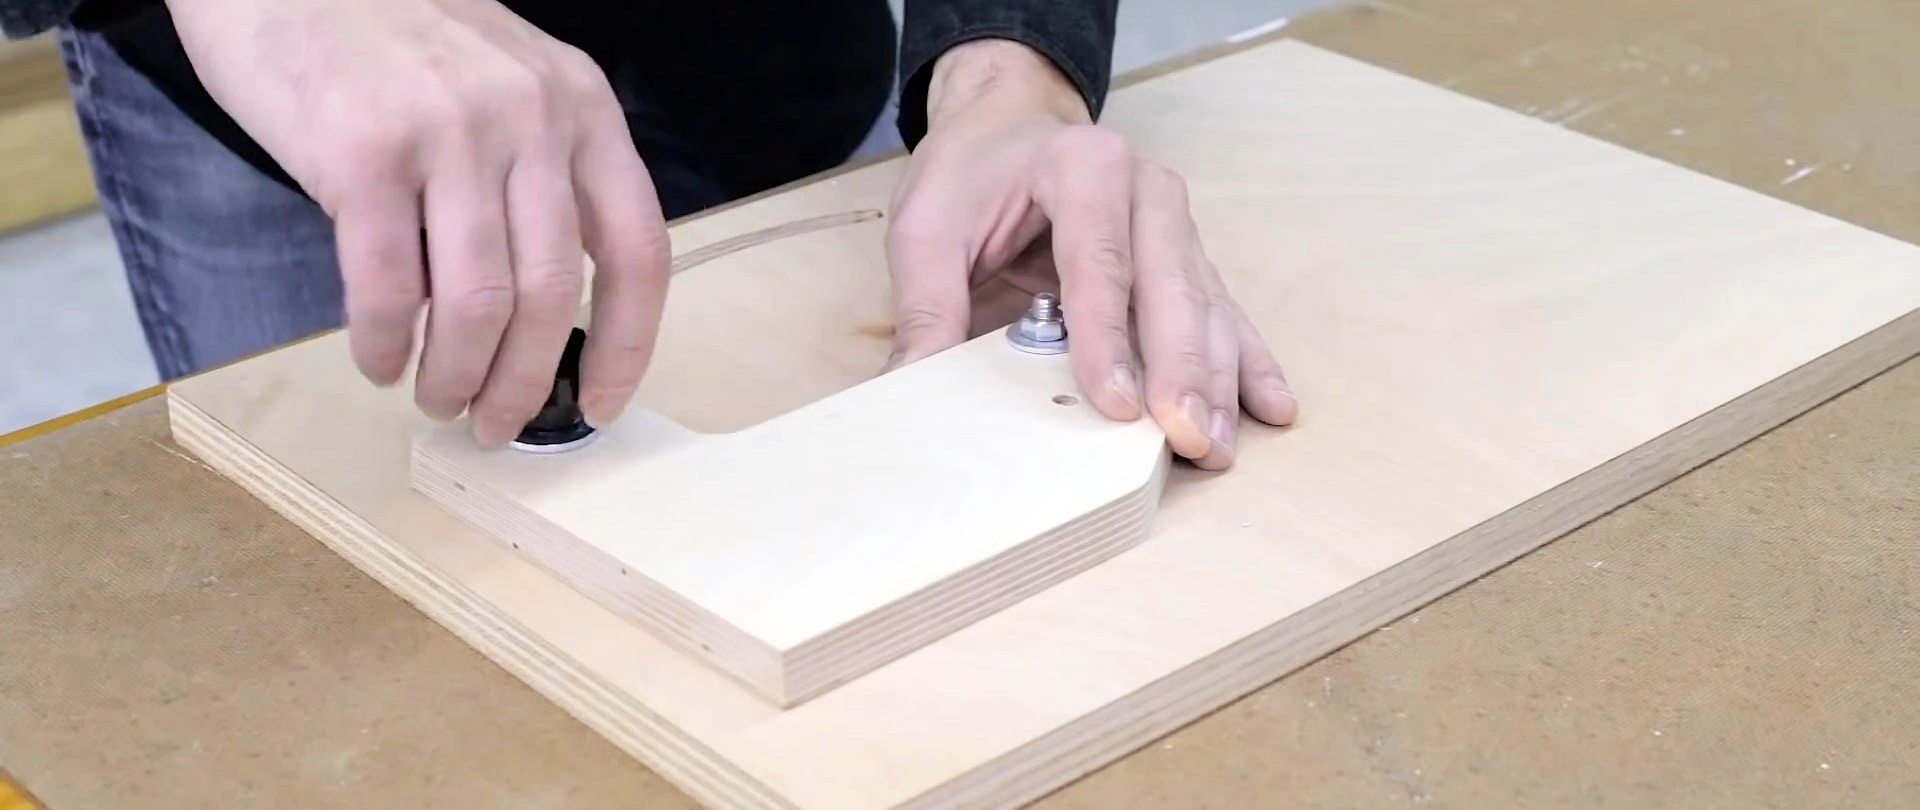
A semicircular stand for the body of the grinder is made from plywood. It will need to be screwed onto the L-shaped mount, having first installed the clamp. This will increase the rigidity of the installed tool.


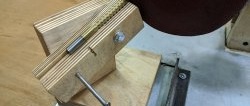
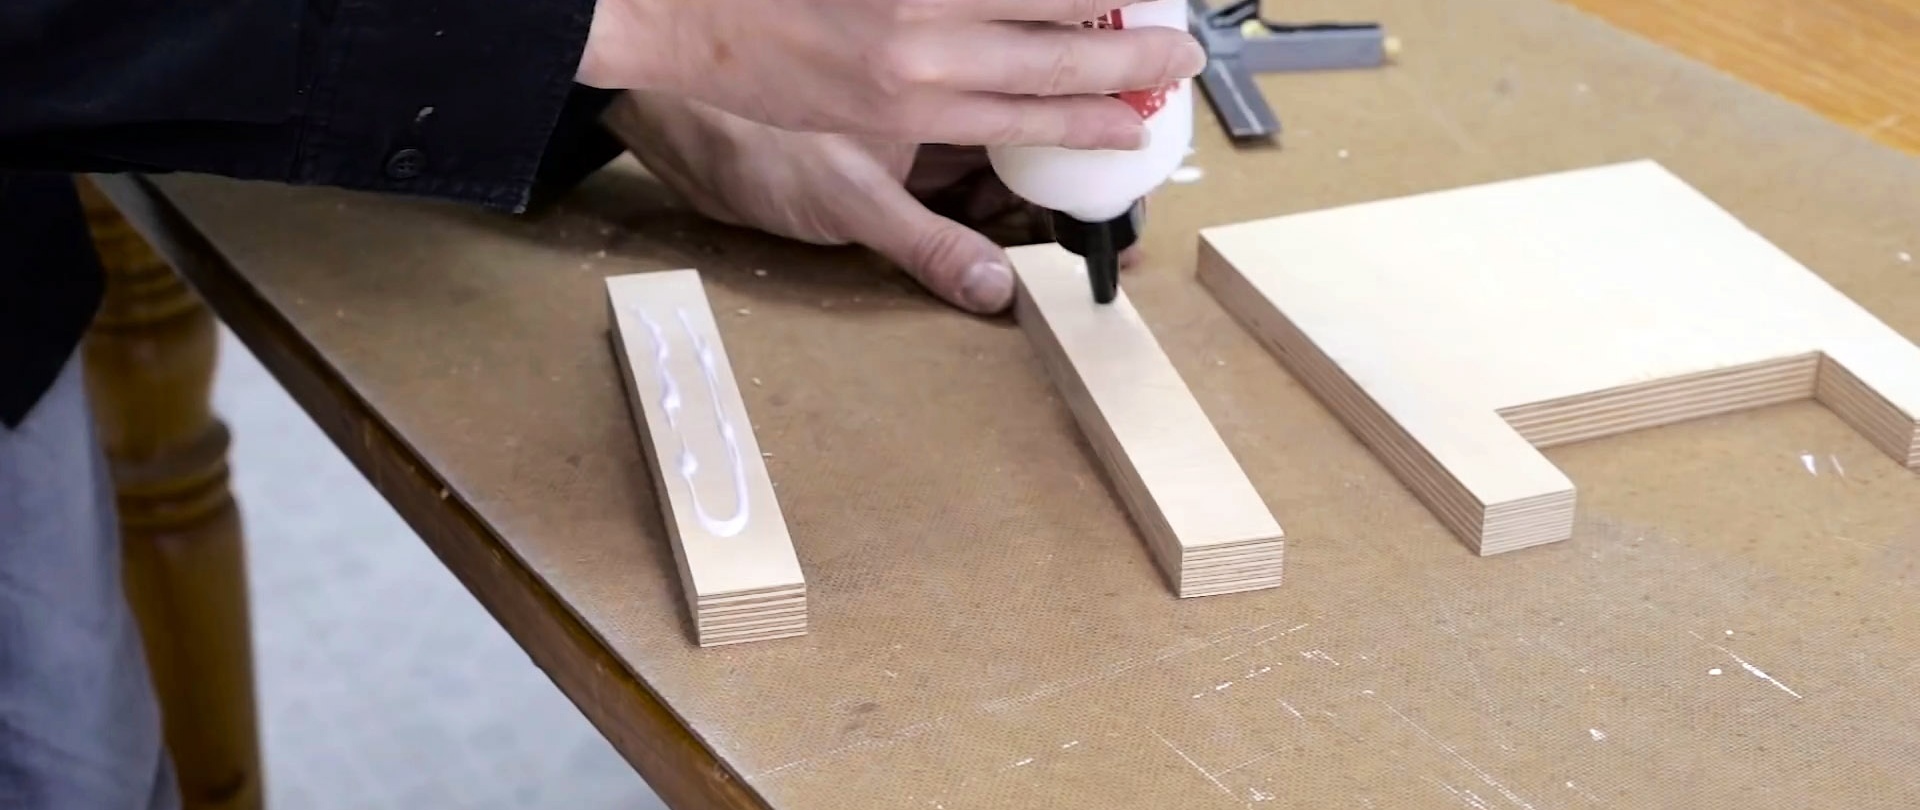
Next, you need to make a platform for fixing the discs to be sharpened. To do this, a piece 150x150 mm is cut out of plywood. From the edge of it you will need to cut a narrow strip, 40 mm wide, not reaching the edges by 30 mm. Then 2 slats 150x30 mm are glued onto the resulting U-shaped part.

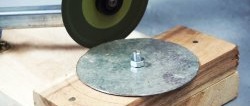
Next, a plywood circle with a diameter of 80-100 mm is cut out.
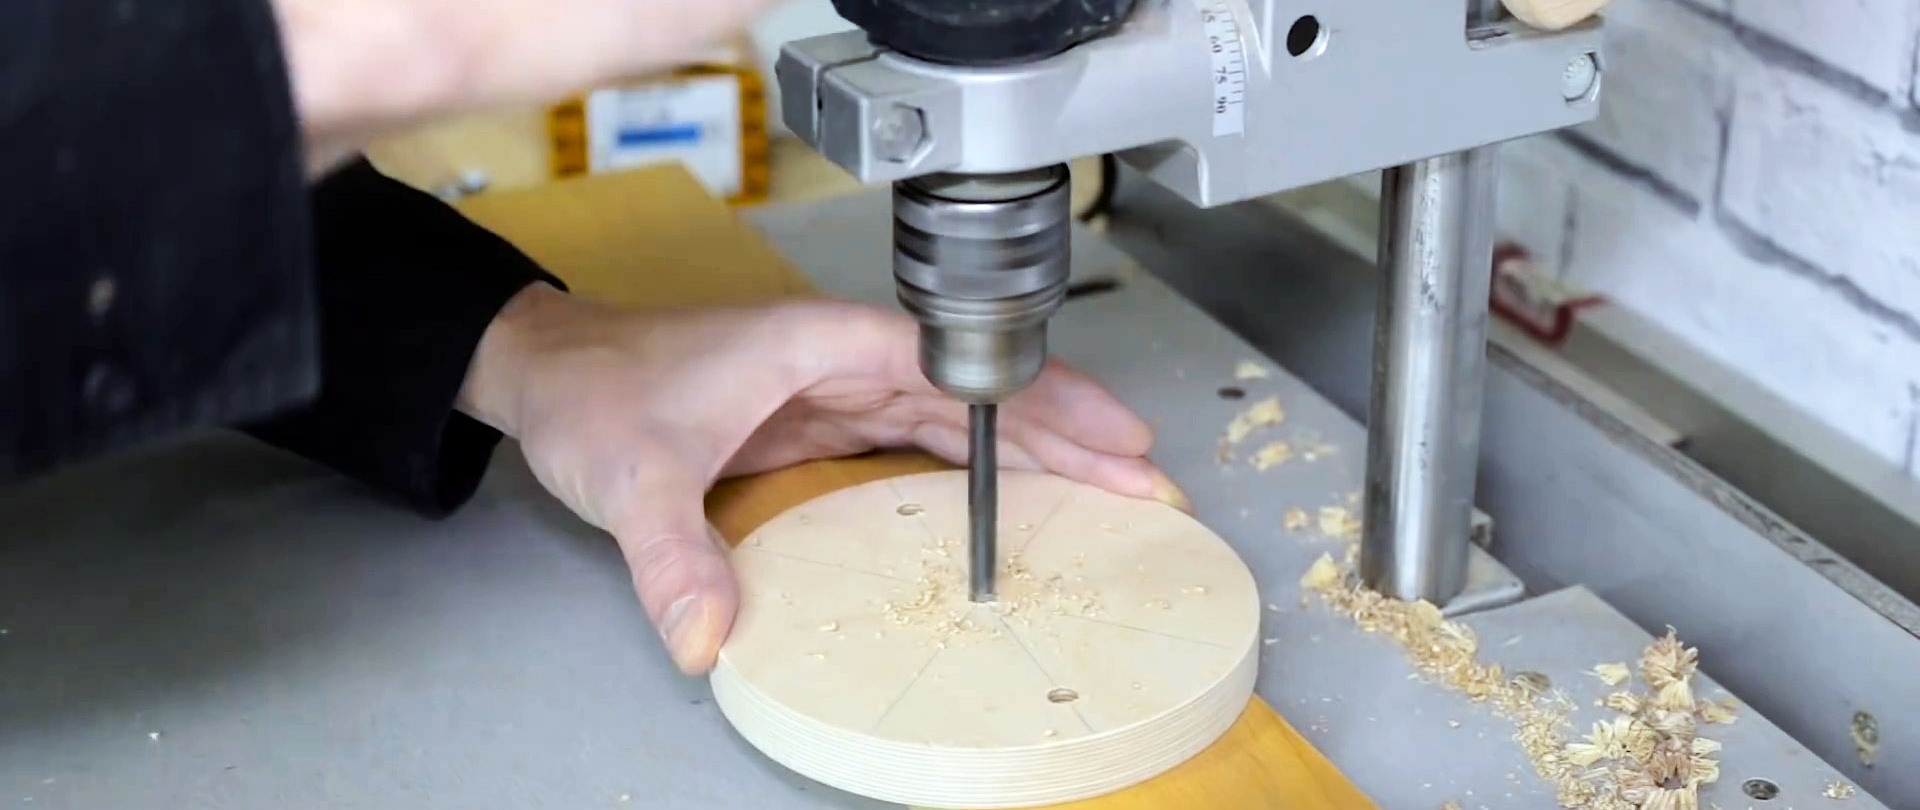
The disks will be located directly on it.It is drilled in the center and a bolt is screwed into the hole. Its cap will need to be flush. This will be the axis of rotation of the disk. There are 2 holes made on the sides. They are also transferred to the U-shaped mount. Through them the disk and this part will be rigidly twisted. A washer of such a diameter is clamped onto the central bolt so that the disk that is then put on top does not dangle.
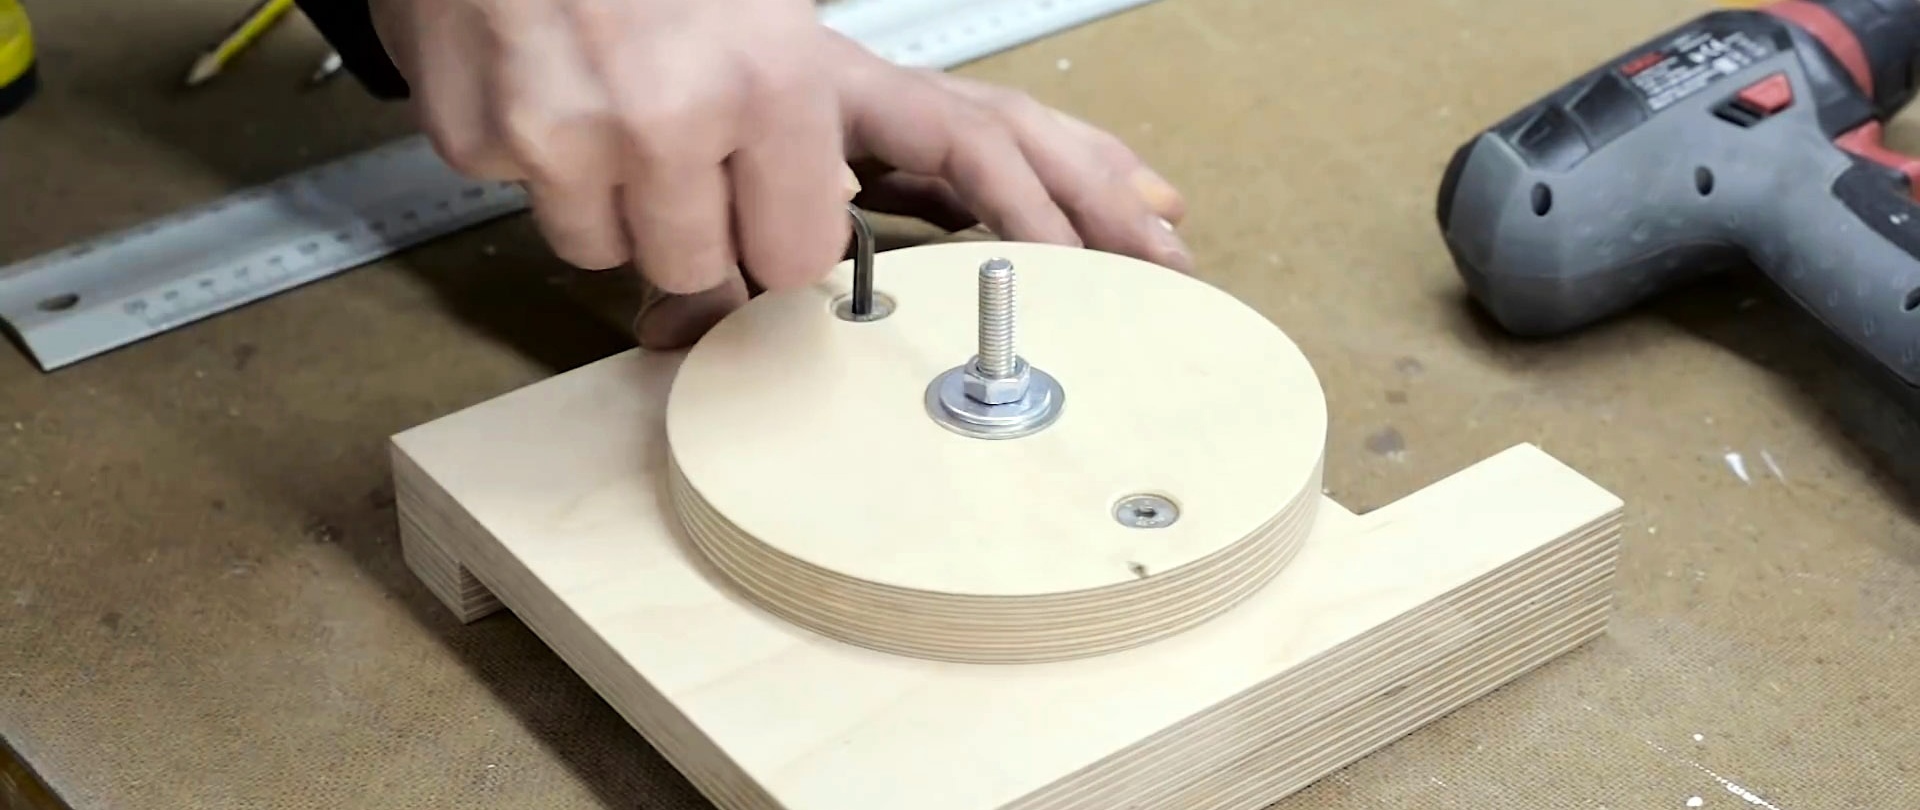
Telescopic guides are screwed onto the U-shaped part from below. A small square of plywood is fixed to the side in the corner. It will be used as a stop for further adjustment and fixation of the position of the carriage on the guide rails.


A 100x40 mm strip is cut out of plywood, and a through groove is milled into its center. It needs to be screwed through it to the sole of the conductor. This part will limit the travel of the carriage, blocking the stop placed on the side. You can tighten it with a wing nut.


The last piece will be the saw blade position lock. It is an L-shaped base made of a block with a through groove for fastening and adjustment. The holder of the limiting pin in the form of a drop is screwed onto it from above. The pin itself is a metal rod. This part is screwed to the sole to the left of the sharpening disc.


Sharpening discs and cutters using a homemade device
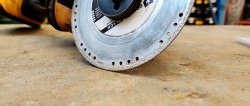
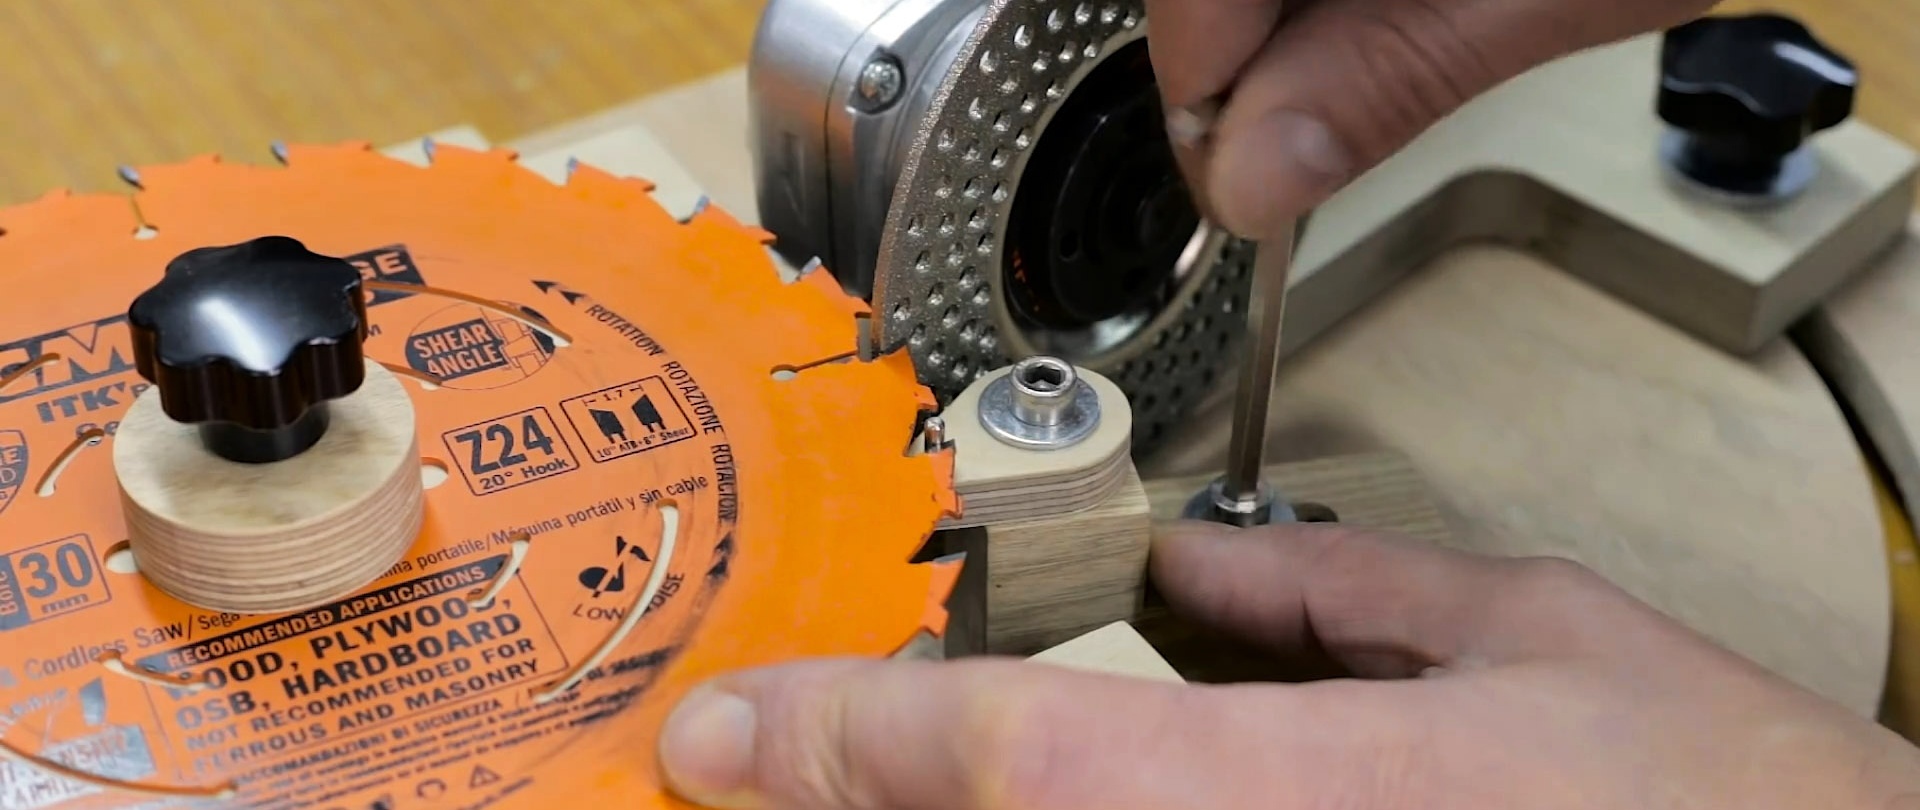
To use a jig, install a grinder with a clamped sharpening disk. On the contrary, we fix the saw blade.


Using regulators, they are adjusted relative to each other at the desired sharpening angle. The last thing to screw on is a stopper with a pin to prevent the disk tooth from being pressed more than it should be. Then they will all be sharpened evenly.
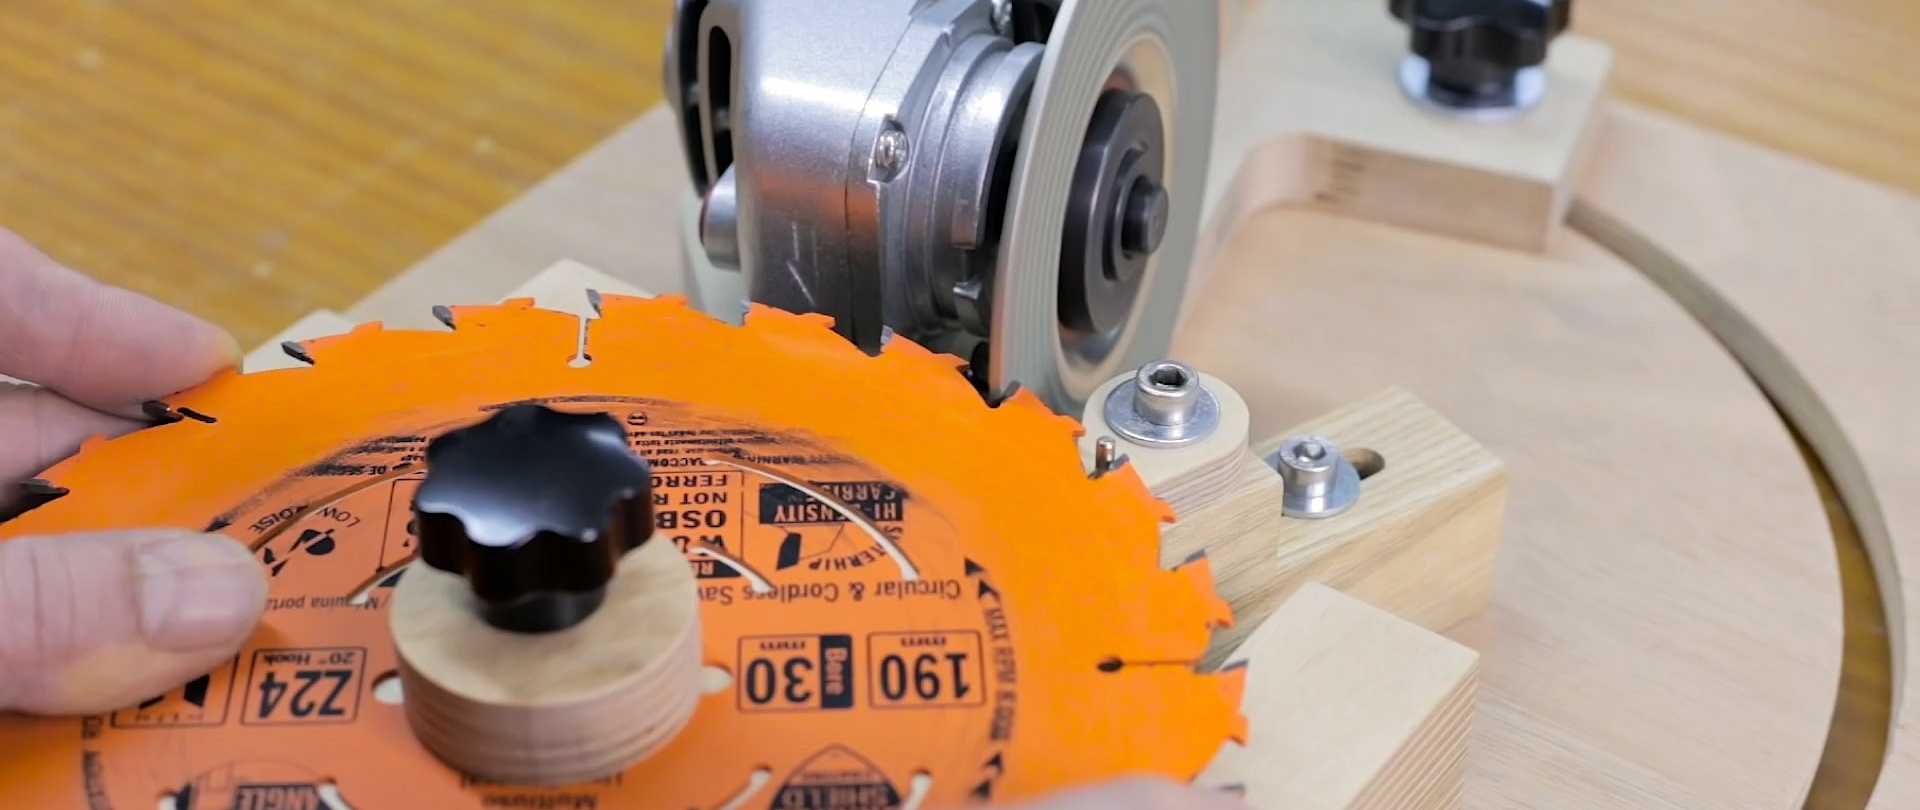

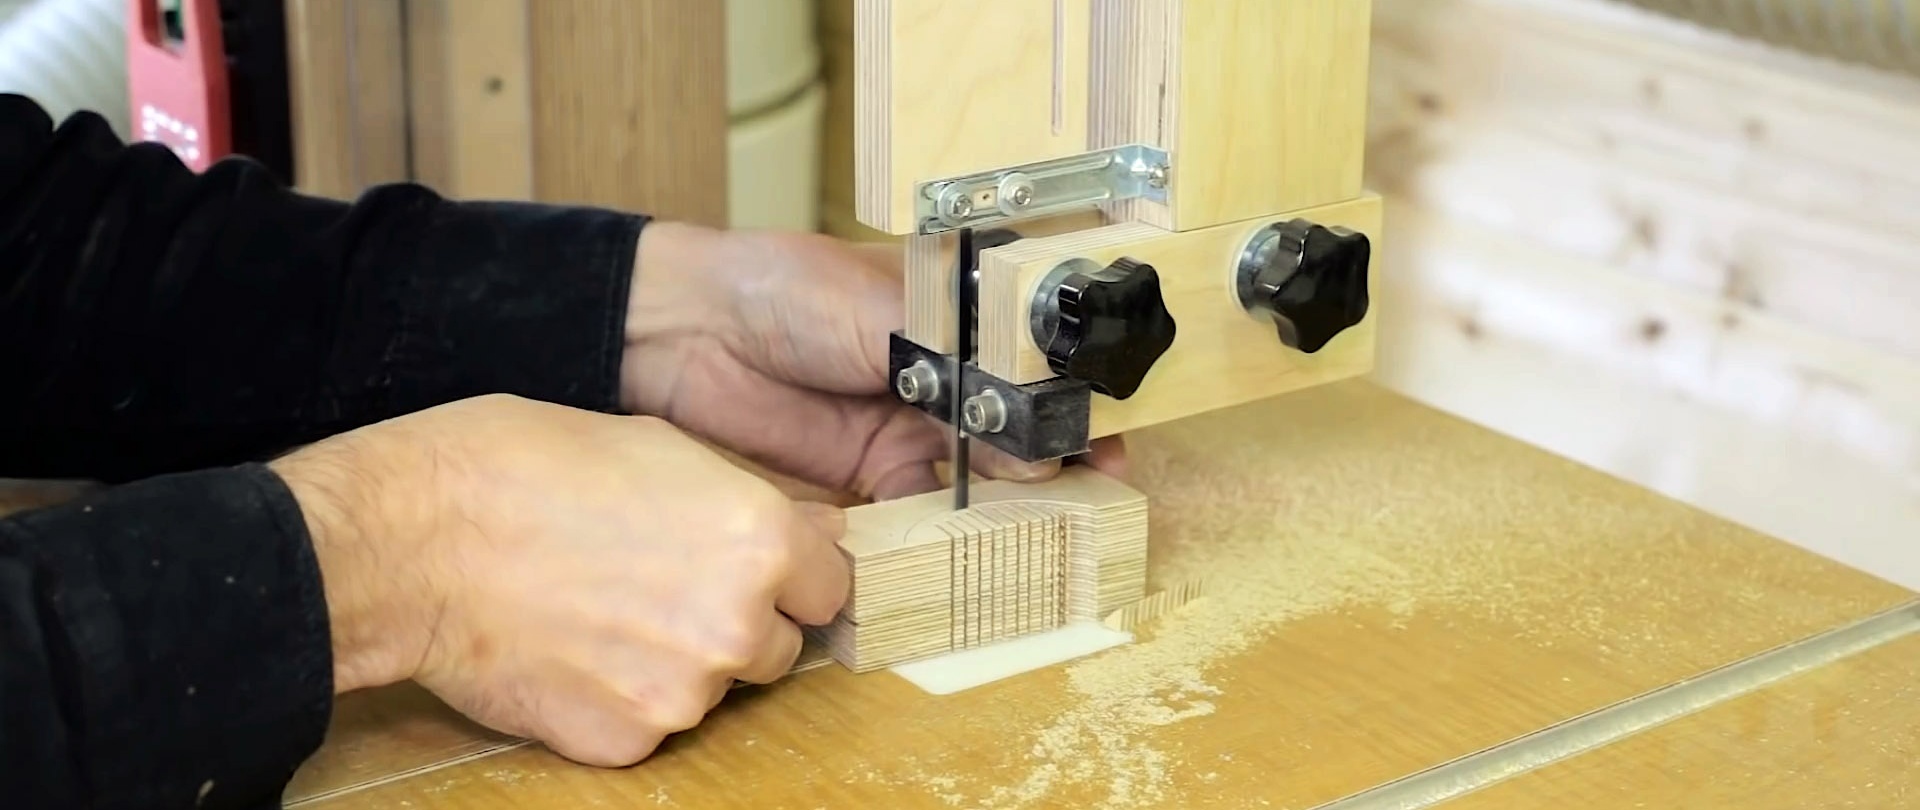
Sharpening occurs by pressing the saw blade onto the sharpening blade until the next tooth rests on the pin.Then the carriage moves away, the disc rotates, and the next tooth is sharpened in the same way.
To sharpen cutters, a device is installed in which the cutter is clamped.

It is turned towards the disk and the same cutting edge is sharpened according to the type of disk.