To many people, a wood-burning stove seems like something cumbersome, requiring a lot of bricks, a lot of heavy cast-iron parts and labor-intensive, long-term labor to make. Using an old kitchen sink as a basis, such a stove can be made without much difficulty, without great expense and in a short time. Any adult can do this job.

Will need
Materials:
- stainless steel sink with platform for dishes;
- steel or cast iron burner;
- foam block;
- cement, sand and water;
- wire fittings;
- steel rods;
- ceramic bricks, etc.
Tools: wooden adapter and hammer, measuring and marking accessories, grinder, knife, container for mixing mortar, trowel, etc.
Long-lasting discs for angle grinders on AliExpress at a discount - http://alii.pub/61bjly

The process of making a wood stove from an old sink and cement
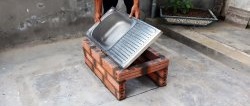
Unscrew the plastic outlet with the siphon from the sink. We bend the fastening flange of the sink to the base metal using a wooden adapter and a hammer.

Place a burner with a diameter of 19 cm on the back of the sink bowl concentrically with the outlet hole, trace it along the outer contour with a marker and cut it out with a grinder.


Also, on the side of the bowl from the side of the platform for dishes, mark and cut out a rectangular hole 10x15 cm according to the template.


According to the size of the burner, we cut out several circles and parallelepipeds 10x15 cm from a foam block with a recess in the form of a semicircle of the same radius as the circles. We lay the foam circles one on top of the other and secure them with two wooden rods with pointed ends.


Pour one portion of cement, four portions of sifted sand into the container, add water and mix the solution with a creamy consistency.

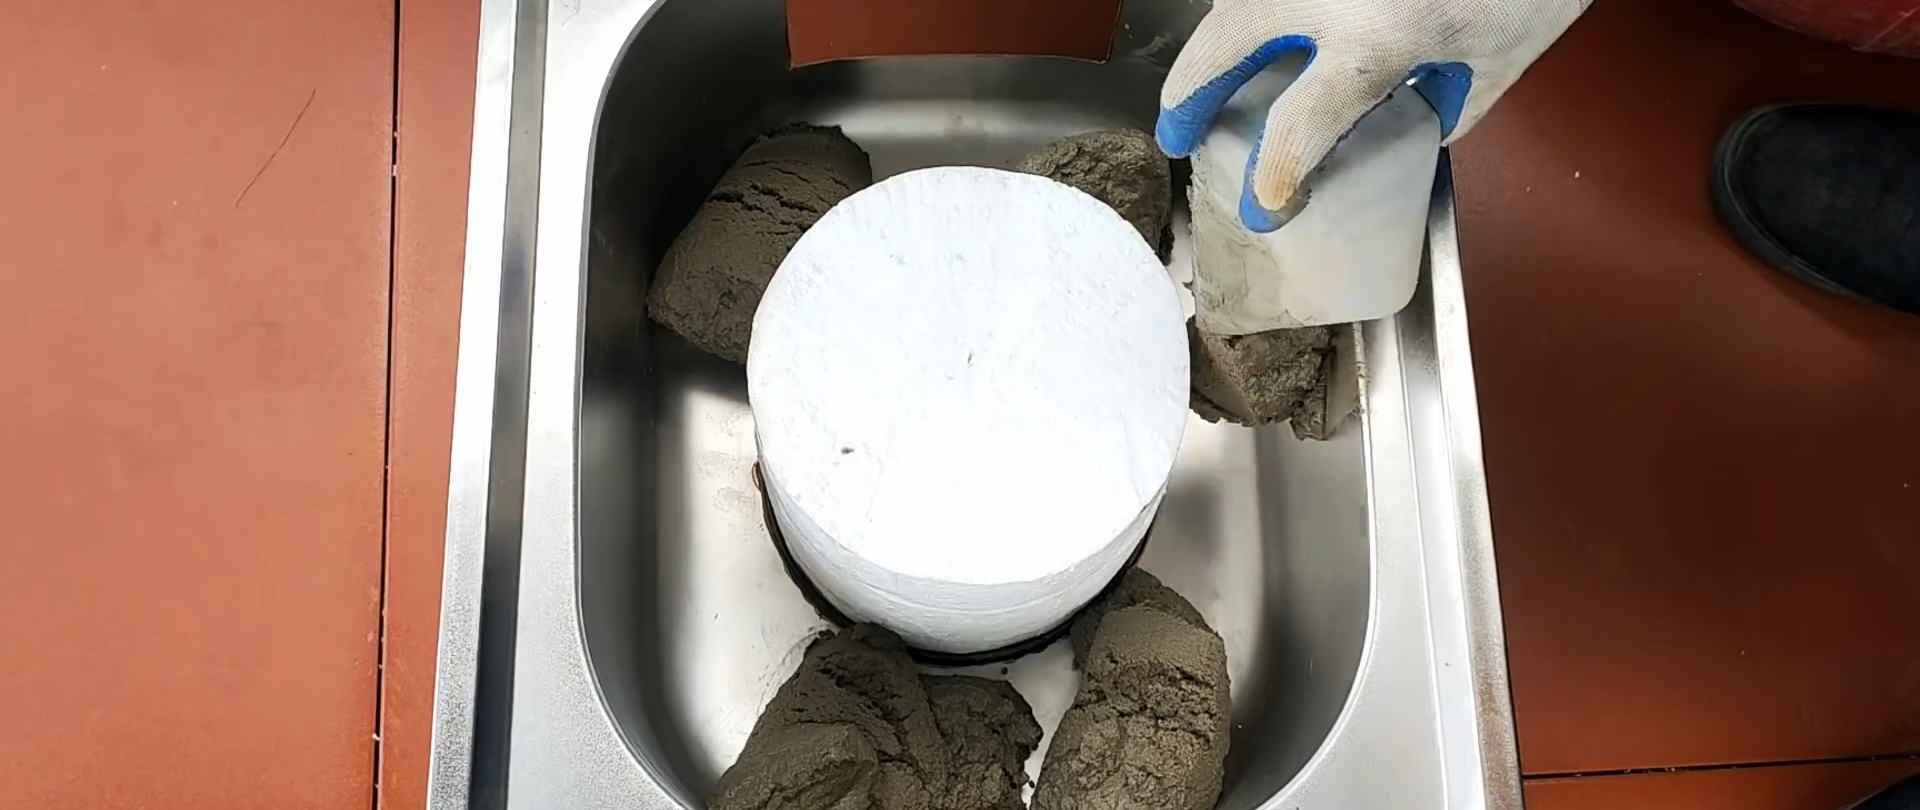
We place a “column” of foam circles in the cutout of the bowl. We fill the annular gap between the side walls of the bowl and the surface of the foam “column” with the solution to the bottom of the rectangular hole in the wall of the bowl, distributing and compacting the solution.
We place a ring wire on the solution, following the contours of the bowl, for reinforcement and lightly immerse it in the cement-sand mixture.
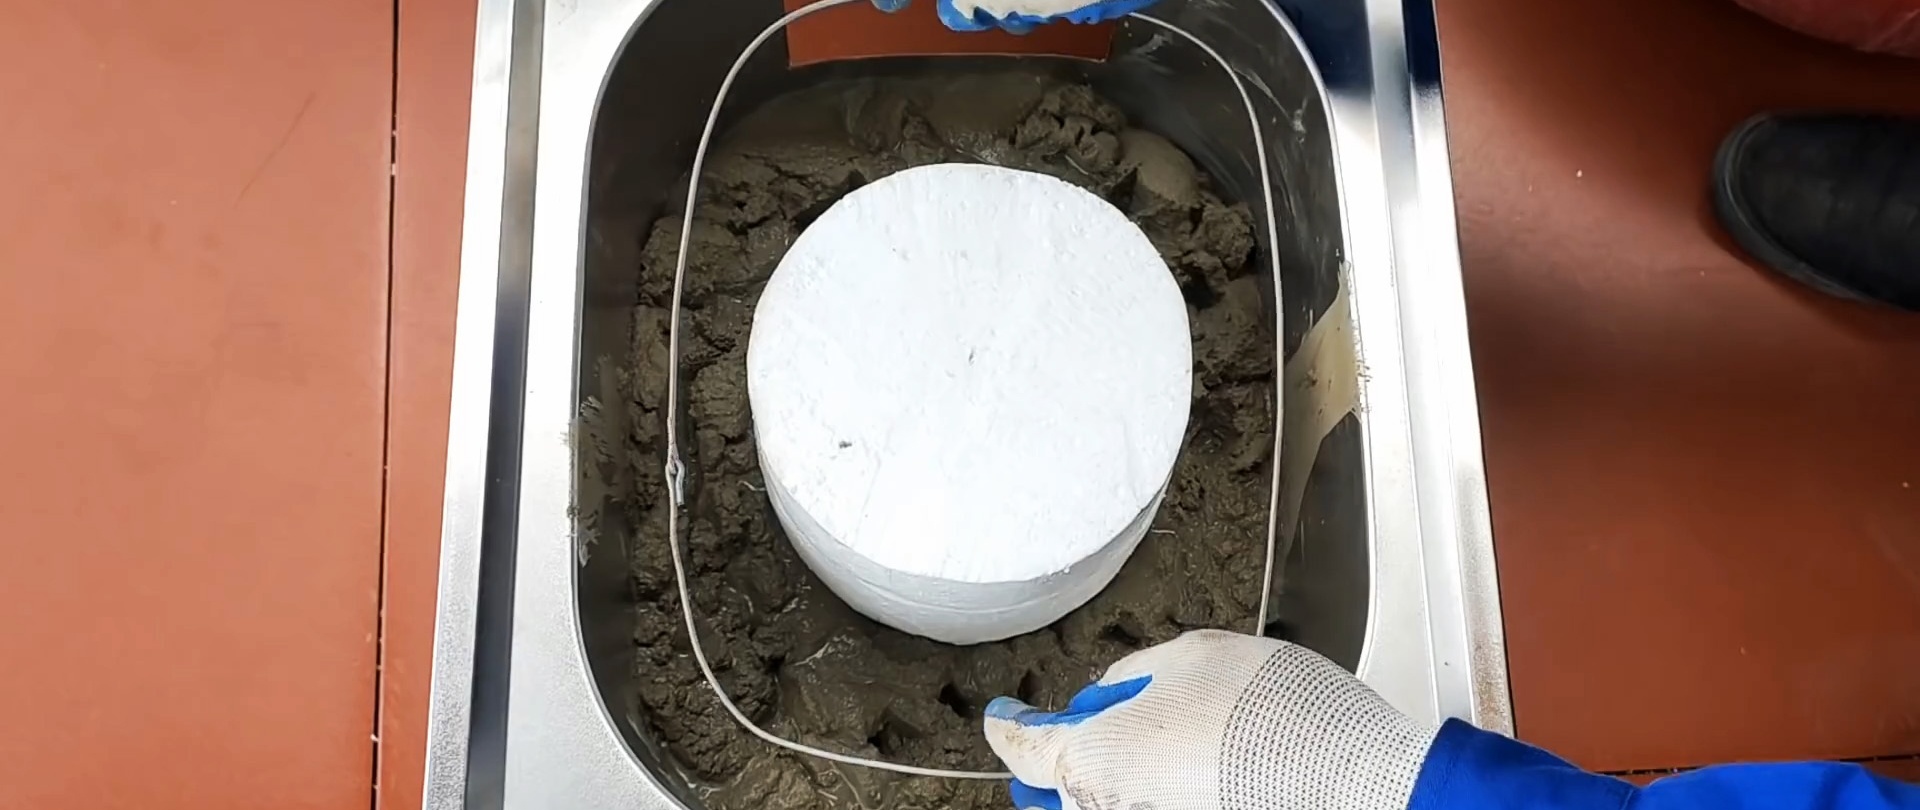
We insert a polystyrene foam parallelepiped from the outside into the rectangular hole until the cylindrical recess touches the surface of the foam “column.” We continue to fill the cavity with the solution, periodically reinforcing it with wire reinforcement.
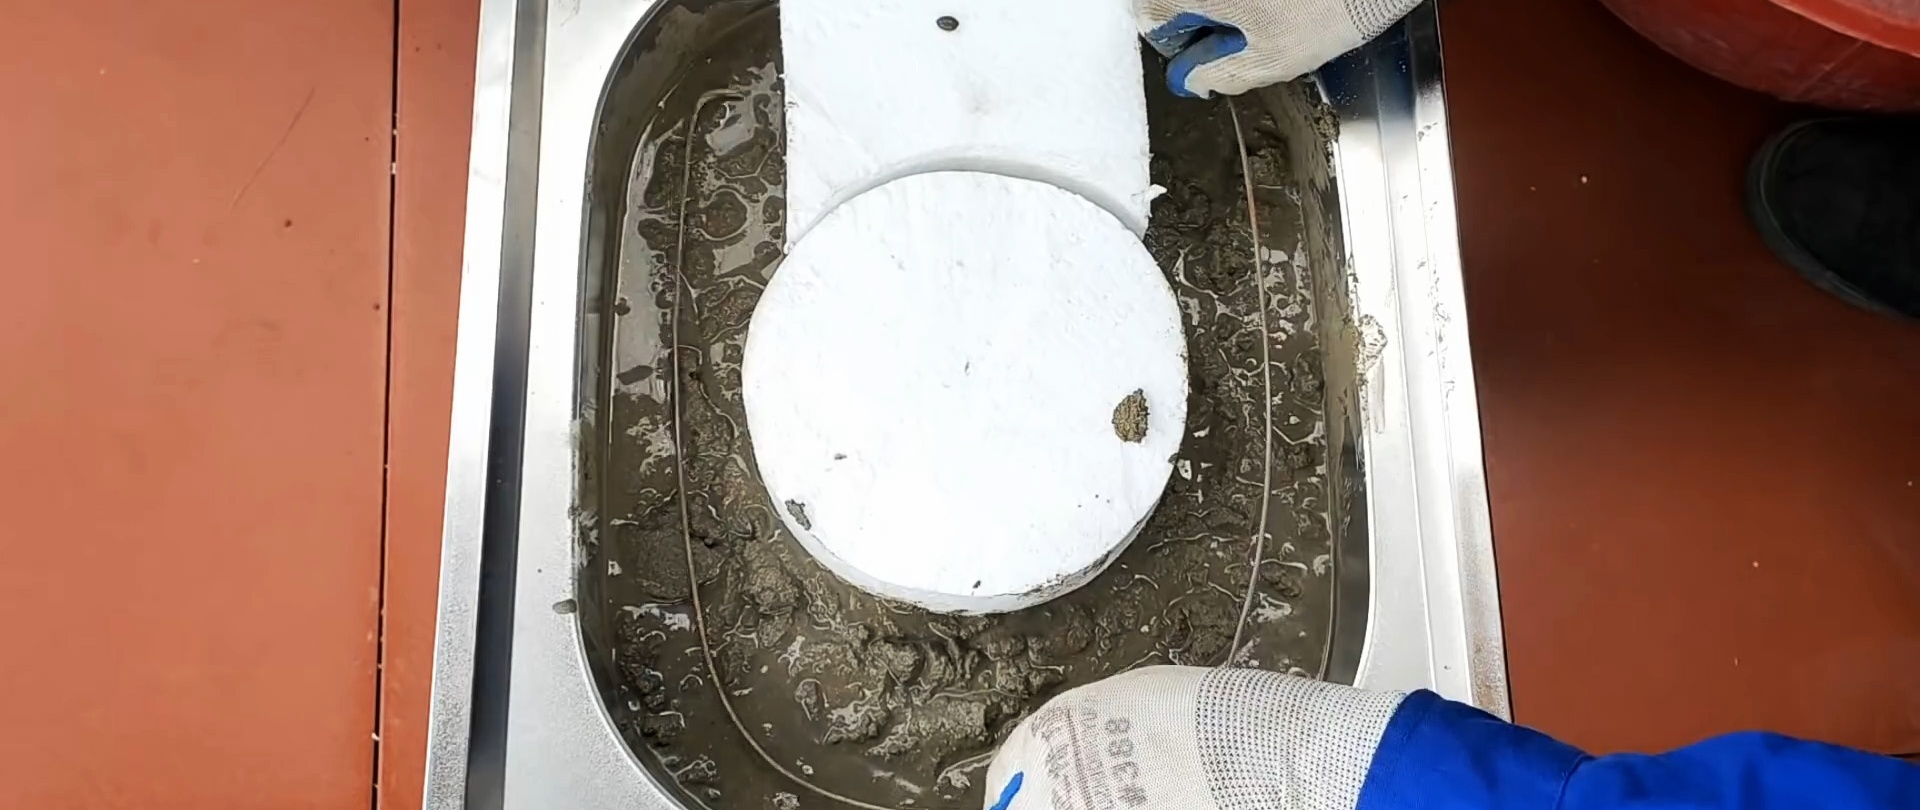
At a certain level, we lay steel rods in the amount of 11 pieces across the foam “column” and parallelepiped, with a length almost equal to the width of the bowl. Cover the ends of the rods with mortar and sprinkle the middle with sand.
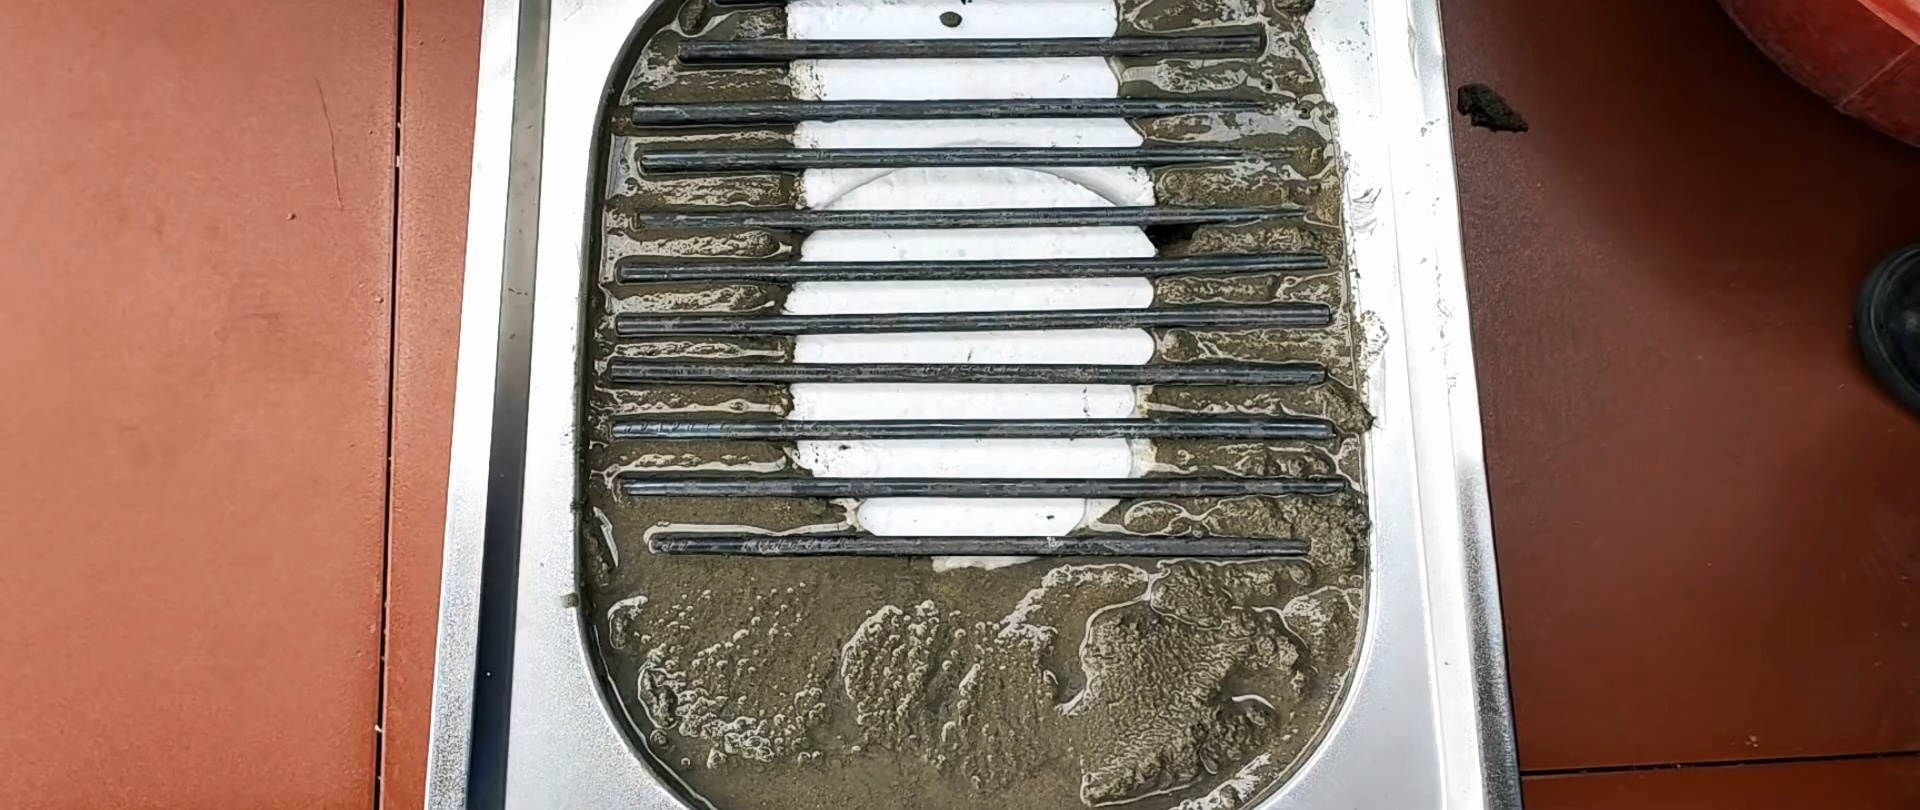
We place a circle and a polystyrene foam parallelepiped on top of the rods. We fix them relative to the lower figures with wooden rods. We finally fill the entire remaining volume of the sink with mortar.

We lay two ceramic bricks on the mortar on both sides. Let the solution set and carefully remove the shapes from the foam.

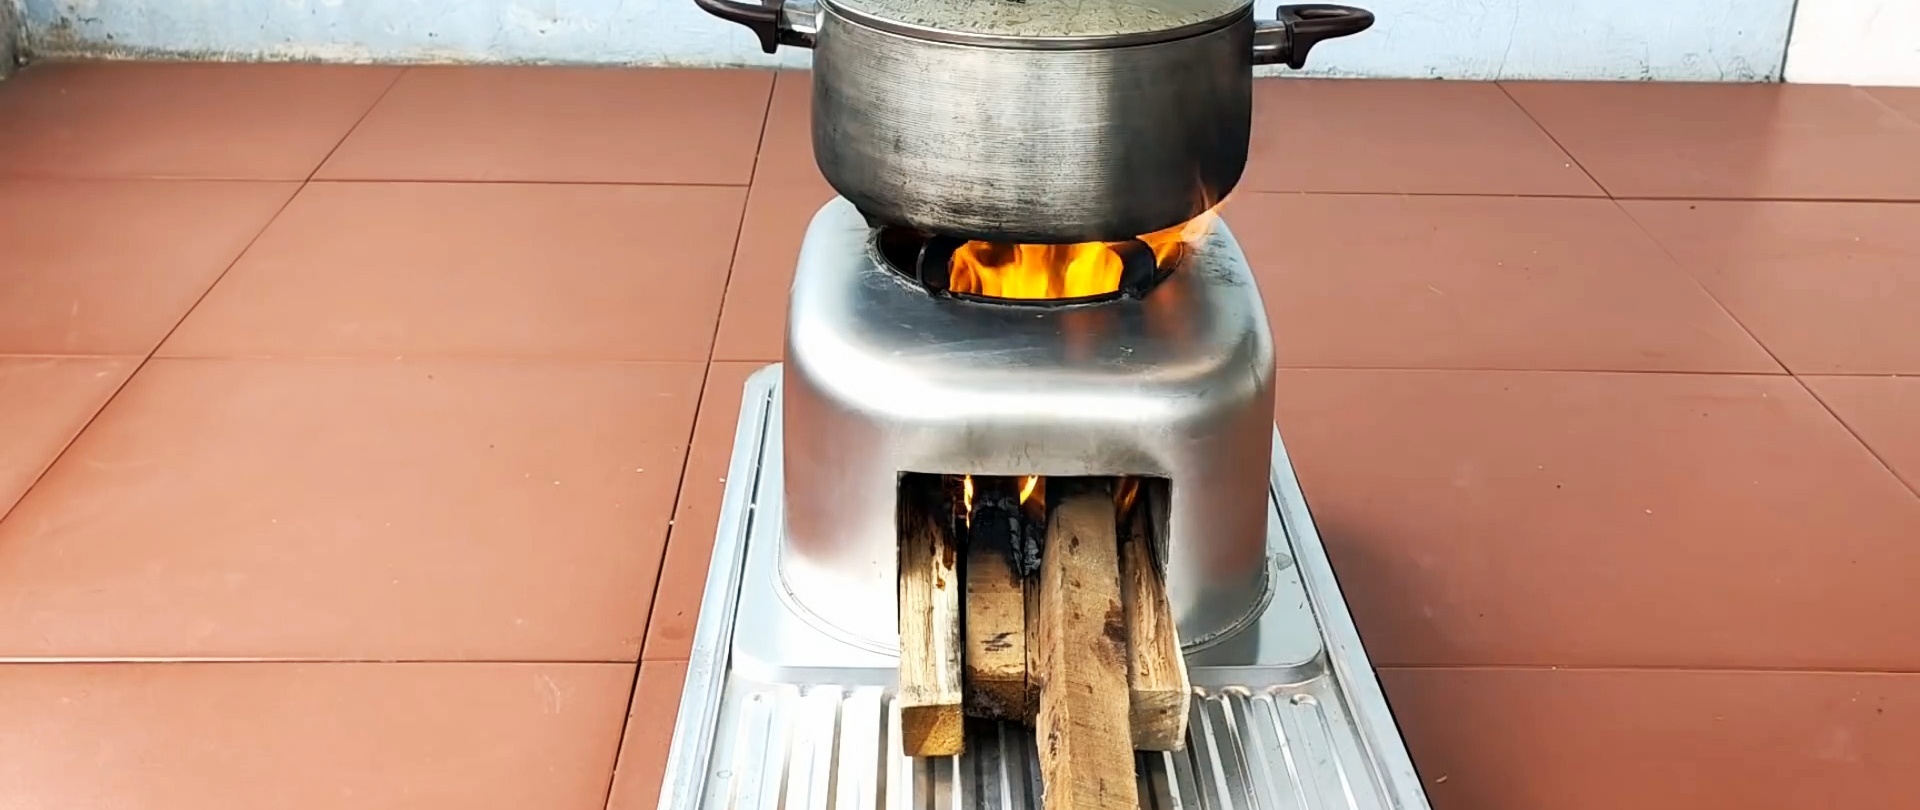
We turn over the sink filled with hardened cement mortar and also remove the foam filling. As a result, we get a firebox with a grate at the bottom and a hole for dishes at the top.


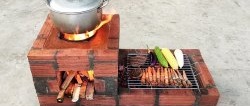
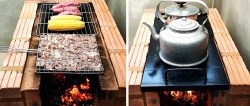
We light the stove, add firewood and we can boil tea or prepare any dish that requires cooking.