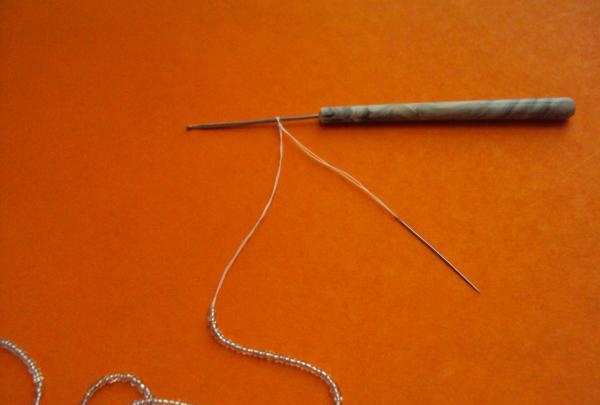
To work you will need:
• Beads
• Durable threads for beads
• Bead needle
• Crochet hook
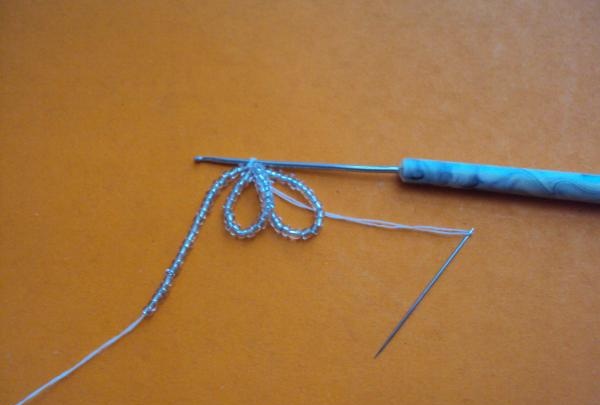
First, we string about 1.5 meters of beads onto a thread.
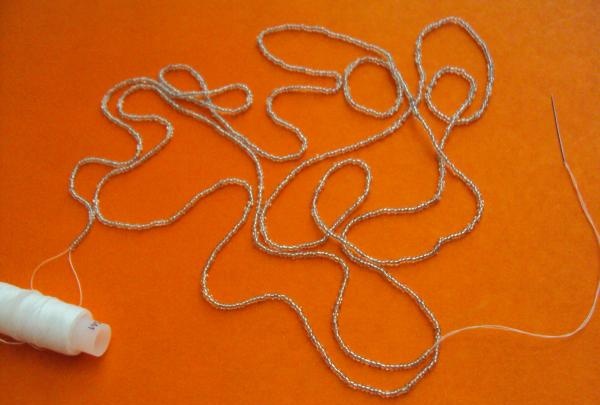
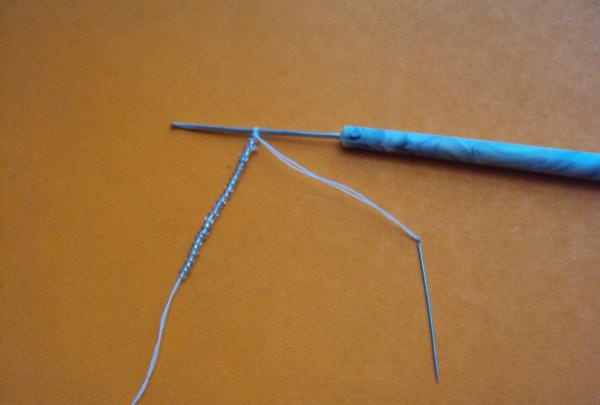
Then we knit the first loop with a crochet hook.
We move a certain amount of beads collected onto the thread to the loop itself. How much - decide for yourself. The size of the loops of your decoration will depend on this.
We knit an air loop.
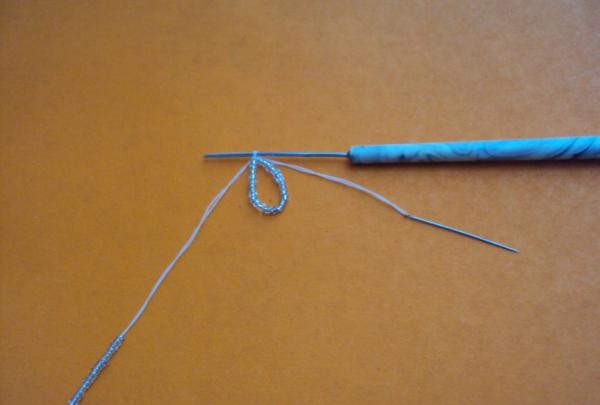
Again we move the same amount of beads towards it, and again we knit a loop.
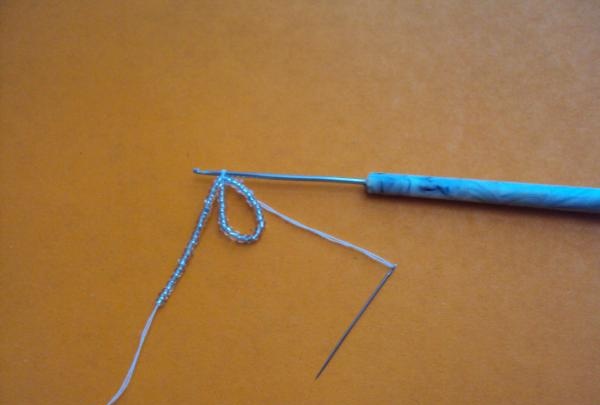
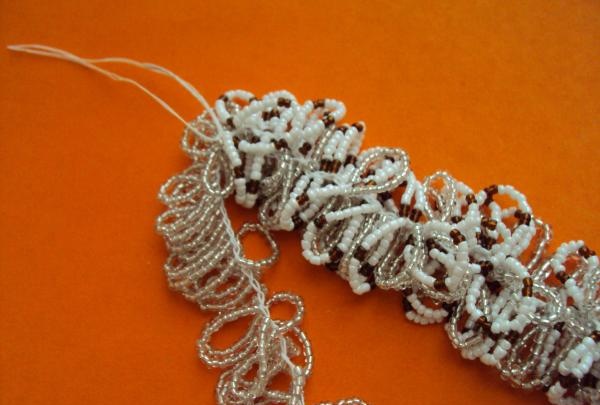
And so we knit all the beads collected on the thread. The result will be a segment 10–12 cm long.
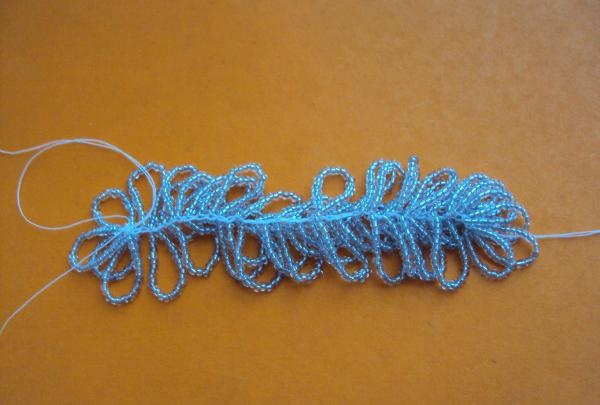
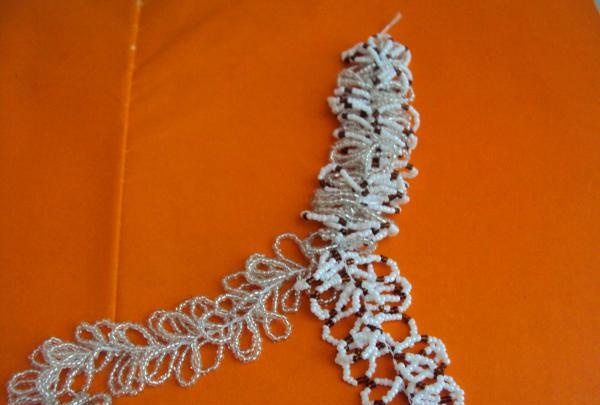
Pay attention to the chain of loops, we will need it later.
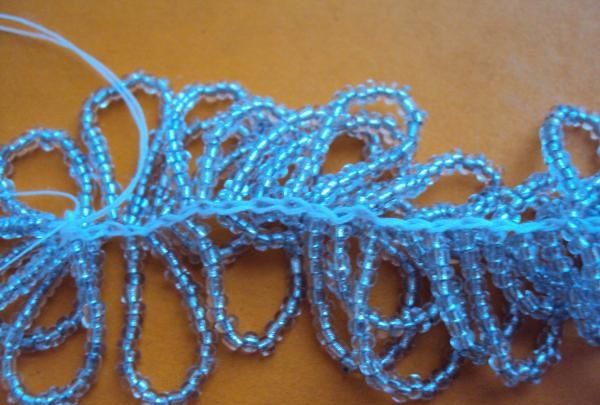
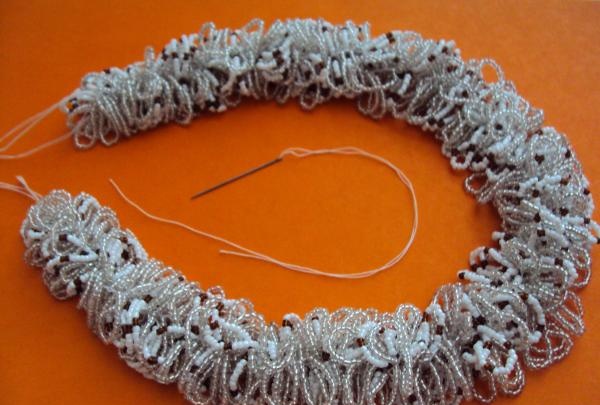
In order to get a bunch of the desired length, these small pieces must simply be tied together using the ends of the threads that remain at the beginning and end of each small thread. Don't worry, it won't be visible at all.
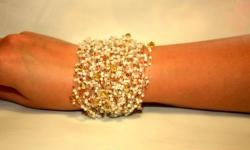
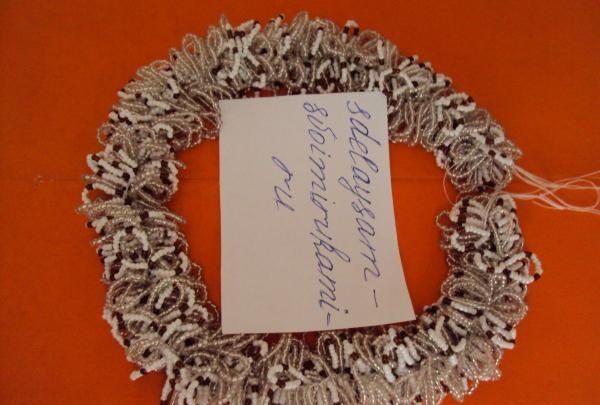
Thus, we recruit and impose three ligaments. Their length is determined by the neck circumference of the future owner of the jewelry.
The rest is quite simple. We take 2 long bundles and tie them at one end of the thread.

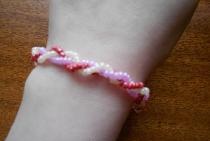
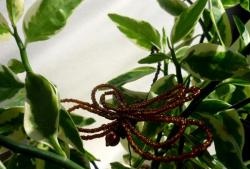
And we begin to twist these bundles together, approximately the same way as pieces of wire are twisted. (Fig. 11) At the end we tie the threads again. This is what we got.
Now we add a third long bunch, tie it at the beginning of the thread.
And again we also twist the third ligament through the previous two.
Don't forget to tie the threads again at the end.
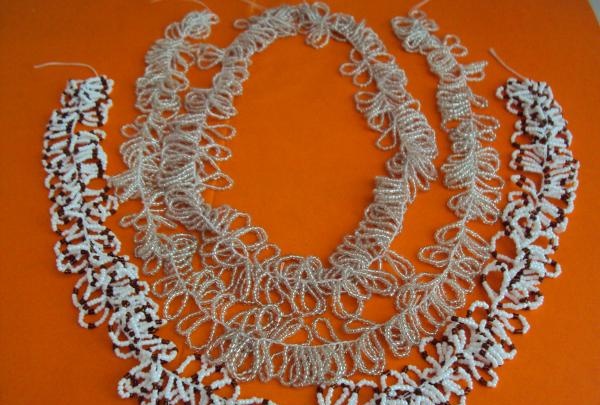
It would seem that our beauty is already ready, but it was not so. The ligaments unwind back very easily. Remember, at the beginning I drew your attention to the braid made of air loops? Now arm yourself with a needle and thread of the appropriate color and sew together all three braids of the twisted ligaments.
After this they will definitely not unwind.
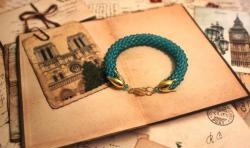
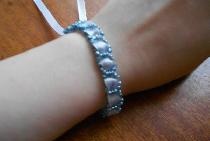
You did a great job. Finally, you can admire the results and think about which clasp to buy for such beauty.
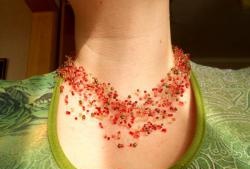
This jewelry can be worn by both a young girl and an older woman. And if you add the same bracelet...