It’s another matter when a gift made with your own hands radiates warmth and positive energy. After all, in such crafts a creative person not only invests his time and work, but also a piece of himself and his soul.
Often, hand-made creations require significant attention to every detail, since success can be destroyed by the slightest non-compliance with the rules or untidiness, as well as inattention. This is not an easy task, so when starting work, stock up on a dose of patience. Of course, everyone knows that failures make you stronger, but not in our case.
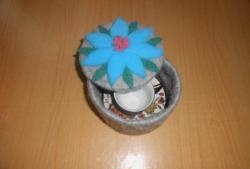
We bring to your attention a step-by-step creation of an original box for storing accessories that you need every day when creating unique and simple hairstyles.
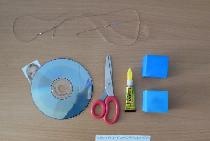
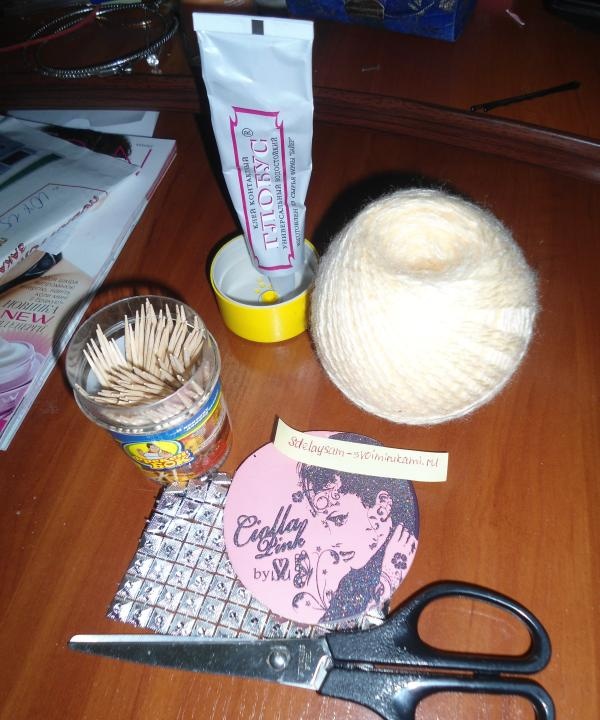
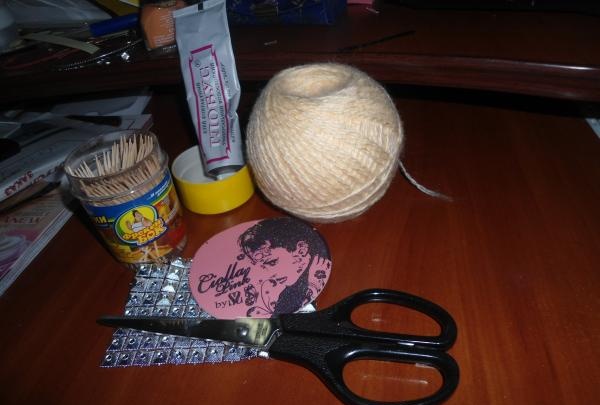
Every creative needlewoman should make sure that all the materials needed for the box are found or purchased before sitting down and starting to create something beautiful. We will need the following materials: scissors, colorless glue, round cardboard (or another type of cardboard, even a square, it all depends on what shape of the box you are going to make into reality), knitting threads, toothpicks and an awl or pin.
DSC05054
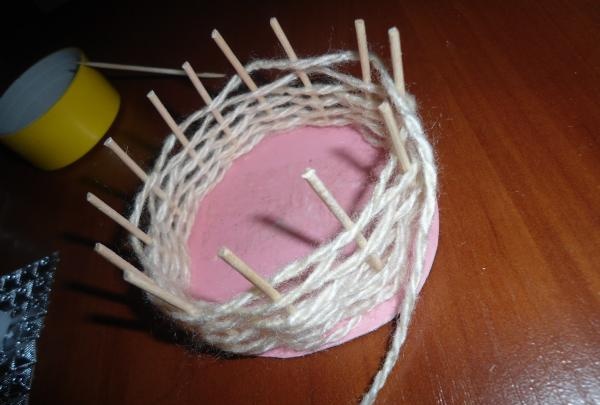
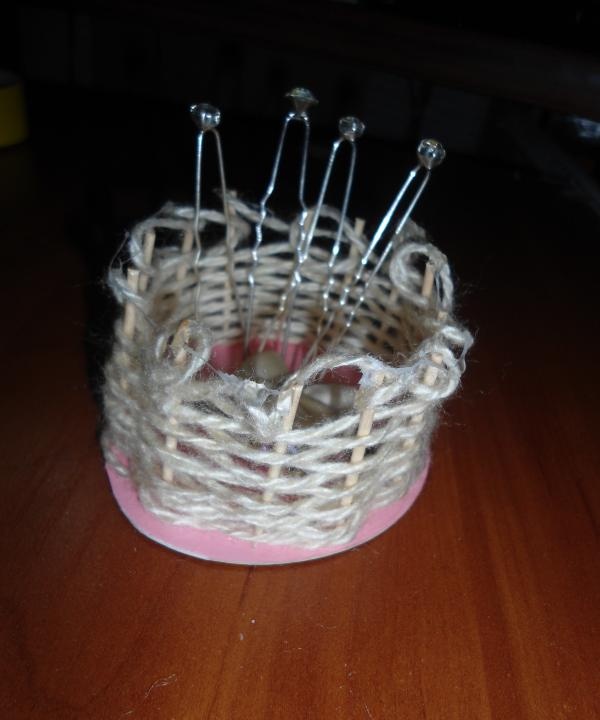
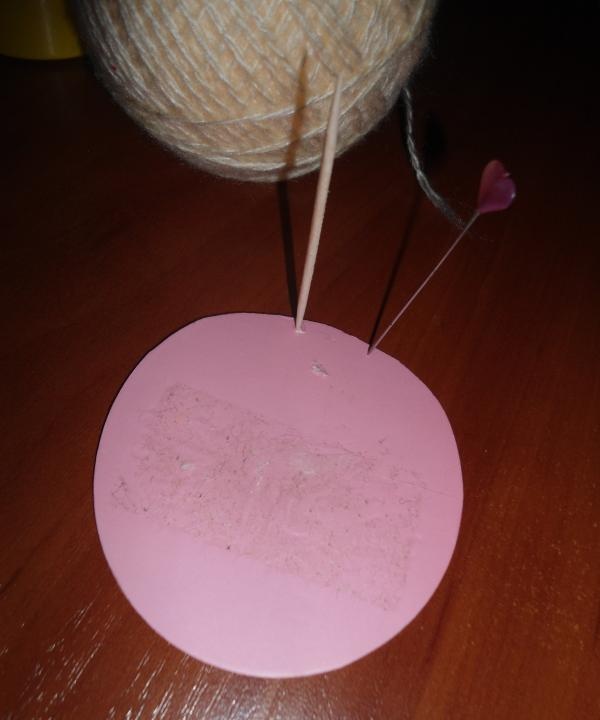
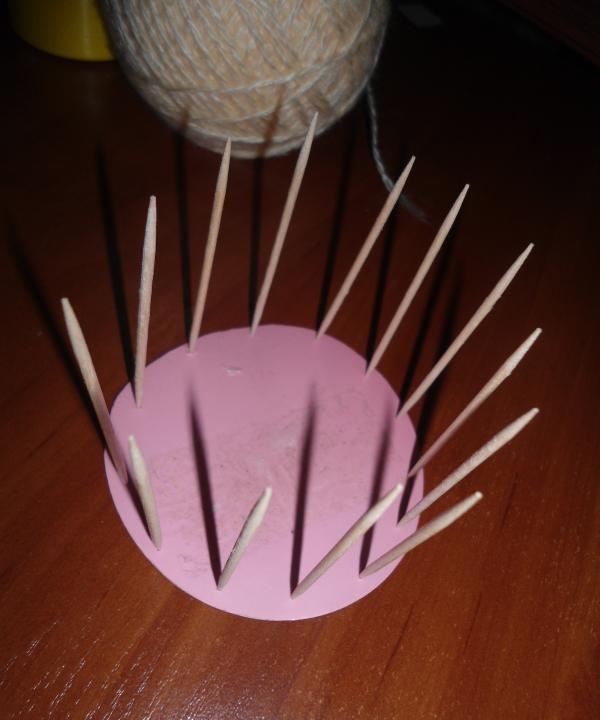
First of all, we take our already shaped cardboard, a pin and toothpicks. Using a pin or an awl, we make holes in the cardboard at a distance of one centimeter. Then we check whether the toothpick is firmly held in a vertical position.
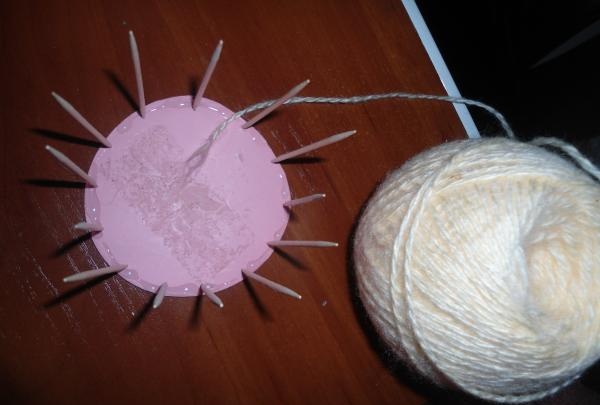
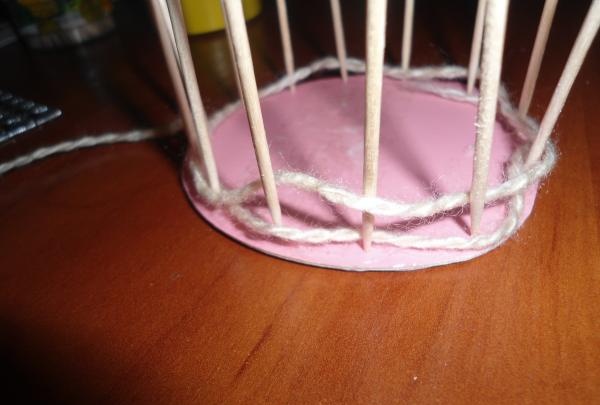
Along the edges of the cardboard, touching the toothpicks, we make a glue path and begin weaving the box.
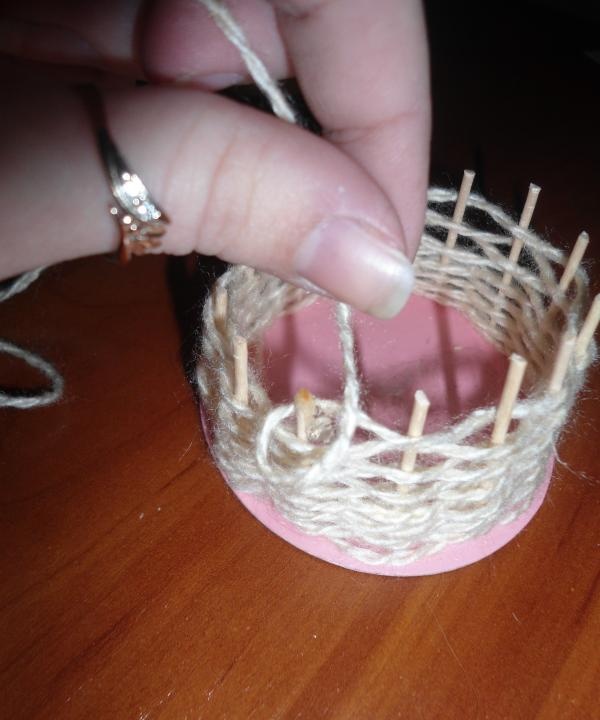
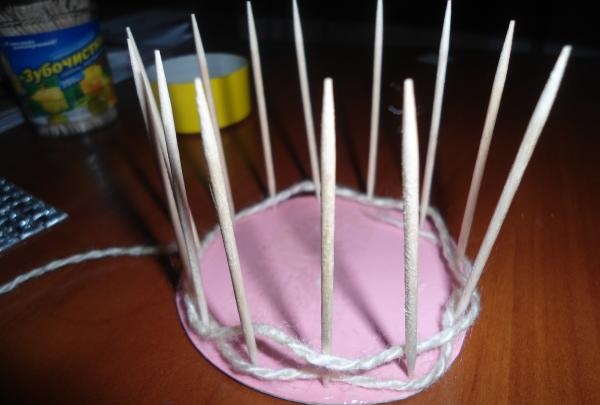
We weave the box using threads, laying a zigzag in a circle.
We carry out this procedure to the very top of the toothpicks or to the middle. This depends on how tall you plan to keep the box. If to the middle, then cut off the unnecessary parts of the toothpicks.
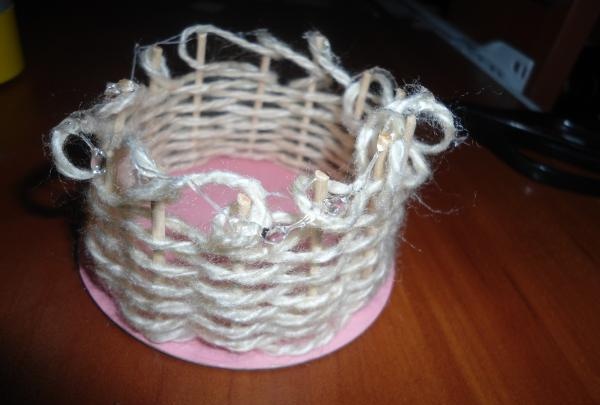
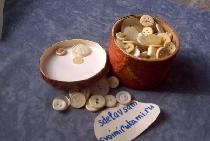
We hide the tops of the toothpicks, imitating squiggles, using threads.
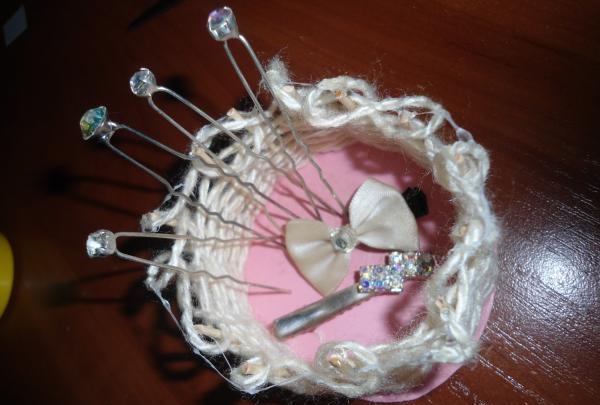
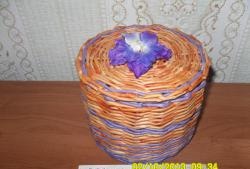
Congratulations! Your box is ready. You can safely put your supplies there or give it to a loved one.