Usually, for plant propagation, the method of germinating seedlings from cuttings or grafting onto a rootstock is used. But these methods do not always end in success. The plant can only be propagated by layering. It allows you to get a genetically 100% identical plant.
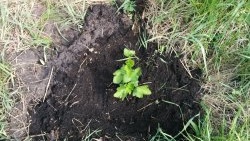
1. Simple layering in the ground

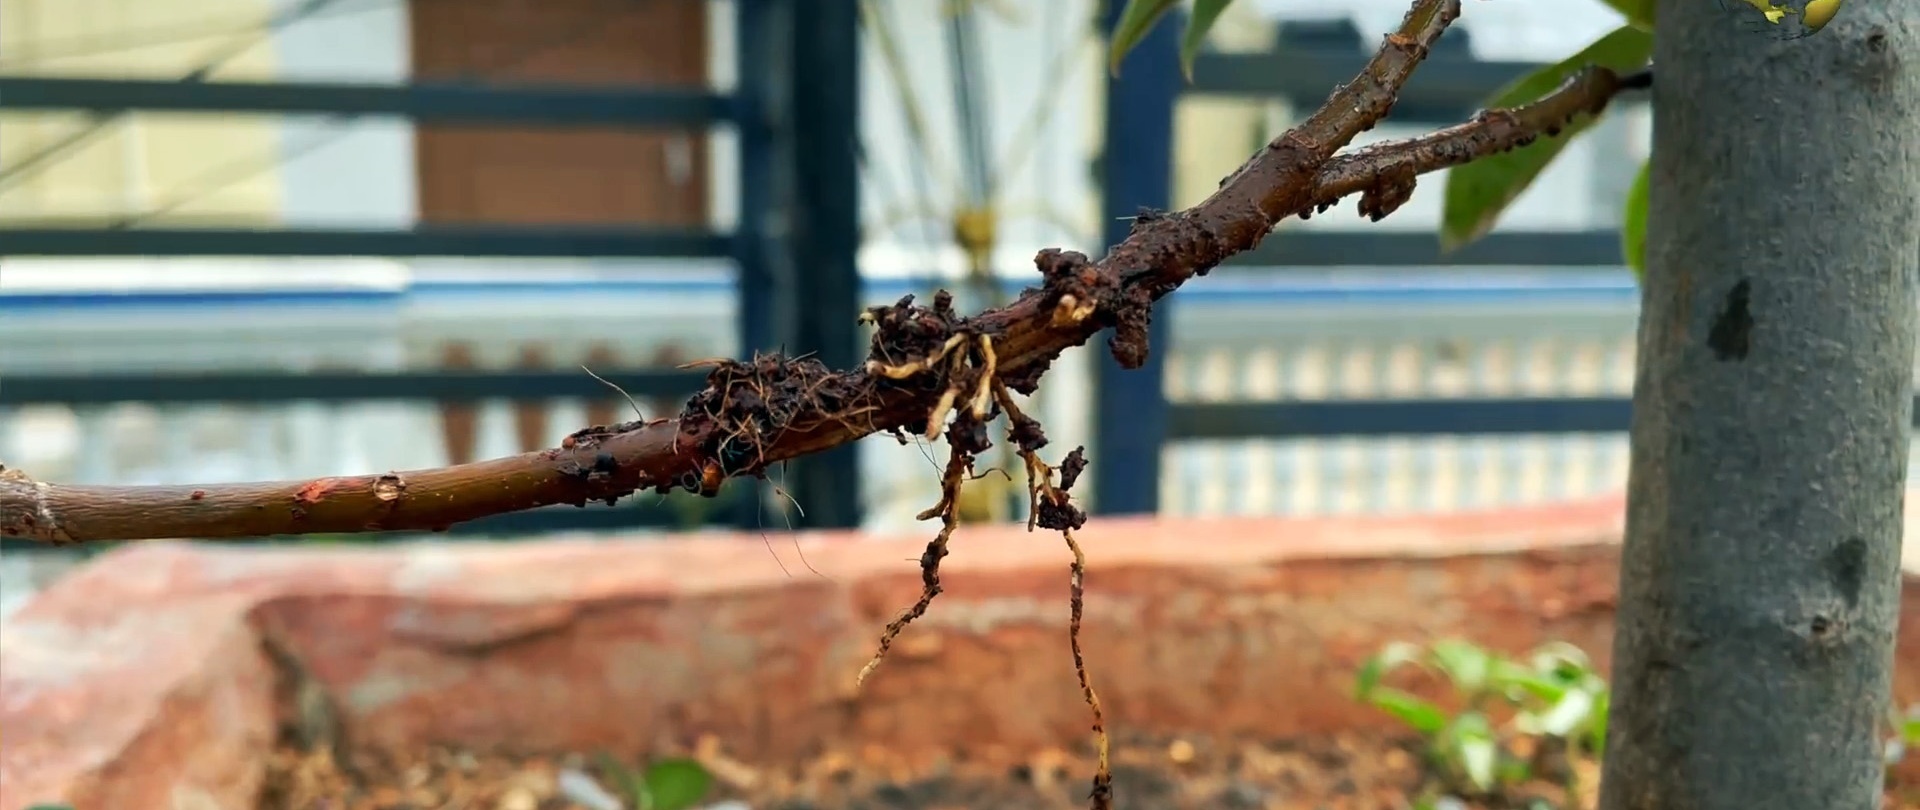
This method works great on shrubs. They can be used to propagate currants, gooseberries, etc. Take a branch and remove its bark in a circle, exposing a few centimeters of wood. Then bury this cut with soil. You can also place a weight on top to prevent the branch from rising again.


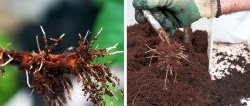
Leave the top of the branch with leaves above the ground. Now we wait 4 weeks. Be sure to regularly water the cuttings in the area where the bark was cut. In just a month it will sprout roots. It can be cut off and planted in a new place.
2. Escape in the ground
You can also take the tip of a young shoot and bury it on the side of the main plant. As a result, roots will appear at the edge, and then the shoot will break through the ground with new leaves. Later it can be cut off from the mother plant and planted separately.

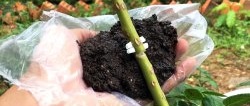
3. Canopy layering
This method of reproduction differs between monocotyledonous and dicotyledonous plants. To form a new plant in a monocot, make an oblique cut downwards on the branch, leaving one third of its diameter short.
Insert matches, plastic sticks, or other objects across the cut to prevent the wood chips from coming back together. Then put a little moistened substrate on a plastic bag and lean it against the cut.

You need to wrap it in polyethylene and tie it tightly around the edges. Thus, we get a bag of soil in which the root will grow. If it is exposed to strong sunlight, the bag must be covered with foil.

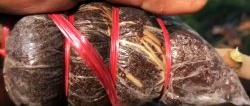
In dicotyledonous plants, you do not need to make an incision, but remove a ring of bark 2 cm wide. Both the upper rough bark and the green cambium under it are cut off. Then the bag with the substrate is wound, as in the case of monocots. When the roots grow in the bag, the branch is cut off and planted separately.

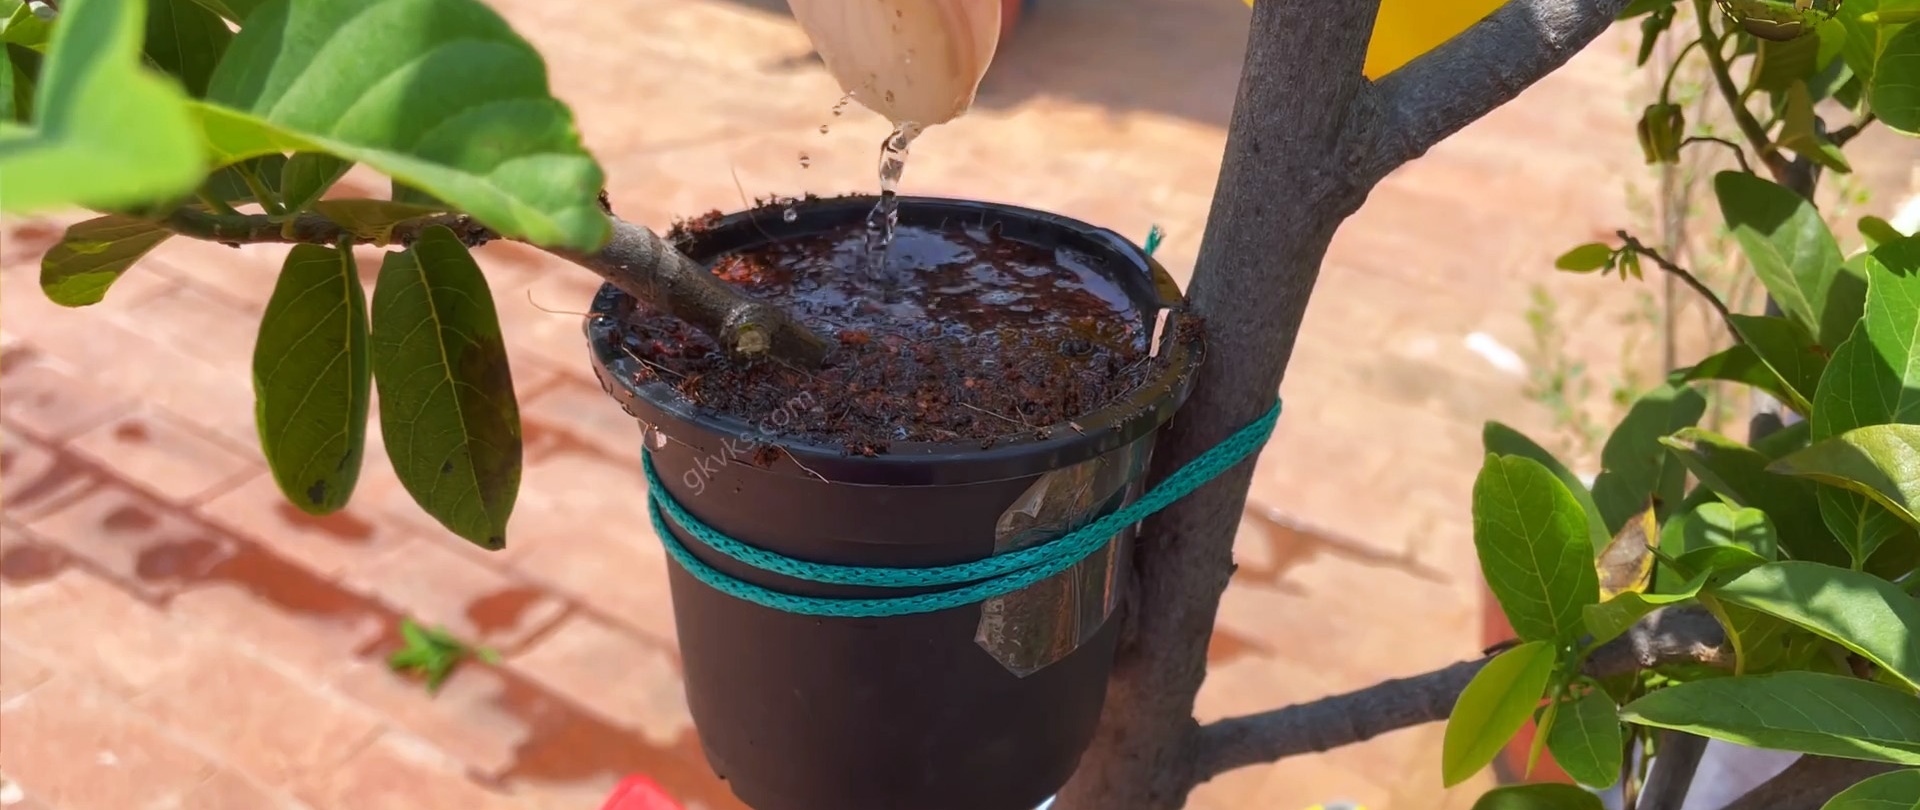
4. Layering in a pot
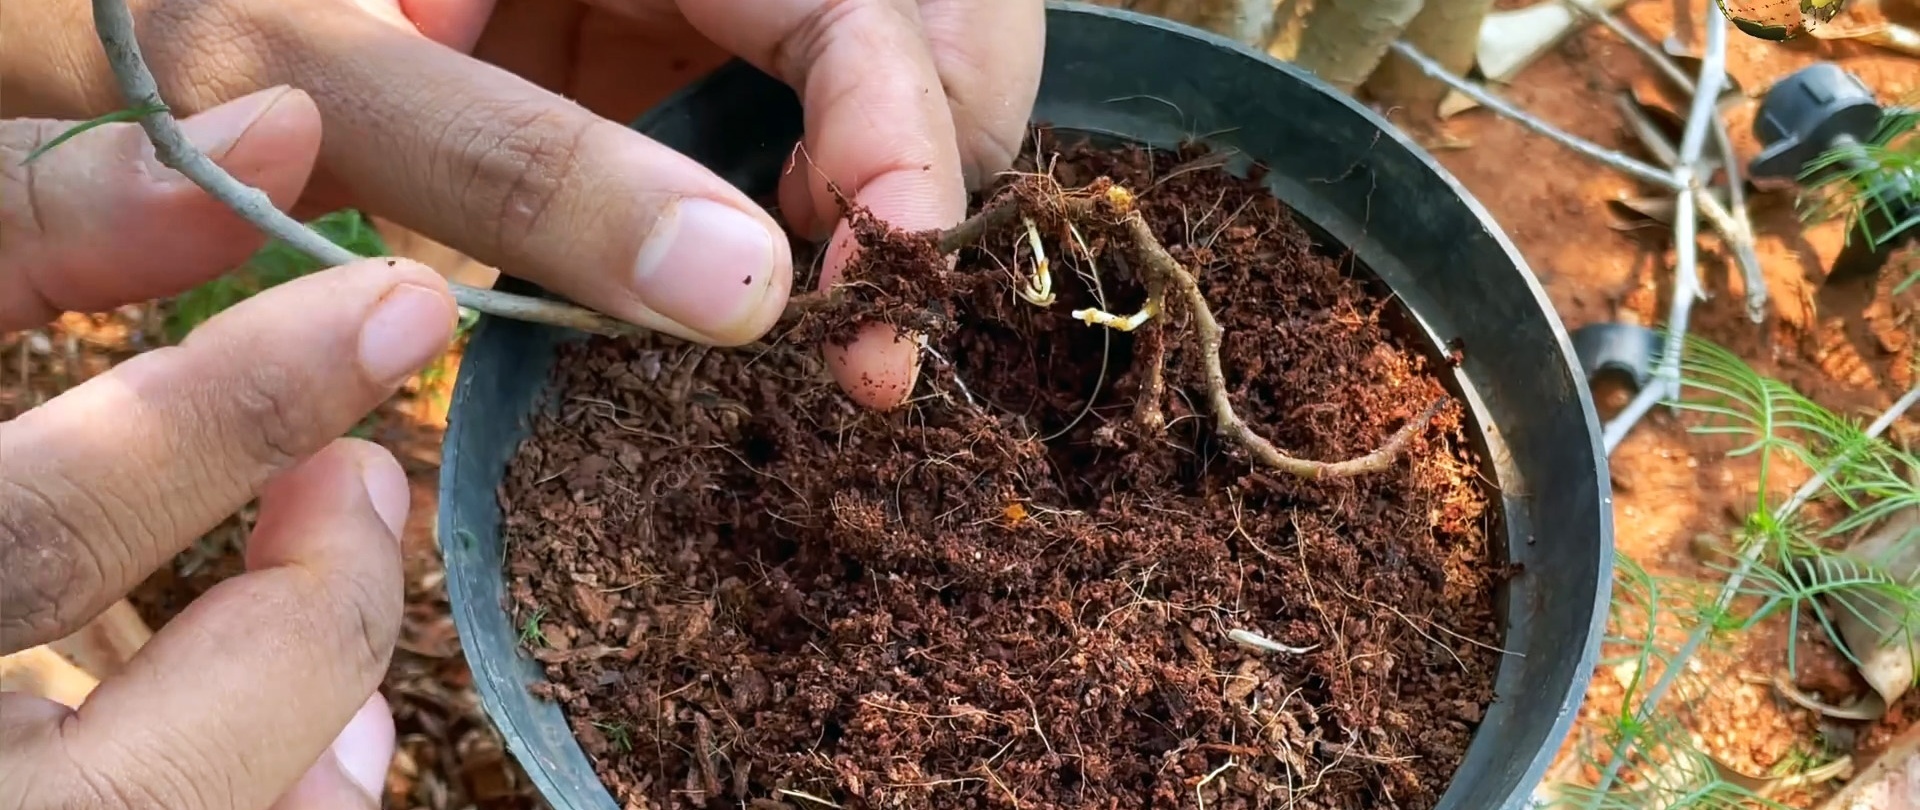
First, we prepare an incision on the branch or remove the bark, depending on what plant we are working with. Next, we put a pot on the branch, cut lengthwise on one side.

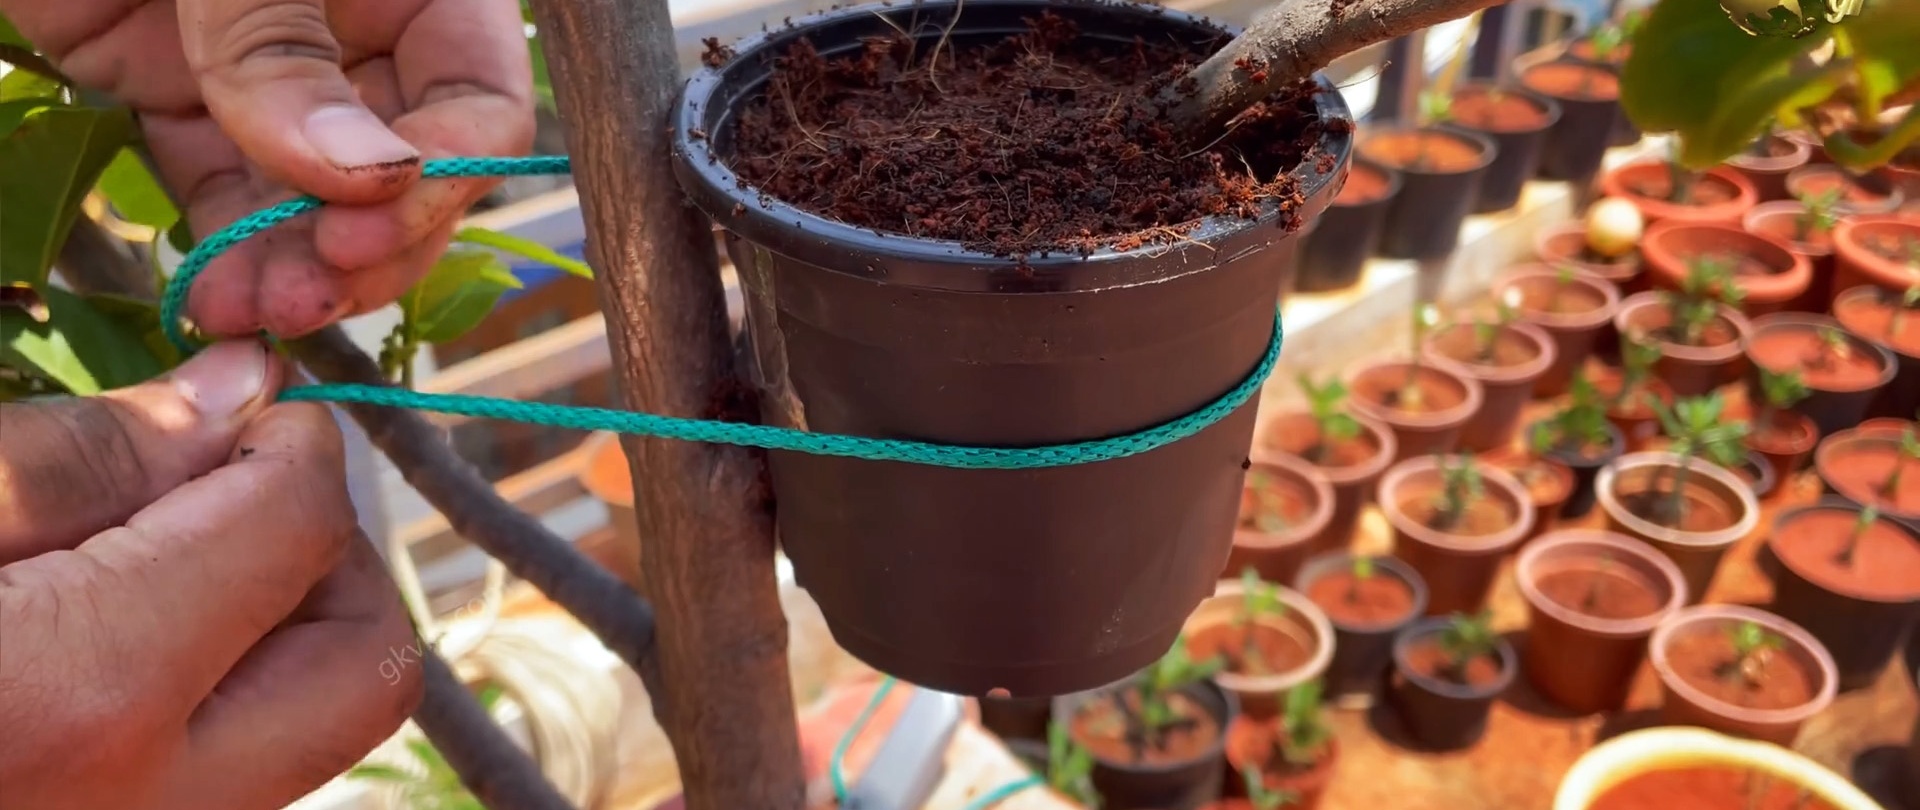
The cut of the pot is glued with tape and tied with a rope. Then soil is poured into it. Thus, we grow the root as in the previous method. But here the soil will have to be watered. If you cover the pot with a bag, you will have to do this less often.
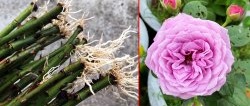
5. Layering in water
You can also make an oblique cut on a branch to get a long sliver. Next, take a PET bottle and cut a hole in it on the side. We insert a sliver into it.


Then fill the bottle with water so as to cover the sliver. Tie the bottle and cover it with something dark. It remains to periodically add water until the root appears.To speed up rooting, you can add a growth stimulant or a quarter of an aspirin tablet to the water.