Do it yourself
Life hacks, master classes, useful tips, recipes.
home » Different » Crafts » Origami » Corrugated paper rose
This master class is about giant roses made of corrugated paper. This rose will be a wonderful decoration for a photo shoot and at any occasion, be it a wedding, a birthday celebration or a party. Thanks to the description below, you can easily make a beautiful rose.

Materials for creating a rose:

Materials for creating a rose


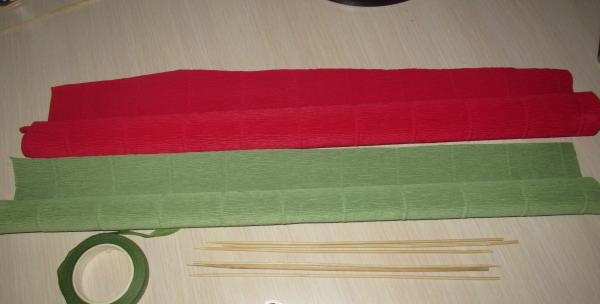
1. corrugated paper (green, crimson);
2. scissors;
3. glue;
4. tape;
5. skewers;
6. template.

Let's get started:
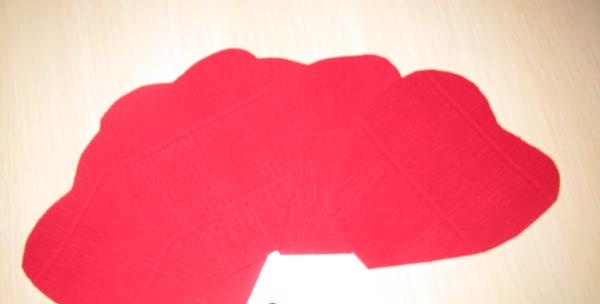
We cut out strips 10 cm wide from corrugated paper, cutting them parallel to the horizontal stripes. From these strips we cut out 15 heart-shaped petals and 5 drop-shaped petals.

Cutting out strips


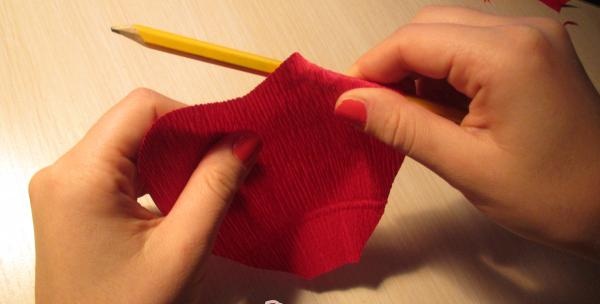
Each finished petal must be pressed inward in the middle with two thumbs, then from the resulting bulge, stretch the petal in opposite directions.

make petals

make petals

make petals


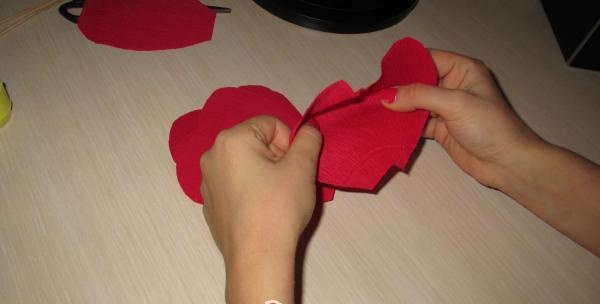
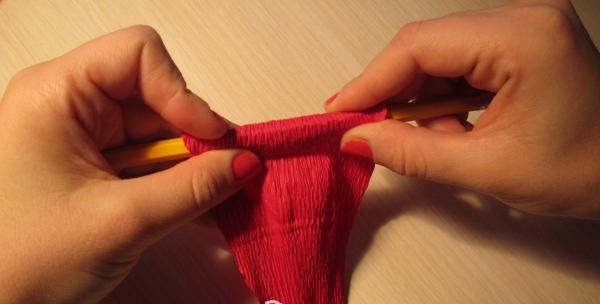
We wrap each petal on a pencil so that the petals of your rose are exactly like those of a real one. Be careful, the petal must be wrapped away from the front side of the corrugated paper.

wrap it around a pencil

wrap it around a pencil


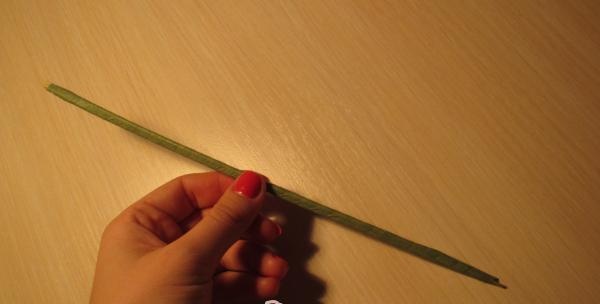
We are preparing the stem for our rose. As a stem, you can use a specially prepared stem made of wood, wire, or plastic, but in this master class, wooden skewers are used.
We wrap three skewers with light green tape.

Wrap three skewers

Wrap three skewers


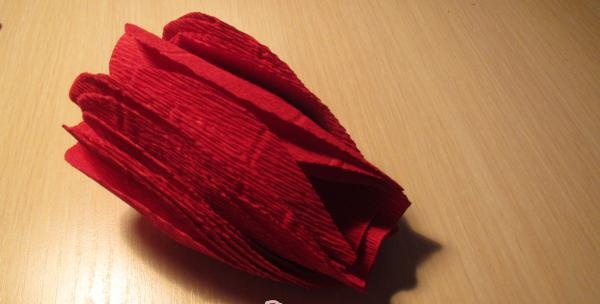
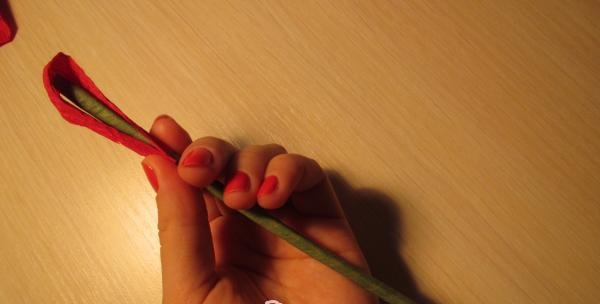
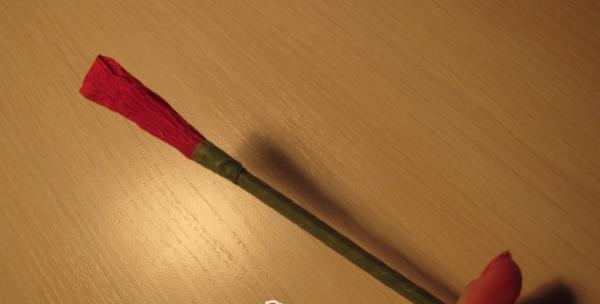
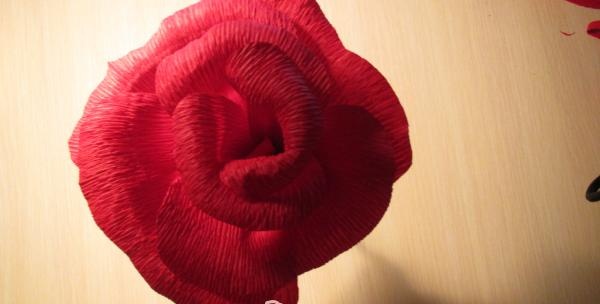
Let's start making our bud. First of all, we wrap the top of our trunk with pink corrugated paper so that it is not visible inside the bud. Next, we attach drop-shaped petals to the base, and then heart-shaped petals.

Let's start making our bud


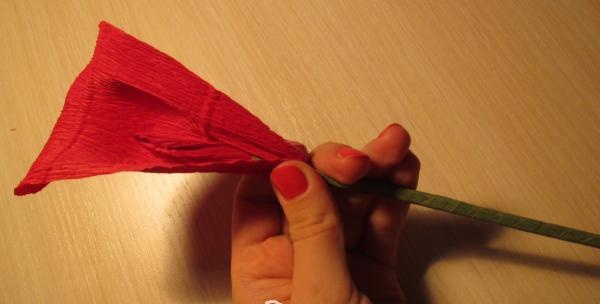
We form a rose bud and secure each petal with tape.

Forming a rose bud

Forming a rose bud

Forming a rose bud

Forming a rose bud

Forming a rose bud

Forming a rose bud

Forming a rose bud

Forming a rose bud

Forming a rose bud


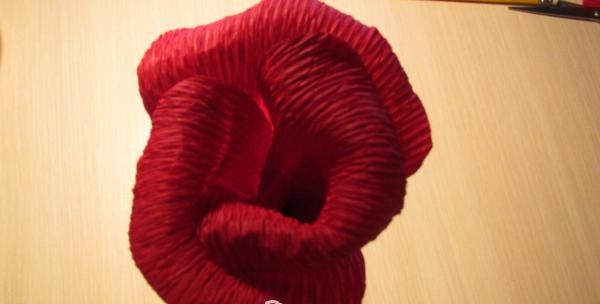
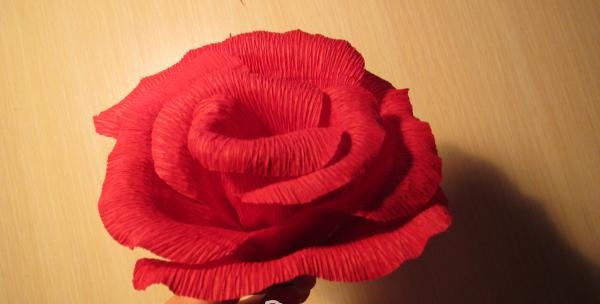
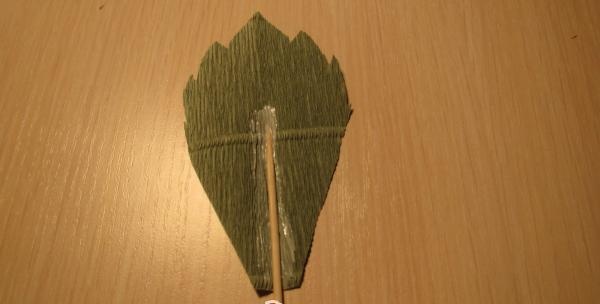
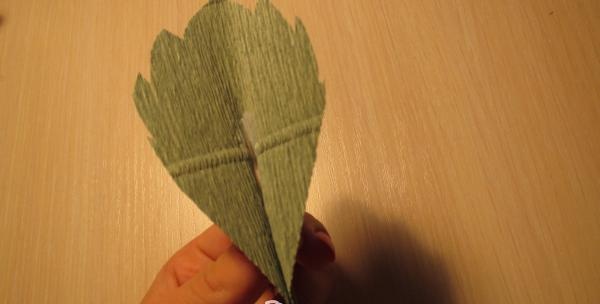
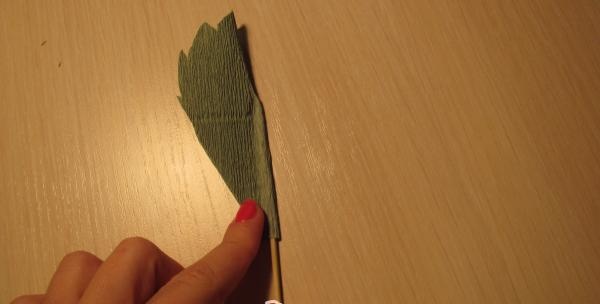
To give our almost finished rose a more natural look, we’ll make a border of petals for it.

let's make a border from petals

let's make a border from petals

let's make a border from petals


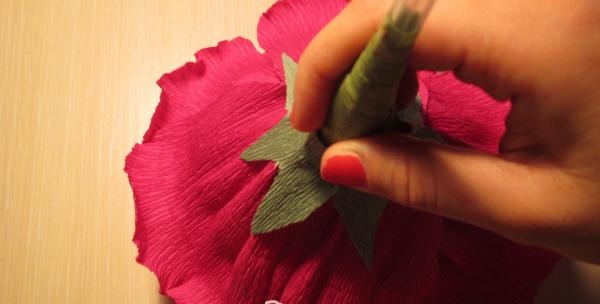
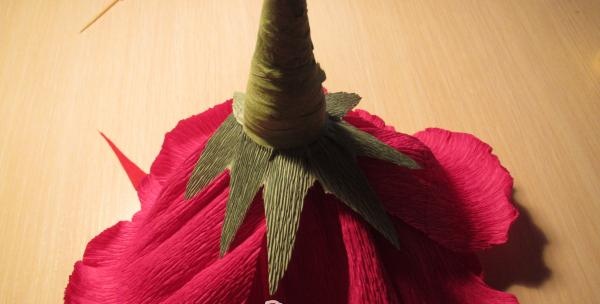
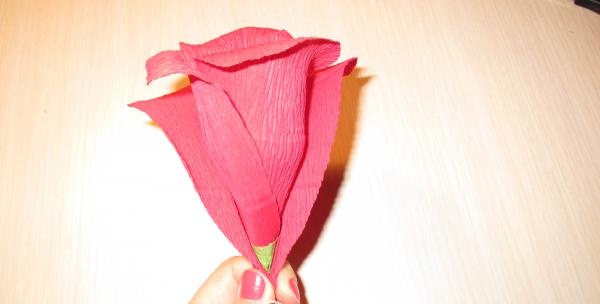
The last details in our rose are the petals. We attach them to the stem and secure them with tape.
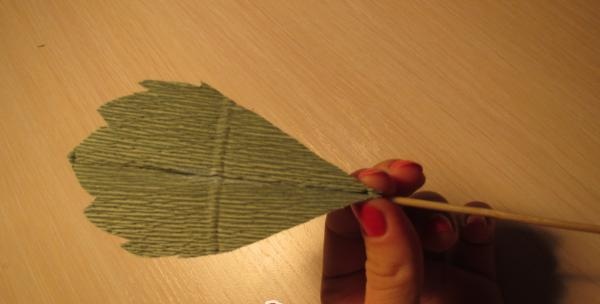
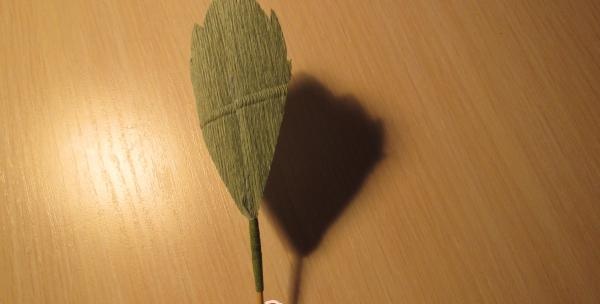
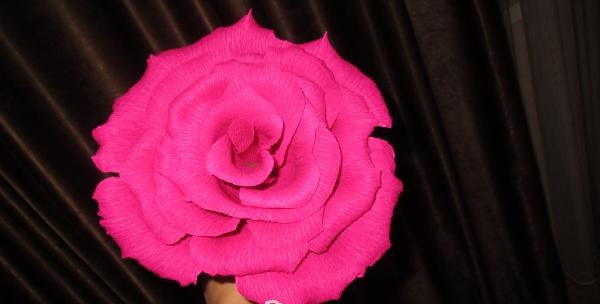
details in our rose petals

details in our rose petals

details in our rose petals

details in our rose petals

details in our rose petals


Our rose is ready!

Our rose is ready

corrugated paper rose


I wish you success in your creative work!
come back
Comment
  • bowtiesmilelaughingblushsmileyrelaxed relaxedsmirk
    heart_eyeskissing_heartkissing_closed_eyesflushedrelievedsatisfiedgrin
    winkstuck_out_tongue_winking_eyestuck_out_tongue_closed_eyesgrinningkissingstuck_out_tonguesleeping
    worriedfrowninganguishedopen_mouthgrimacingconfusedhushed
    expressionlessunamusedsweat_smilesweatdisappointed_relievedwearypassive
    disappointedconfoundedfearfulcold_sweatperseverecrysob
    joyastonishedscreamtired_faceangryragetriumph
    sleepyyummasksunglassesdizzy_faceimpsmiling_imp
    neutral_faceno_mouthinnocent
4 minus one =
Comments (2)
  1. Inna
    #1 Inna Guests December 10, 2013 22:54
    0
    Good job!!!)))
  2. Dina
    #2 Dina Guests April 26, 2015 12:53
    0
    Such beautiful roses) smile And I succeeded)

How to get fresh water | Do it yourself

How to make a compressor receiver from aerosol cans

Simple DIY folding clothes dryer

How to make any bend on a pipe without a pipe bender

«Do it yourself - with your own hands» - a site of interesting homemade products made from scrap materials and items at home. Step-by-step master classes with photos and descriptions, technologies, life hacks - everything a real master or just a craftsman needs for needlework. Crafts of any complexity, a large selection of directions and ideas for creativity.

We recommend reading

Washing machine error codes