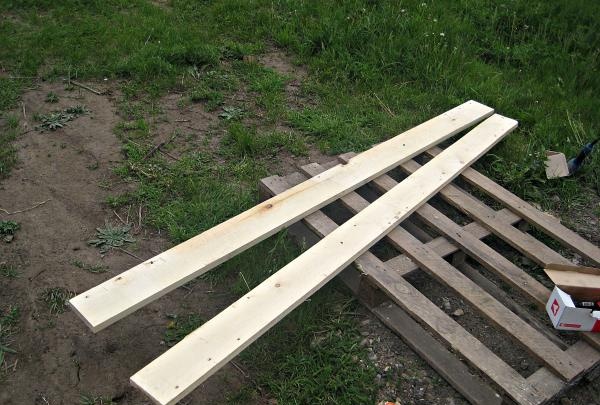
The first step is to collect the shields. To do this, we use an edged shawl.
Using a screwdriver, twist the boards together.
The number of shields depends on the perimeter of the building.
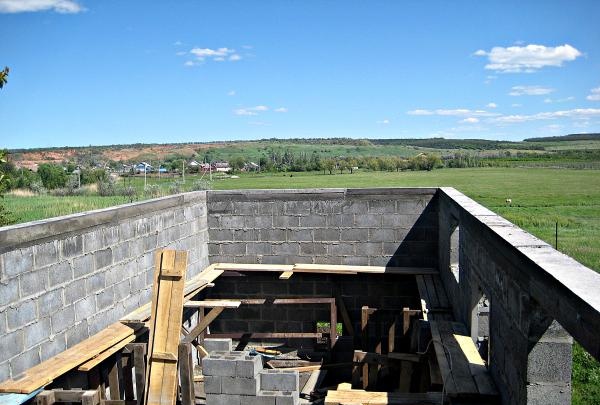
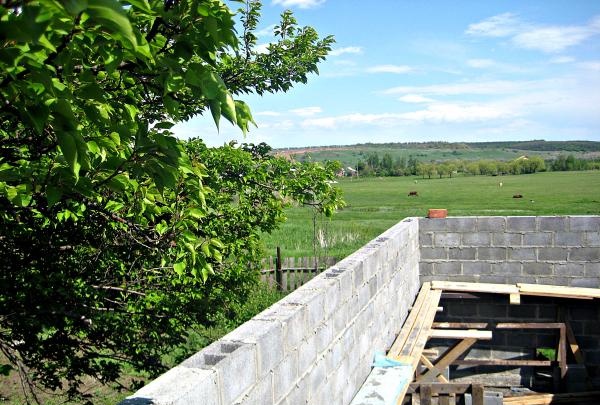
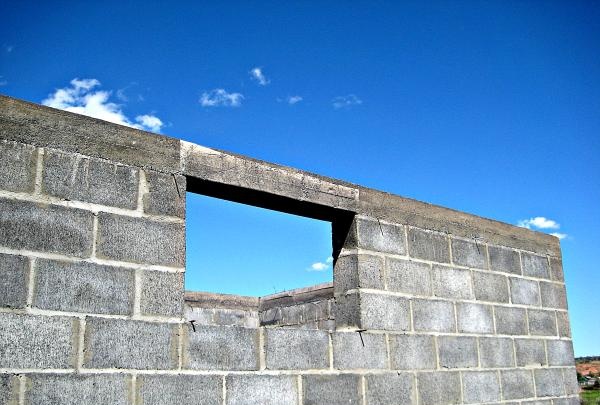
When laying the last row of the wall, we lay the corner blocks with the hollow part up.
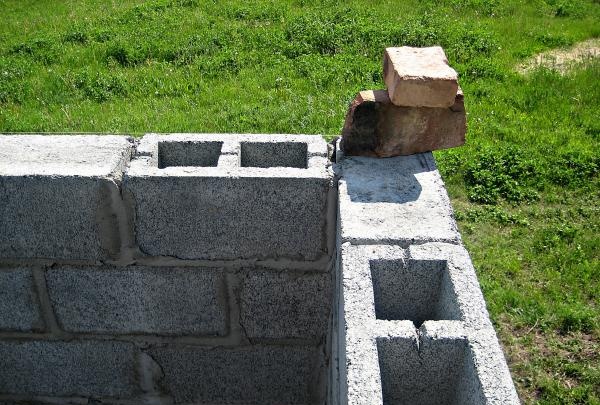
Thus, we install blocks near window openings.
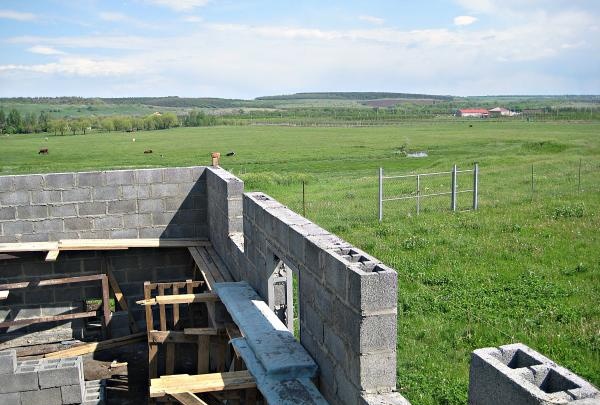
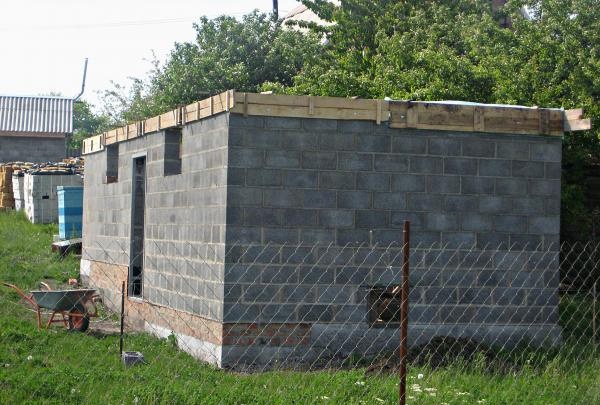
We divide the blank wall into equal sections, but no more than two meters. In this case, we install the blocks with the hollow part up - this will provide the necessary adhesion of the walls, openings and corners with the armored belt.
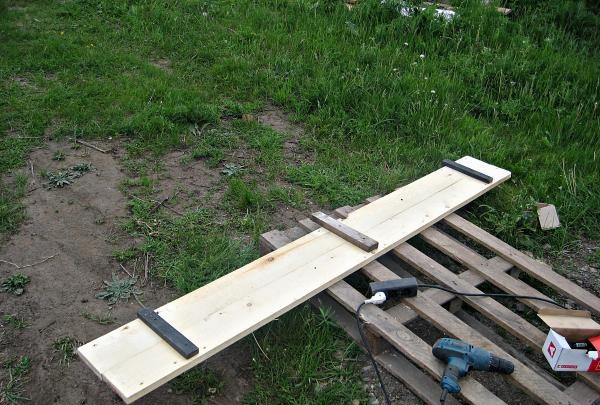
We prepare the studs for connecting the shields to each other.
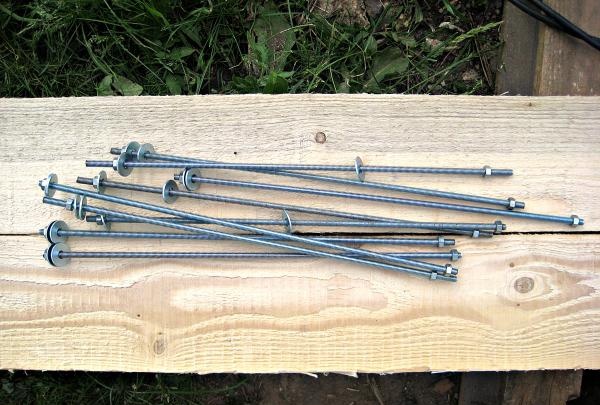
In order for the holes on the boards to coincide with each other, we apply the boards to each other, taking into account the overlap at the corner of the outer side. From the edge of the upper part of the shields at a certain distance (the height of the armored belt), we drill holes along the diameter of the pin and install them in place.

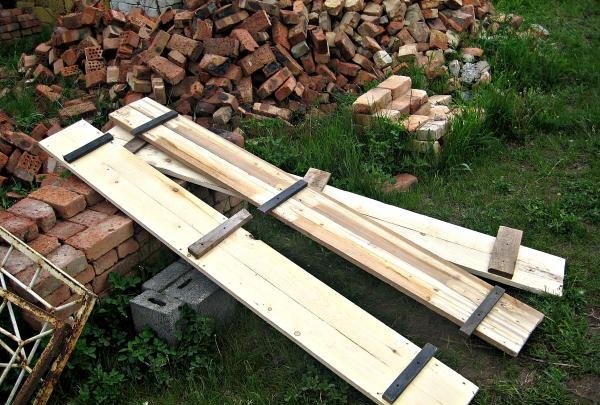
Then we lift the finished shields up and install them on the wall by moving the shields apart from each other.
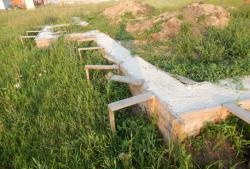
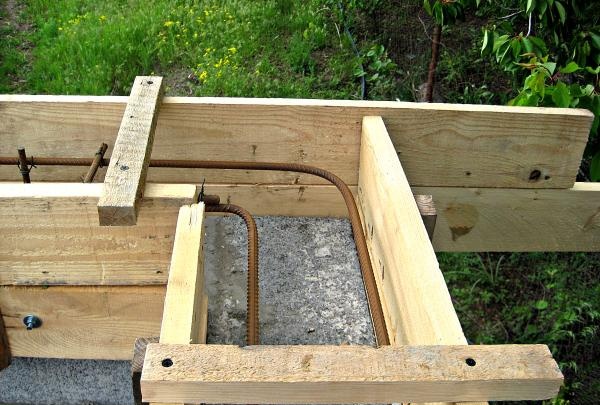
After we have installed the shields along the perimeter of the walls, it is necessary to prepare the future lintel for the window opening. To do this, we screw the shield along the length of our window from below.

To ensure that the solution does not leak into the cracks and that the jumper is level, we cover the area of the jumper with polyethylene, securing it with a stapler.
When the boards are in place, the window openings are ready, we prepare the fittings. To do this, you will need a pipe with a diameter larger than the fittings.
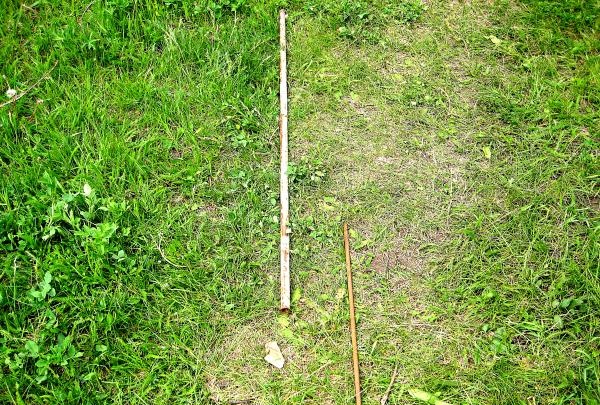
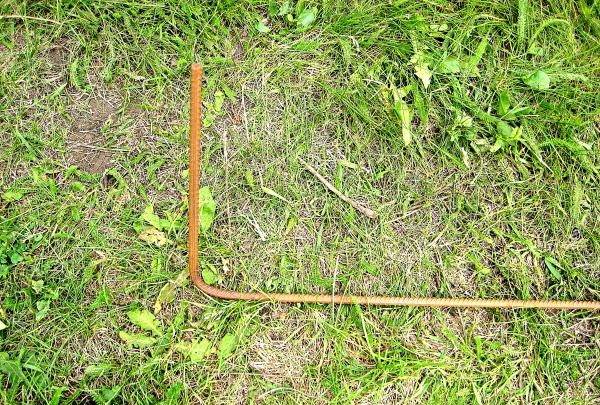
In the area of corners, the reinforcement should bend in accordance with the corners of the walls. To do this, insert the reinforcement into the pipe and bend it at the desired angle.

As a result, we get reinforcement bent at the desired angle.
We install supporting pieces of reinforcement into the holes of the inverted blocks.
After everything is prepared, we tie the reinforcement.
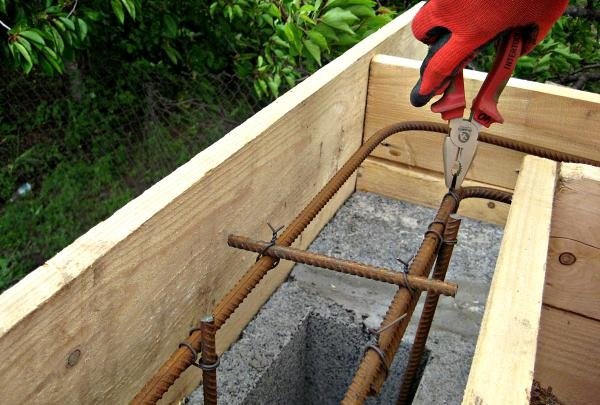
We tie the reinforcement together, fulfilling the following requirement: the overlap of the reinforcement must be at least 30 times the diameter of the reinforcement itself.
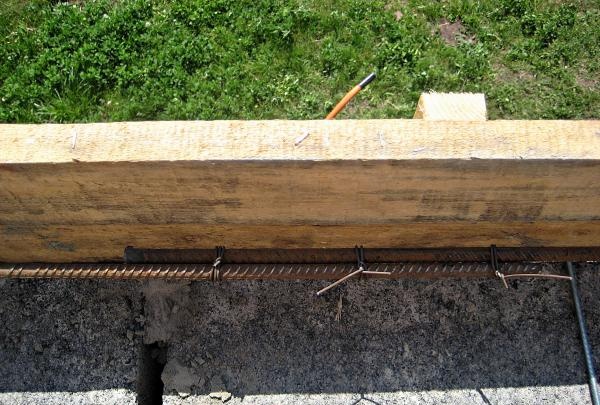
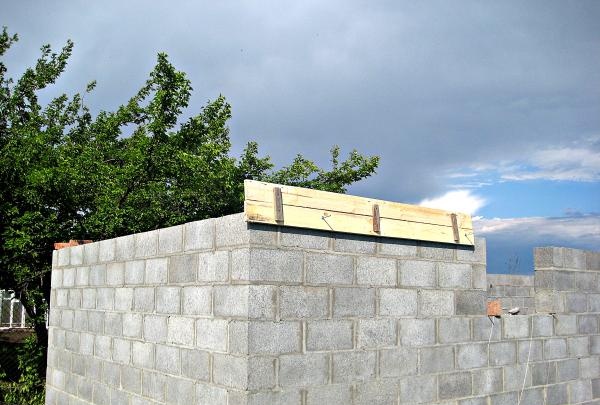
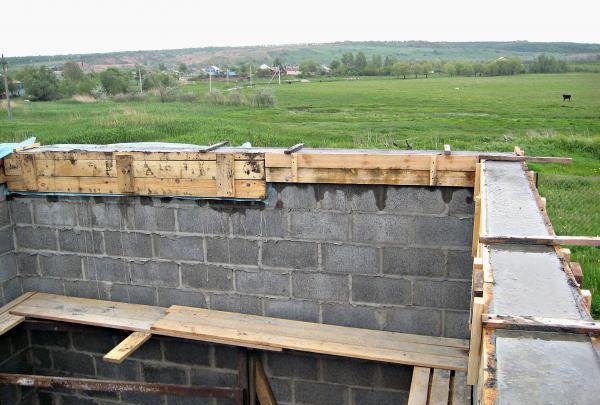
After tying the reinforcement, we level the upper part of the armored belt formwork. To do this, we screw the jumpers to the top of the shields.
The corners are secured with jumpers in close proximity to the corner.
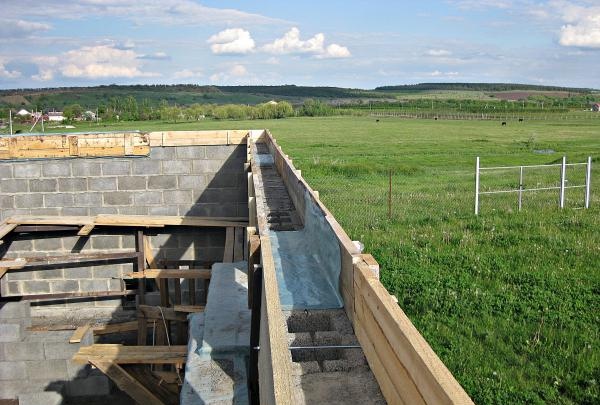
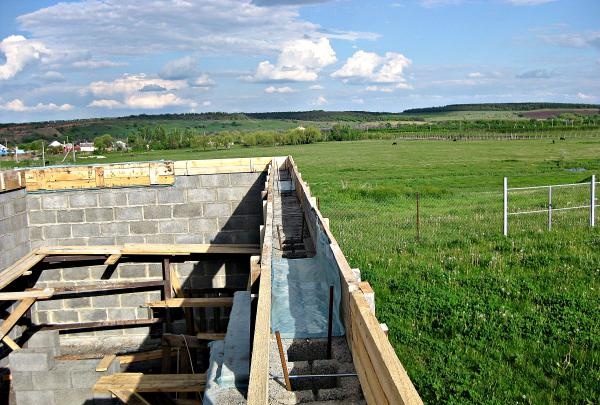
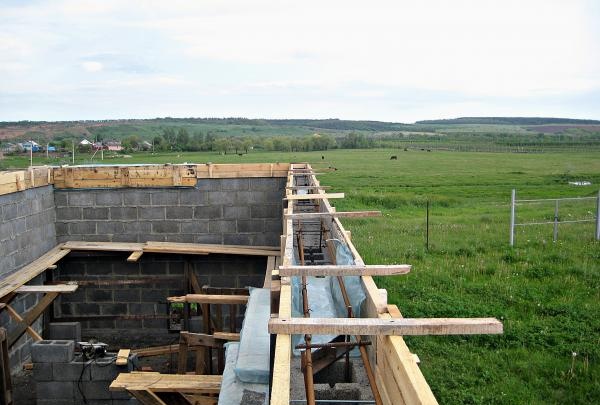
The armored belt formwork is ready for pouring.
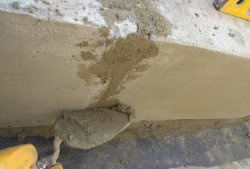
We fill the armored belt with slag-cement mortar.
After two days we remove the formwork.
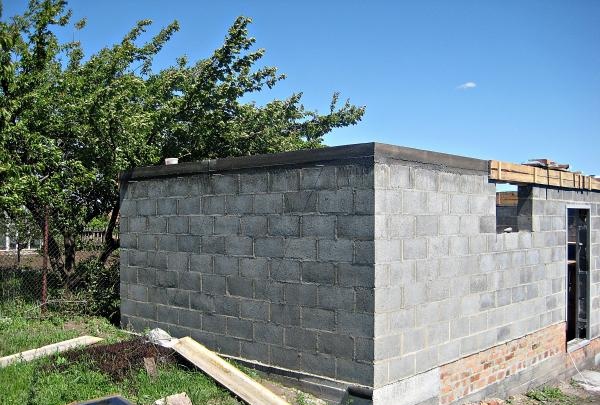
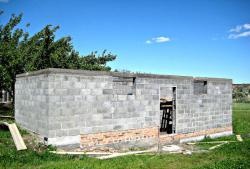
This is what the finished lintel above the window looks like, which at the same time serves as an armored belt:
This is what the finished arm belt looks like: