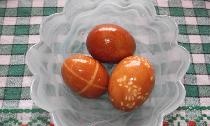
I won’t go into history to remind you who was the first to paint an egg and when. There is a legend that it painted itself. The tradition of painting eggs comes from ancient times, and we will probably never know its true origin. Initially, eggs were painted only red, symbolizing the blood of Christ, but over time they became the subject of folk art and gained popularity as a type of handicraft. They began to be decorated in a variety of ways and painted in a variety of colors.
Today I want to present my method of making Easter eggs. It is simple and does not require any special material costs.
Will need
To make these holiday eggs, I will need:
- - empty eggshell,
- - paper napkins of different colors,
- - PVA glue,
- - brush,
- - hole puncher,
- - colored paper,
- - water-based acrylic varnish,
- - paints (optional).
Making an Easter egg
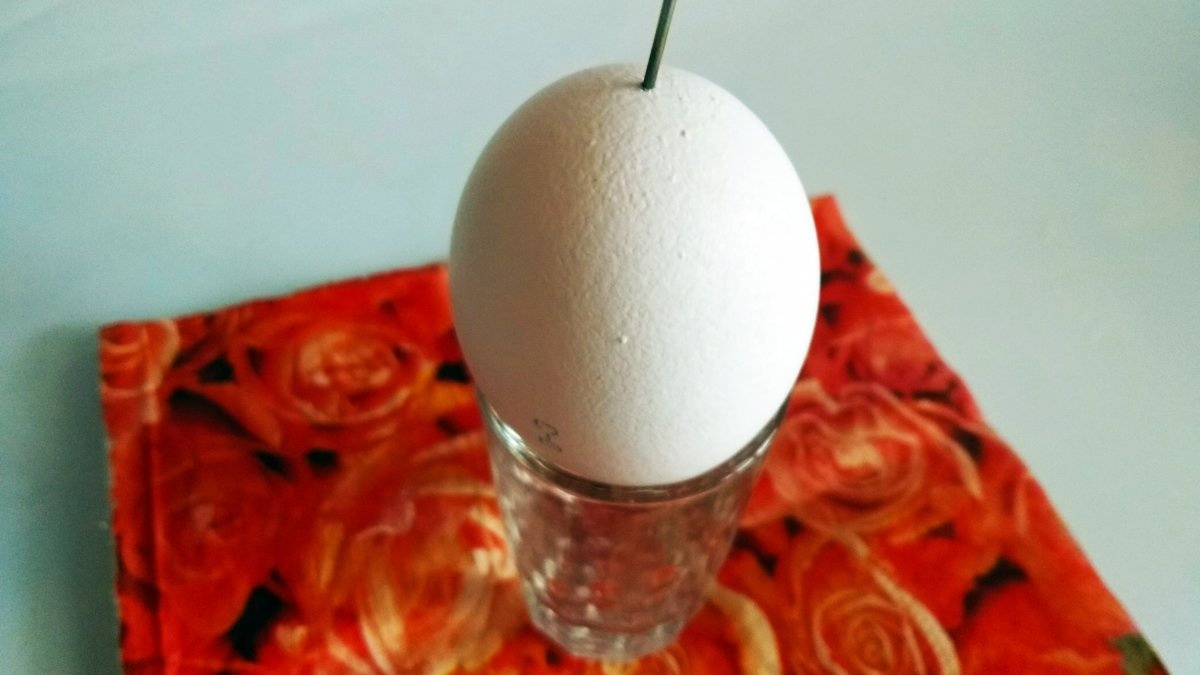
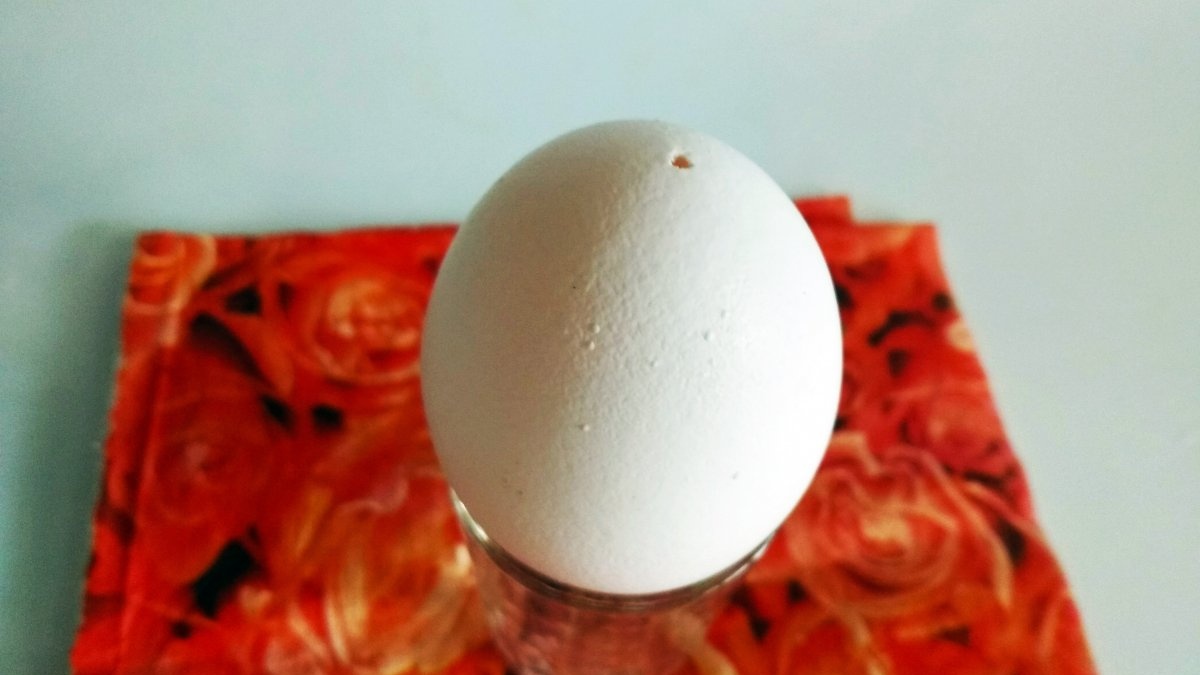
First we need to get the basis for our product.
I pierce a fresh egg at two opposite ends with a thick needle and blow out the yolk and white from it. Of course, in clean dishes, so that later it can be used for food. Then, through the same holes (they can be slightly widened), I thoroughly rinse the inside of the shell.
I dry the washed shells slowly on a radiator. You can dry it in any way, for example, with a hairdryer. The main thing is to dry thoroughly.

At this time, I take napkins out of the pack.
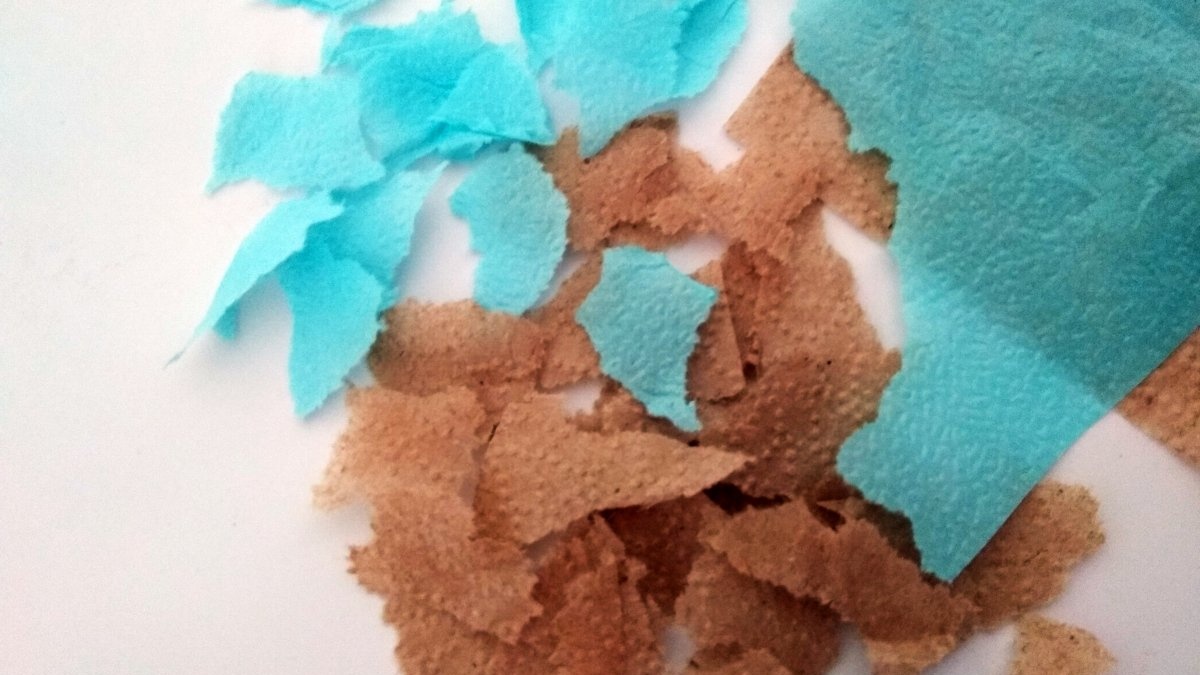
I tear them into small pieces. You can, of course, cut it with scissors, but this is not suitable for every execution technique. For the one we will talk about today, it is quite possible to use scissors.
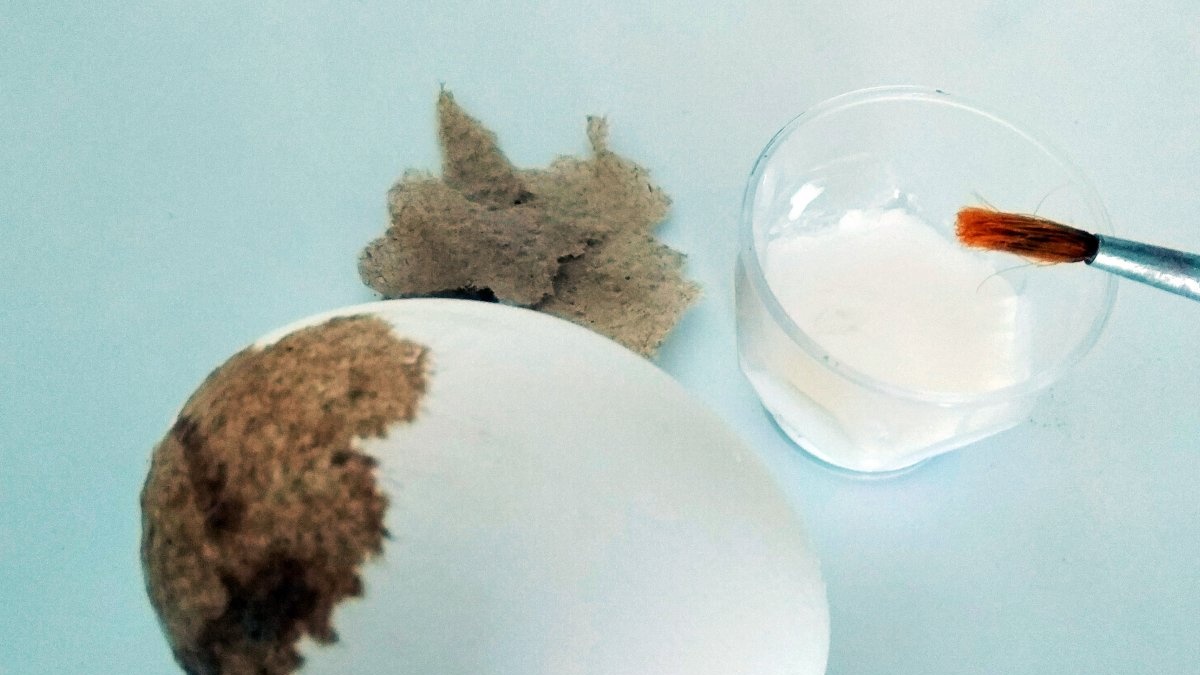
I pour PVA glue into a small container, take a small brush, dried shells, chopped paper and start gluing it onto the egg using the technique papier mache.

The first layer of paper is beige. I cover the shell completely with it, starting with the holes. There is no need to pick up scraps of paper; they can easily be transferred from the table to the egg with a brush. They stick to her.
The first layer of paper, as well as the subsequent ones, must dry.

I glue a second layer of napkin of a different color. I have blue. I change the color in order to prevent omissions or, conversely, repetitions in one place. Next, I paste the beige paper again, and blue paper on it. And so on several more times. Our egg eventually gains strength. You can safely drop it, you can roll it around (there is such an Easter game).
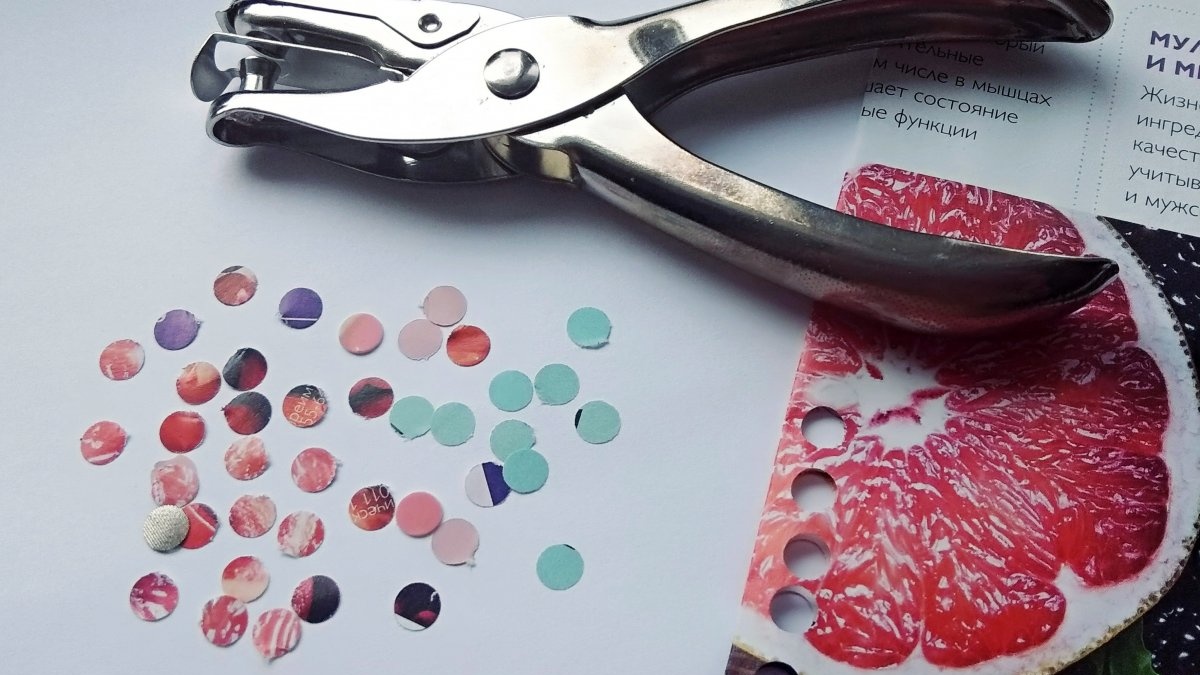
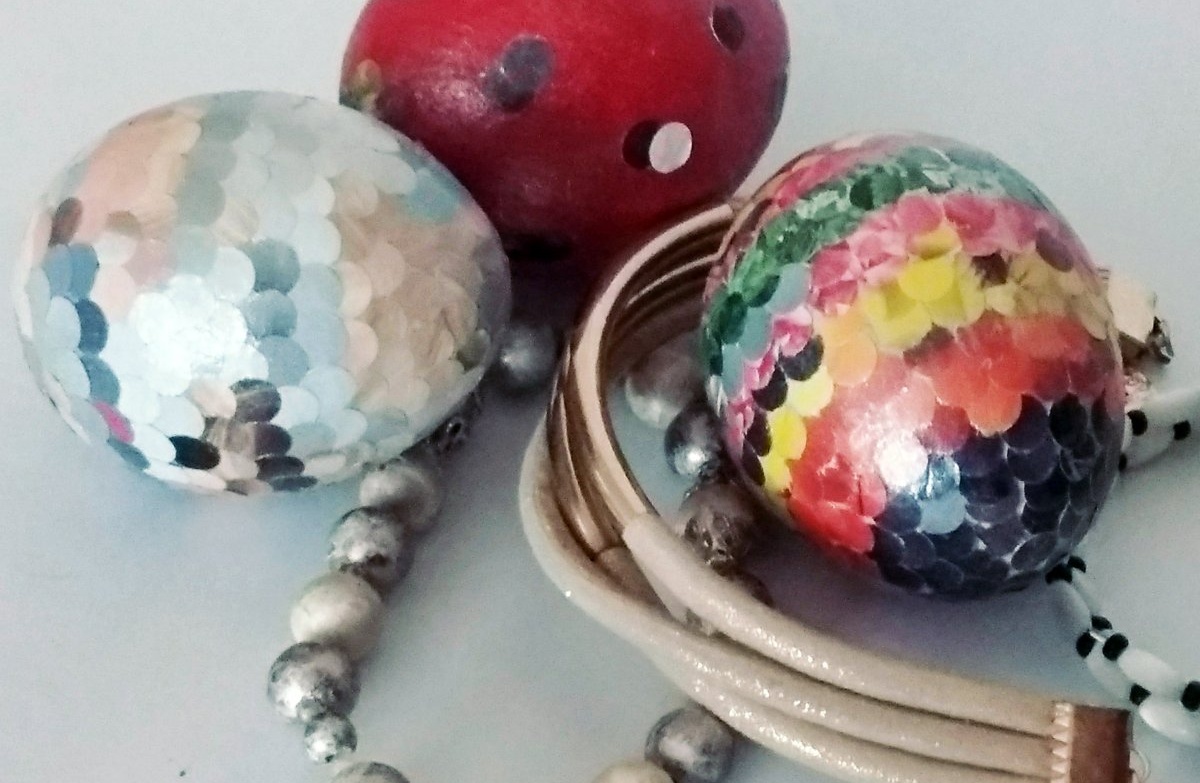
Now I start making the scales. For this I take colored paper. For me these are usually bright glossy or matte sheets from advertising brochures. I use a hole puncher to punch out holes according to the colors. And what remains is the material I need - round pieces of paper.
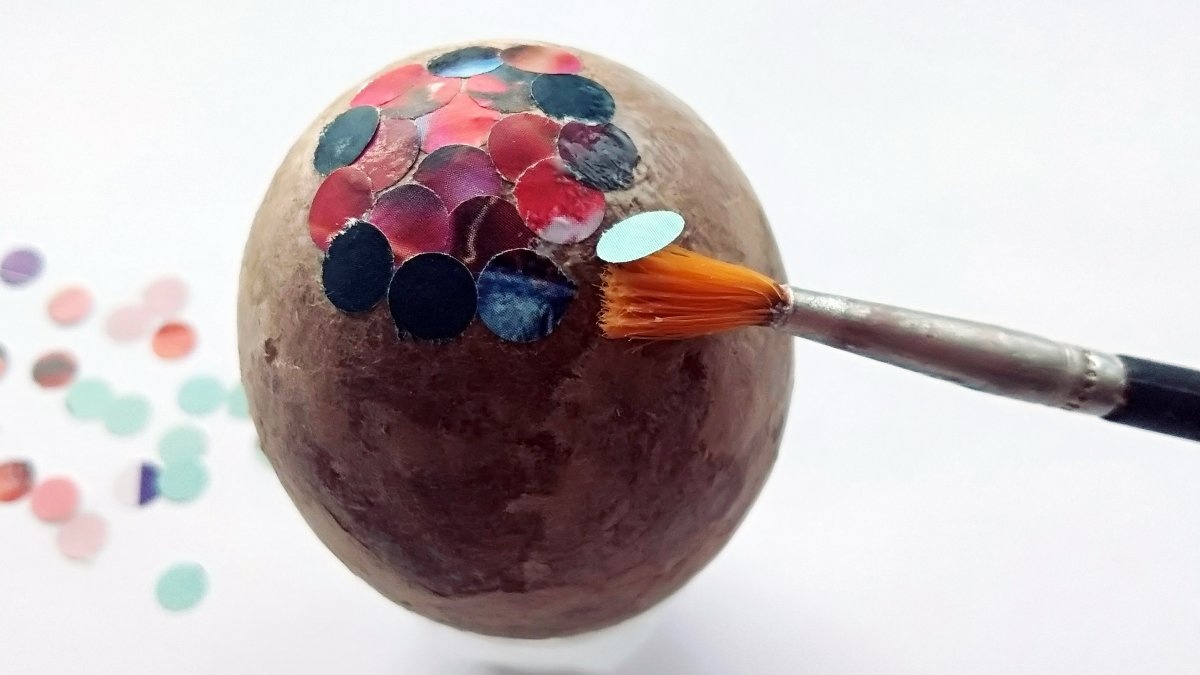
I glue the circles onto the egg using a brush and PVA glue. They should slightly “run into” each other, ultimately the egg looks like it has scales.

For further decoration I will need acrylic varnish and paint that gives a silver shine to the product.
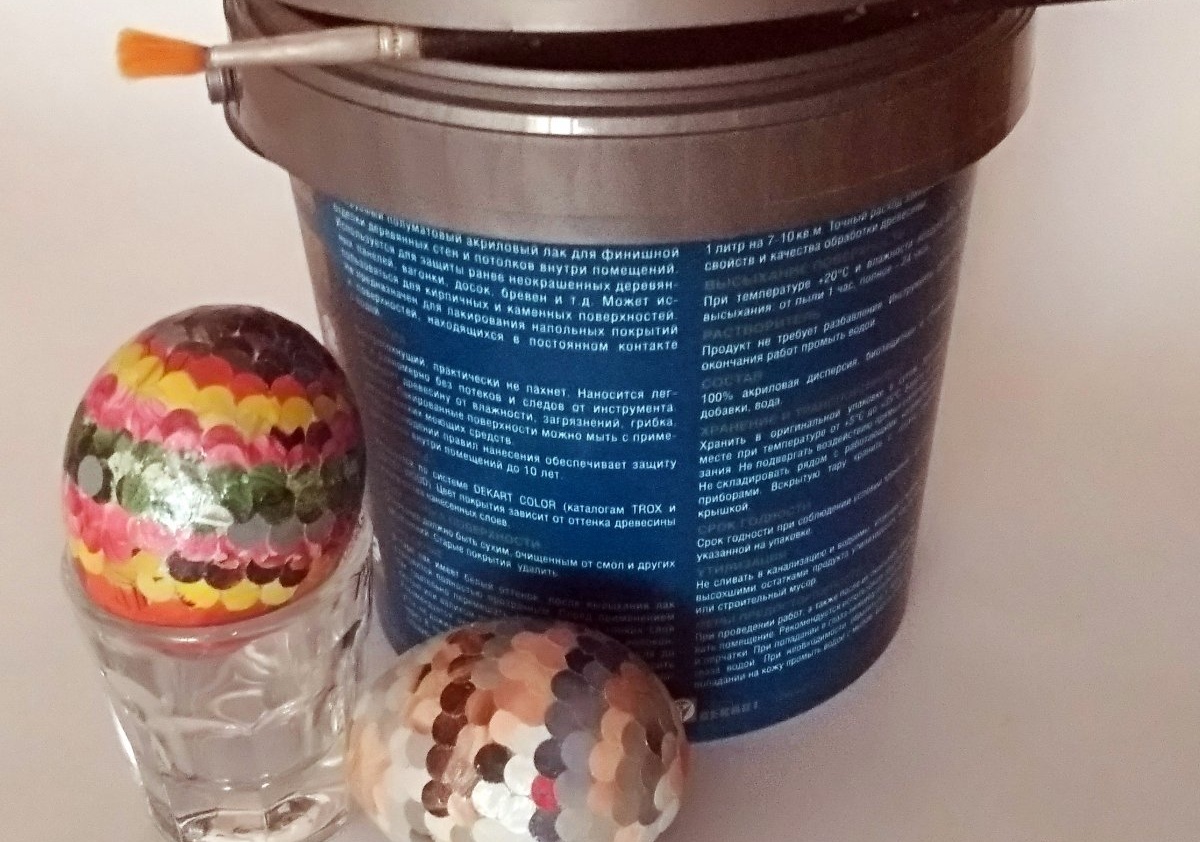
I cover the egg with a layer of acrylic varnish. I sushi. If you do not further apply a coating of silver paint to add shine to the egg, then you can simply apply several layers of acrylic varnish, naturally, with intermediate drying. The shine effect will be no worse than with special paint.

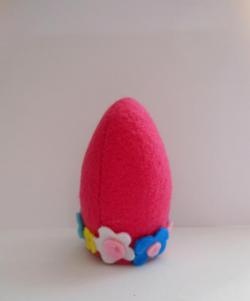
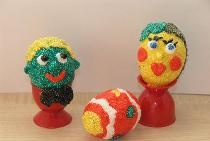
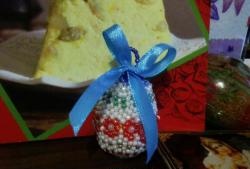
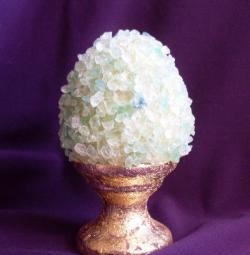
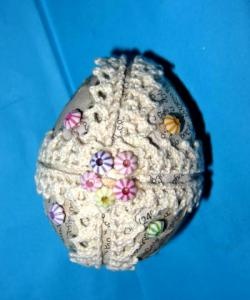
Using a technique that I would call gluing scales, you can make a wide variety of Easter egg models.
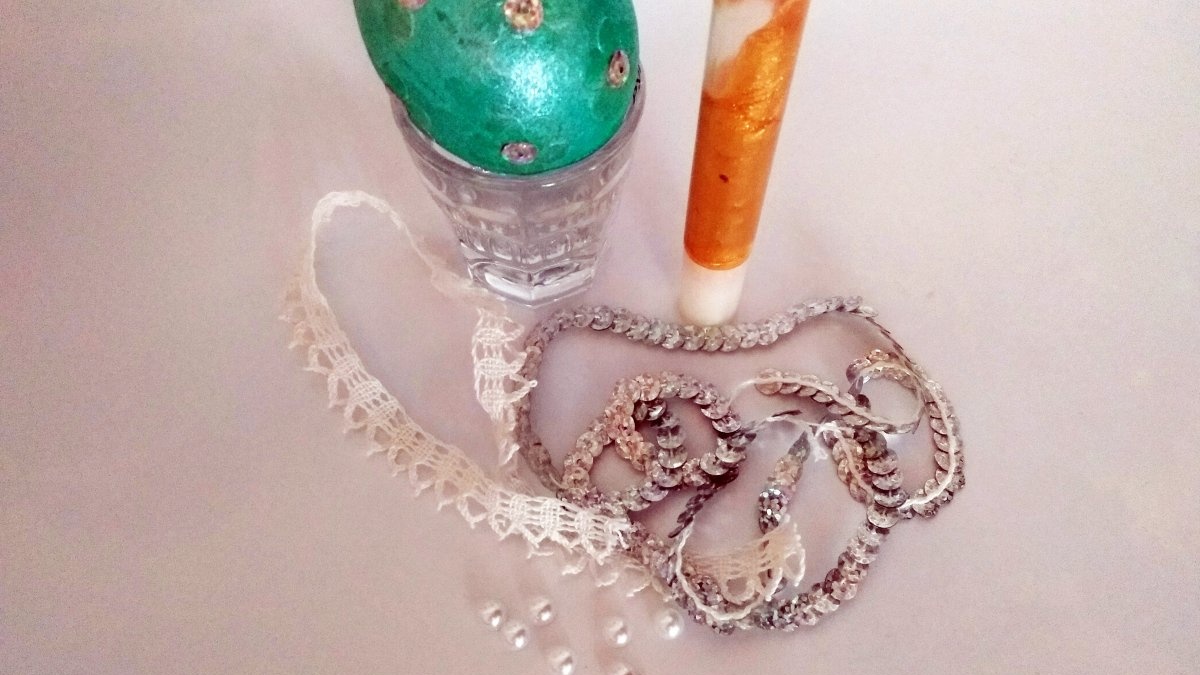
To do this, I use (and recommend to everyone) paints, sequins, lace, half-beads, braid, beads and much more that are lying around in the boxes of needlewomen and are waiting in the wings.

This is how in a short time, without much expense or effort, you can make many beautiful Easter eggs for yourself, your loved ones and friends.
Good luck to everyone in this exciting endeavor!