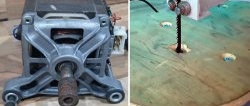
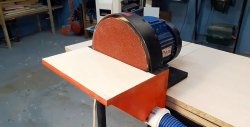
The motor from a washing machine can be used to make a small, compact belt sander. The power of such a drive is quite enough for the homemade product to turn out no worse than a purchased grinder. This is truly a real machine, the production of which will not be wasted time.

Materials:
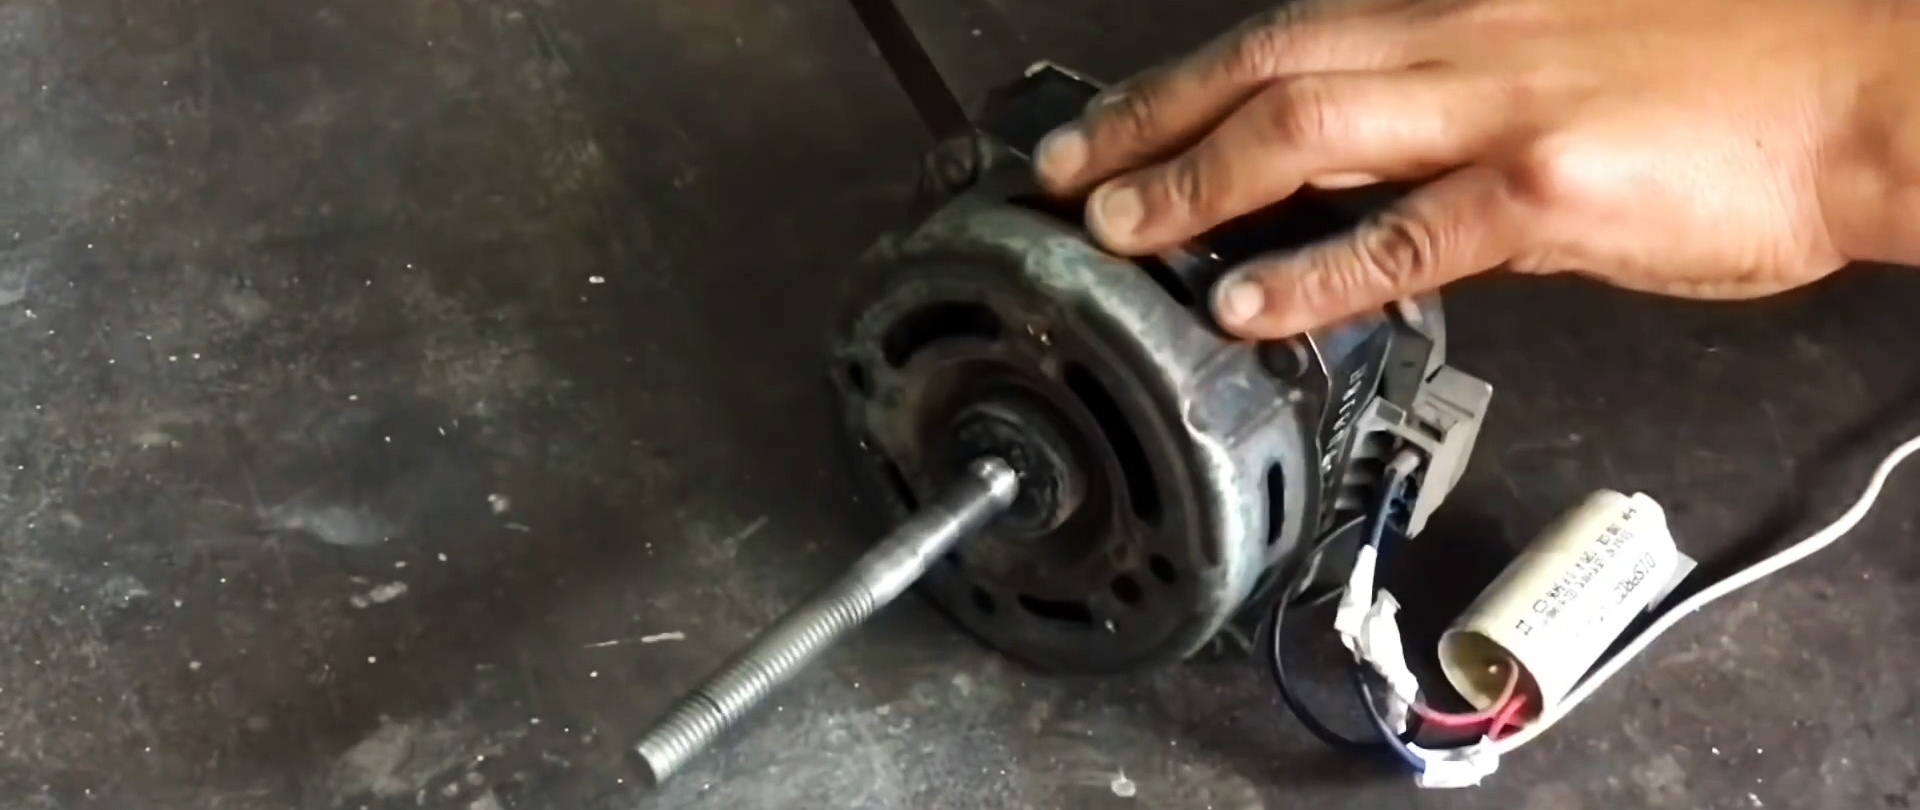
- Washing machine motor;
- plywood 20 mm;
- pipe 40-50 mm;
- bearings – 2 pcs.;
- spring;
- bolts, nuts;
- plywood;
- corner 20x20 mm;
- sheet steel 3 mm;
- steel strip 30-40 mm.
Grinding machine manufacturing process
The first step is to increase the washing machine motor shaft. It is enough to simply weld a piece of thread to it.

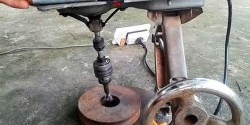
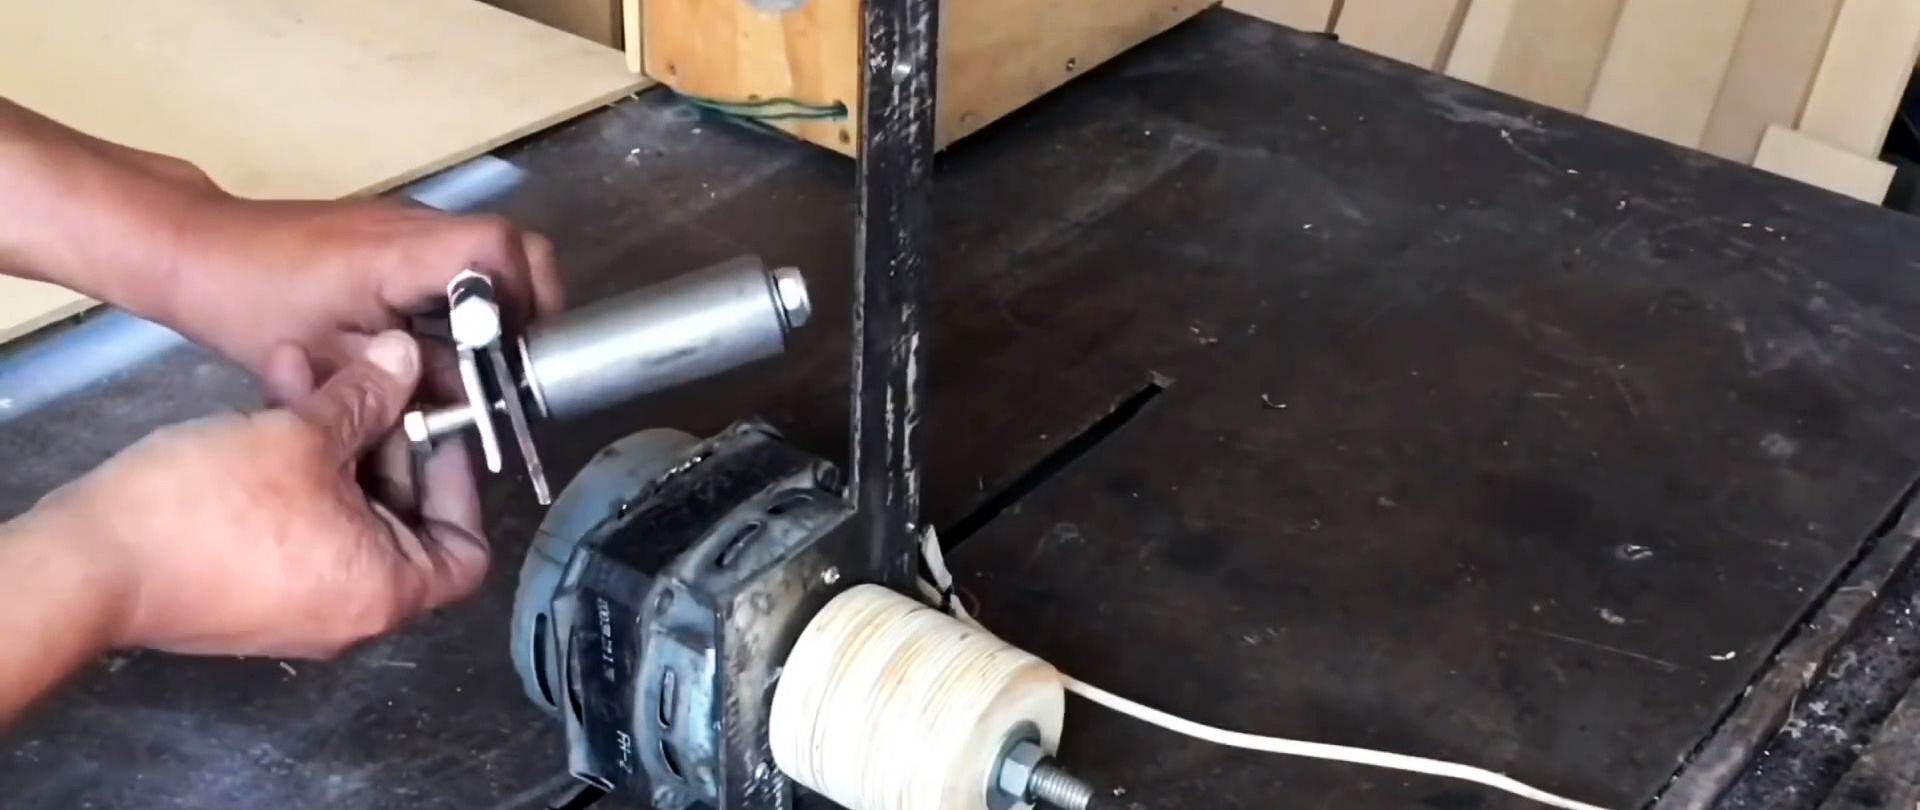
Next, you need to make the drive roller of the machine. To do this, several disks are cut out of plywood in order to put them together to obtain a roller of the required width for the selected tape. The blanks are glued together. Then, after the glue has dried, the roller can be put on the extended motor shaft and ground on it.


The driven roller is made a little more complicated.It is necessary to prepare a piece of pipe with a diameter of 40-50 mm, equal in width to the drive roller. A wooden sleeve is glued into it. It is pre-drilled. It is important that the length of the sleeve is shorter than the tube. This will allow you to press it into the bearing from the sides.


An H-shaped frame for rollers is welded from the strip. It needs to be drilled in order to bolt it to the engine.
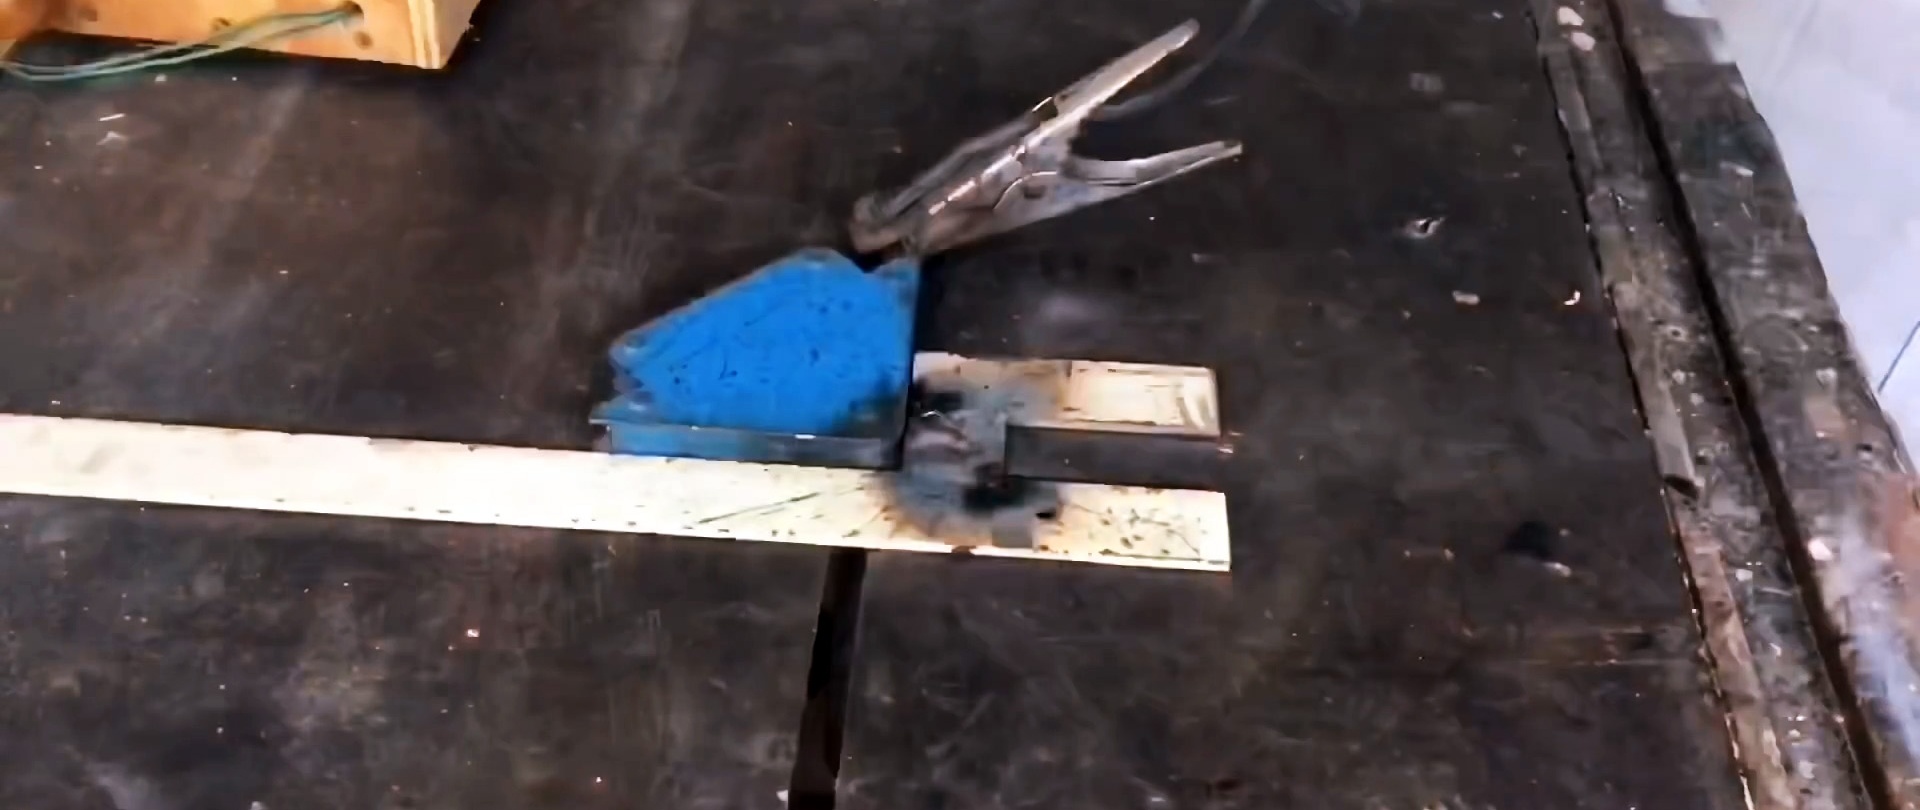

Now we need to make a mount for the driven roller with a tension mechanism. To do this, you need to cut 2 blanks from the strip. One is made approximately 50 mm long, and the second 10 mm. They are folded together at right angles through a spacer made of a thin washer. Then a tube is welded to them, but only along its edges.

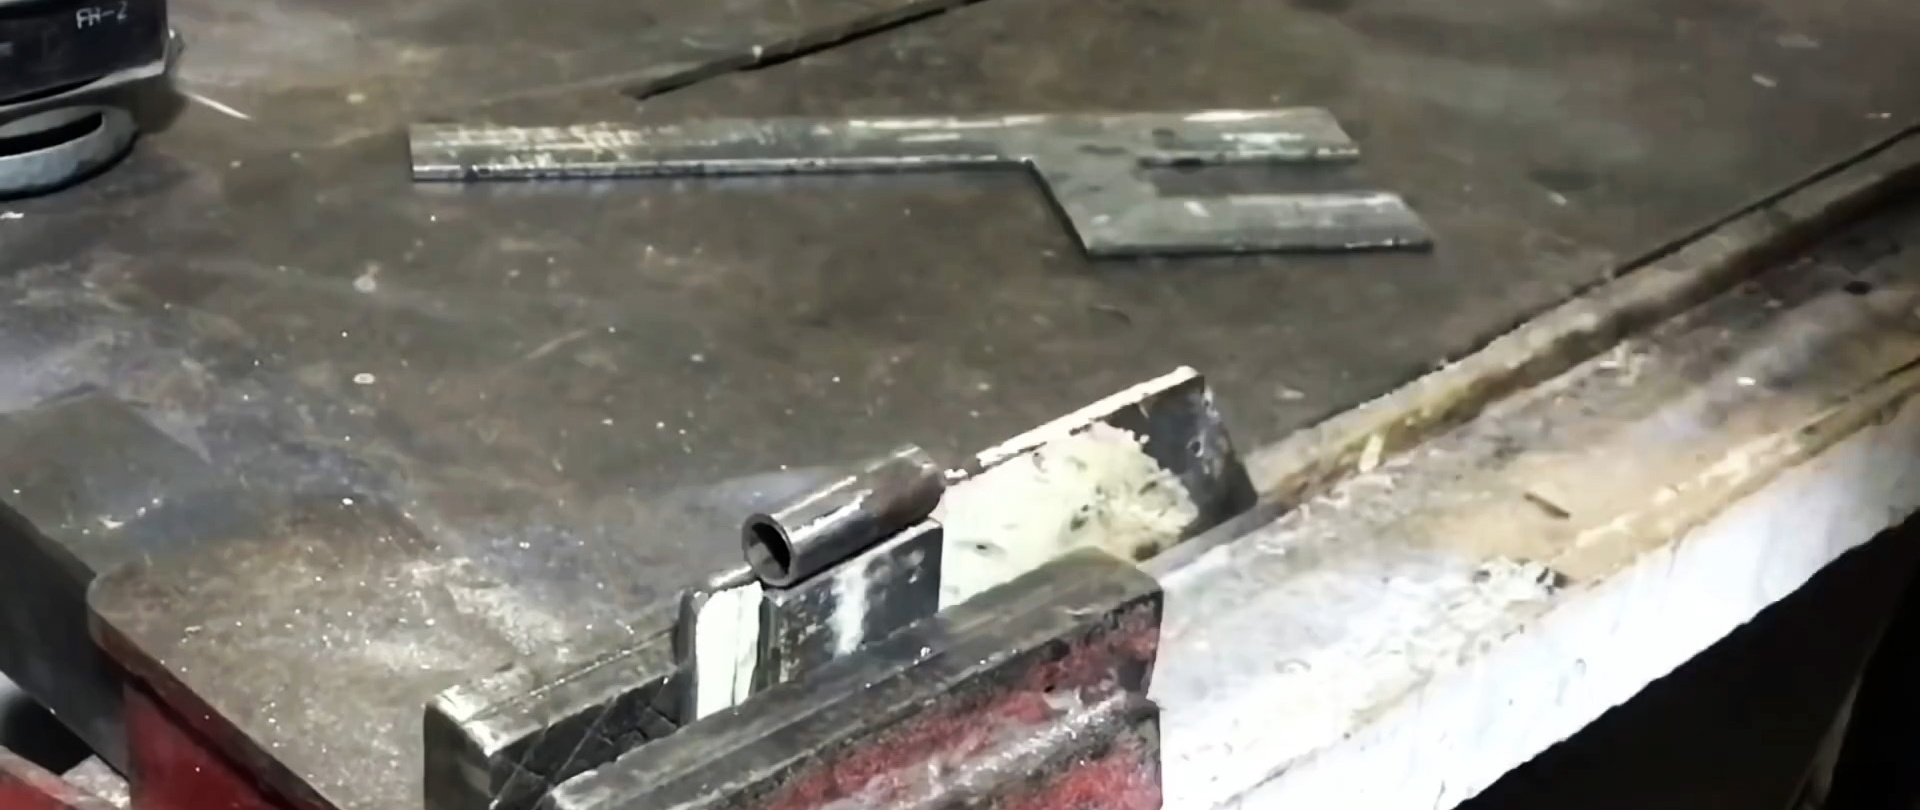
By cutting the tube in half after welding, you can get something like a door hinge. A hole is drilled in its short part, and a pin is welded into it, which will serve as the axis of rotation for the driven roller.

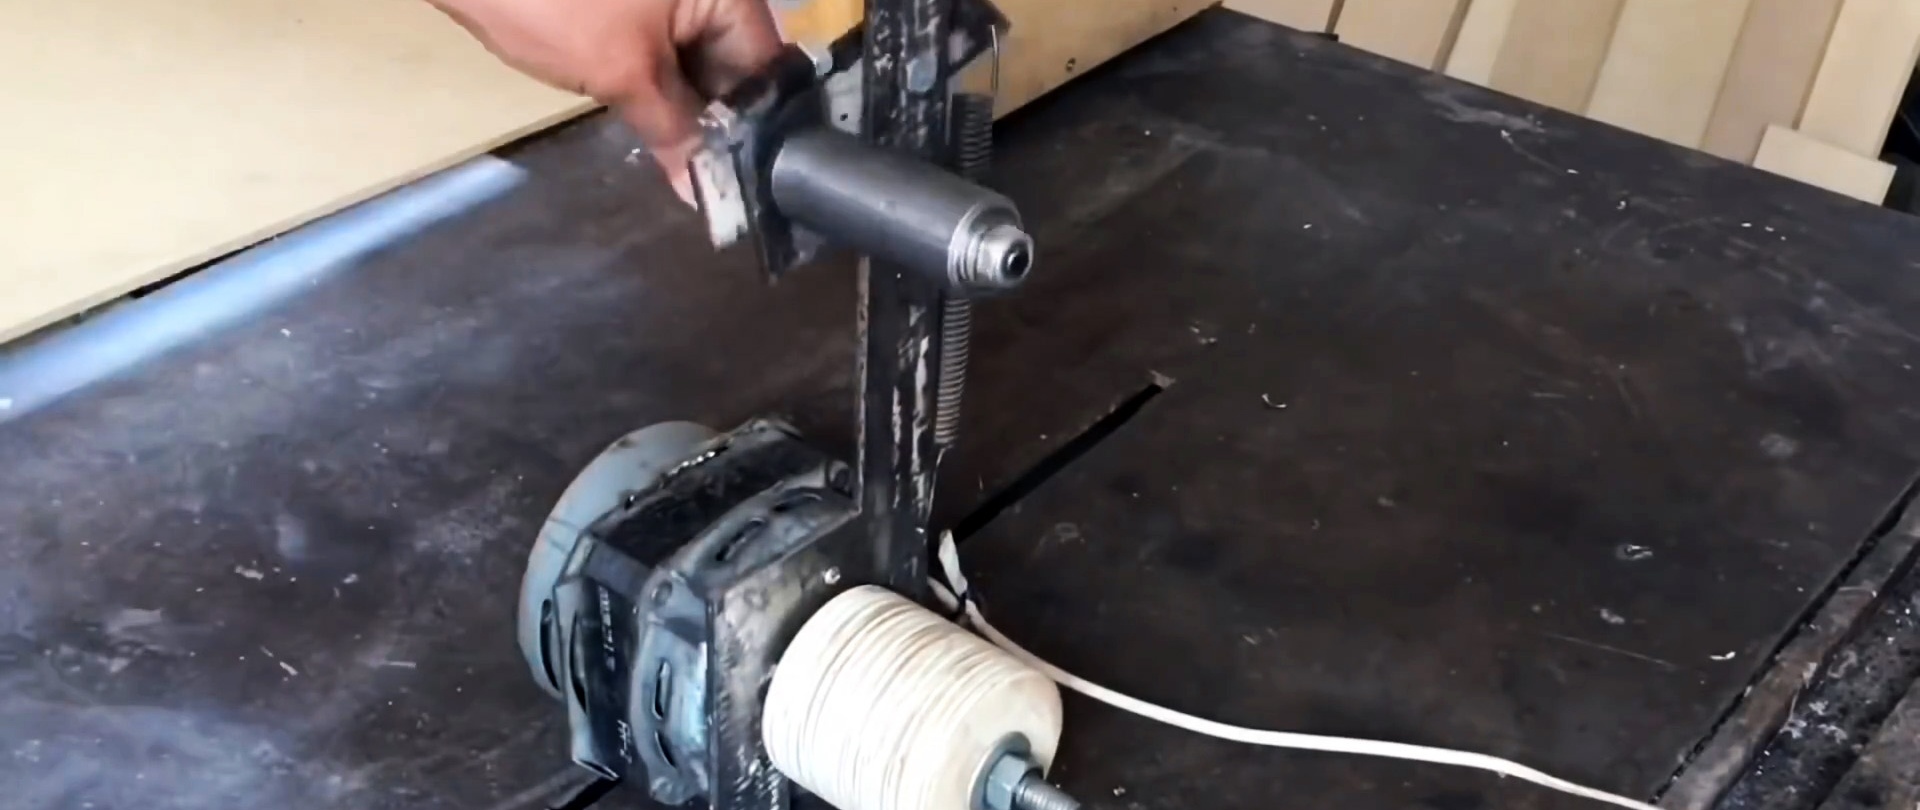
The hinge elements are connected to each other with a bolt. Then you need to drill 2 holes in the long part of the mechanism. One is done almost at the edge, the second opposite the small sash. The latter is threaded. You will also need to drill through the h-frame at the top to attach the adjustment mechanism to it.
Now the mechanism is installed on the frame. A spring is pulled onto it from the edge to tighten the driven roller, then the tape can be tensioned. By screwing the bolt into the hole opposite the small flap of the mechanism, you can adjust the tilt of the roller, thereby adjusting the belt.
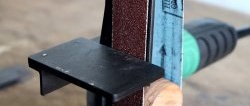
A support platform for the sanding belt is welded from strip and sheet steel. You need to make grooves in its legs in order to screw the platform to the frame, and use them to adjust the pressure to the tensioned tape.


Then you will need to drill the frame itself to mount the support platform.The resulting holes are threaded.
To secure the machine, corners are welded to the frame. This will allow you to screw it to a plywood base or tabletop.


Finally, you need to cut out the sole of the machine from plywood in order to attach the bed to it. A square stand is also made from plywood for an L-shaped sanding table, which is cut from sheet steel. The parts are then painted and assembled.

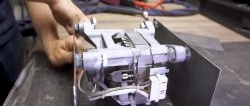
First, the frame is screwed onto the sole, and the table stand is attached to its corner on the side. Then we install the engine, belt tension mechanism and rollers. The belt support and sanding table are screwed together.


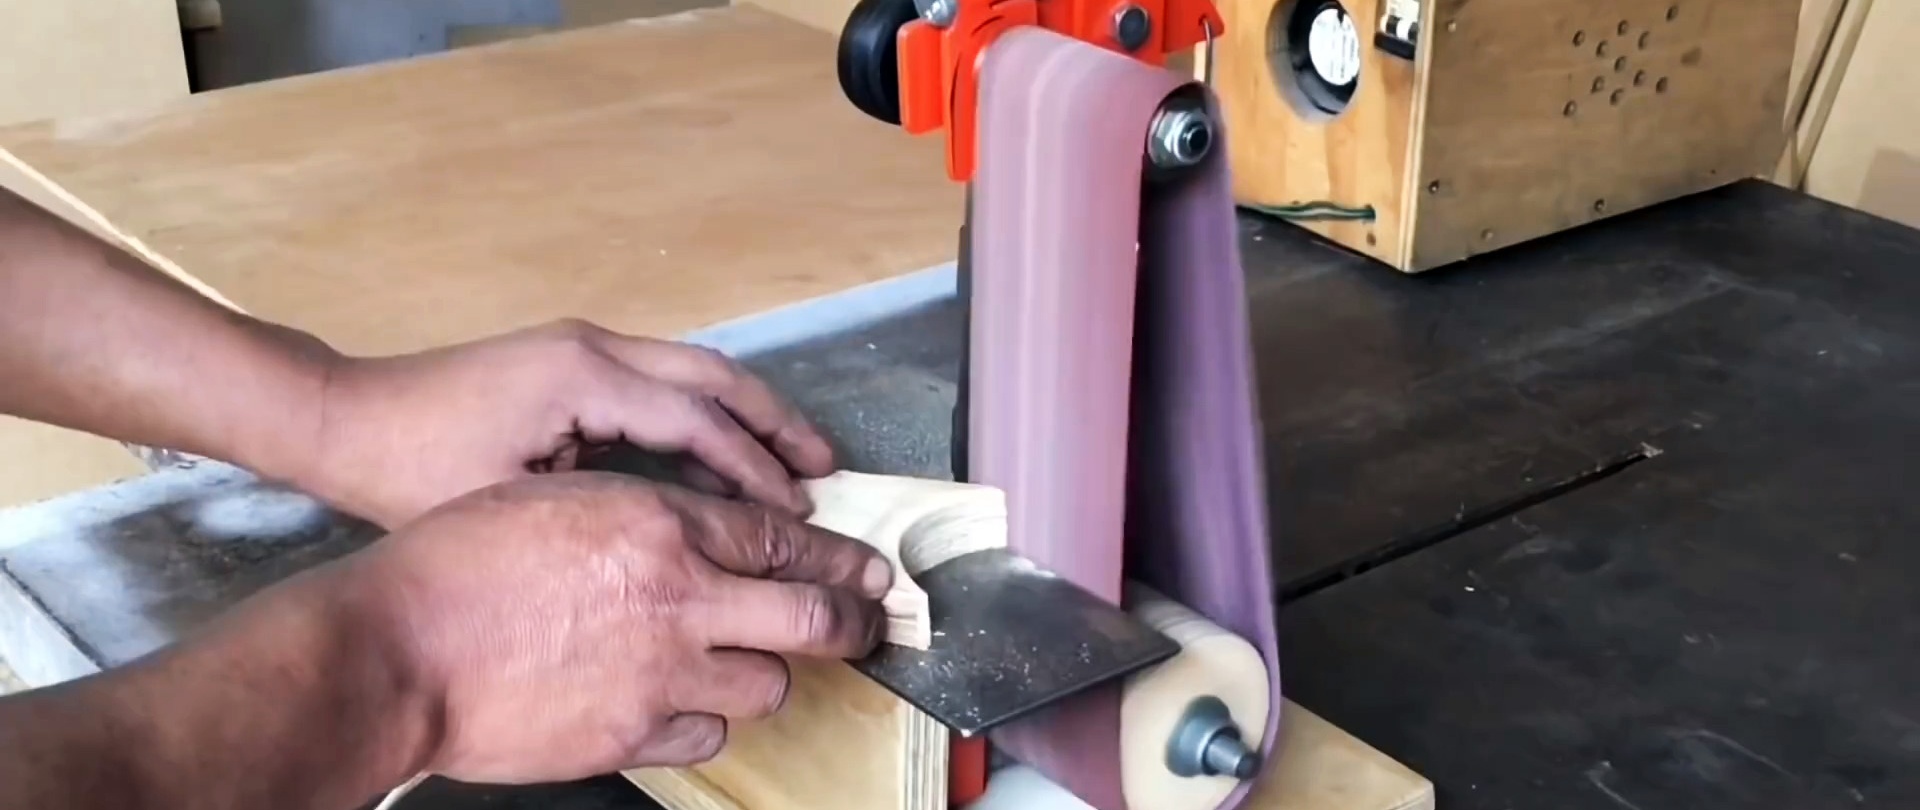
Then all that remains is to install the tape and supply power to the engine through the button.