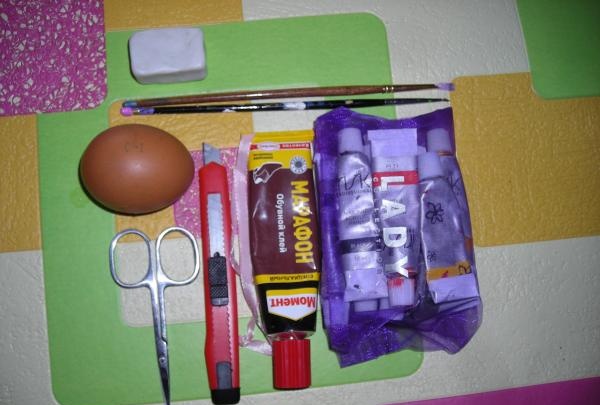
We will need an ordinary chicken egg, paints (it is better to take acrylic), some polymer clay of any color, glue, brushes, a small piece of satin ribbon, a stationery knife and scissors.
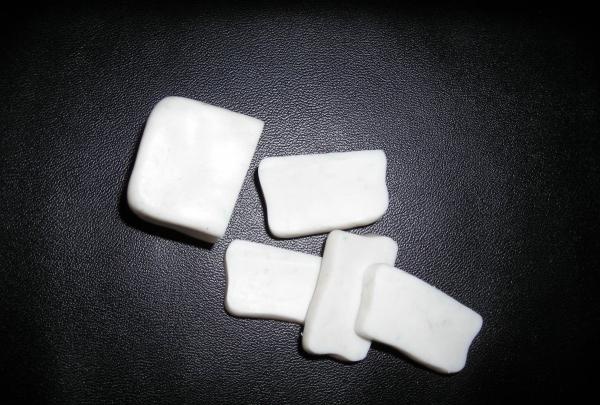
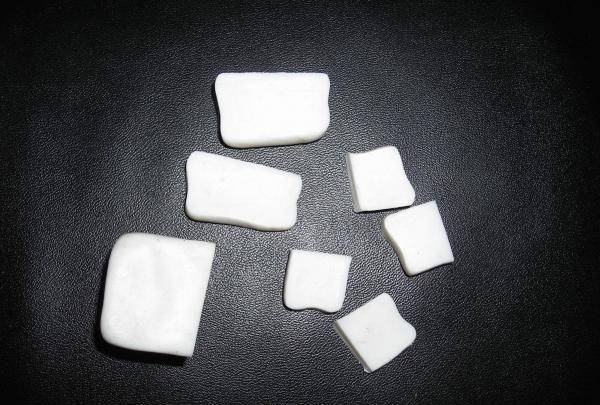
Clay is a naughty material, unlike plasticine; it must not only be warmed under your fingers, but also kneaded thoroughly, only after that it can be worked with. And the smaller the piece, the easier it will be to knead it. Therefore, we cut the clay into small pieces, knead each one and roll into balls. From them it will be possible to make blanks for future flowers.
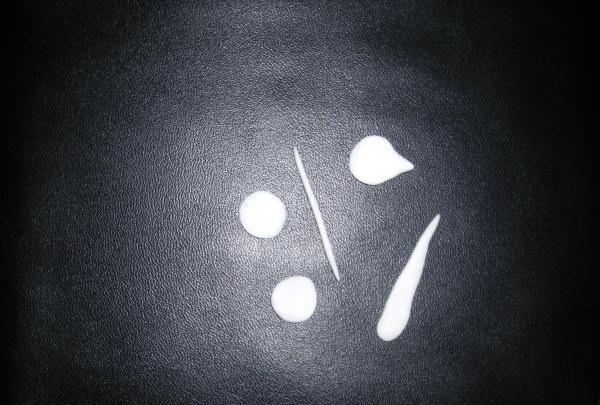
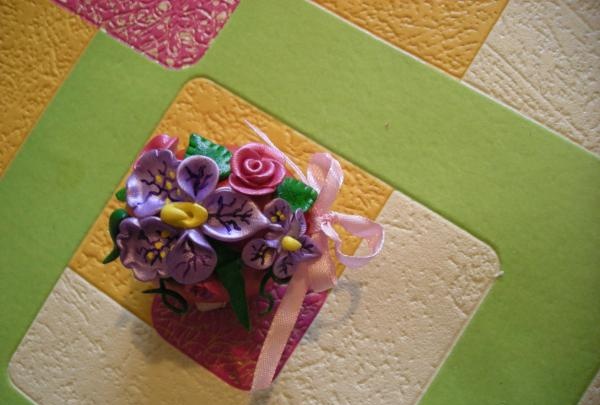
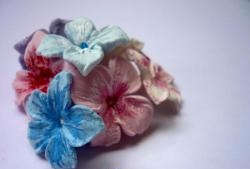
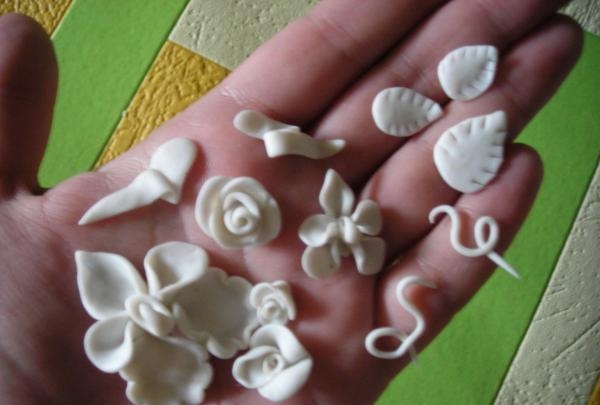
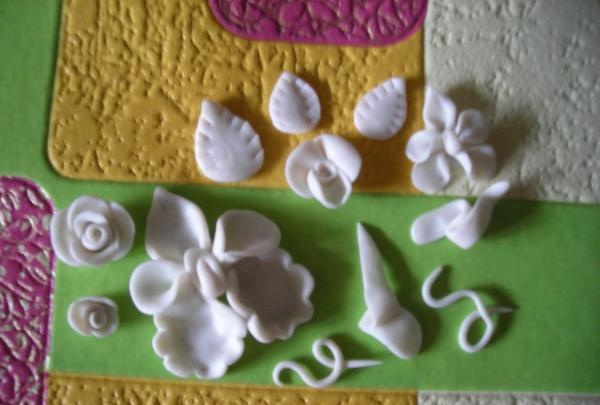
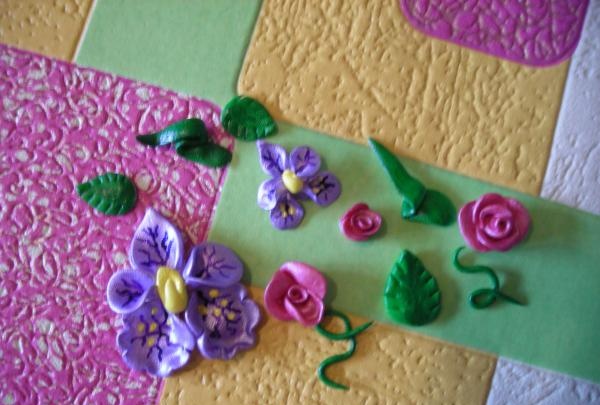
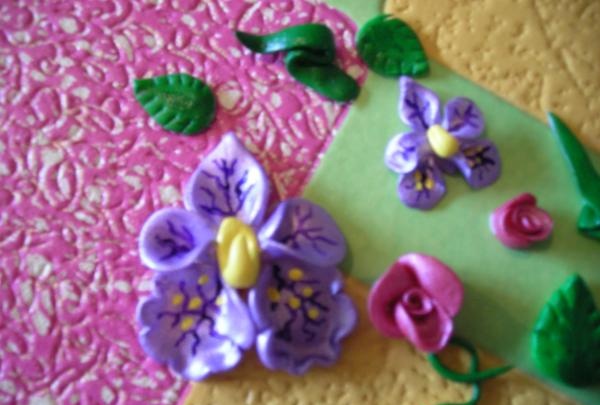
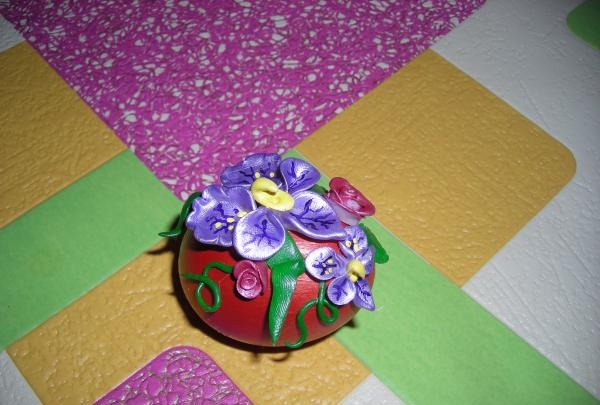
Having teardrop-shaped, round and oblong “semi-finished products”, you can create almost any vegetation. In our case it will be orchids and roses. Orchids are made from 5 petals (3 large and 2 smaller) and a pistil, and as for roses, just twist the round “pancakes” one on top of the other, slightly bending them in different directions. The leaves are made from the same teardrop-shaped blanks, only slightly cut along the edges with a knife.
There are many ways to make a polymer clay product hard: you can bake it, you can boil it until hard in a pan. Or you can put the blanks in a plate, add water and put them in the microwave for 5-6 minutes.
The hardened blanks must be dried on a sheet of paper so that no water remains between the petals, otherwise the paint will mix with water. Painting such flowers is limited only by your imagination: you can use any, even the most implausible, shades: such a flowerbed will look interesting even in monochrome. In this case, we used silver and purple red colors for roses, silver, violet and yellow mid for orchids, green and a mixture of yellow mid and green for leaves. Proportions are by eye.
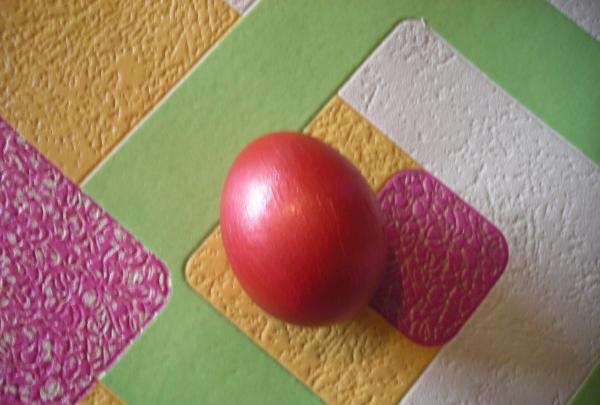
Now let's take care of the background for our flower garden, that is, the egg. Thanks to the combination of gold and red acrylic, the background will not only be bright, but will also “play” and shimmer with gold in different lighting conditions. It is important to apply the paint in at least a couple of layers to achieve a uniform color and hide unevenness in its application.
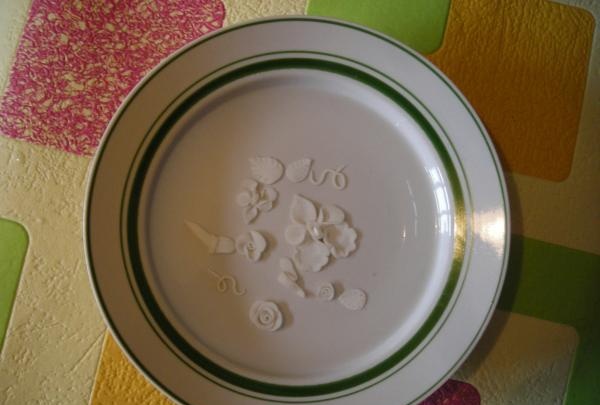
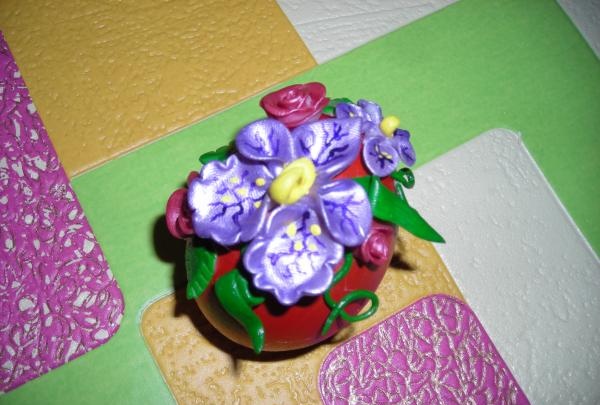
You can glue flowers onto the dried paint. If you distribute them evenly over the surface, there will be a busting effect. And since only one side of the egg will be used, the flowers will be arranged “in a bunch”, like a flowerbed. Grouping them by type, or placing them randomly, is not so important: consider different arrangement options, and, having chosen the most advantageous one, start gluing.
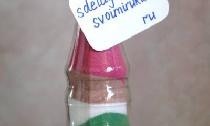
This souvenir is intended to be hung, not displayed. Therefore, we do not make any coasters, but use a piece of satin ribbon. We tie it so that the bow has three “ears”: the egg will be hung from one of them. We glue the bow with the same glue and our Easter 3D flowerbed is ready!