Work spaces and garages require good lighting. You can do it yourself, even without the skills of an electrician. I propose the design of a bright adjustable ceiling lamp based on LED strip.
Required materials
To make a lamp you will need:
- steel guide profile for plasterboard 3 m – 2 pcs.;
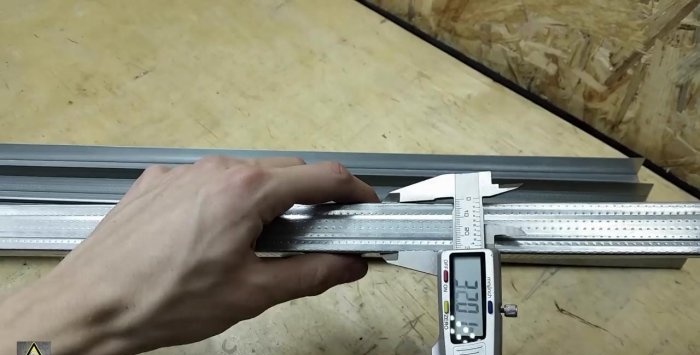
- aluminum rivets for a 3.2 mm pistol – 14 pcs.;
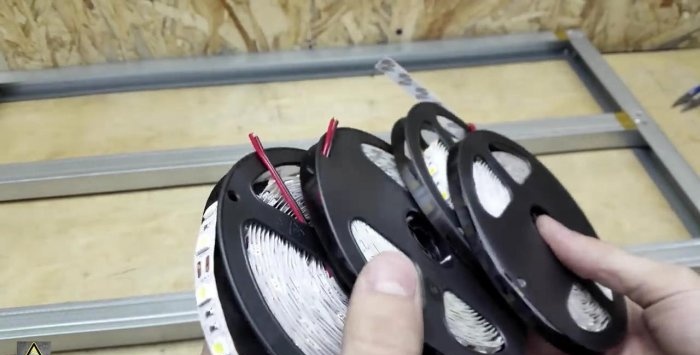
- LED strip 12V – 6.5 m;
- heat-resistant Kapton tape or electrical tape;
- heat-shrink tubing;
- wires;
- L-shaped screws with dowels – 4 pcs.;
- computer power supply;
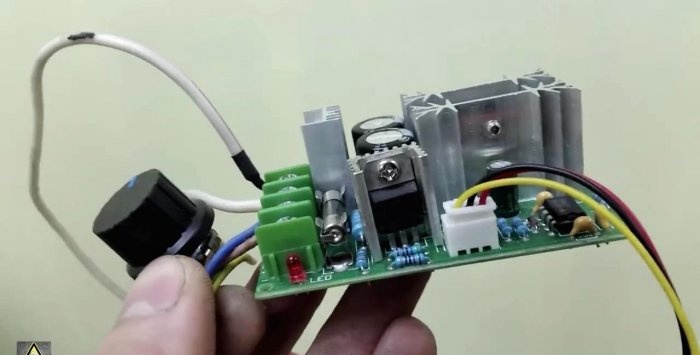
- 12 V brightness control.
Lamp assembly
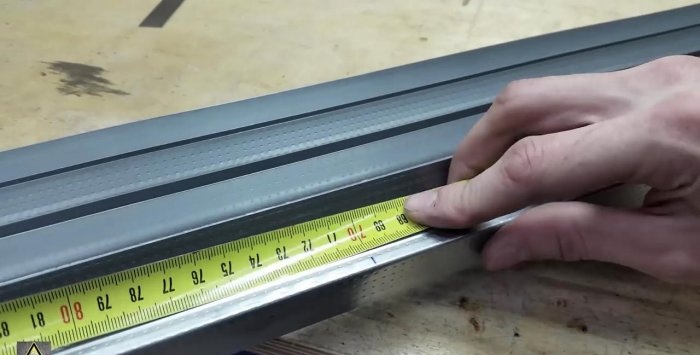
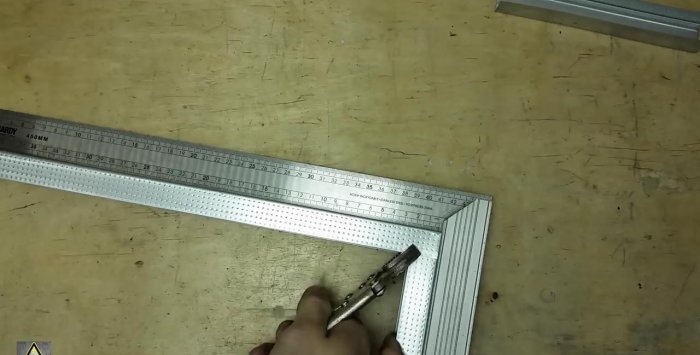
First you need to assemble the lamp frame. It can be made from a solid guide profile. The frame of the lamp will be square. You need to take the profile and put 4 marks on it from the edge with an interval of 70 cm.
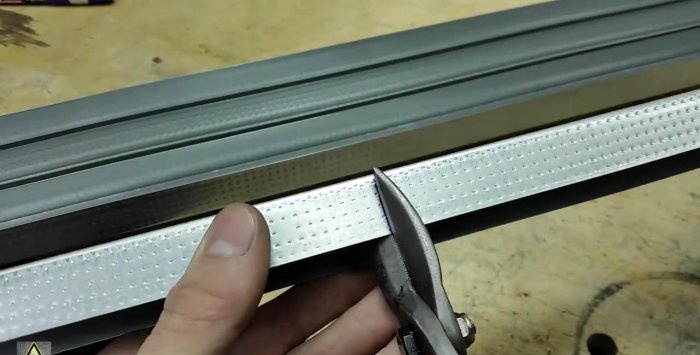
According to the marks on the profile, you need to make even cuts at 90 degrees on the side walls.
The profile is bent into a square along the cuts. Since 280 cm of the profile is actually used for the frame, and it has a length of 300 cm, a tail remains.You need to cut 18 cm from it, and leave a small protruding piece and bend it to strengthen the structure.
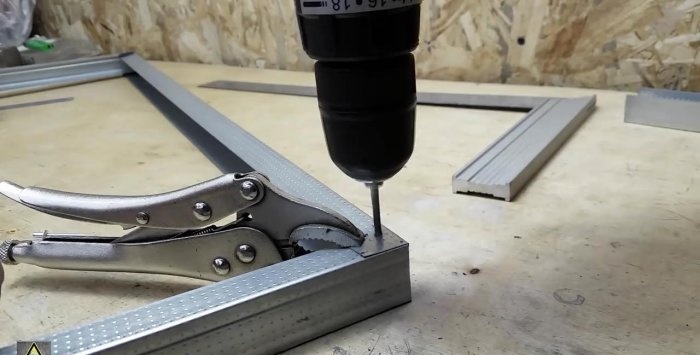
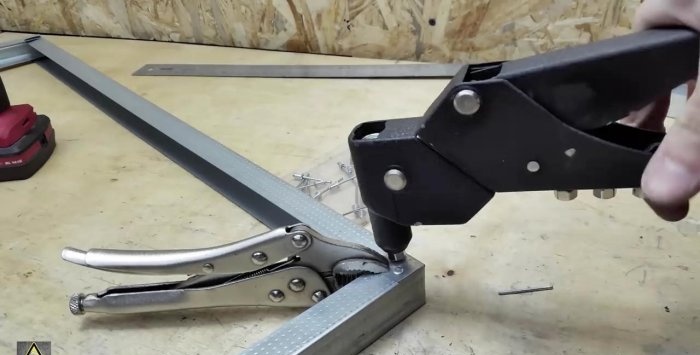
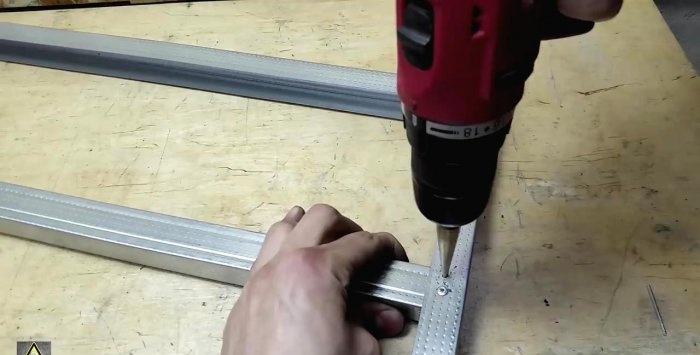
The frame must be aligned using a square to give it 90 degrees, and then secure the angle with a clamp or clamp. Having drilled 2 holes on the folded sides of the corners, you need to tighten the walls with a pair of rivets. This strengthens all 4 corners.
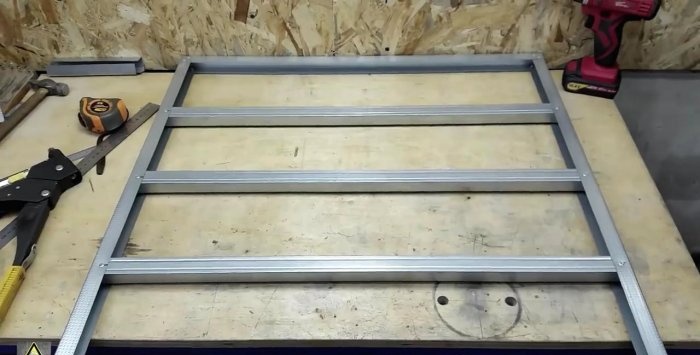
To increase the rigidity of the frame structure and the area for fastening LEDs you need to install cross members from the same guide profile. Their length is 69.5 cm. I will use 3 crossbars.
Having aligned them with the same gap, you should drill holes in the profiles and tighten everything with rivets.
The frame is already completely ready, all that remains is to install the electrical equipment. Before starting, it is better to prepare holes for laying wires. They are all done on one side. 2 holes are drilled on the crossbars and one on adjacent corners. Separately on the side of the frame you will need to drill for the power cable.
Since self-adhesive tape will be used, it is better to degrease the profile for better adhesion.
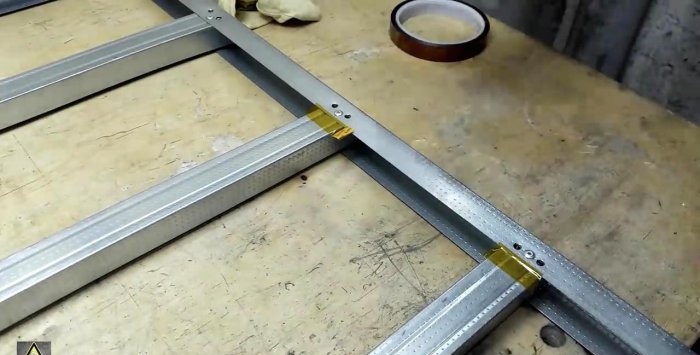
It is necessary to stick small pieces of heat-resistant Kapton tape in the places where the tape and wires will be soldered. If you don't have it, you can use electrical tape.
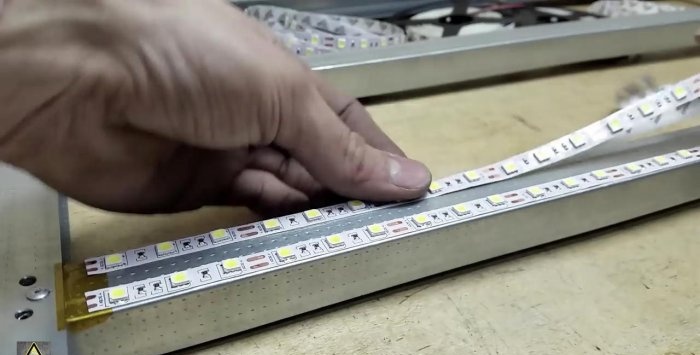
Now you need to cut the LED strip into pieces. It is cut only in special places, so you will get pieces of 65 cm. You will need 10 strips. I paste 2 pieces of tape on each jumper and one on the parallel edge of the frame.
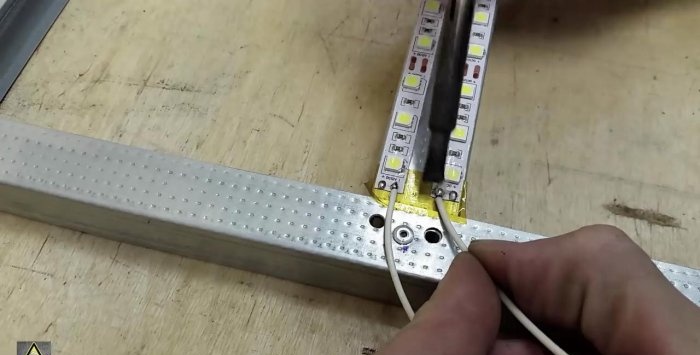
Now you need to prepare 20 pieces of wires 7 cm long. It is better that half of the wires are a different color. Their ends need to be freed from insulation. Stripped wires should be tinned with solder.
The prepared wires need to be soldered to the LED strip on special copper pads. On the opposite side of each tape there is a hole into which the wiring should be inserted.
For safety and reliability, it doesn’t hurt to protect the soldering area with hot glue. It does not allow electricity to pass through and will also keep wires from breaking.
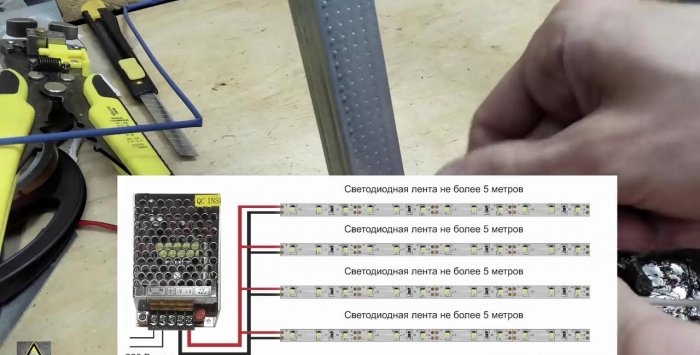
The main power cable is fed through the side hole in the frame. You need to solder all the pros from the LED strips to one of its cores, and all the cons to the second.
A parallel connection will be used. This will allow you to maintain a uniform glow across all strips. Soldering points are protected with heat-shrinkable tubing suitable for the diameter of the wires.
There are no problems connecting the power cable to the first LED strip. For all other soldering, you will have to remove the insulation from the wire by about 5-7 mm. After soldering, the protruding wires are laid in the profile, so the design looks neat.
Preferably after assembly using multimeter In the circuit continuity mode, check the power wires both among themselves and for a short to the housing.
It is better to solder the power connector at the free end of the power cable. I used T-Plug. It is also important to protect the soldering area with heat-shrink insulation.
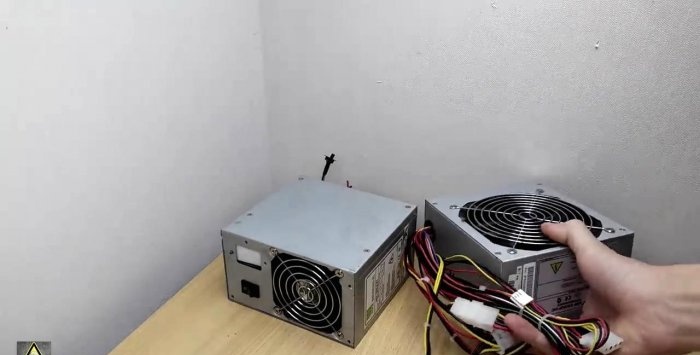
Now all that remains is to connect the wires to a 12V power source. A block from an old computer is suitable for this. It is very reliable, and is often sold in computer repair shops for next to nothing.
Before choosing a unit, you need to calculate the total current consumption of the lamp. In my case, it took 6.5 m of tape, which in total consumes 2 amperes. The unit I'm using puts out 18 amps, so it will be enough for 9 of these lights.
Now you need to fasten 4 L-shaped screws into pre-hammered dowels on the ceiling around the perimeter of the lamp mounting. The frame is applied to the ceiling and the tails of the screws are turned.
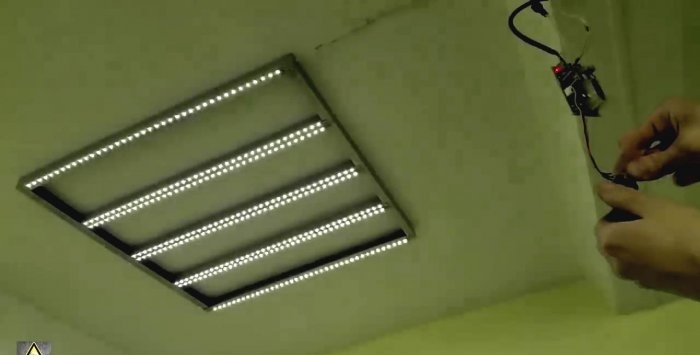
The wires for powering the lamp can be connected to the unit directly or through a brightness control, which is what I did.
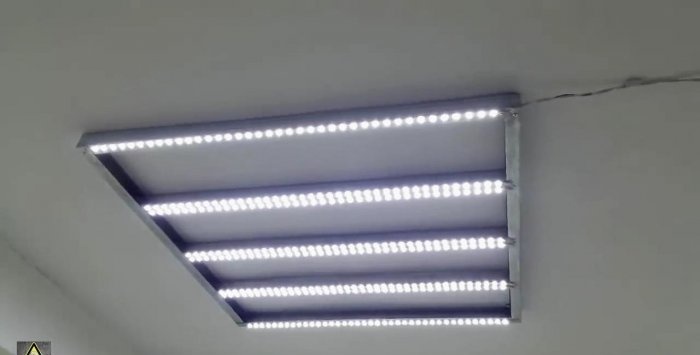
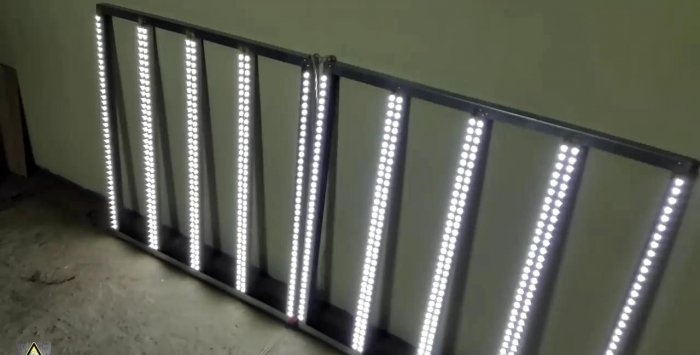
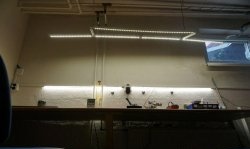
The resulting lamp, although it does not look very beautiful, is inexpensive, consumes little energy, is completely safe, since it runs on 12 volts, and most importantly, it shines very brightly and can be adjusted. I installed 8 of these lamps in the workshop at once, powering them from one computer unit.
